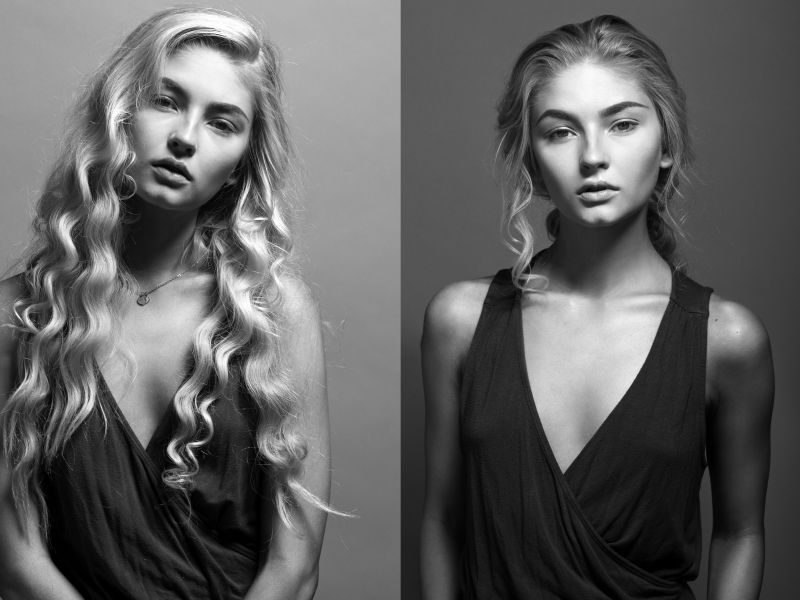
We have a romanticized ideal of what a studio should be. The assumption is that it must be at least 1500 square feet with 13 feet high or higher ceilings, possess endless gear with bounds of 107” seamless paper mounted to the walls and ceiling as well as a cyclorama in the corner. It’s just not the case. A studio can be achieved with minimal gear and can be setup anywhere.
Gear & Studio Setup
- Canon 5D Mark III
- Canon 85mm 1.2L II
- Broncolor Siros L 800Ws
- Broncolor BeautyBox 65 Softbox
- Savage 36″ Shoot Through Umbrella
- Savage 53″ by 3′ Fashion Gray Seamless Paper
- Background Stand
- Two pieces of 22″ by 28″ black poster board
- 24″ by 36″ piece of white foam core
[REWIND: PHOTOGRAPHY LIGHTING TIPS | FAKING OCF WITH AN ON CAMERA SPEEDLIGHT AND A SILVER REFLECTOR]
While going through a backup drive, I came across this portfolio image from 2014. At the time it was the most challenging lighting setup attempted to date; consisting of a single head, an octabox, two black flags to only allow a narrow strip of light to get through, and a bounce card. It had taken several hours to achieve that one image and I always wished that there had been more time to pull back and play around during that shoot.
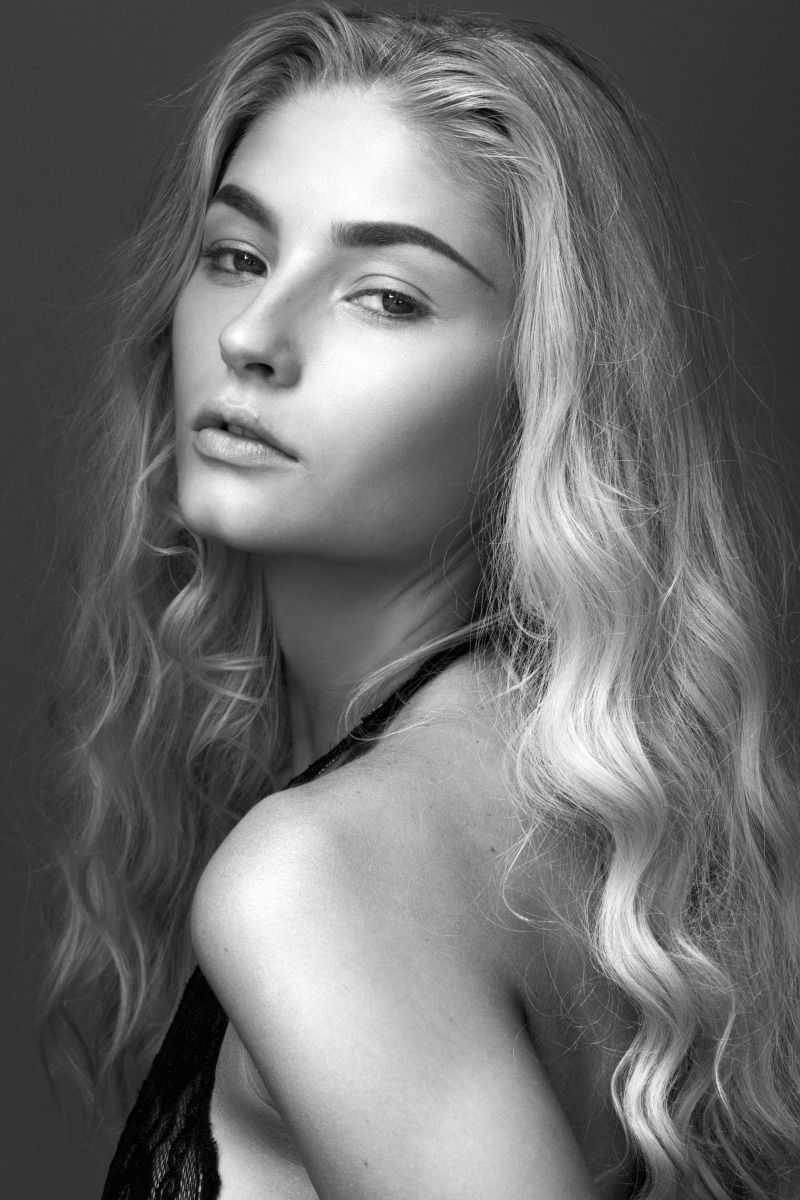
Taking inspiration from that original setup and image, a single Broncolor Siros L 800ws was placed overhead with the Broncolor Beautybox 65 Softbox, which produces light very similar to a beauty dish. It was angled down at approximately 45 degrees.

A white diffusion panel, very much like a sock, was added to soften the light. Two $0.69 pieces of 22”x 28” black poster board were clamped to the Beautybox, leaving a very thin strip of light measuring approximately two inches in the middle. A bounce card was placed on two spare light stands to add some fill. The entire setup took about 10 minutes and dialing in the light took about another 15 minutes.
After a few frames it became evident that there was no catchlight in the eye. In order to rectify this, the entire setup was mirrored on the left side.
This is by no means a replication of the original image and it goes to show that quality light can be achieved with a single manipulated lamp head, even on a budget with different modifiers or DIY remedies.

Tech Specs: ISO 400, f/11, 1/160th of a second.
Gear: Canon 5D Mark III, Canon 85mm 1.2L II, Broncolor Siros L 800Ws, Broncolor BeautyBox 65 Softbox.
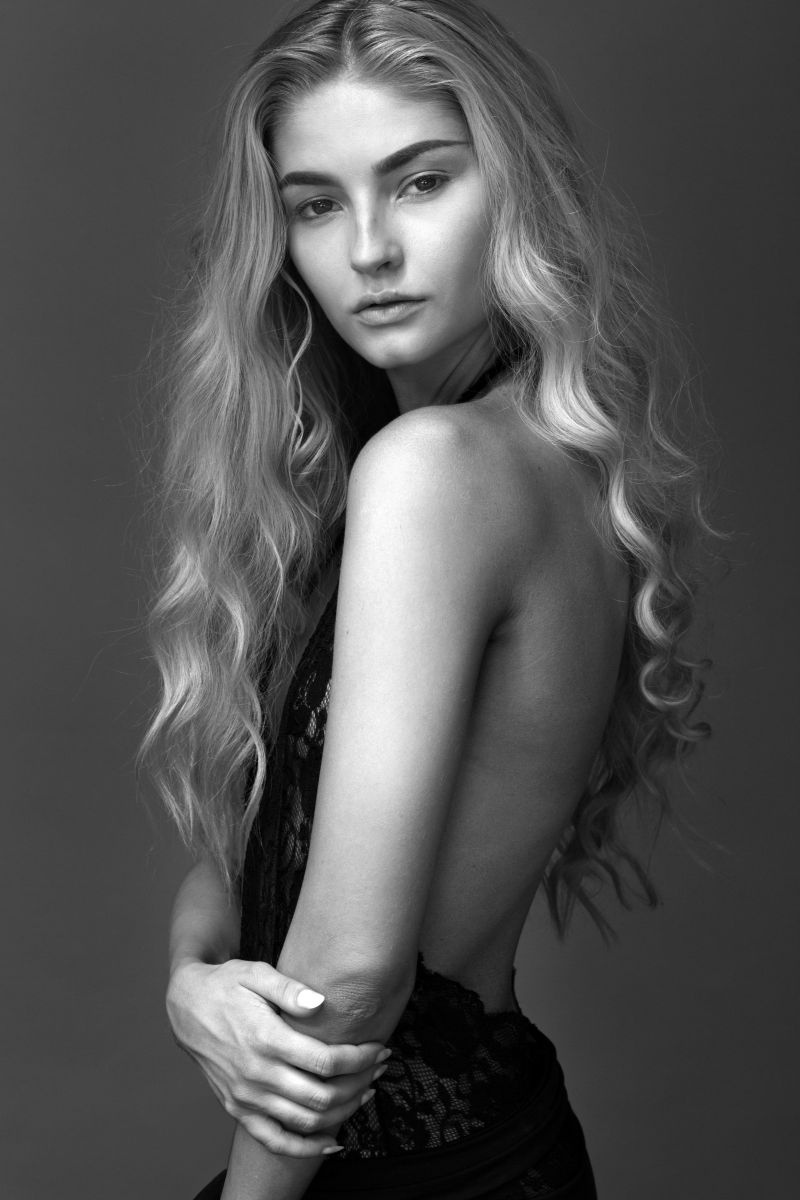
Curious as to what a different modifier would look like, the BeautyBox was replaced with a white shoot-through umbrella. The reason for this is that a white shoot through umbrella is one of the most inexpensive and accessible pieces of equipment out there. It is highly underrated.

Even with the poster board clamped to the umbrella, there was a lot more spill than anticipated. There was no need for a bounce card, however it was necessary to have an additional flag. If attempting this at home with an umbrella, keep in mind that either larger poster boards or an assistant will be needed to properly flag off the light.

Tech Specs: ISO 400, f/10, 1/160th of a second.
Gear: Canon 5D Mark III, Canon 85mm 1.2L II, Broncolor Siros L 800Ws, Savage 36″ Shoot Through Umbrella
An incredible thing about the craft is that there is no one way to achieve a copacetic image. There are an infinite number of do-overs, even if it takes three years, and it is a great learning experience to see what similar light looks like with different equipment. What’s described here is a fun and simple way to have beautifully manipulated light with only a single head.

Tech Specs: ISO 400, f/8, 1/200th of a second.
Gear: Canon 5D Mark III, Canon 85mm 1.2L II, Broncolor Siros L 800Ws, Savage 36″ Shoot Through Umbrella


Get Connected!