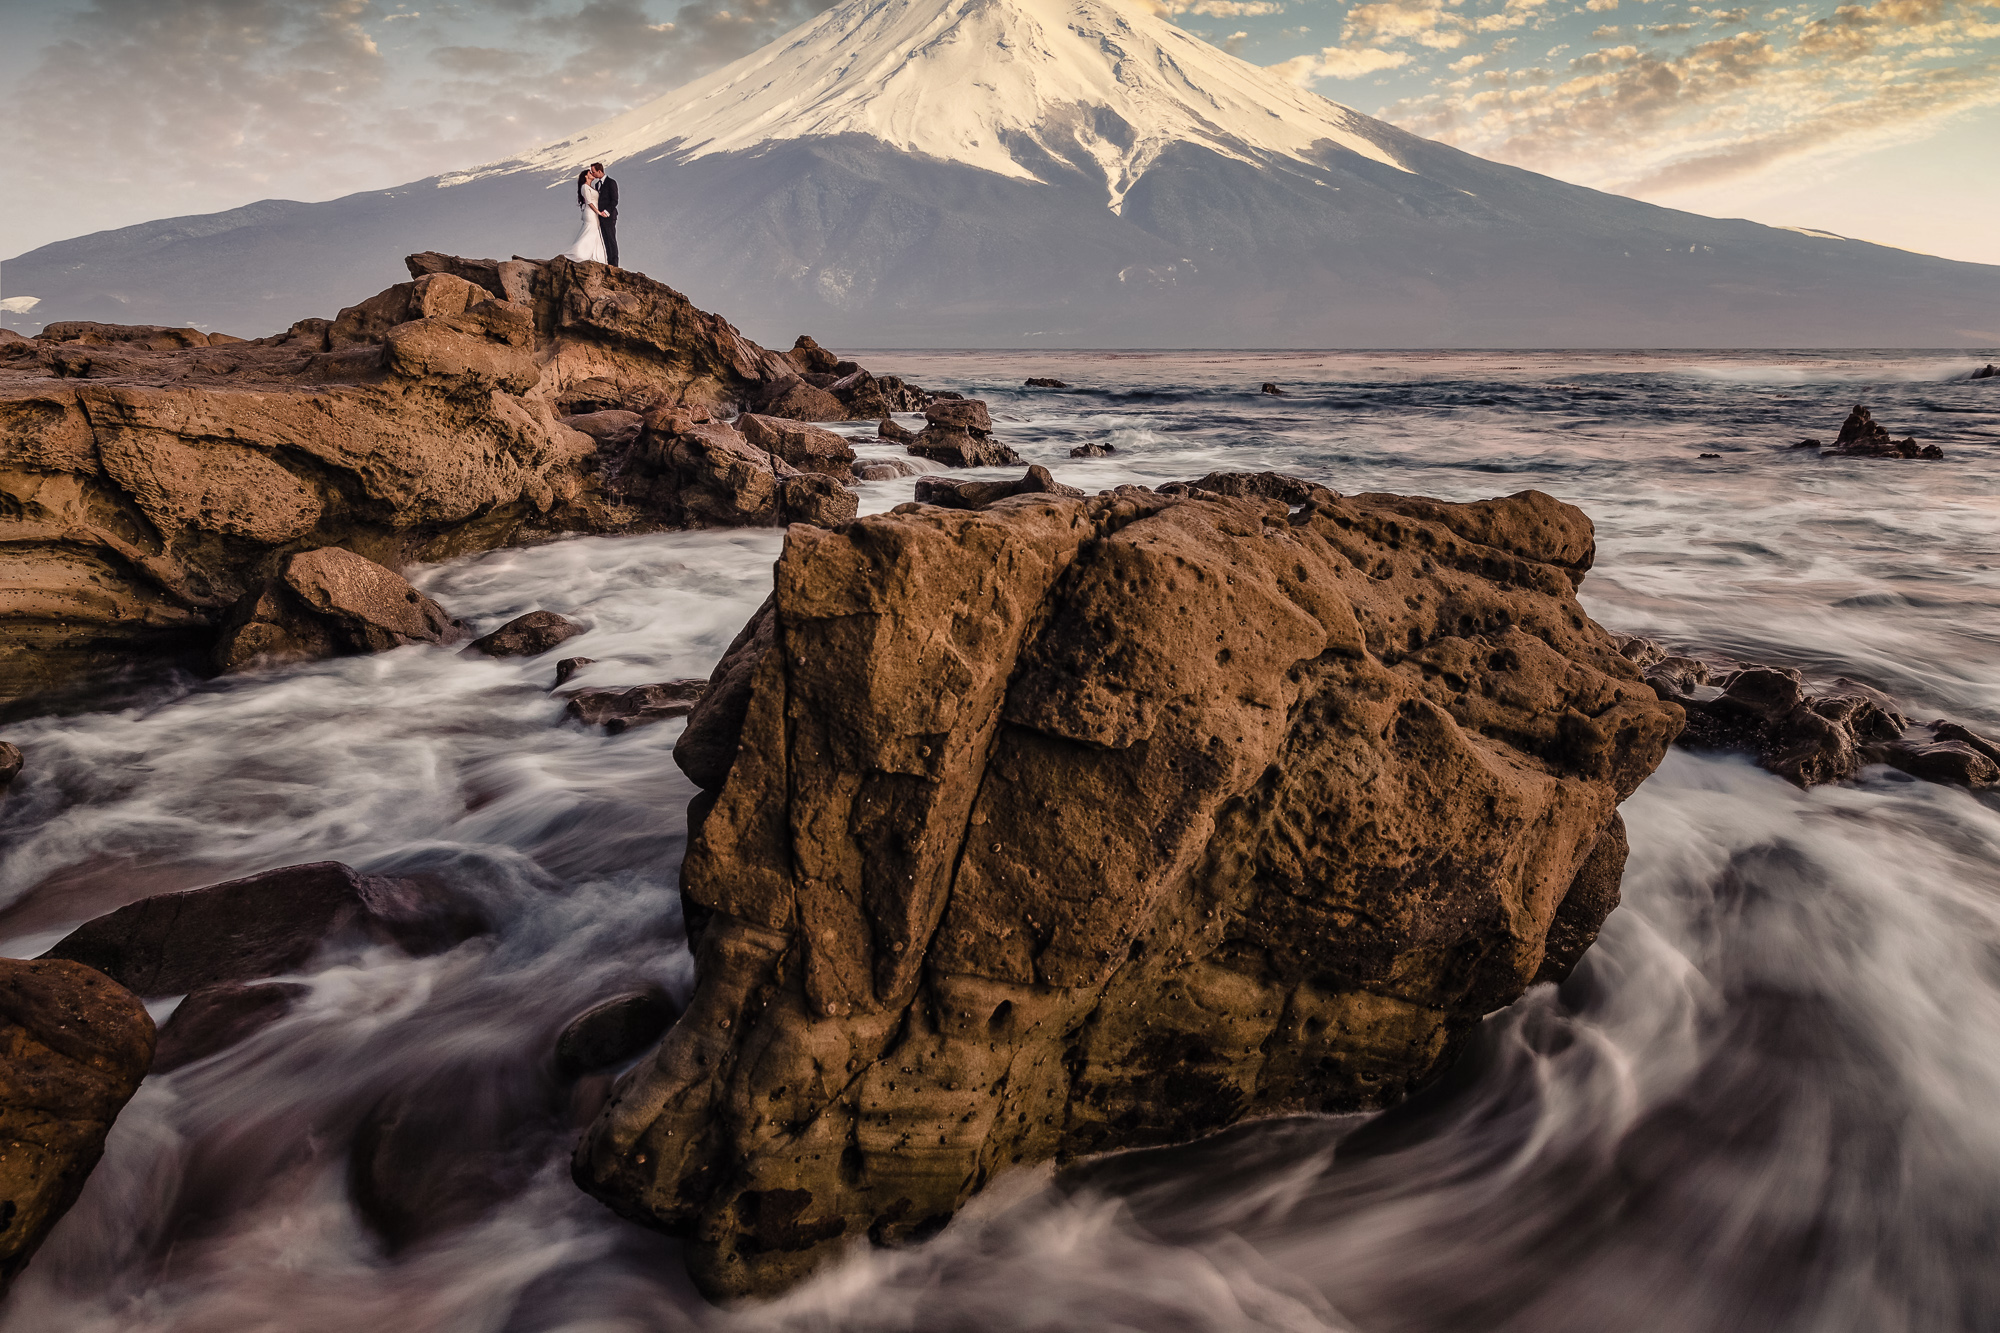
Part of being an artist is relishing in the creative joy that comes out of the creation process. While we are often restricted with location, lighting, and subject matter, technology has progressed enough to help us take our images to new heights. In this video, we’re going to experiment a little using Luminarᴬᴵ and its powerful AI tools without ever touching Photoshop. To follow along during this tutorial, download the exercise files and download Luminarᴬᴵ (you can use the code SLRLOUNGE for $10 off!) to edit with me!
We’re going to use Luminarᴬᴵ to manipulate our image and transform it into an otherworldly location. The whole goal of this tutorial is to inspire you to think outside the box and have a little fun while editing. While this image isn’t for every client, it’s a great way to test your skills and showcase your creativity in a light we often don’t get the opportunity to show.
1. Base Editing in Lightroom
 Since we are using Luminarᴬᴵ for our photo manipulation, I wanted to dial in the color and look of the image using Lightroom. As you know, we created Visual Flow Presets to make it easy for photographers to achieve an elevated version of their image with quick, one-click lighting-condition-based presets. I chose to use the Pastel pack for this image to match the romantic sky. I still retain Lightroom for all of my cataloging and fine-tuning. After you have edited your image to your liking, right-click > Edit In > Luminarᴬᴵ.
2. Augmented Sky AI Edit
 You’ll need the most updated version of Luminarᴬᴵ’s software to complete the rest of this tutorial so make sure you have that downloaded. Luminarᴬᴵ has incredibly powerful AI editing tools and most notable are the sky enhancements. You can see just how much fun I had playing around with the different options that the program offers in the video. I decided to go with an otherworldly type of image by including mountains. Luminarᴬᴵ does a decent job of setting it in place but we do have some areas that we need to tweak and adjust. After doing that I selected ‘Relight’ which helps us get a real fade of light, then I turned ‘Mass Refinement’ all the way up. I am making these small adjustments to create a smooth and better blend.
3. Fine-Tuning in Luminarᴬᴵ
 We’re also going to bring up the highlights a little bit, just to keep refining the blend. I love that this software allows you to make so many fine-tuned adjustments to the actual AI edit with just a few sliders and drop-down menus. It makes creating something as interesting and unique much easier because it is less manual labor.
4. Finish in Lightroom
 Now, I’ve done this same technique before and it’s by far one of my favorite techniques to use in Luminarᴬᴵ, I call it ‘Twice Baking’. Once we’ve finished our final tweaks in Luminarᴬᴵ, I re-open the AI-edited in Lightroom to give it some finishing touches using the Visual Flow Modern Pack. Here is the final before and after:


No Photoshop, no crazy masking, nothing! Using Luminarᴬᴵ’s powerful AI-editing software we were able to achieve a look far from reality and not like anything we could have imagined. If you enjoyed this tutorial and want to see what other tools Luminarᴬᴵ has to offer make sure you use the code SLRLOUNGE for $10 off.


Get Connected!