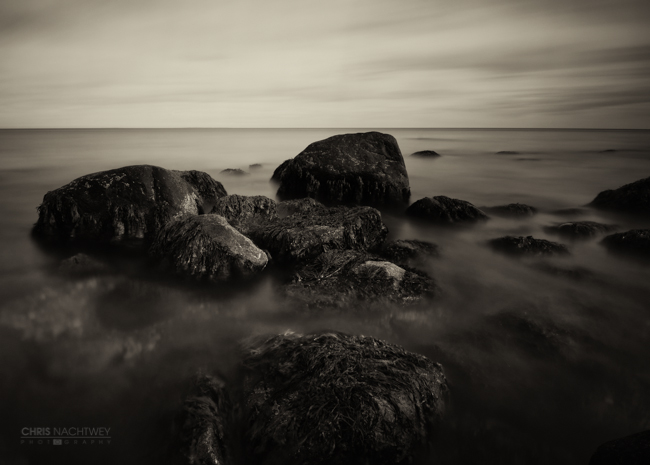
Love the look of long exposure images, but can’t afford a ten-stop neutral density filter? Let me show you how to use an inexpensive piece of welding glass to create stunning black and white long exposure images in the middle of the day!
[Rewind: Inspiration-The 10 Must-Photograph Places in Northern Ireland Using Long Exposure]
I love long exposure images. To achieve them in the middle of the day though, you’re going to need to use a ten-stop or higher ND filter. A high-end ten-stop ND filter is going to cost you a few hundred dollars. Since long exposure photography is a hobby for me vs. my wedding and portrait work for commission, I was not about to shell out hundreds of dollars on a high-end ten-stop ND filter. I chose to spend four dollars on a large piece of welding glass from a hardware store and attached it to my Tokina 11-16mm f/2.8 instead.
Please note: Be extremely careful when using the welding glass to avoid scratching the front of your lens.
The Gear You’ll Need:
- DSLR with the ability to shoot in bulb mode
- Wired shutter release
- Wide-angle lens
- Tripod
- A large square piece of welding glass that will cover your entire lens face. These can be found online or at your local hardware stores near the welding equipment.
- A few high strength rubber bands
- A towel or piece of cloth
- Stop watch to time the exposure length.
The Process:
1. Set up your tripod exactly how you want it to be and attach your camera.
2. Put your lens into manual focus, compose your image and focus on your subject. Don’t try to use autofocus. The welding glass is so dark that once you attach it to your lens and hit the shutter release, it will just keep trying to focus and never work.
3. Attach the welding glass to your lens. Here is how I do it:
- Place the rubber bands around the sides of the welding glass then carefully put the glass against the front of your lens.
- Pull the rubber bands back and around the back of your camera on each side. The welding glass should stay in place very well.
- I personally flip my lens hoods backwards so the wings of it are facing towards the back of the camera and hook the rubber bands around the two wings but either method should work.
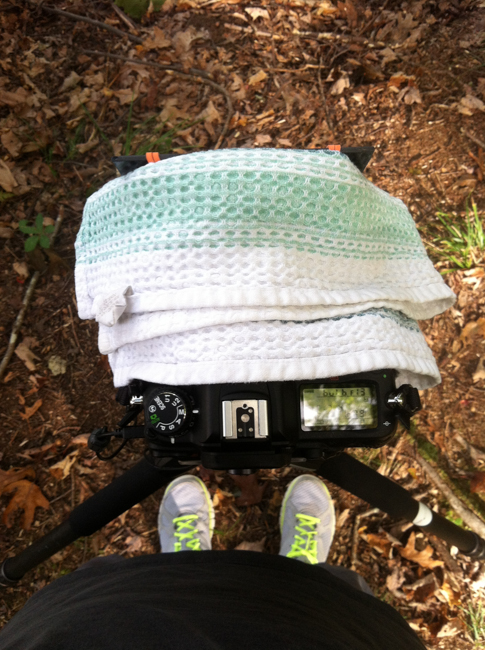
4. Place the towel or cloth near the small gap on the top of your lens and the welding glass to help prevent light leaking into your lens.
6. Settings: Manual Mode | ISO 100 | f/13-16 | Bulb Mode for your shutter | Auto white balance | Shoot in RAW
Bulb mode is extremely important! You are going to be making a 3-6 minute exposure to allow enough light to come through the welding glass and create the silky smooth clouds or water effect that long exposure photography creates.
7. Using your wired shutter release, push and hold the button on the release and start your stopwatch at the same time. There is no exact science to how long your exposure should be, but I’ve found that 3-6 minutes allows enough time to yield a usable exposure. Remember, you need to hold down the shutter release the whole time – in Bulb Mode your sensor is only exposed for as long as you hold the shutter release button for.
8. Release your shutter and take a look at your LCD to see your results. The image is going to have a green cast to it like the one below. That will be fixed in post production. You want to make sure your image is in focus and has been exposed long enough to allow for a workable file in post. This takes sometime to perfect. (It personally took me about five or six exposures my first time trying this method to find the right exposure recipe).
The Post Process
I import my RAW files into Lightroom. Convert the image to black and white to remove the green color cast from the welding glass, heal any dust spots and use the brush feature to correct any areas that I feel are a little underexposed or overexposed. Now, I have a basic file and tweak the contrast, sharpness, and highlights using the sliders in the basic panel to achieve the look I want. I also change the color of the image using the tint slider from time to time.
[PRODUCT HIGHLIGHT: Lightroom Workshop Collection v5]
Before:
After:
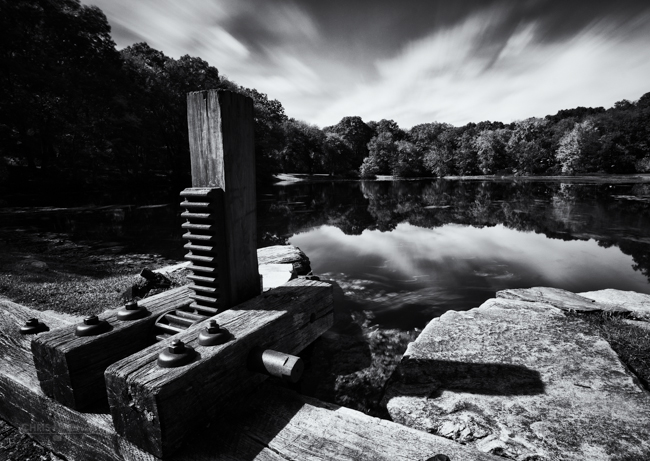
The process can be time consuming, but if you take your time, you can create stunning black and white long exposure images on a very small budget!
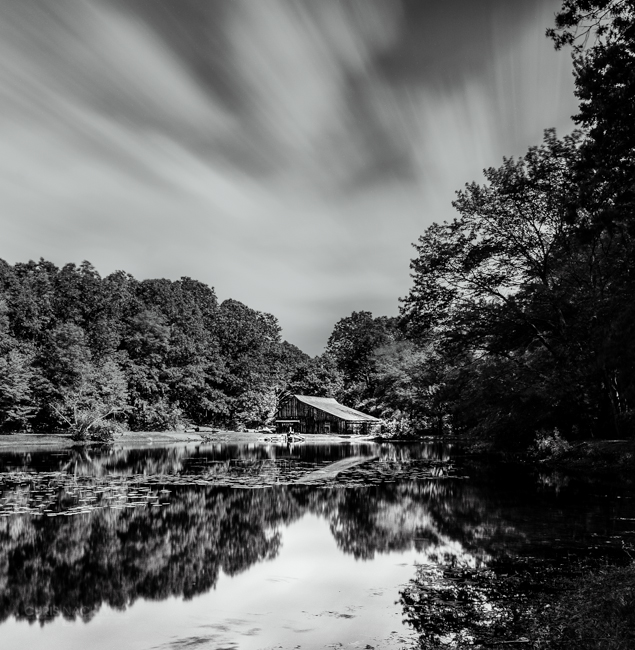
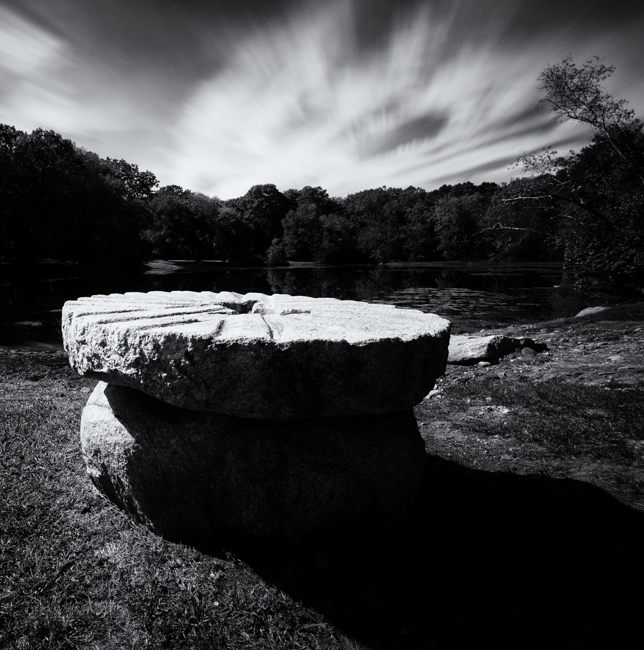
Examples:
CREDITS: All photographs by Chris Nachtwey are copyrighted and have been used with permission for SLR Lounge. Do not copy, modify or re-post this article or images without express permission from SLR Lounge and the artist.






Get Connected!