As inspiring in form as they are practical in function, bridges make amazing subjects for photos. Bridge photography draws its strength from combining the best parts of architecture and landscape photography to create its own unique genre. From the unmistakable curves and lines of suspension bridges to the centuries-old design of truss bridges, these engineering marvels come in a variety of shapes and sizes and offer endless opportunities to create incredible portraits. Of course, while bridges are beautiful, not all bridge photography is guaranteed to render stellar results. As a photographer, you’ll need to bring your creativity and technical skills.
In this article, we’ve put together a list of compositional tips alongside some inspiring photos to encourage you to try your hand in bridge photography and level up your photography skills in general. Use the tips below to help create your own inspiring bridge photos.
Tip 1. Go Wide to Include More of the Bridge
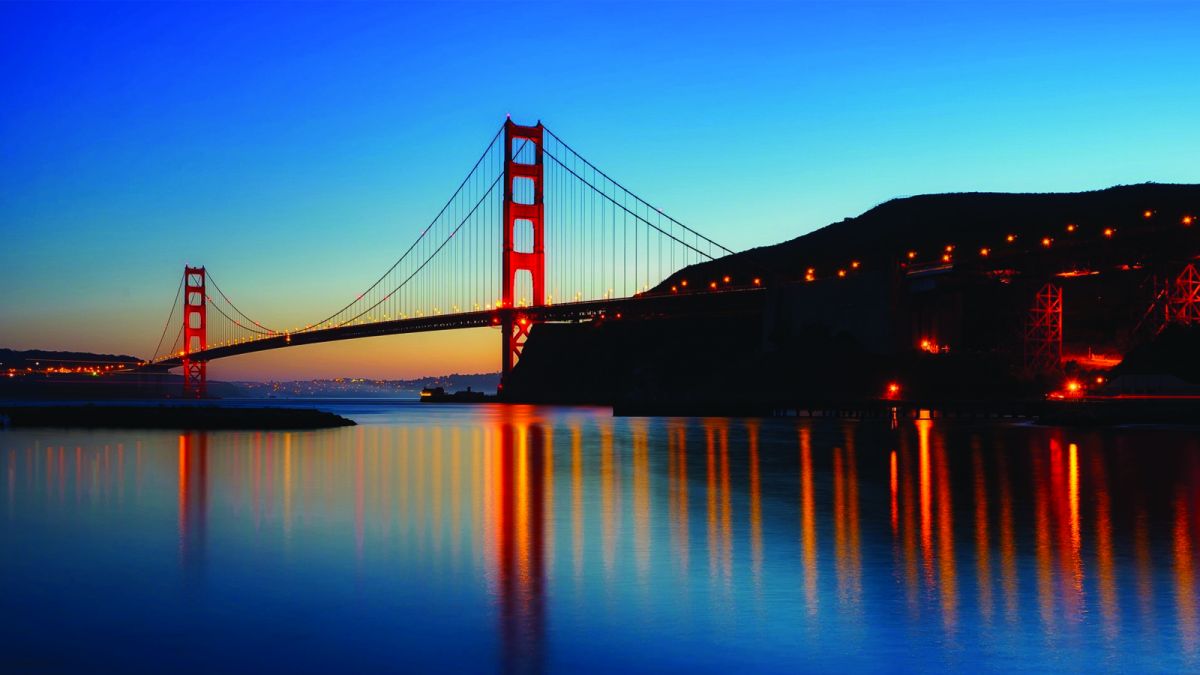
More often than not, bridges fall on the larger side. To add context to the scene and include the bridge in its entirety, go with a wide-angle lens (or create a panoramic image) to fully capture all that the bridge has to offer. Considering that a bridge’s main function is to connect two points, for example, why not show those points, especially when they’re as breathtaking as shown in the example below? Think of this as the “postcard shot.”

Tip 2. Get in Close to Capture Details
In the opposite direction of the previous tip, you should also consider capturing close up details of the bridge and its many shapes, colors, textures, and unique features. How else would you have discovered that “Unicorns ARE REAL”?

Tip 3. Crop for Visual Interest
In line with moving in closer, cropping images can allow you to create imaginative, even abstract compositions. Depending on the file size and resolution of the images you’re capturing, you might be able to do this in post from wider angle portraits. Still, try capturing a few “cropped” images in-camera to boost visual interest and move beyond ordinary bridge photography.

Tip 4. Frame the Bridge with Foreground Elements
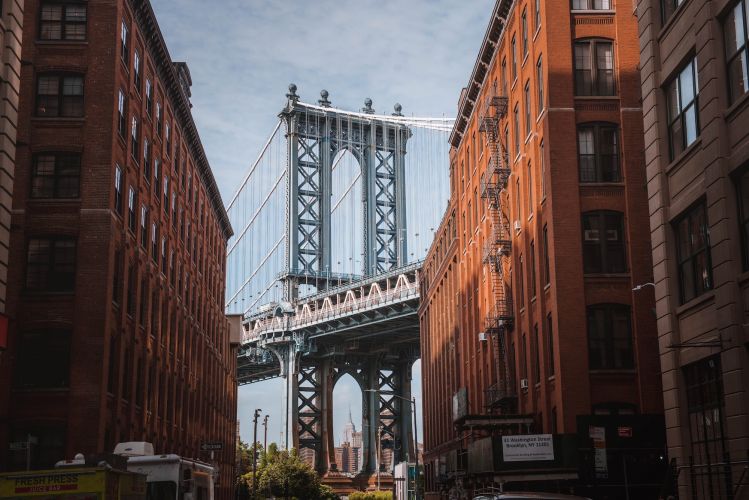
Just like with other portraits, use foreground elements to frame and draw attention to your subject, which in this case happens to be a towering bridge! Look for buildings, trees, or other objects that you can include to add depth and make your bridge photo unique. The example below goes the extra mile to include a fantastically framed shot of the Empire State Building in this famous view from Brooklyn’s DUMBO neighborhood.

[Related Reading: Best Lens for Landscape Photography – Complete Guide]
Tip 5. Use the Bridge to Frame Your Subjects
While you can use foreground subjects to frame the bridge, you can also use the bridge to frame your subjects. Your vantage point on or beside the bridge will determine how well you can use the bridge as a frame. Explore different angles to find the perfect perspective for your portrait. In the examples below, you’ll notice the use of leading lines as well, which we’ll cover in more detail in a separate tip below.


Tip 6. Take Advantage of Leading Lines
Leading lines abound in bridge photography. Whether formed by side rails, overhead beams (or light posts, as illustrated in the example below), or even the main pathway, the lines in bridges converge in powerful fashion and direct our focus. In fact, they’re impossible to ignore. While empty bridges provide plenty of interest, take advantage of the leading lines and place your subjects at the point of convergence. If you do, you can be sure that all eyes will land directly on your subjects.

Tip 7. Capture Landscape Photos FROM the Bridge
If you happen to find yourself ON a bridge, don’t forget to capture the landscape around you. Part of a bridge’s appeal rests in the unique views they offer, which you wouldn’t see without them (unless you’re using a drone). Bonus points if you can include another bridge in your frame (see the example below).

Tip 8. Find a Unique Perspective
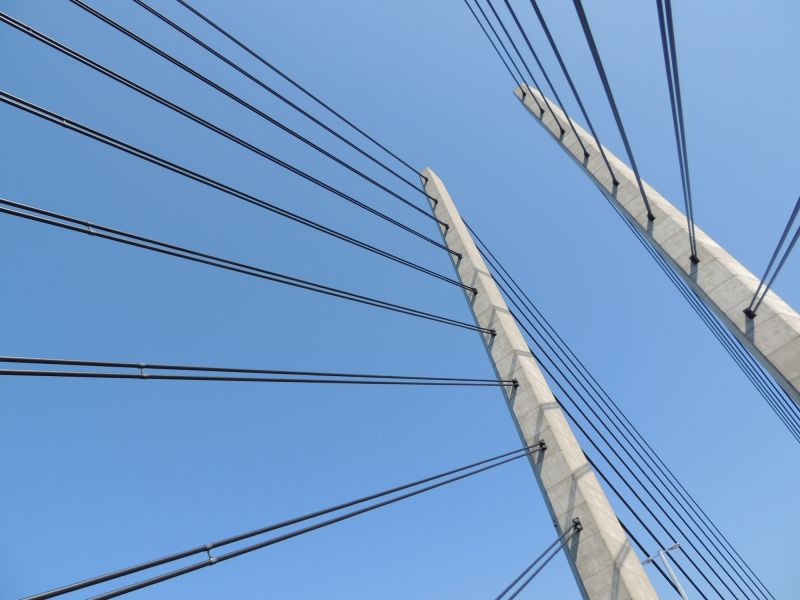
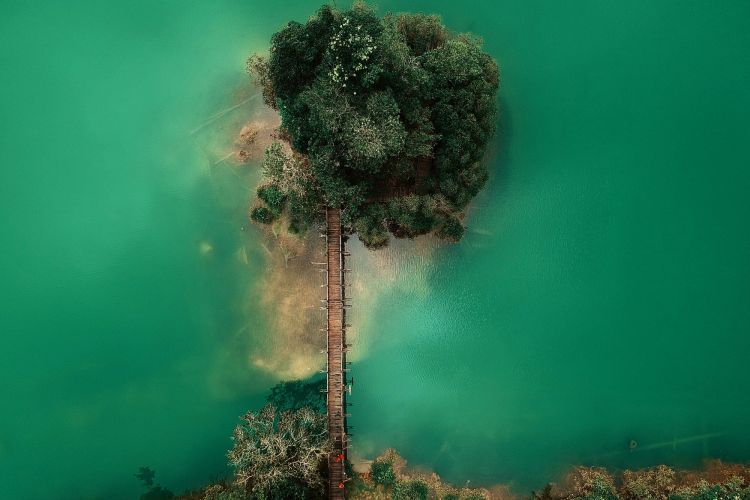
Sometimes, in our quest to scout a location and find the best angles, we forget to look up…or down. The beams and ties in bridges create interesting geometric patterns when viewed from below. Similarly, overhead views that you can capture with drones offer an entirely new. almost unrecognizable perspective of bridges, as illustrated in the images below.
Look Up


Look Down


Tip 9. Go Under the Bridge
Take inspiration from the Red Hot Chili Peppers and see what views await under the bridge. Chances are you’ll find frames within frames within frames, depending on the type of bridge you’re looking at. For those who love geometric patterns, the underbelly of bridges offer plenty. The bridge itself can also serve as a leading line to its destination. Just be safe when venturing below and don’t go anywhere that you’re not supposed (or allowed) to be.
Tip 10. Try a Long Exposure
When you want to smooth the waves under the bridge or capture the bridge under the night sky, try a long exposure (aka shutter drag). Long exposure photos work well in daylight or under a night sky and they stand far above the quality of walk-up (or point-and-shoot) photos when it comes to capturing bridges. You can also use this technique when shooting from a bridge to capture the motion of the passing cars. To get these shots, you’ll likely need an ND filter if shooting in daylight, and you’ll certainly need a tripod to stabilize the camera.


Tip 11. Look for Reflections
Reflections are used to great effect in landscape and portrait photography, and they work especially well when photography bridges. If the water isn’t smooth and you’re unable to use the long exposure technique, try using your own reflective surface, like a phone. You can learn more about how to do that in this article.

[Related Reading: 10 Tips for Better Water Reflection Photography]
Tip 12. Make the Bridge a Silhouette
One often-overlooked technique that could separate your photo from an average capture is turning your subject into a silhouette. You’ve likely seen this technique used in portraits or palm-laden skylines, but it works perfectly with bridge photography. In the examples below, you’ll find a natural bridge and a pier, each set against the vibrant colors of an epic sunset. To make this happen, make sure you have a clean background, and then lower your ambient exposure to capture the colors (or make it a black and white photo if the colors are less than stellar). If you shoot into the direction of the light source, the bridge should produce a silhouette.


Tip 13. Include a Subject on the Bridge for Scale
Besides adding a point of interest to the image, including a person or other recognizable object in a bridge photo can help give a sense of scale to the size of the bridge. This particular example also uses symmetry to boost the visual impact of the image.

Conclusion
I hope you found these bridge photography tips helpful and the photos inspiring. Here’s a quick recap of the tips we covered above:
- Go Wide to Include More of the Bridge
- Get in Close to Capture Details
- Crop for Visual Interest
- Frame the Bridge with Foreground Elements
- Use the Bridge to Frame Your Subjects
- Take Advantage of Leading Lines
- Capture Landscape Photos FROM the Bridge
- Find a Unique Perspective
- Go Under the Bridge
- Try a Long Exposure
- Look for Reflections
- Make the Bridge a Silhouette
- Include a Subject on the Bridge for Scale
To dive deeper into your photography education, be sure to check out our world-class workshops at slrloungeworkshops.com.


Get Connected!