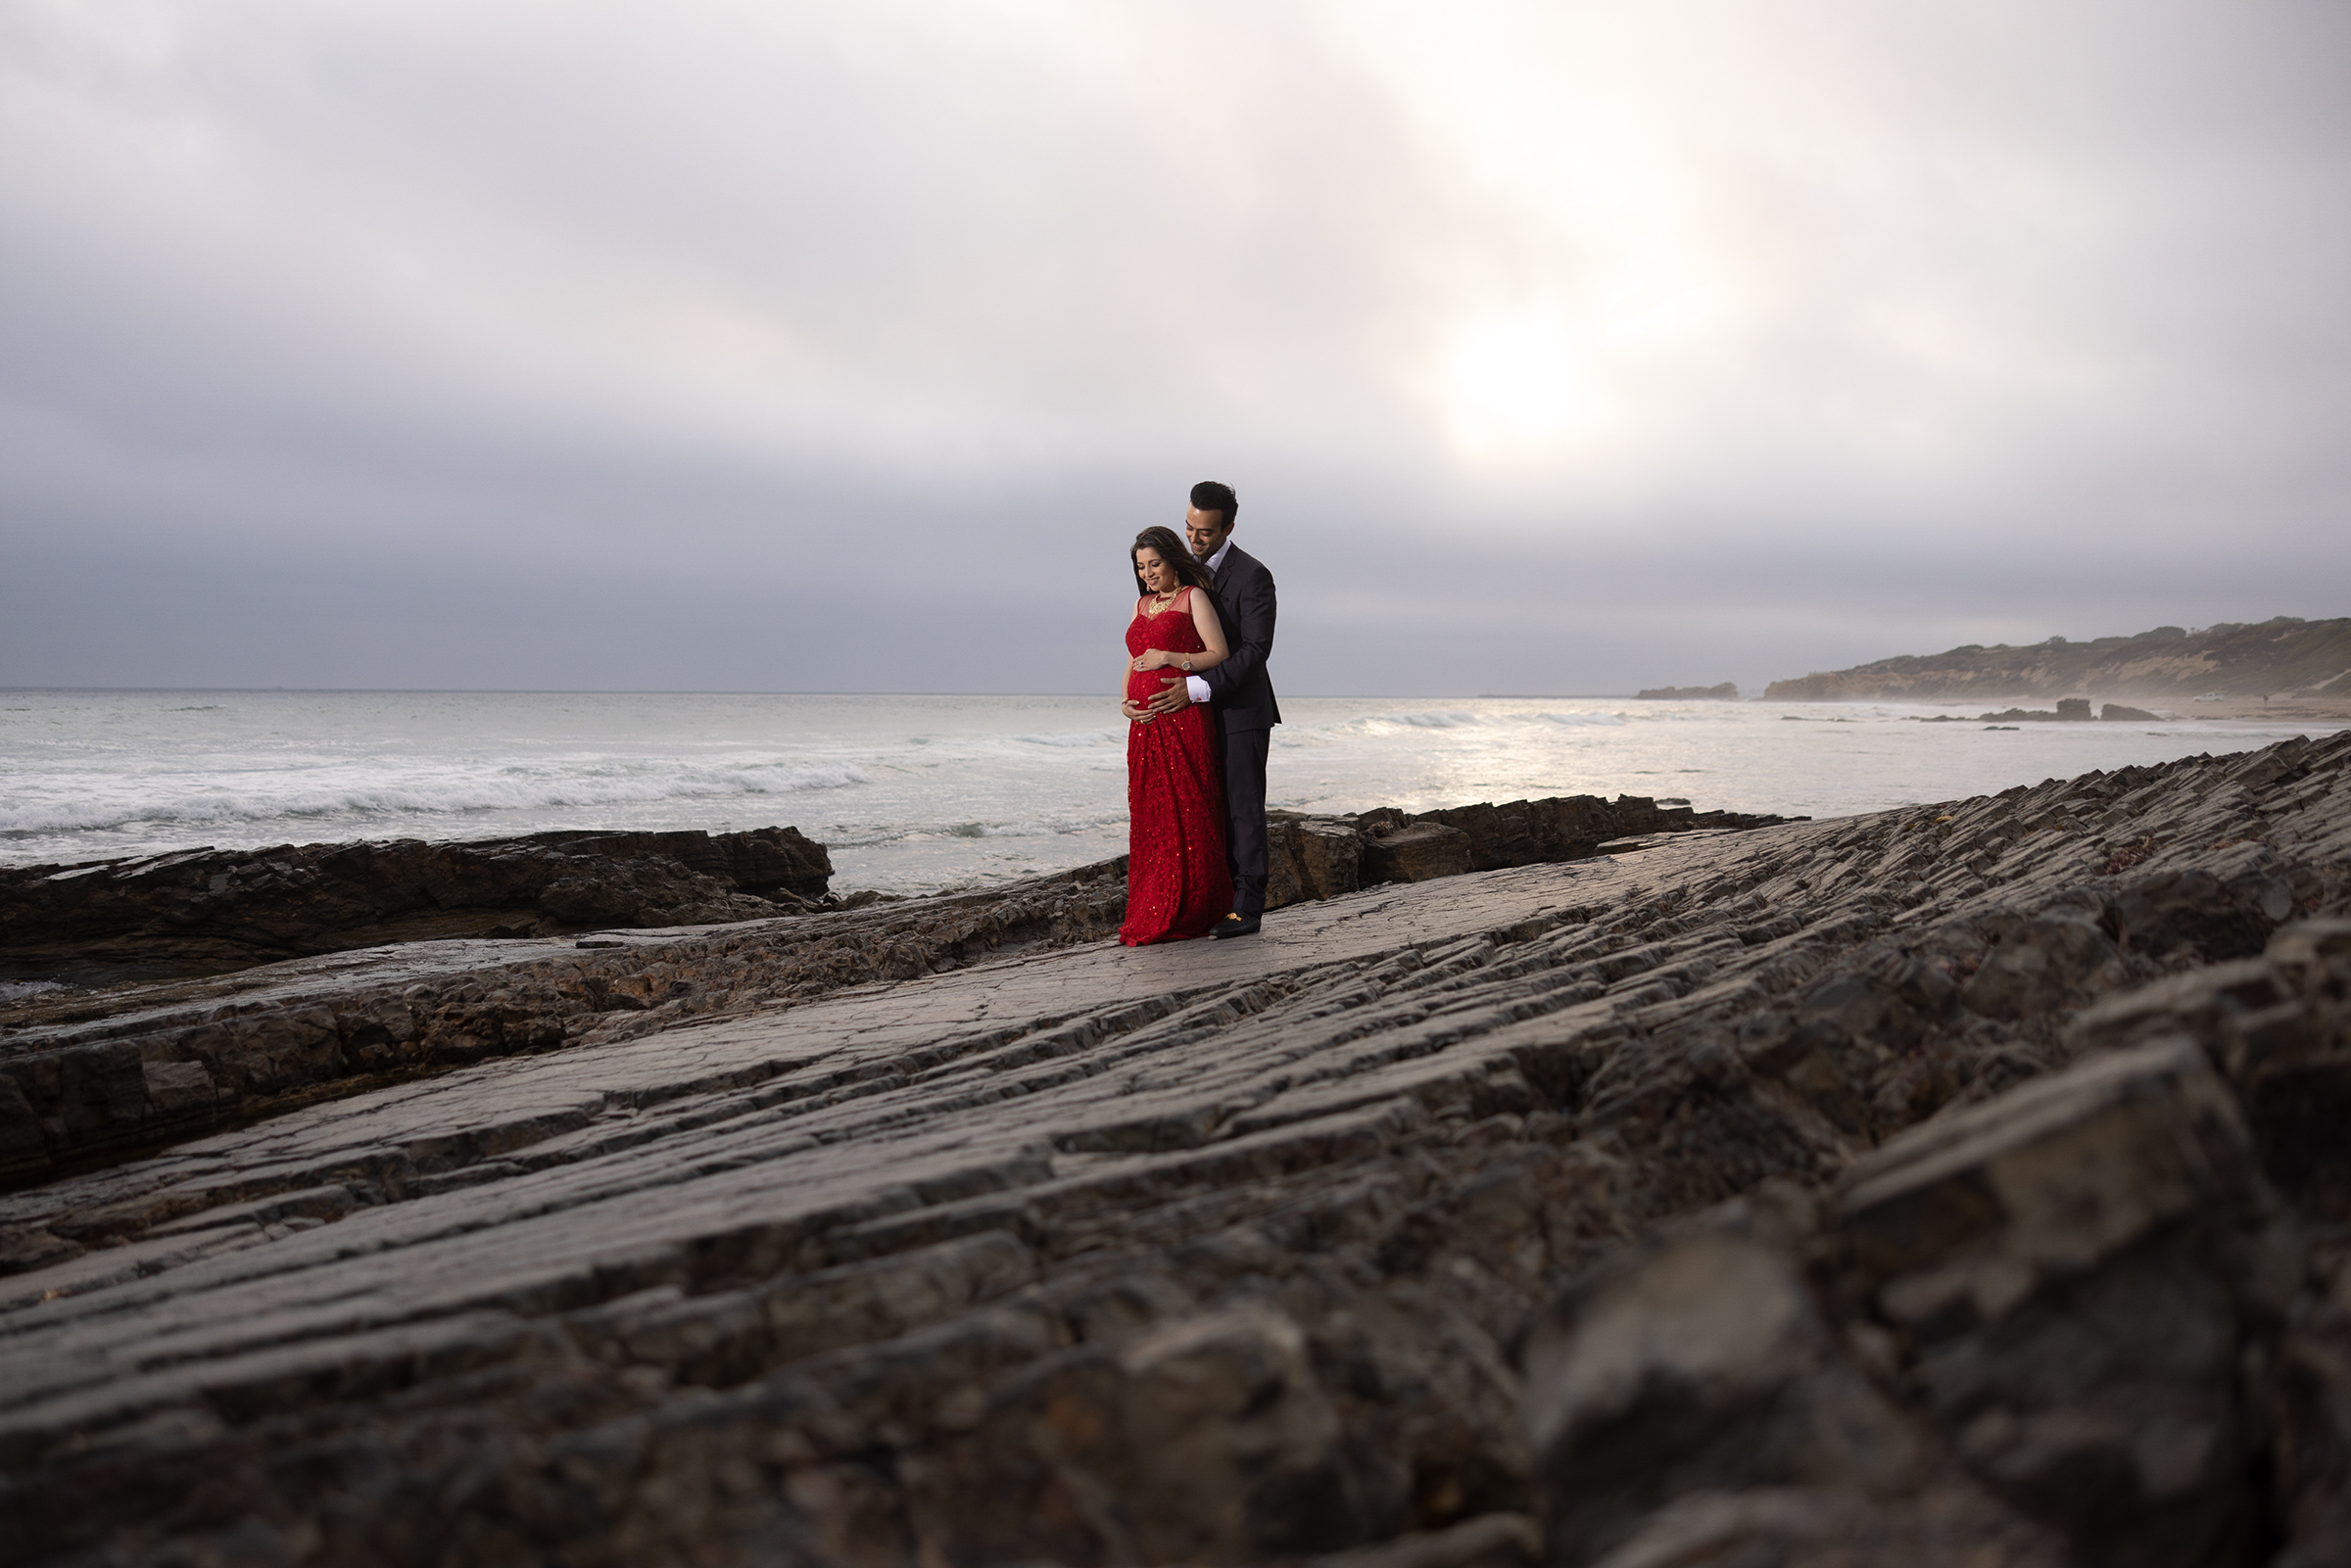
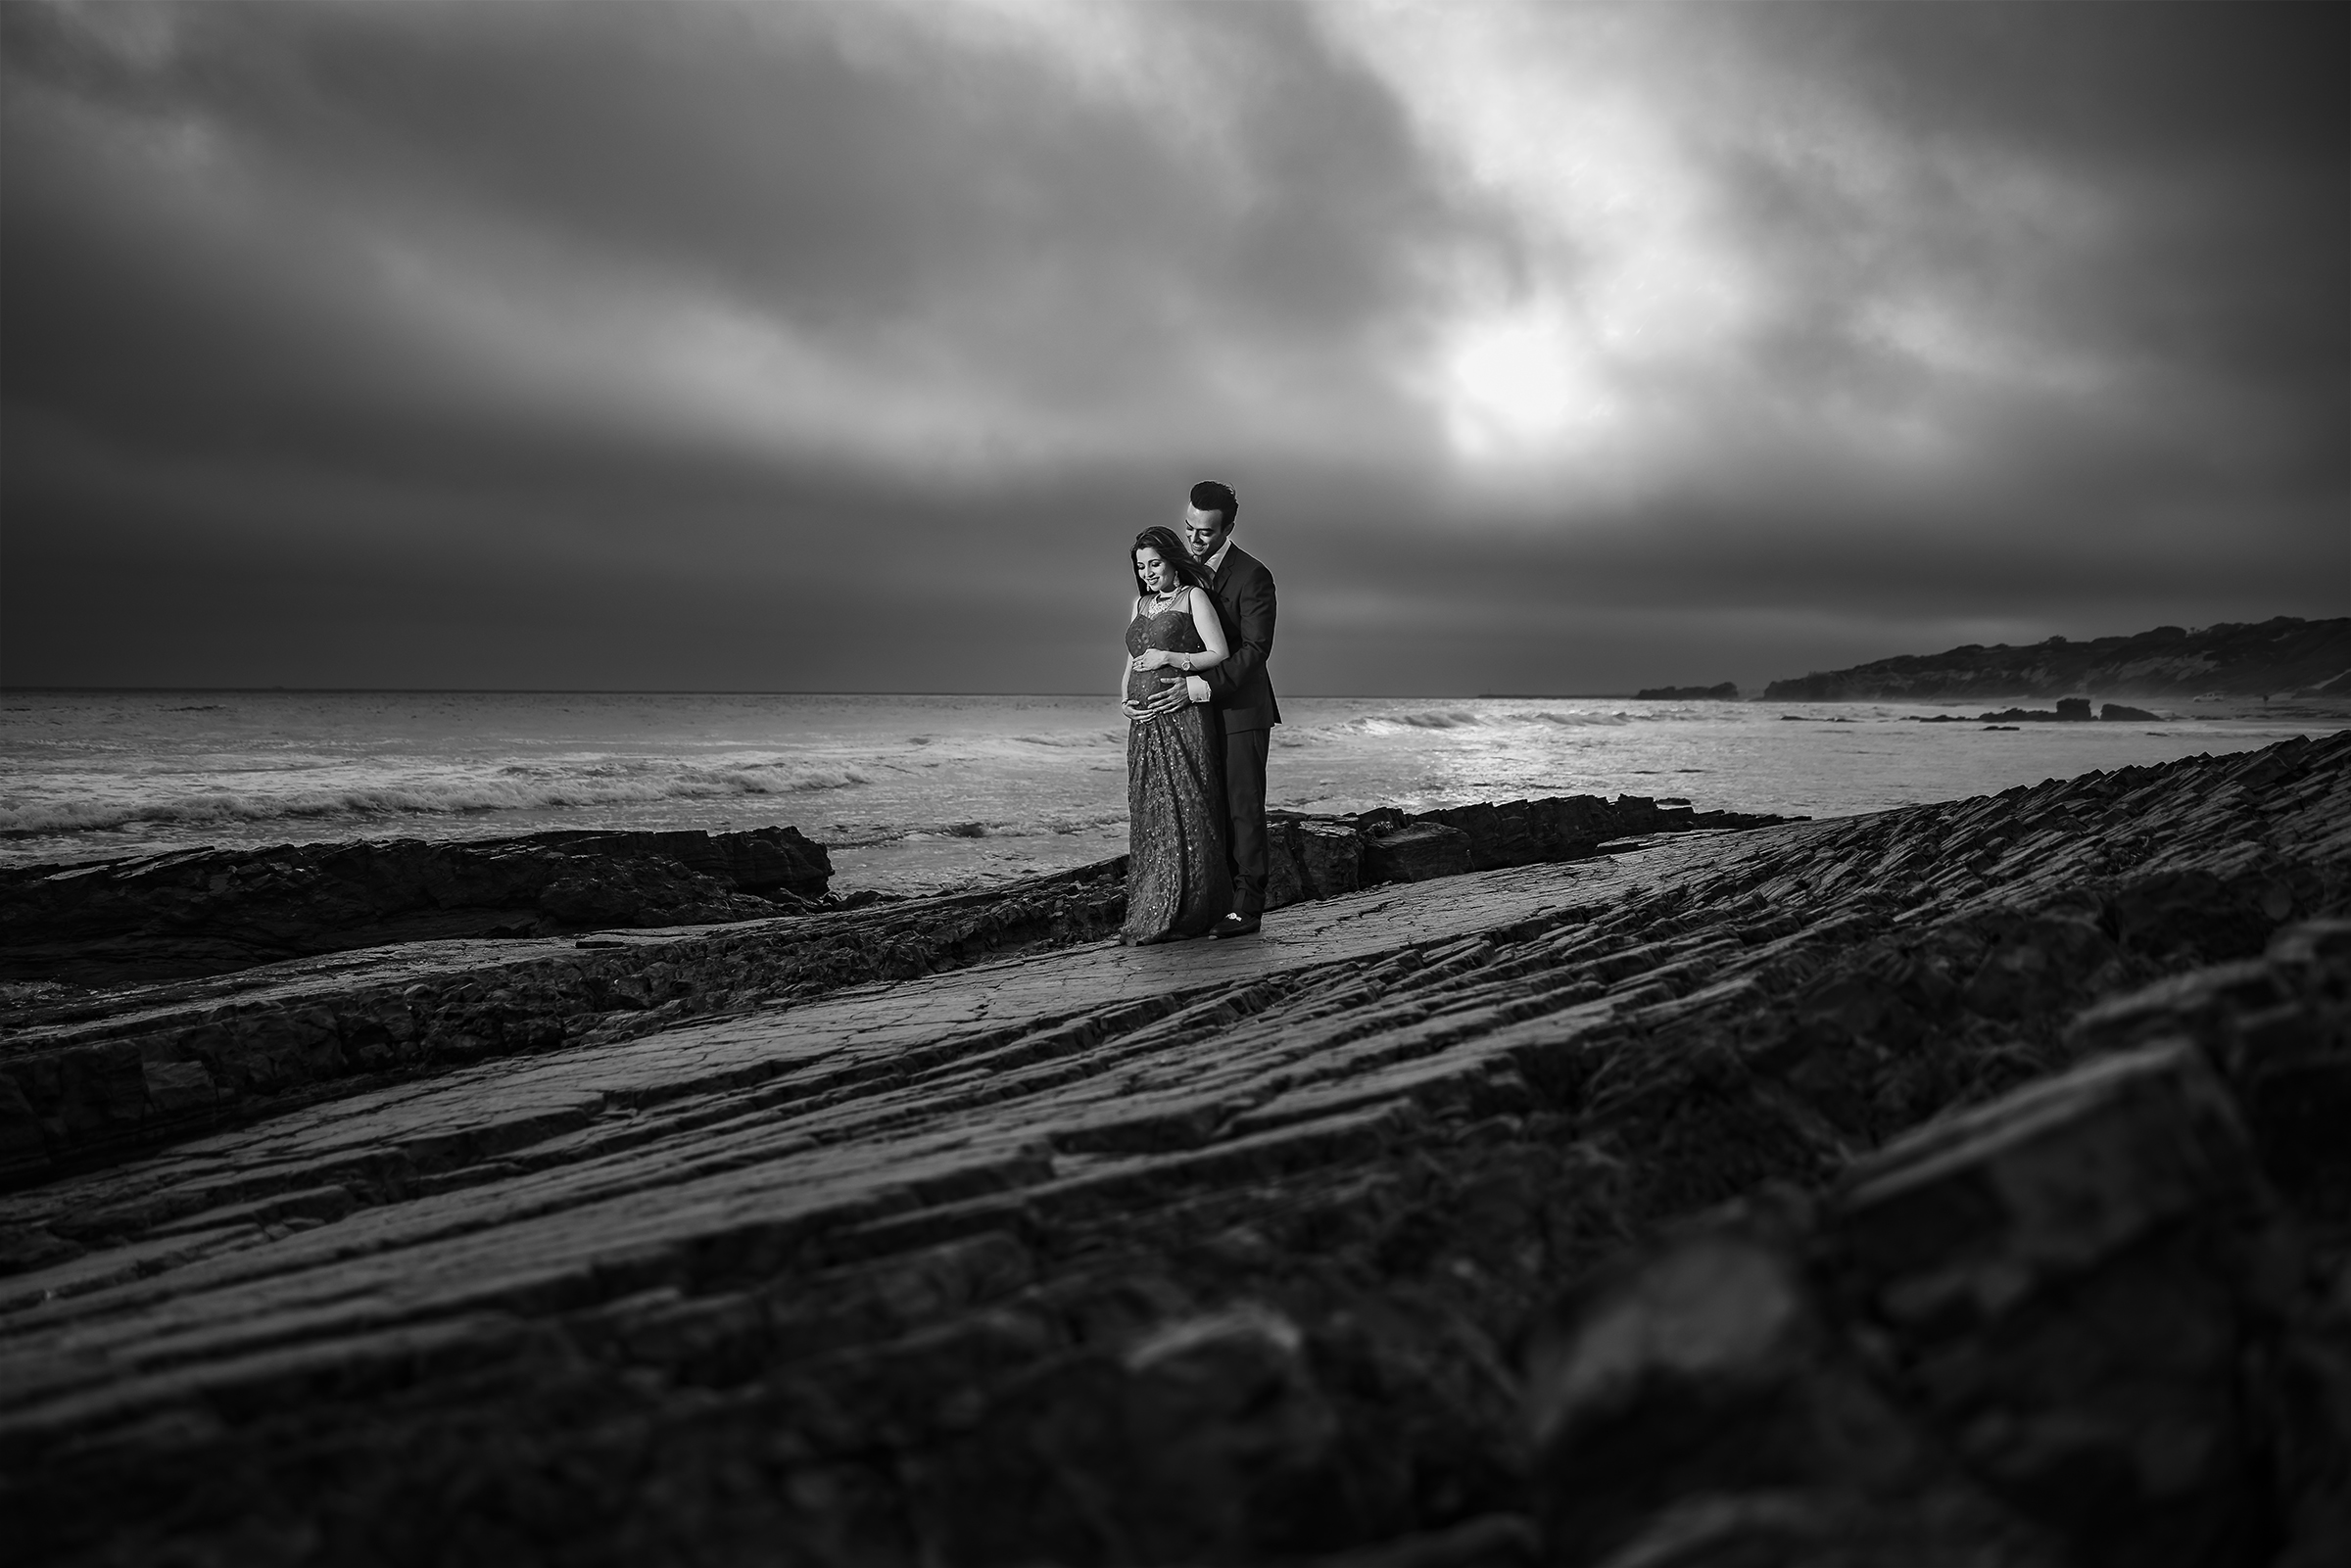
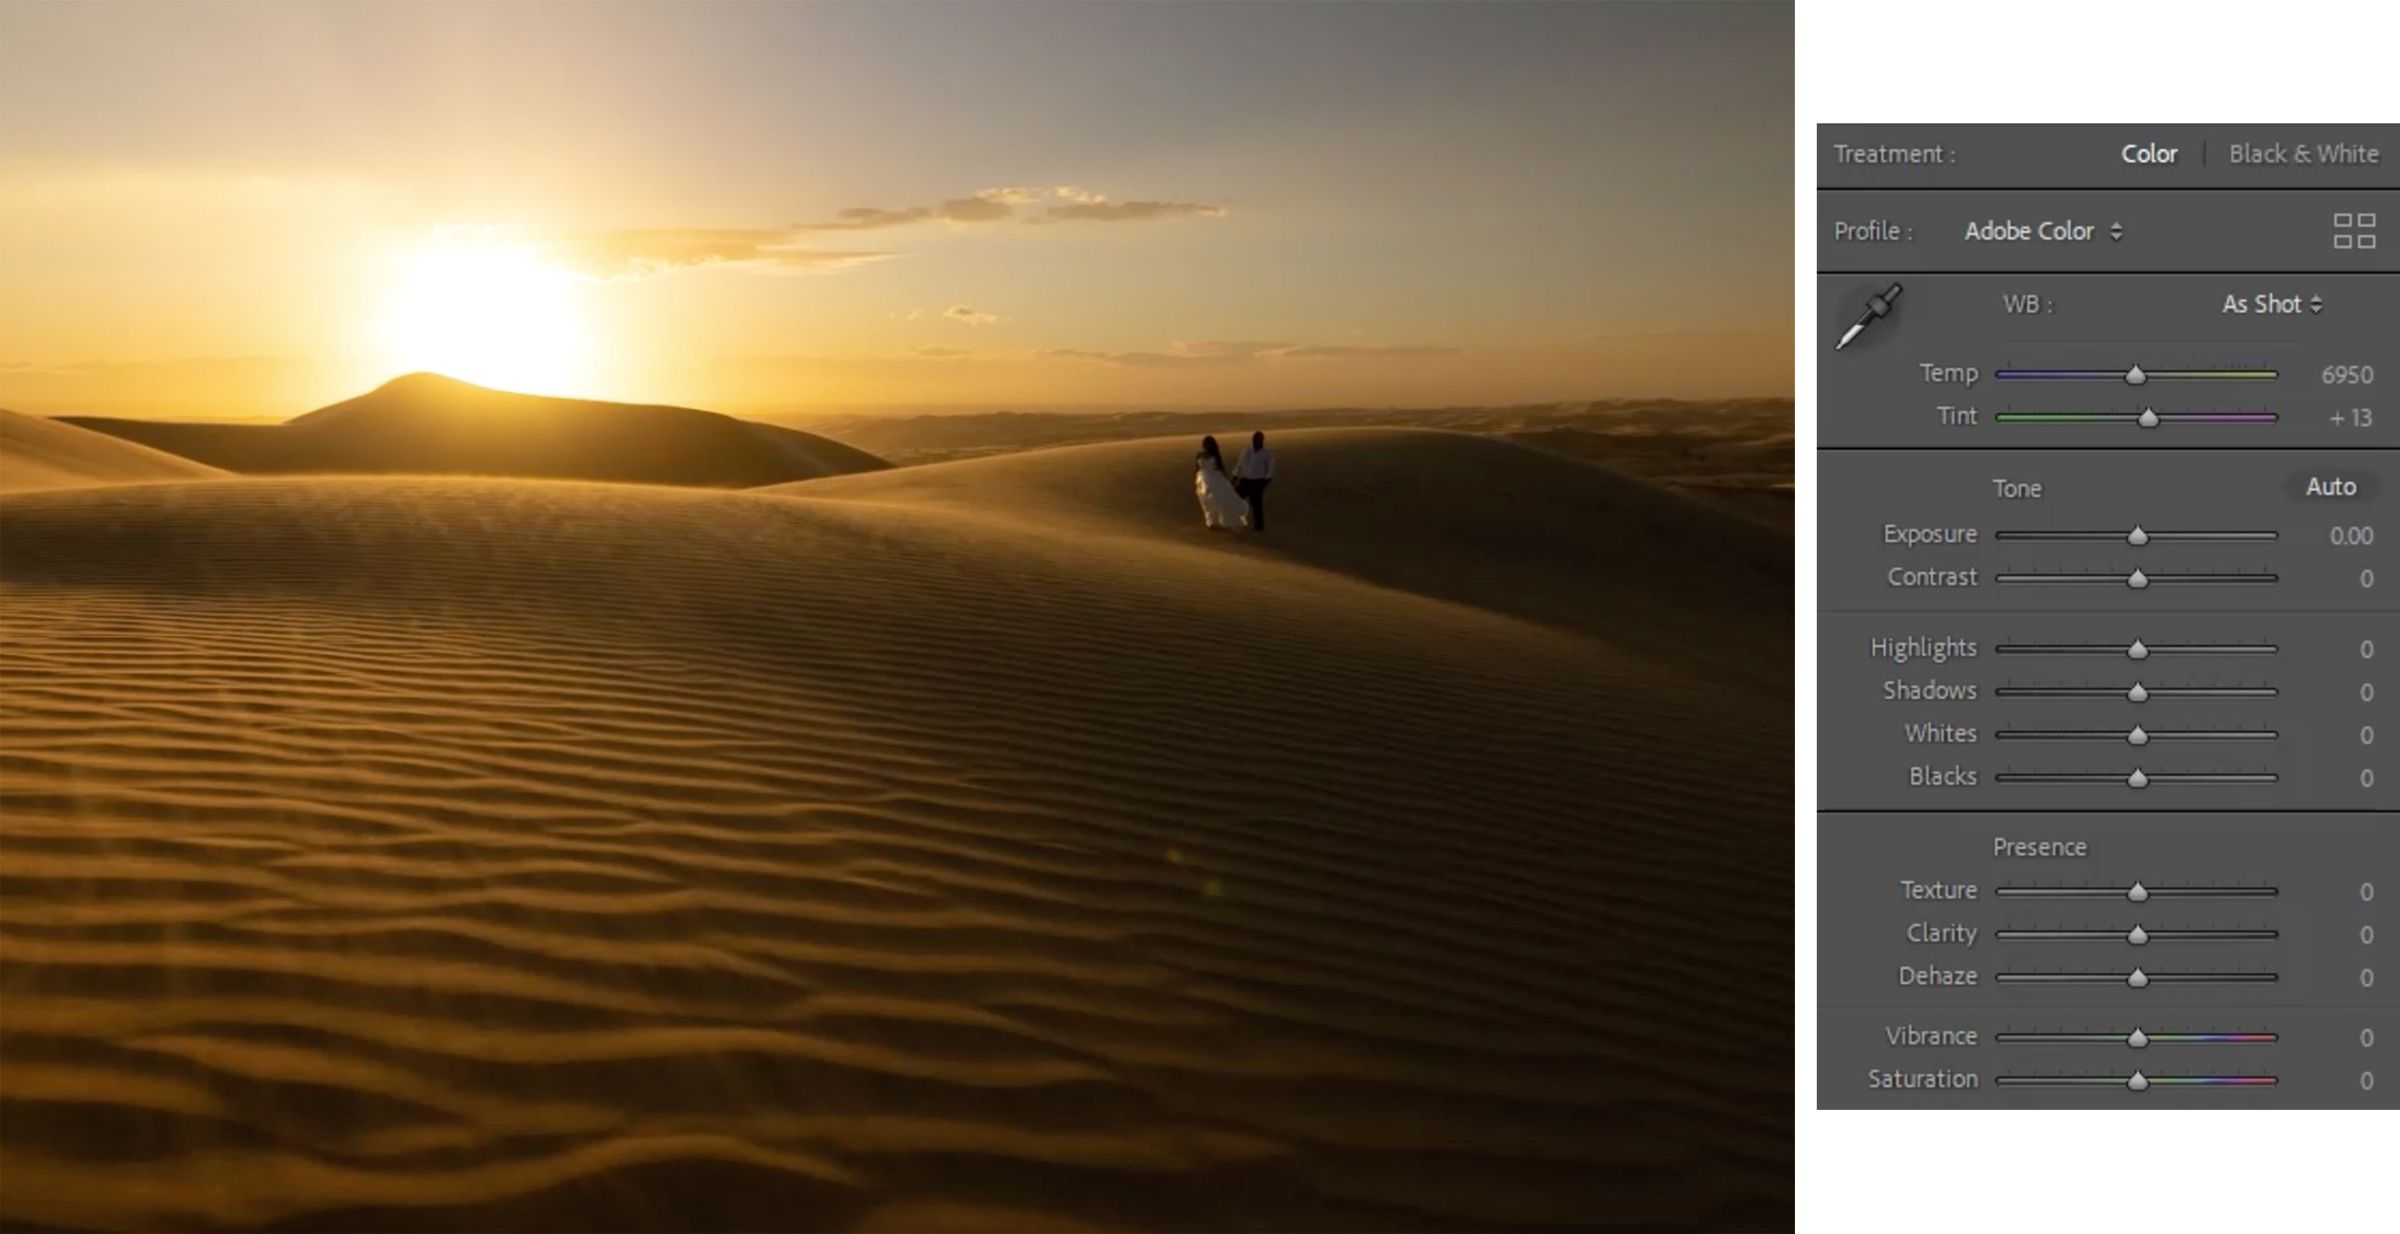
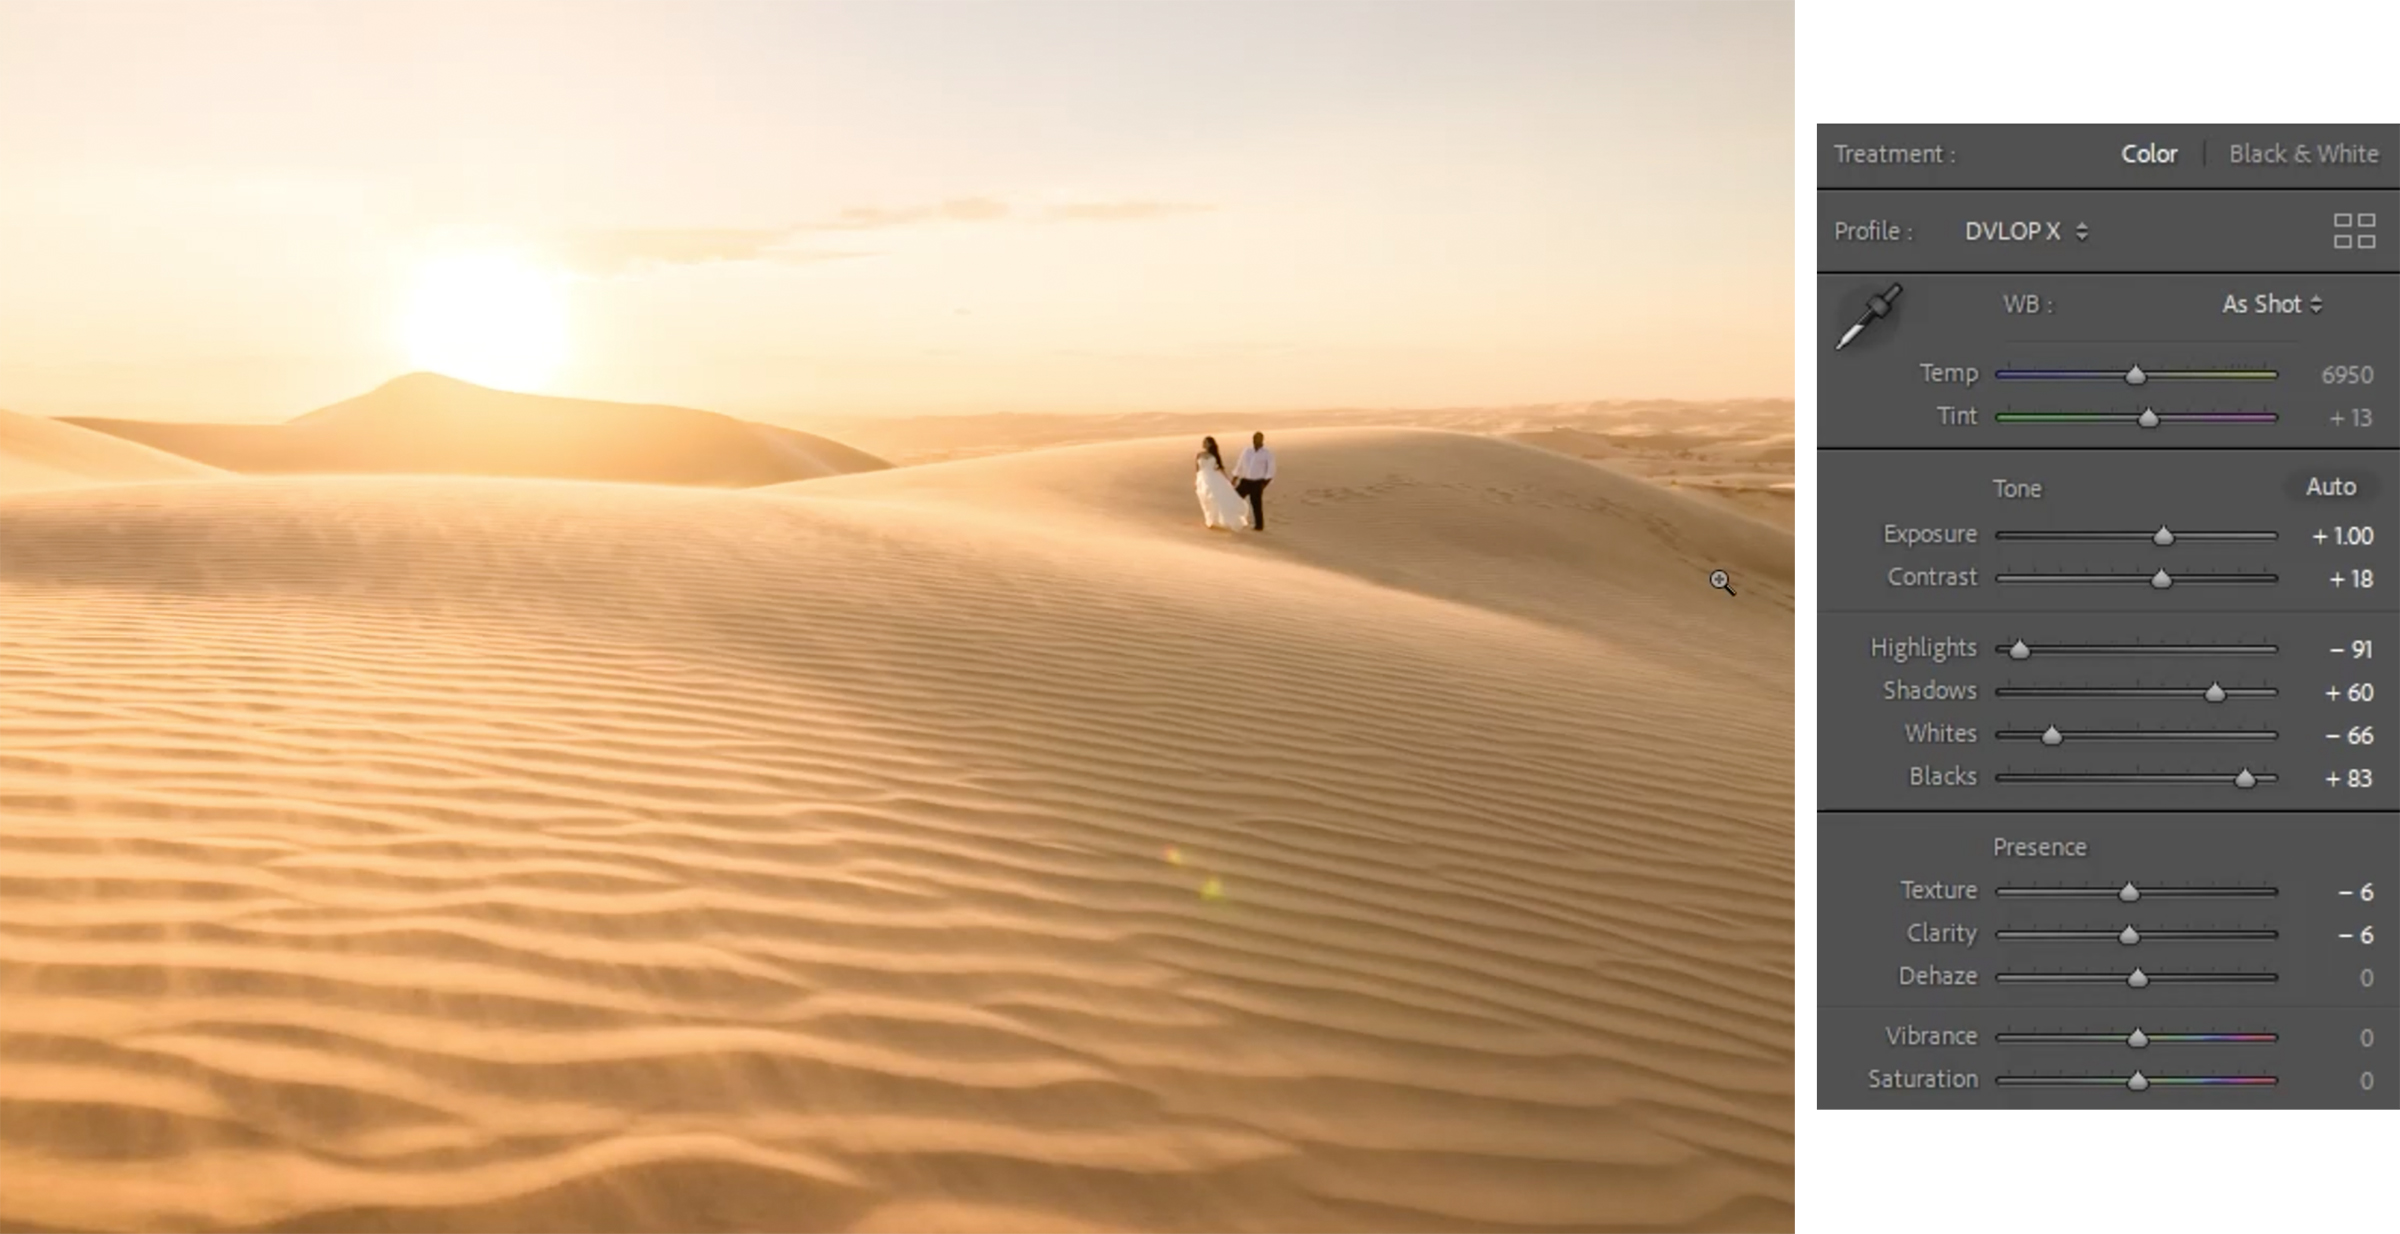
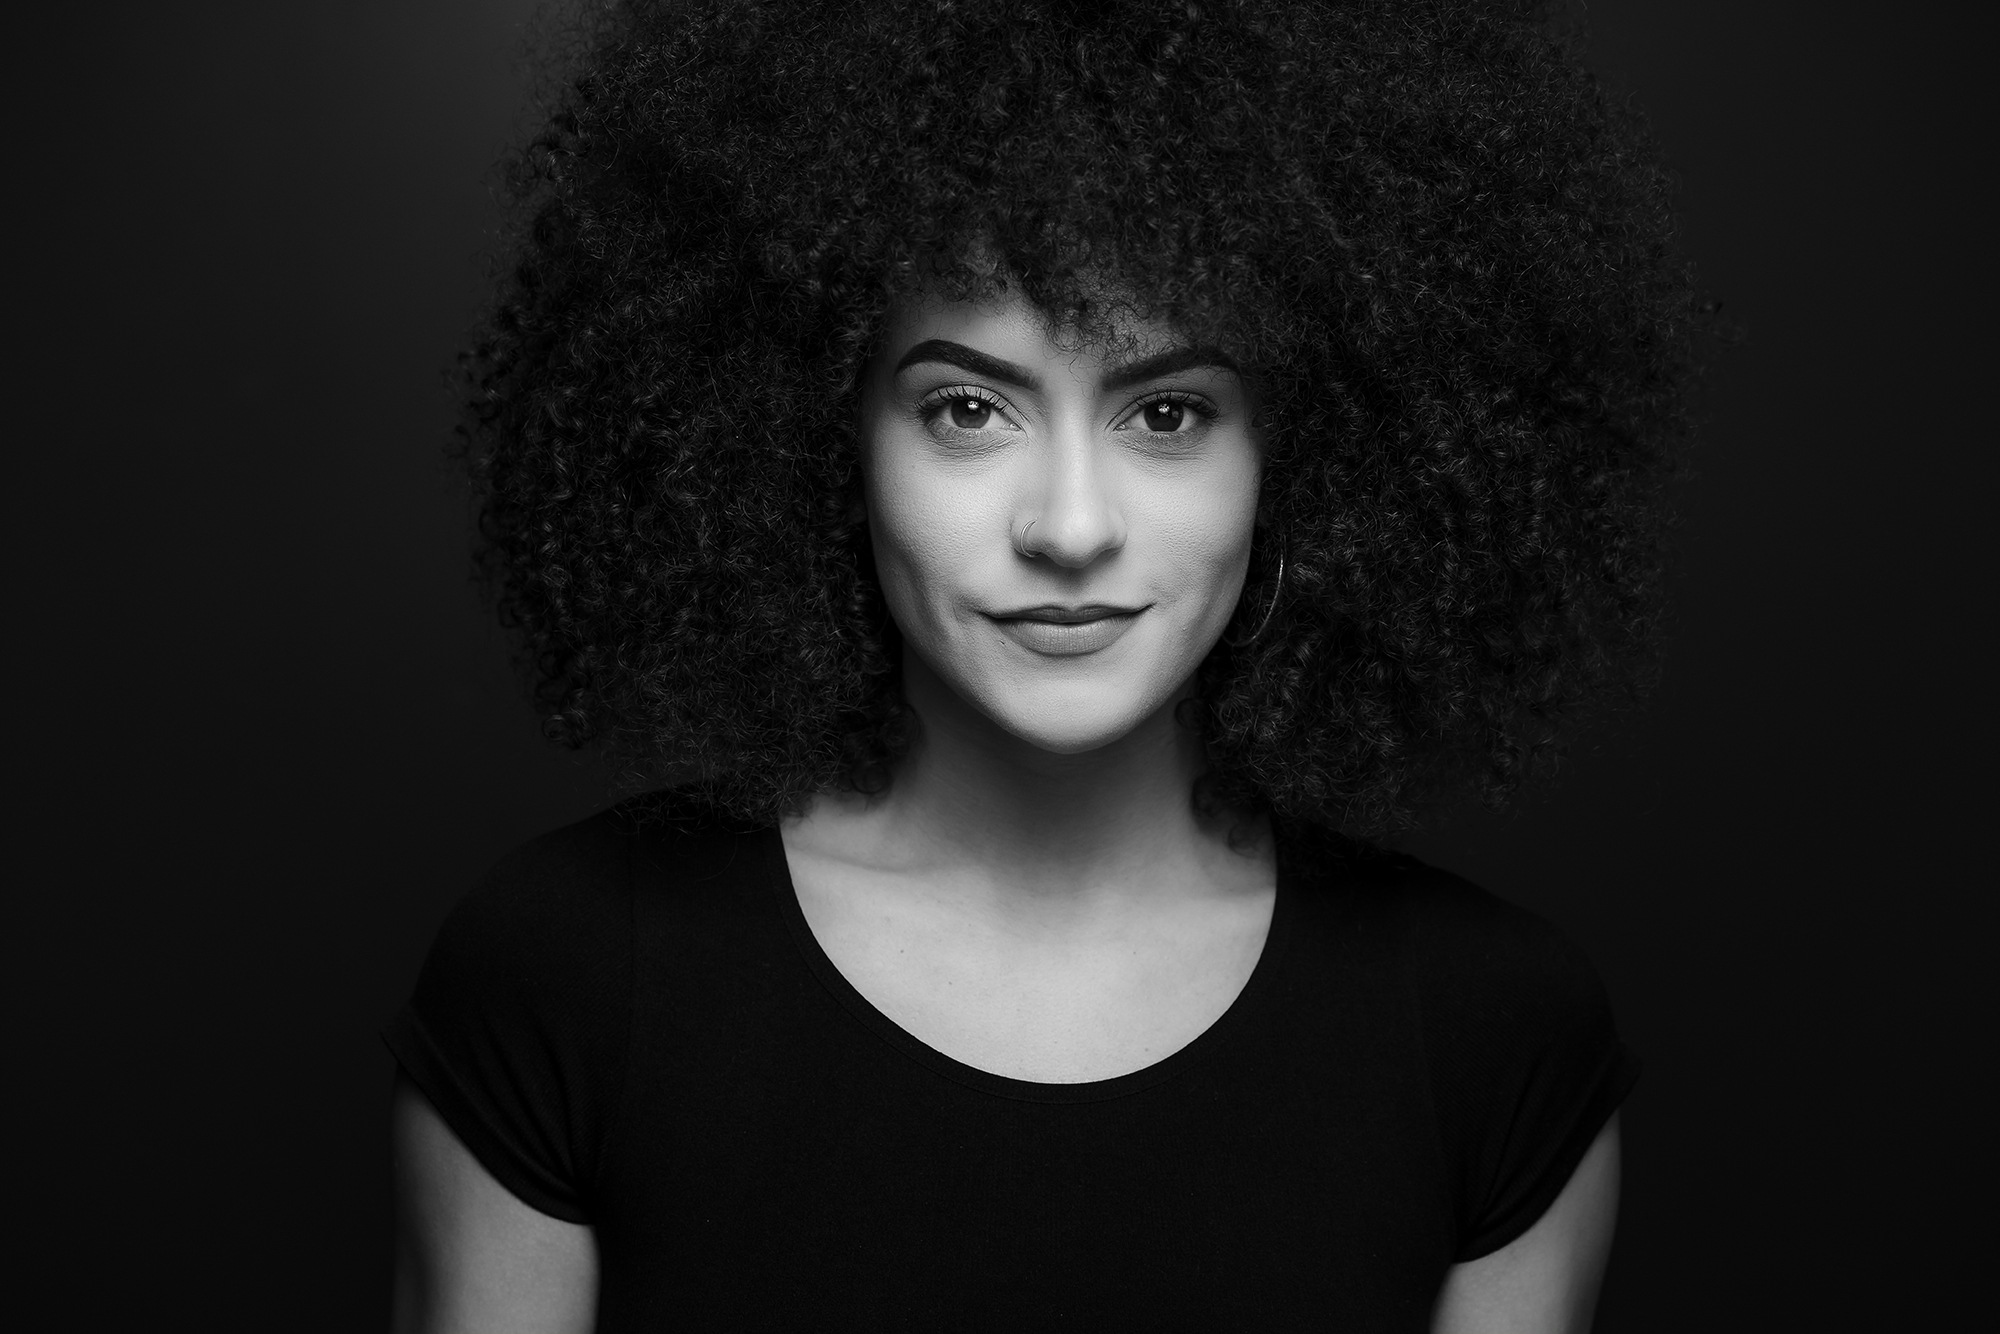
DIY Studio Lighting Setup for Dramatic Editorial Portraits

diy studio lighting setup

Looking to change up your dramatic lighting with a single light source? In today’s video, I’ll be walking through how to create a DIY studio lighting setup for dramatic editorial portraits.

Video: DIY Studio Lighting Setup for Dramatic Editorial Portraits

This DIY studio lighting setup is quite simple and is designed to mimic the look of a natural strip box like you’d find by closing down the curtains. This creates a thin strip of soft light that’s perfect for dramatic portraits.

Today, I’ll be photographing my friend, Kiara, who you can find on Instagram here. I’ll also be shooting with the Canon EOS R5 with the RF 28-70mm f/2 lens.

The Set-Up

We begin with a single light source aimed down through a large umbrella for maximum diffusion. I’m using the Profoto D2. Then, I have the light bouncing off the white surface below. I recommend creating this setup on a light and neutral surface such as concrete or a garage floor. The umbrella and light colored floor will bounce the light back and forth and completely diffuse the light.

Now, you’ve probably noticed the two V-Flats behind the light with a bit of space between them. This is what will create the strip box effect on the other side. Now, you can use anything to block the light in a similar way. With the light softened by the umbrella and the floor, we get this very soft light coming through the narrow space created by the V-Flats. This is what creates a light similar to that of a window with nearly closed curtains.

Subject Placement

Subject placement is important here due to the Inverse Square Law. This law basically means that the further away the subject is from the light source, the intensity of the light decreases. That means that to properly expose our subject, we’ll have to either power up the light, or increase our ISO.  Either way, the further we place our subject from the light source, as we increase the exposure, the background also gets brighter.

diy studio lighting setup inverse square law
Left to right: ISO 100, 200, 400

Here is a comparison of Kiara, taken at three different distances from the light source.

Photograph!

You can now move around and capture different angles of the light. Play around with camera angles and focal lengths or create rim lighting for an extra dramatic effect. You can capture many different looks without needing to move the light.

diy studio lighting setup final image
Edited with VF Presets > Mood Pack

Here are my top photos from this DIY studio lighting setup.

Conclusion

I hope you enjoyed this article/video. Give this DIY studio lighting setup a try and see what great dramatic portraits you can capture! For more tricks and tutorials on lighting, check out our Flash Photography Training System on SLR Lounge Premium. You can also check out the Mood Pack and other great lighting-based Lightroom presets at Visual Flow.

Don’t miss our next episode of Mastering Your Craft on Adorama’s YouTube channel next week! If you want to catch up on all the episodes, make sure you check out our playlist!

Black and White Editing with Lightroom’s AI Based Masking Tools

black and white editing feature image

Adobe Lightroom is already packed to the brim with powerful editing tools and the new AI features are a welcome addition. The new AI-based masking tools optimize efficiency with surprising accuracy and can help add that extra punch to the final edit. In this video, I’ll be walking through a black and white editing tutorial using Lightroom’s new AI masking tools.

Video: Black and White Editing with Lightroom’s AI Based Masking Tools

Our image today was taken on location at the beach and before we get to the edit, let me walk through how it was shot.

Capturing the Image

black and white editing light feather

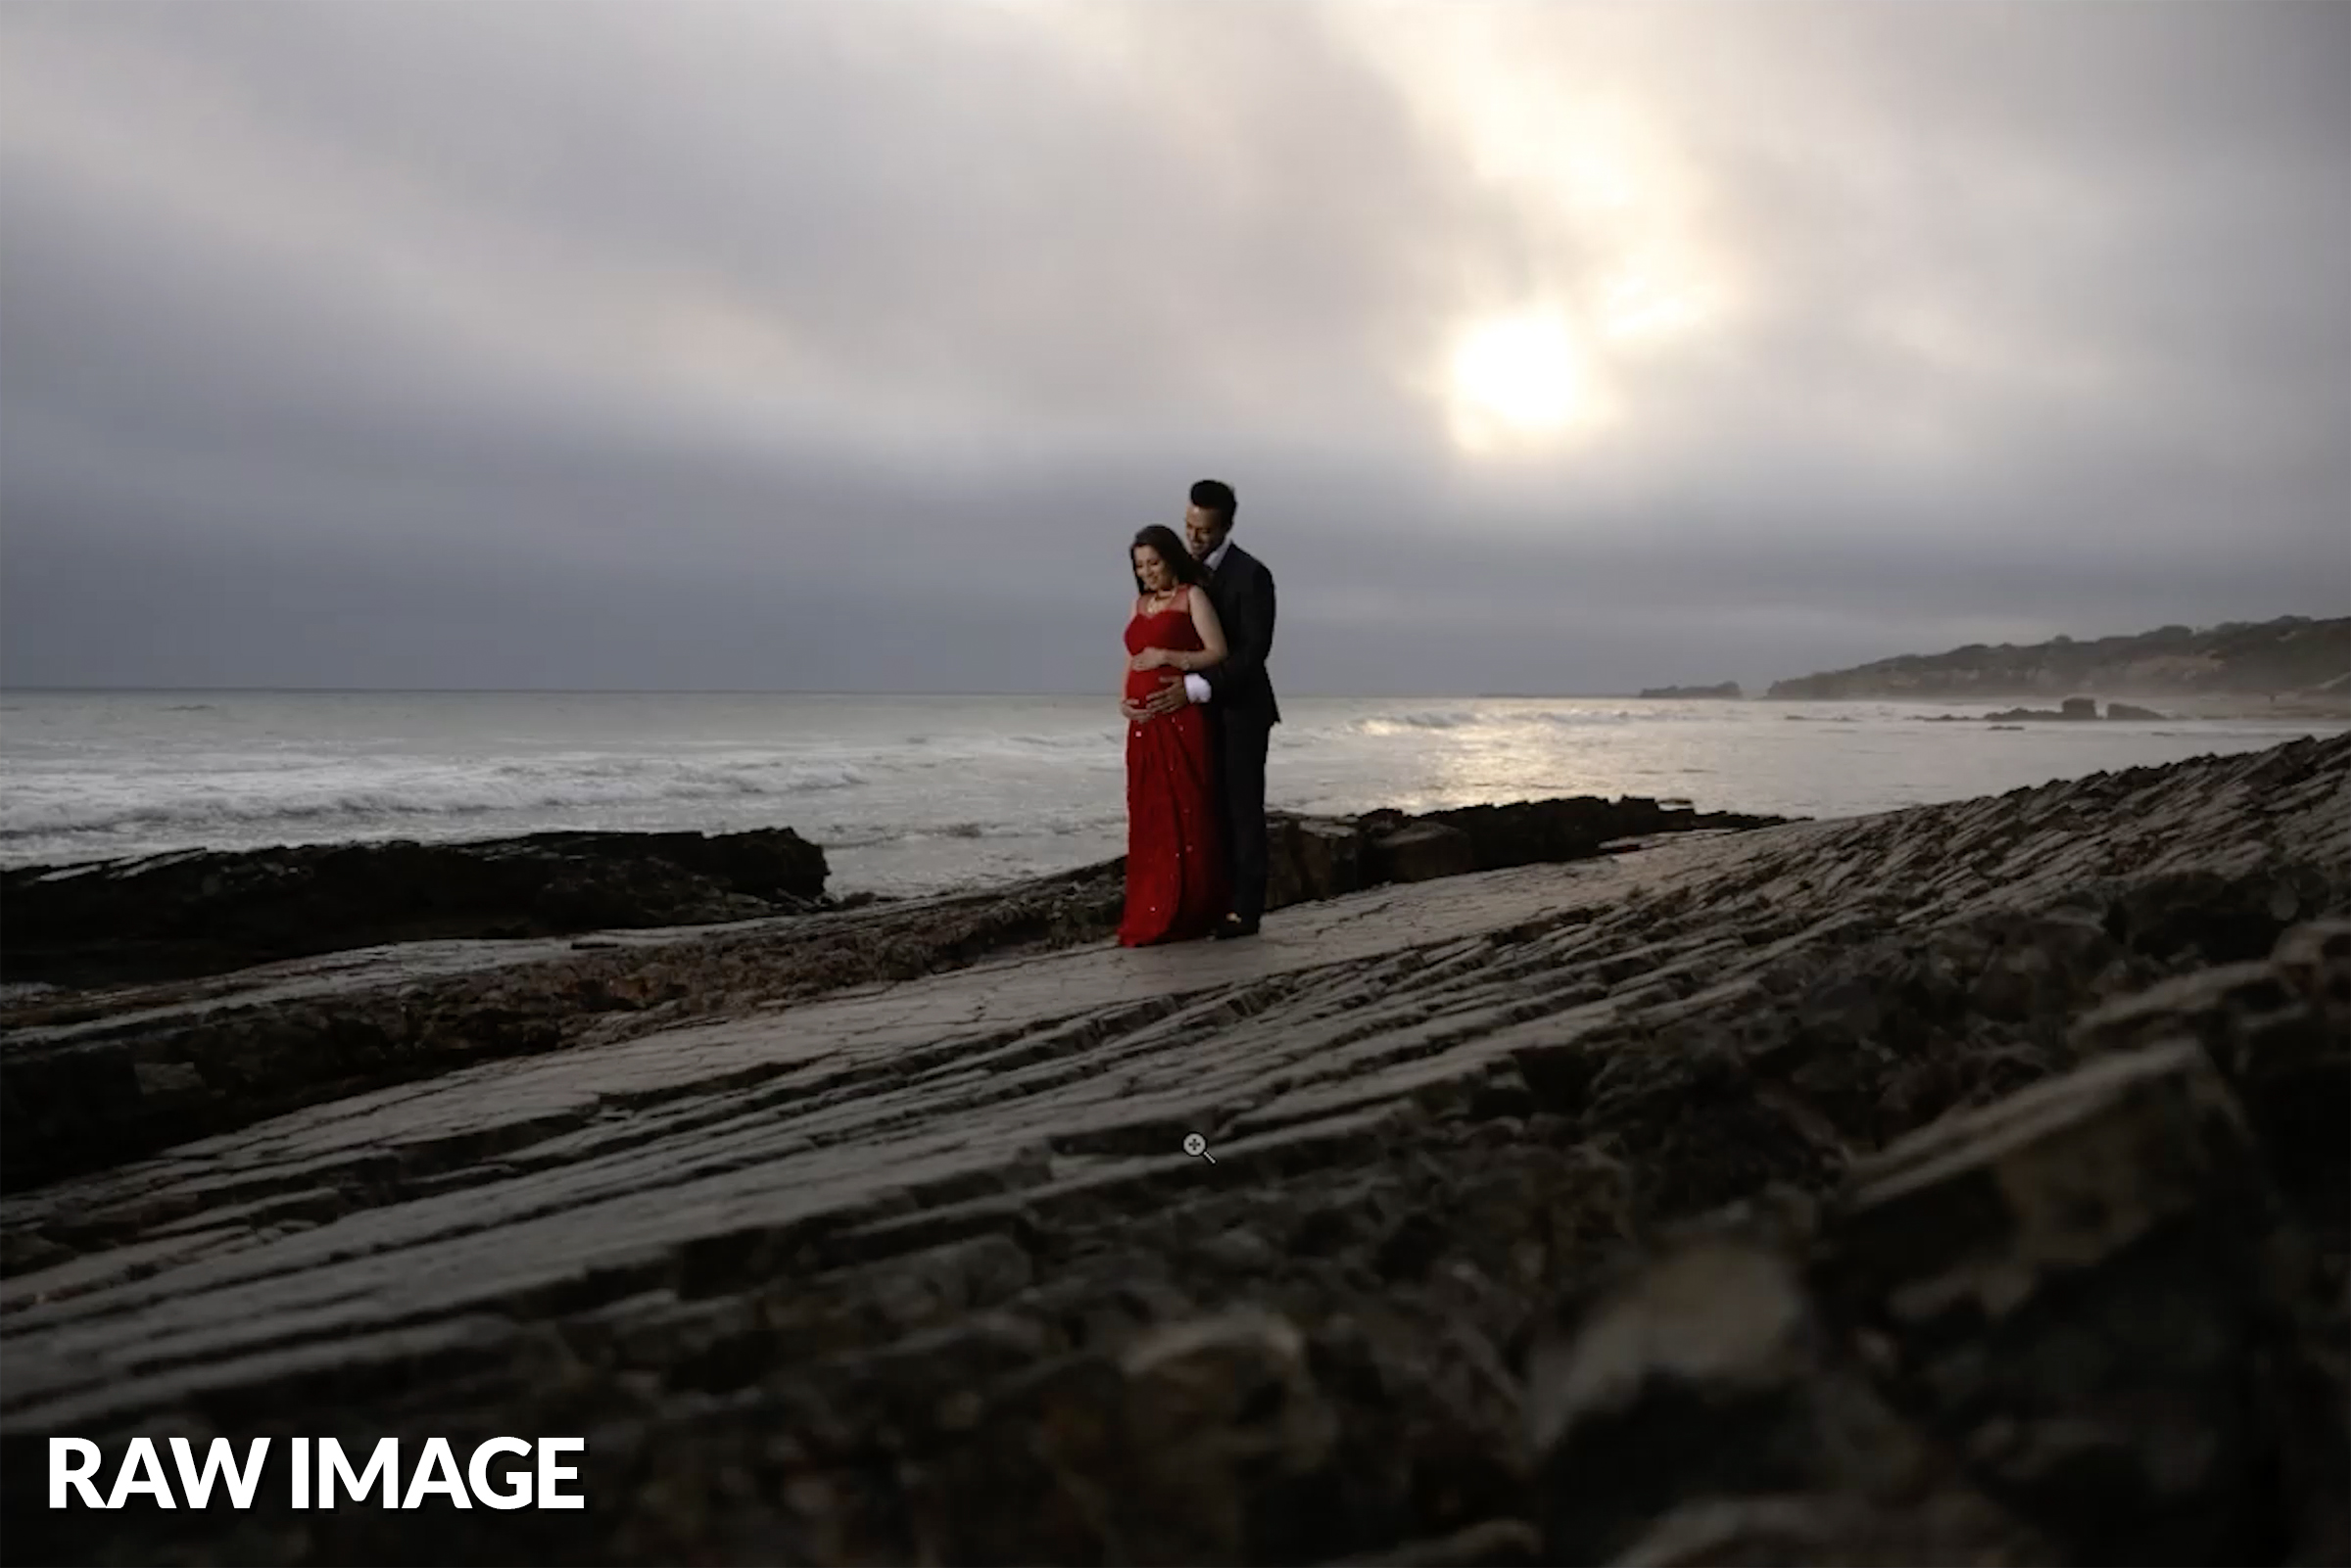
My vision was to take a dramatic image that captured all the detail in the scene including the sky. To achieve this, I had to add a touch of flash onto my subjects. I had my assistant hold a Profoto B10 flash and feather it above their head.

black and white editing raw image

I captured the shot on a Canon EOS R5 using the RF 28-70mm f/2L lens. With High-Speed Sync, the final exposure settings landed at ISO 50, f/2, 1/1250 sec.

Post-Production

Before we jump into editing, be sure to download the exercise files here and follow along!

Global Adjustments

black and white editing colorblack and white editing black and white

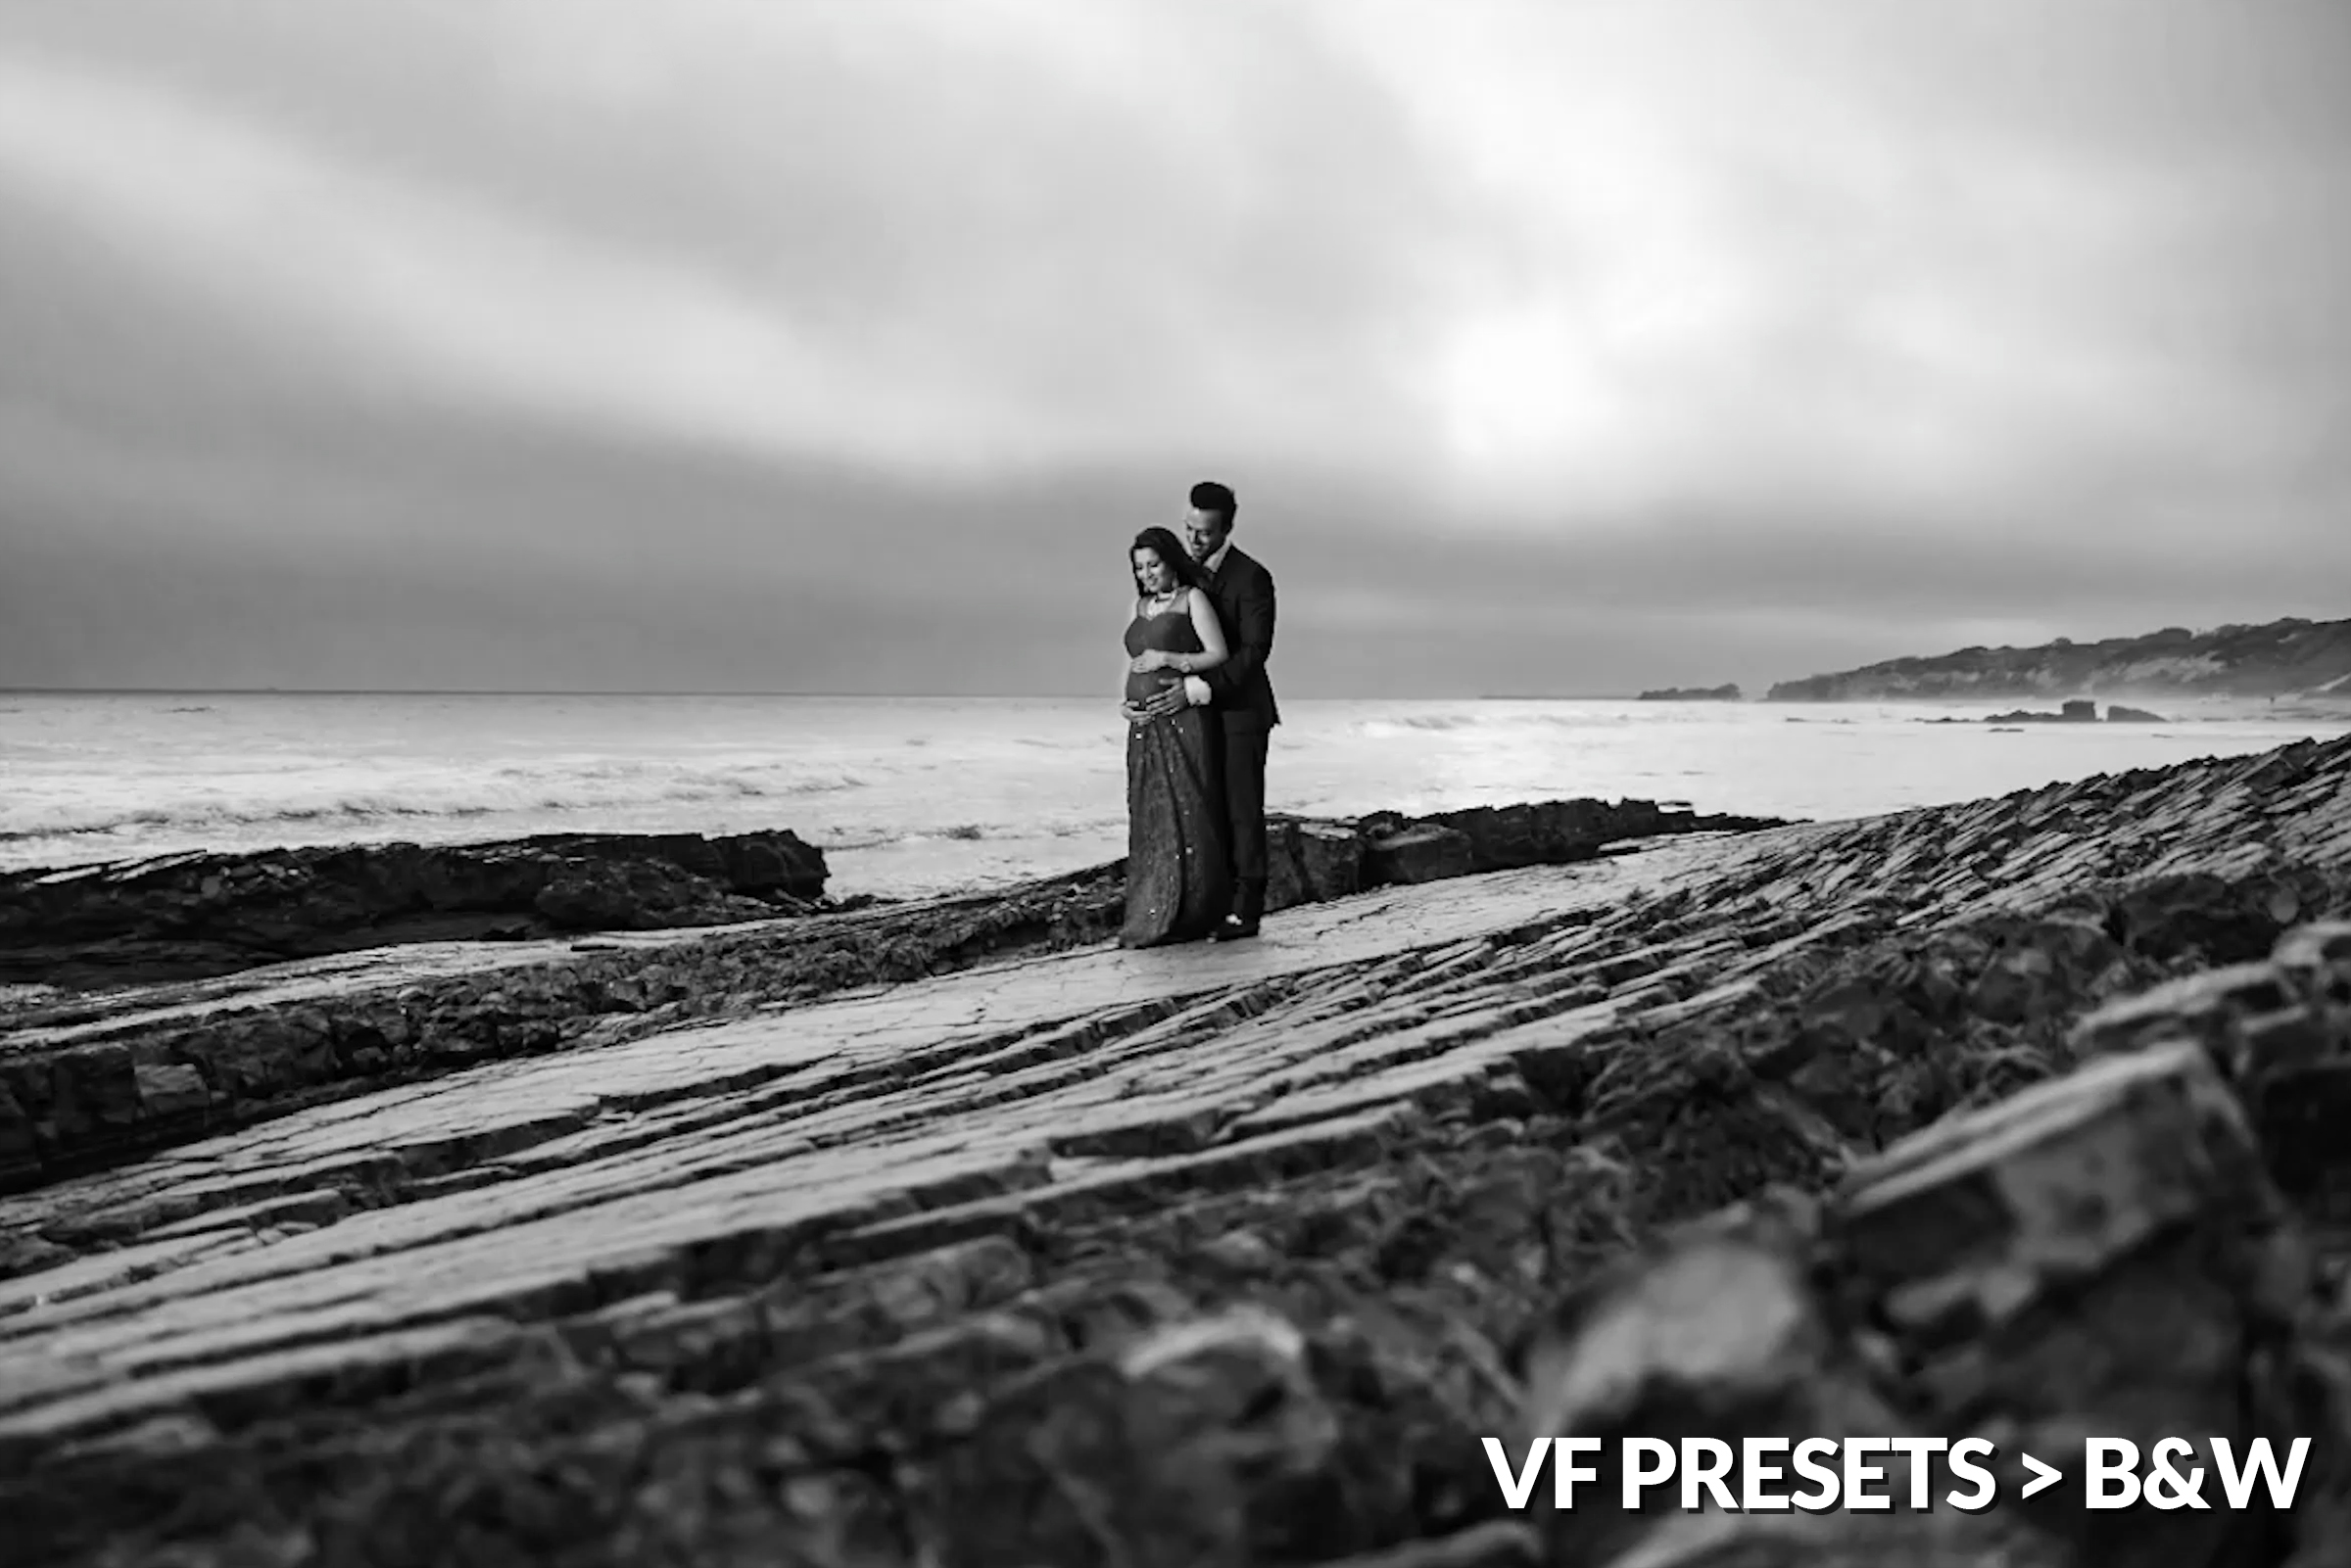
I began by dialing in the global adjustments. I used a combination of “Classic Portrait” and “Dramatic Portrait (Deep Blues)” from Visual Flow’s Black & White Presets.

After a few tweaks, here are the final settings for our global adjustments.

Lightroom’s AI Masking

This is where it gets fun. Lightroom’s new AI based masking tools helps speed up the editing process by automating the selection of our subjects or sky. This allows us to quickly apply adjustments to specific parts of the image without hand-painting our masks.

Related Reading: Advanced Masking in Lightroom Using New AI Features

I created a new mask and hit “Select Subject.” This will automatically create a mask of our couple.

black and white editing global adjustments

I then inverted the mask to darken everything else around them. Fix up any missed spots on the mask using the brush.

The great part of this new feature is the ability to stack the automatic masks. First, hit “Select Sky.” Then, under “Subtract,” go to “Select Subject.” This will leave you with a mask of just the sky.

Before imageAfter image

Then, make your adjustments.

The Final Image

black and white editing final beforeblack and white editing final after

After adding a simple radial filter for a vignette and a graduated filter over the sky, this is my final image.

Conclusion

I hope you enjoyed this article/video. Lightroom’s new AI based masking tools opens up the doors for incredibly easy and epic black and white editing. To learn all about editing in Lightroom, you can check out the Mastering Lightroom Course on SLR Lounge Premium. For some great Black and White presets like we used today, check out Visual Flow‘s collection of intuitive presets for all lighting conditions.

Don’t miss our next episode of Mastering Your Craft on Adorama’s YouTube channel next week! If you want to catch up on all the episodes, make sure you check out our playlist!

11 Group Posing Tips for Photographing Large Groups

Whether it be for businesses, sports teams, weddings or family reunions, opportunities abound for photographing large groups.  Successfully handling and photographing large groups can prove tricky, and it requires a variety of skill sets from communication and posing, to lighting and problem solving. The larger the group the more challenging the shoot.  To help, here …

Read more

Advanced Masking in Lightroom Using New AI Features

masking in lightroom feature

Adobe has made local adjustments a whole lot easier by adding AI based masking in their latest Lightroom update. With just a simple click, we can now get quick and clean masks around our subjects and skies. Today, I’ll be walking through advanced masking in Lightroom using their new AI based features.

Video: Advanced Masking in Lightroom Using New AI Features

The new AI-based masking in Lightroom can be utilized a number of ways to automatically select out specific parts of the image while saving time. Not only can we control where our adjustments are applied, this can save tremendous amounts of editing time. We no longer have to spend time hand drawing around our subjects and horizons. Now we can bring out the key features of our images with just a simple click or two.

The New AI Based Masking in Lightroom

Here is the new layout of the tools for AI based masking in Lightroom. Most of the tools should be familiar such as the brushes and gradients. However, you’ll notice “Select Subject” and “Select Sky.” These use AI software to detect and automatically select out the subject and sky. We can use these tools in a variety of combinations to get precise edits and here’s how.

AI Based Subject Masking Feature

image02 4image03 4

First, we want to make our global adjustments to get to our basic look.

masking in lightroom auto mask

Then, in the mask menu, click “Select Subject.” Keep in mind that when masking, areas in white will reveal the adjustments and areas in black will conceal the adjustments.

image05 4image06 3

Any adjustments I make will affect just the subjects.

Next, create a new mask and select out your subjects again. However, this time, invert the mask to select everything around the subjects.

image08 1image09 1

Using this, I lowered the exposure of the scene around my subjects for a dramatic effect.

AI Based Sky Masking Feature

Take the same exact steps to select out the sky. The AI software will detect the horizon and create a mask of the sky. To make further corrections to the mask, click “Add,” then “Brush,” and make corrections to the edges.

Checking “Auto Mask” will automatically detect and refine the areas you brush in.

Combining the Tools for Advanced Masking in Lightroom

To get total precision and control over your edits, you can combine both of these tools.

masking in lightroom ai masking

Create a new mask of the sky. Then, invert it to select the landscape instead. From here, you can subtract out your subjects and create a mask that affects only the landscape around your subjects.

Final Image

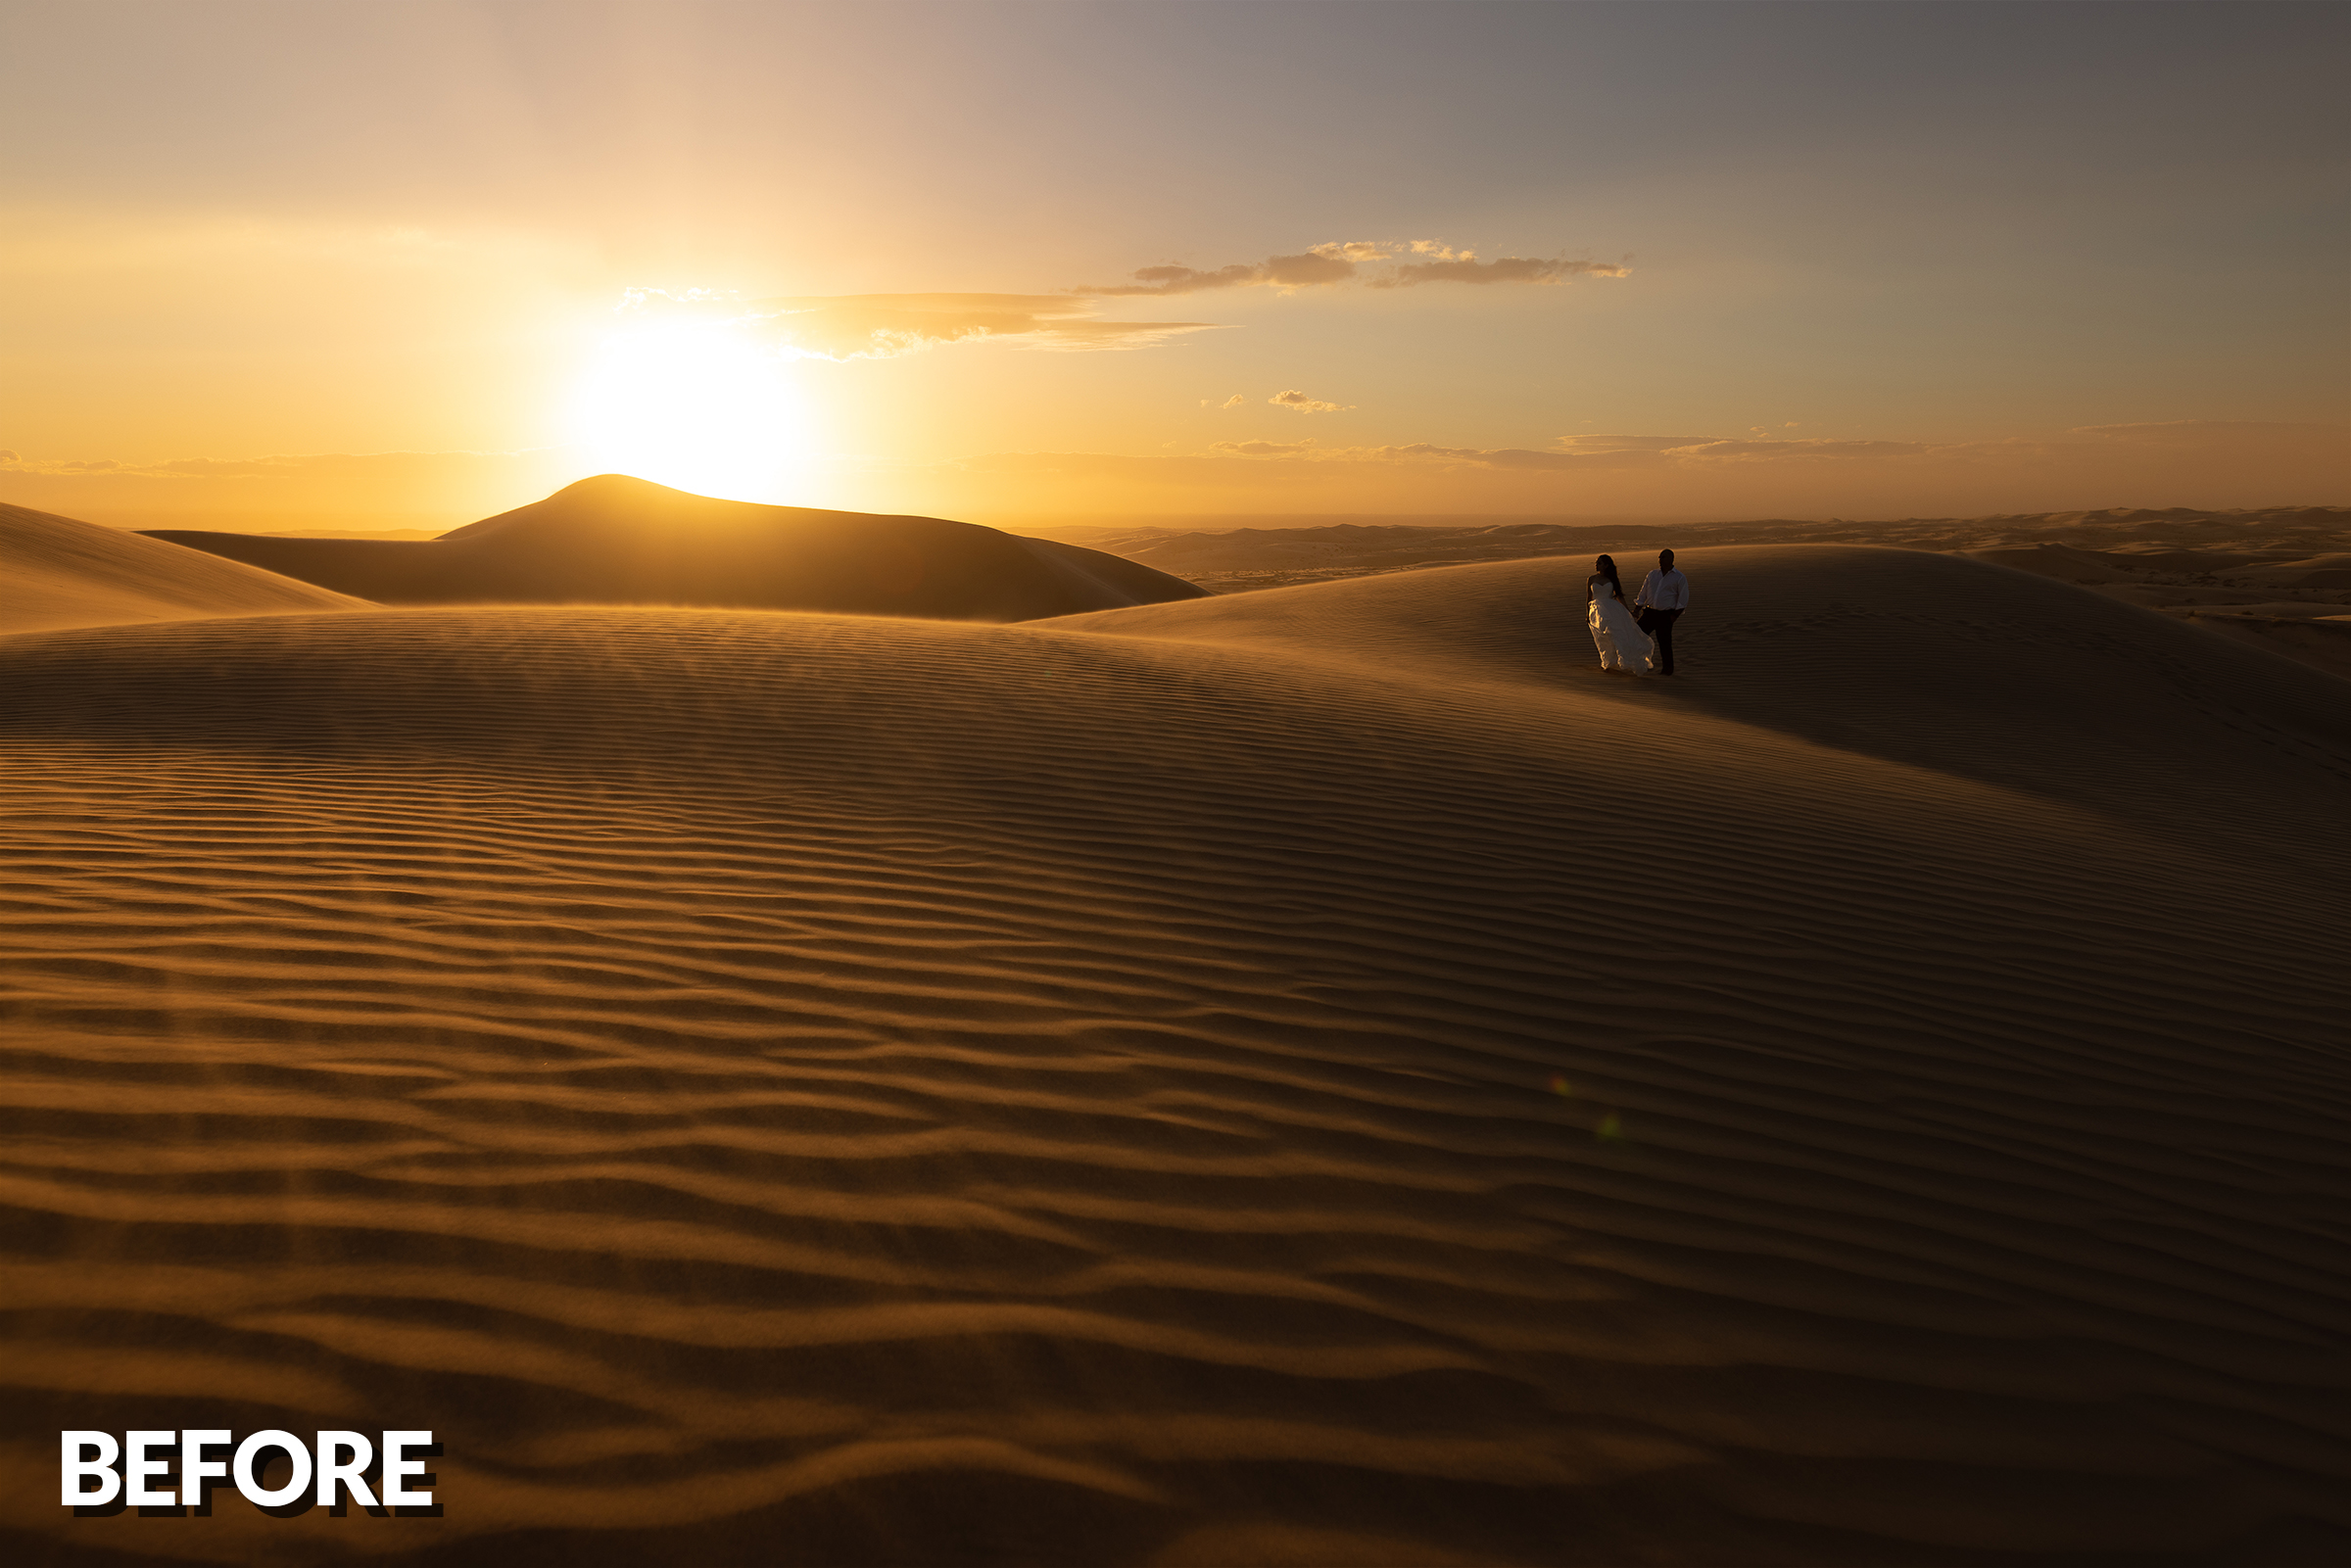
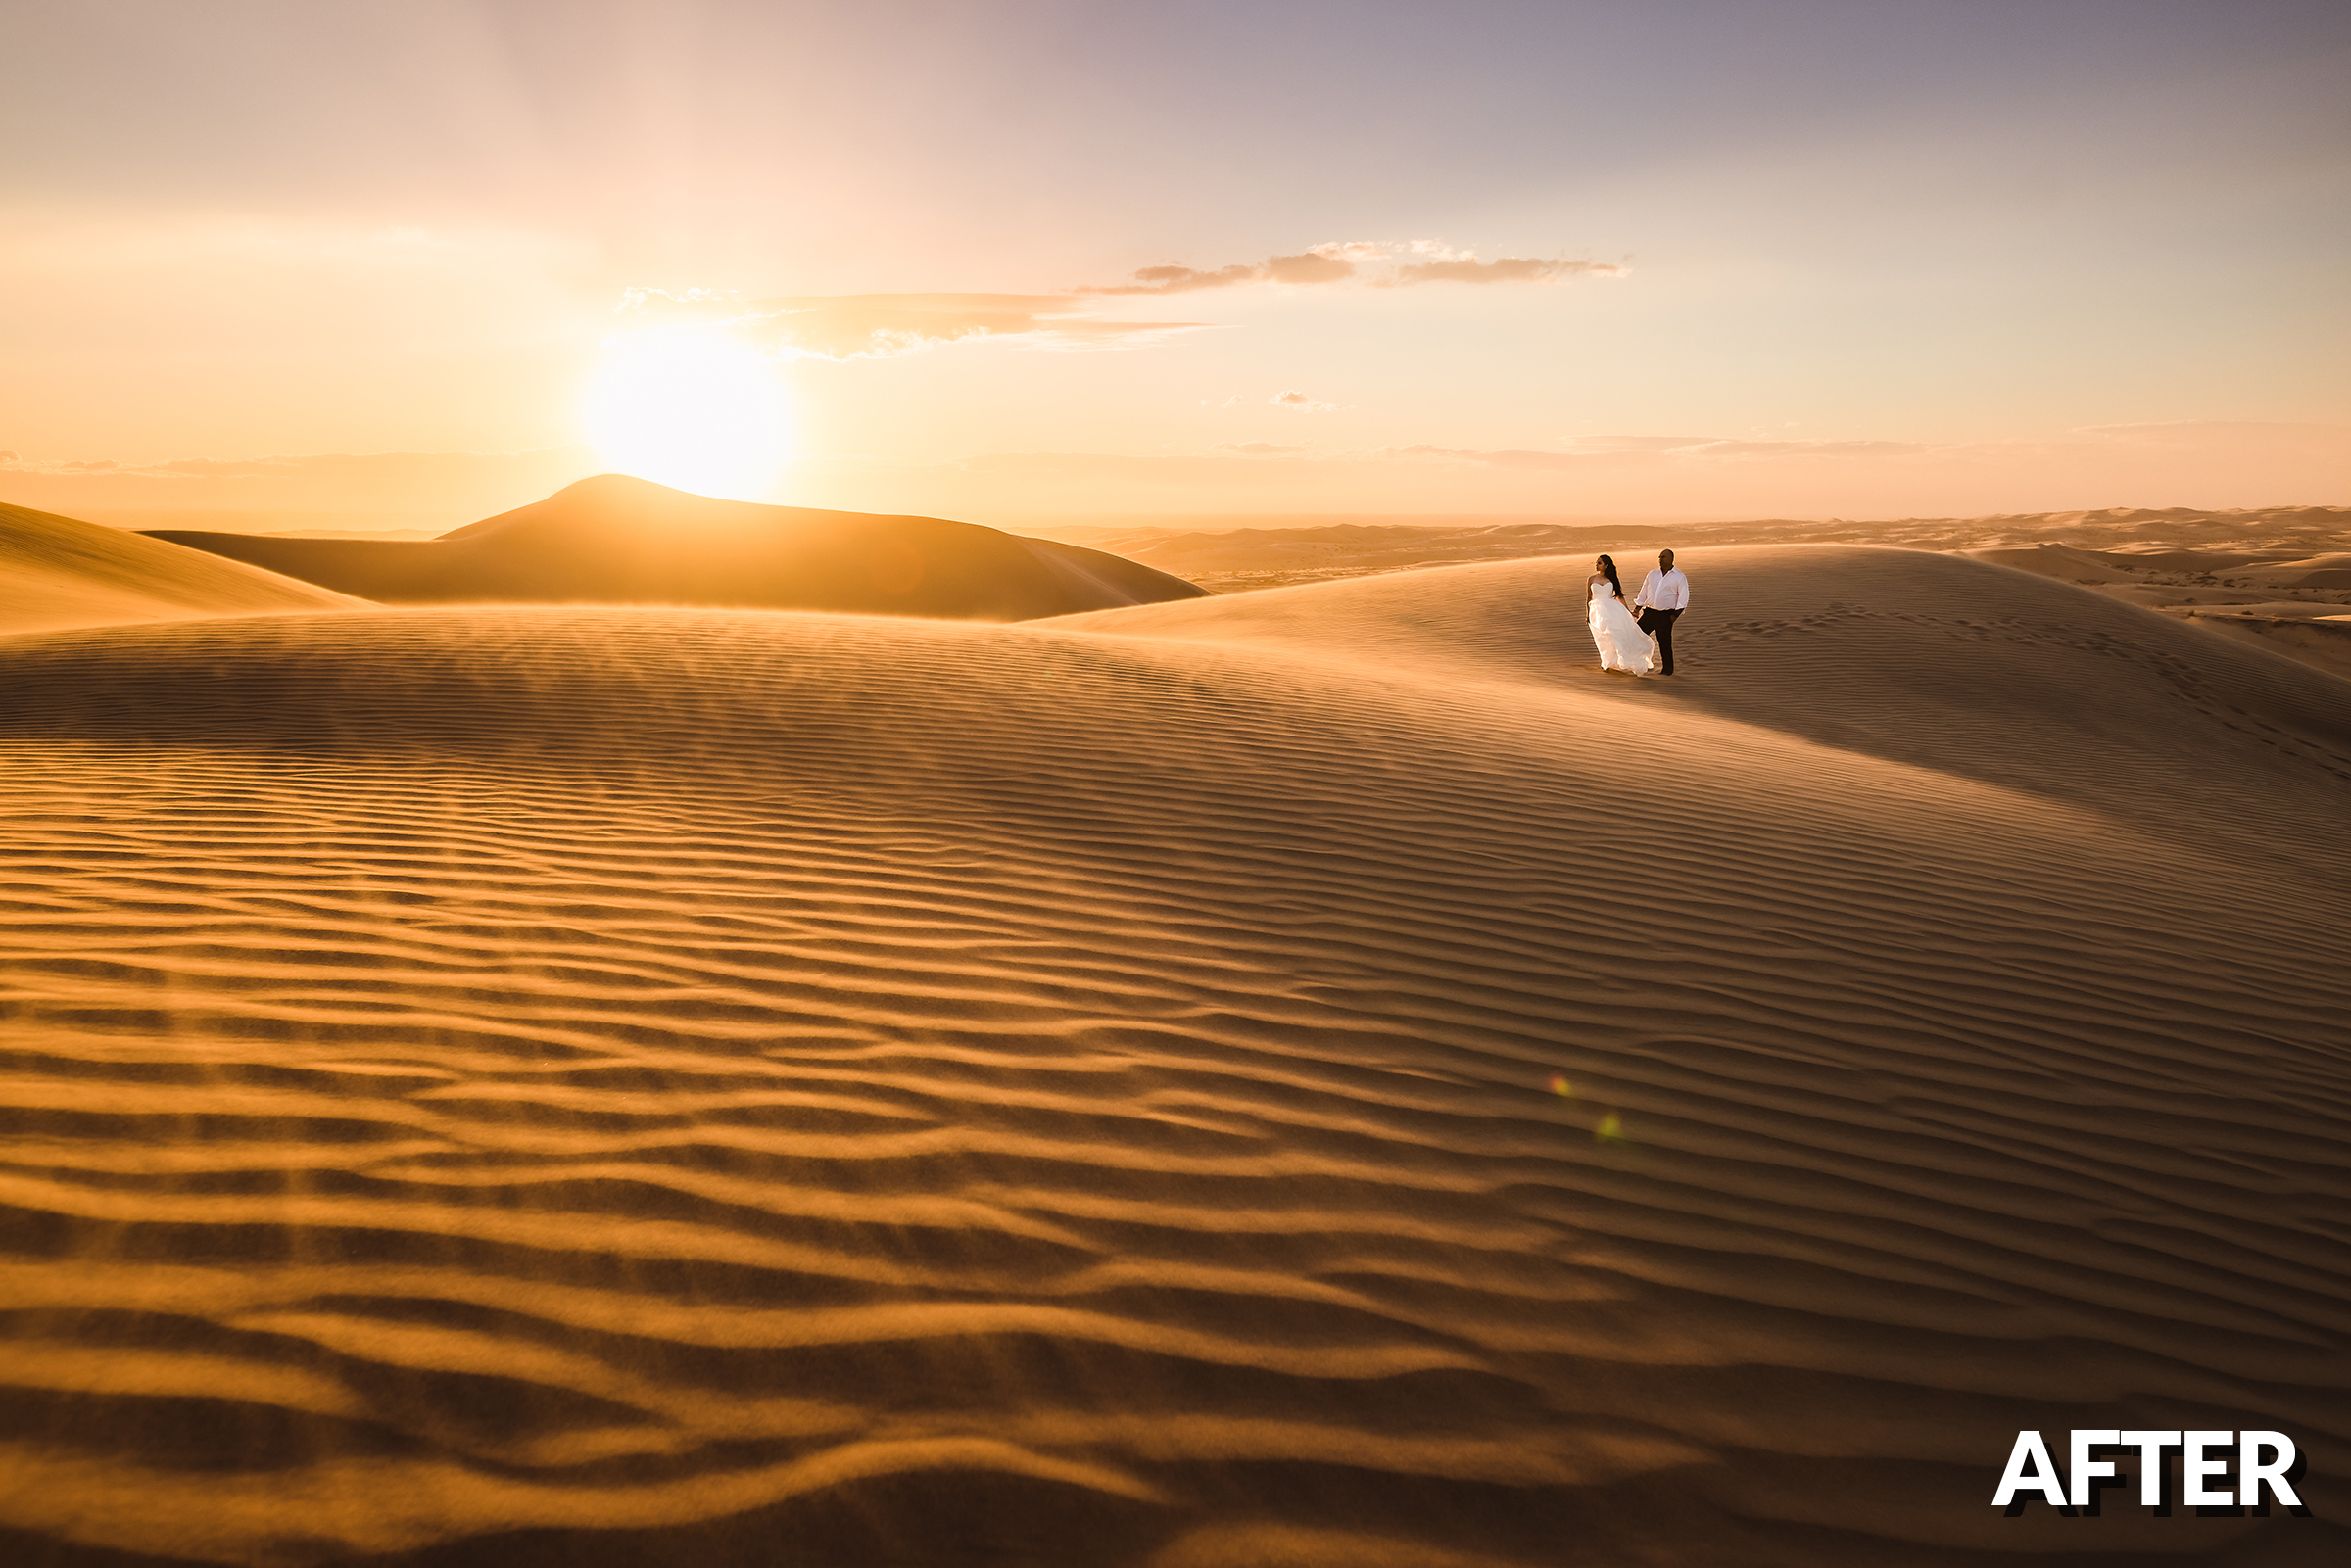
before 1after

Using these two new AI masking tools, we were able to get control over our sky, subject, and landscape. Then, we were able to adjust each piece individually to get to our final image.

Conclusion

I hope you enjoyed this article/video. With these new AI based tools for masking in Lightroom, we can save a tremendous time editing with incredible results. We can edit with precision without spending all that time drawing our masks by hand. For a complete course on Lightroom editing, check out Mastering Lightroom on SLR Lounge Premium. In addition, visit Visual Flow for more lighting based presets as well as powerful and versatile retouching tools.

Don’t miss our next episode of Mastering Your Craft on Adorama’s YouTube channel next week! If you want to catch up on all the episodes, make sure you check out our playlist!

Quick & Easy Headshot Portrait Editing in Lightroom and Photoshop

portrait editing feature image

When working as a professional, or even a serious hobbyist, it’s important to have your portrait editing process in the bag. Lightroom and Photoshop provide incredibly intuitive tools that can help you achieve consistent and quick results. Today, I want to show you my approach to speed editing headshot portraits using 6 easy steps through Lightroom and Photoshop.

Video: Quick & Easy Headshot Portrait Editing in Lightroom and Photoshop

Before we begin, head over to our guide on The Easiest One Light Headshot Setup to see how we captured the headshot.

You can download the exercise file here and follow along as I edit! Let’s jump in.

Step #1: Start With a Look

portrait editing preset

This step is easy. Simply apply the preset of your choice for your base look. I selected Visual Flow > Modern Pack > Soft Light.

Step #2: “Dark Mode” Portrait Editing

portrait editing dark mode editing

“Dark Mode” is a portrait editing technique I use to control the tones when the brightest area of a portrait falls on the subject. By first pulling the exposure down, I then use the sliders to bring the background and highlights back up. This method allows me to control the contrast as well as get an overall softer looking image.

Related Reading: Dark Mode Editing in Lightroom

Step #3: Reduce the Detail

Digital cameras can often create a gritty and rough texture on skin tones. To achieve that softer look, we need to reduce the detail in the image. We can do this simply by using the “Reduce Detail” from Visual Flow’s Retouching Toolkit, which reduces texture, clarity, and applies de-haze.

Step #4: Apply Local Adjustments

This step is where we’ll be applying localized retouching to the image using local adjustment brushes.

Gently brighten the whites of the eyes.
The “Catchlight” helps the eyes stand out.

Step #5: Photoshop Neural Retouching

portrait editing photoshop neural retouching

Adobe Photoshop’s latest update provides new AI based portrait editing tools. This is where the magic happens and we won’t need to spend hours cloning anything out by hand. Simply send the image over to Photoshop and select Filters > Neural Filters. All we have to do is turn on “Skin Smoothing” and we’re good to go.

Output the effect to a new layer and control the intensity using the layer’s Opacity. Save and head back to Lightroom.

Step #6: Fine Tuning the Image

Make your final adjustments here. I added a radial burn to bring the attention back to my subject’s face.

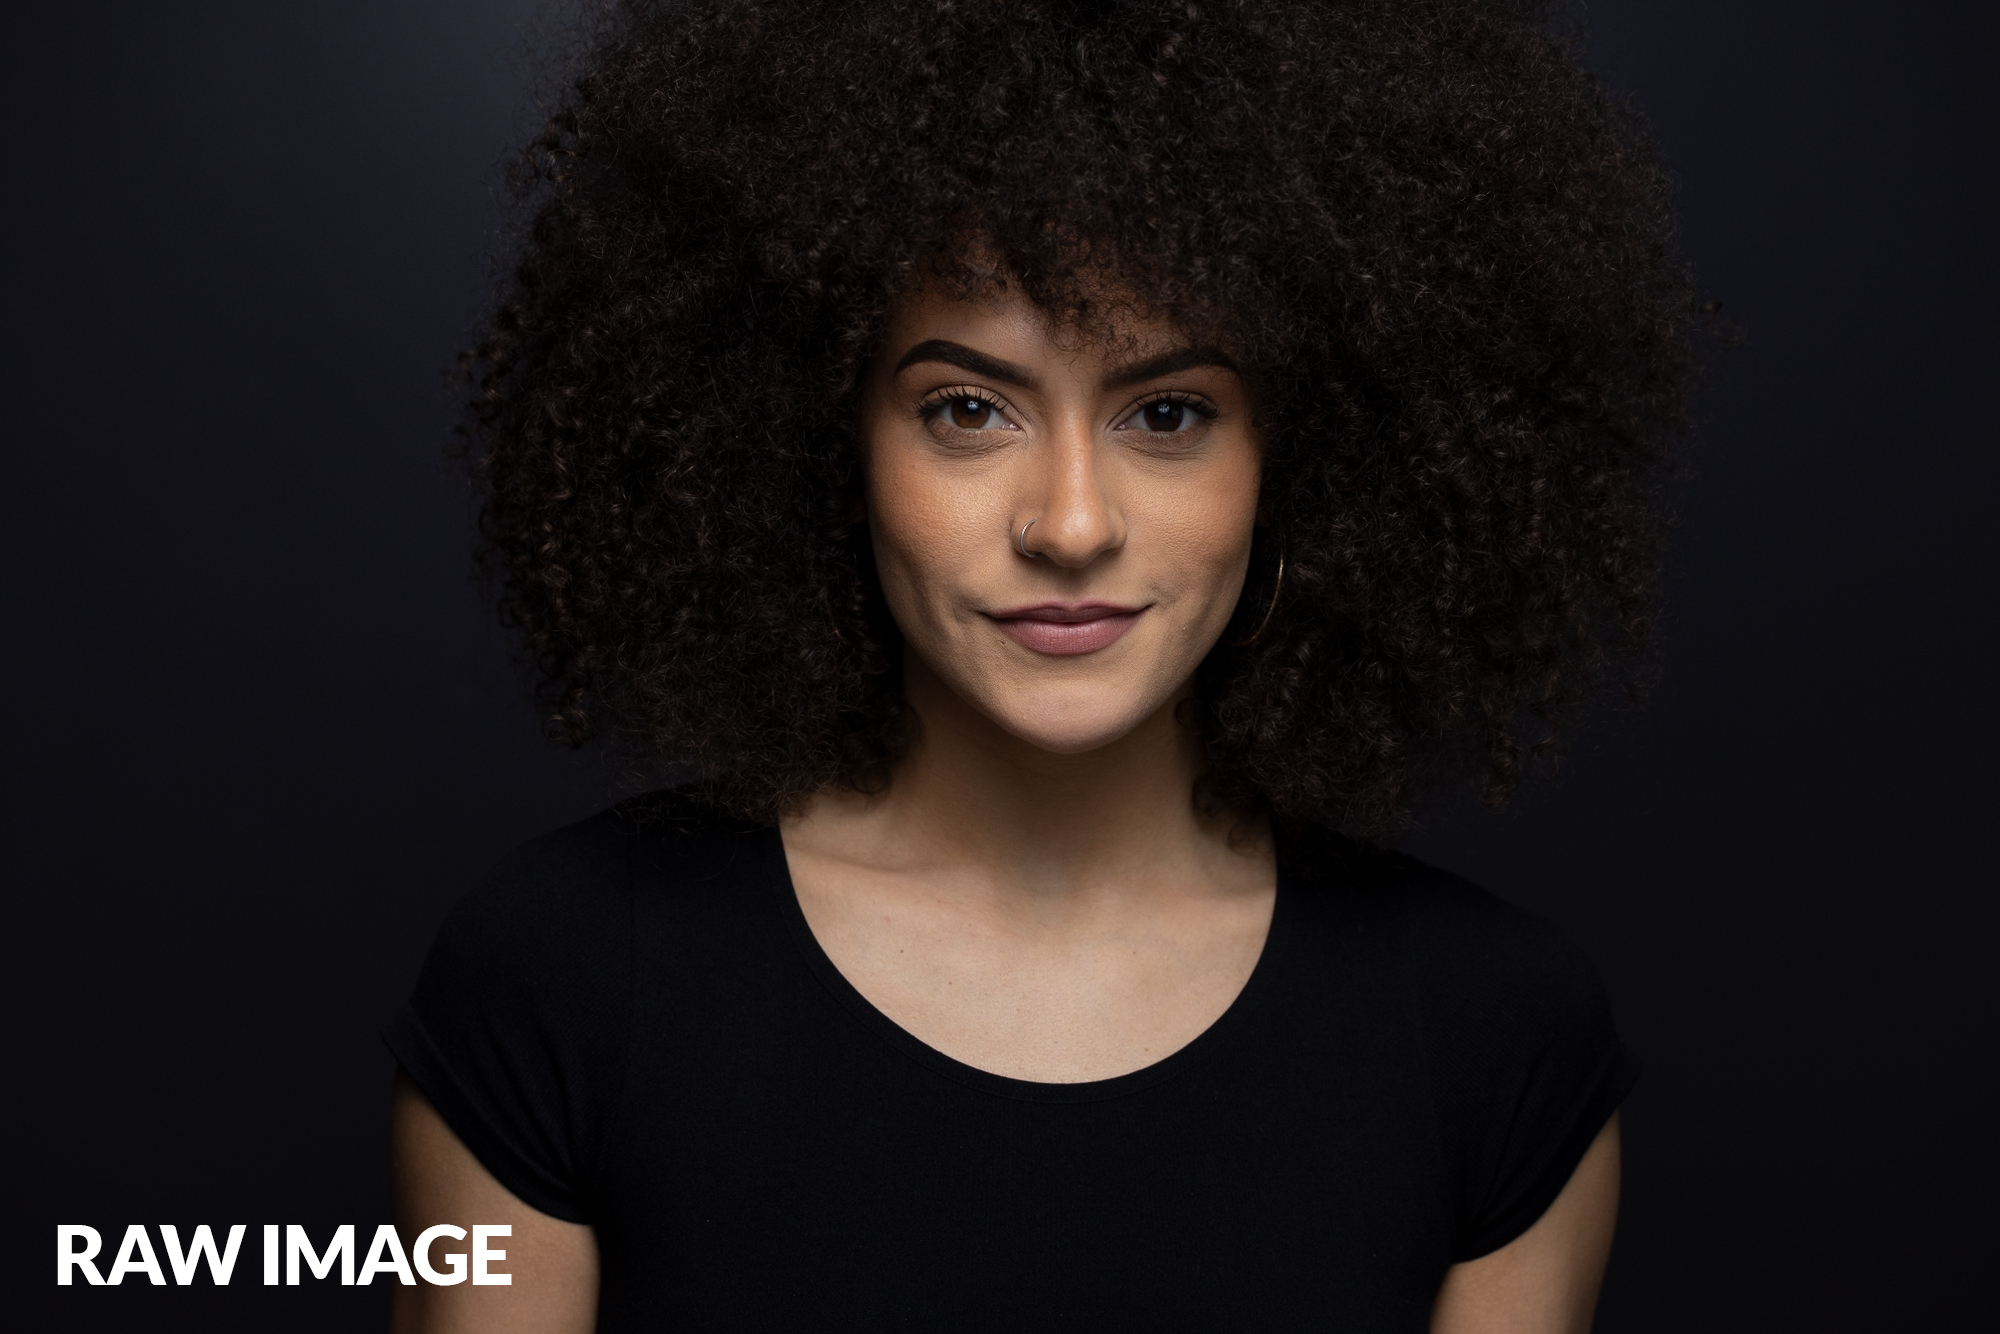
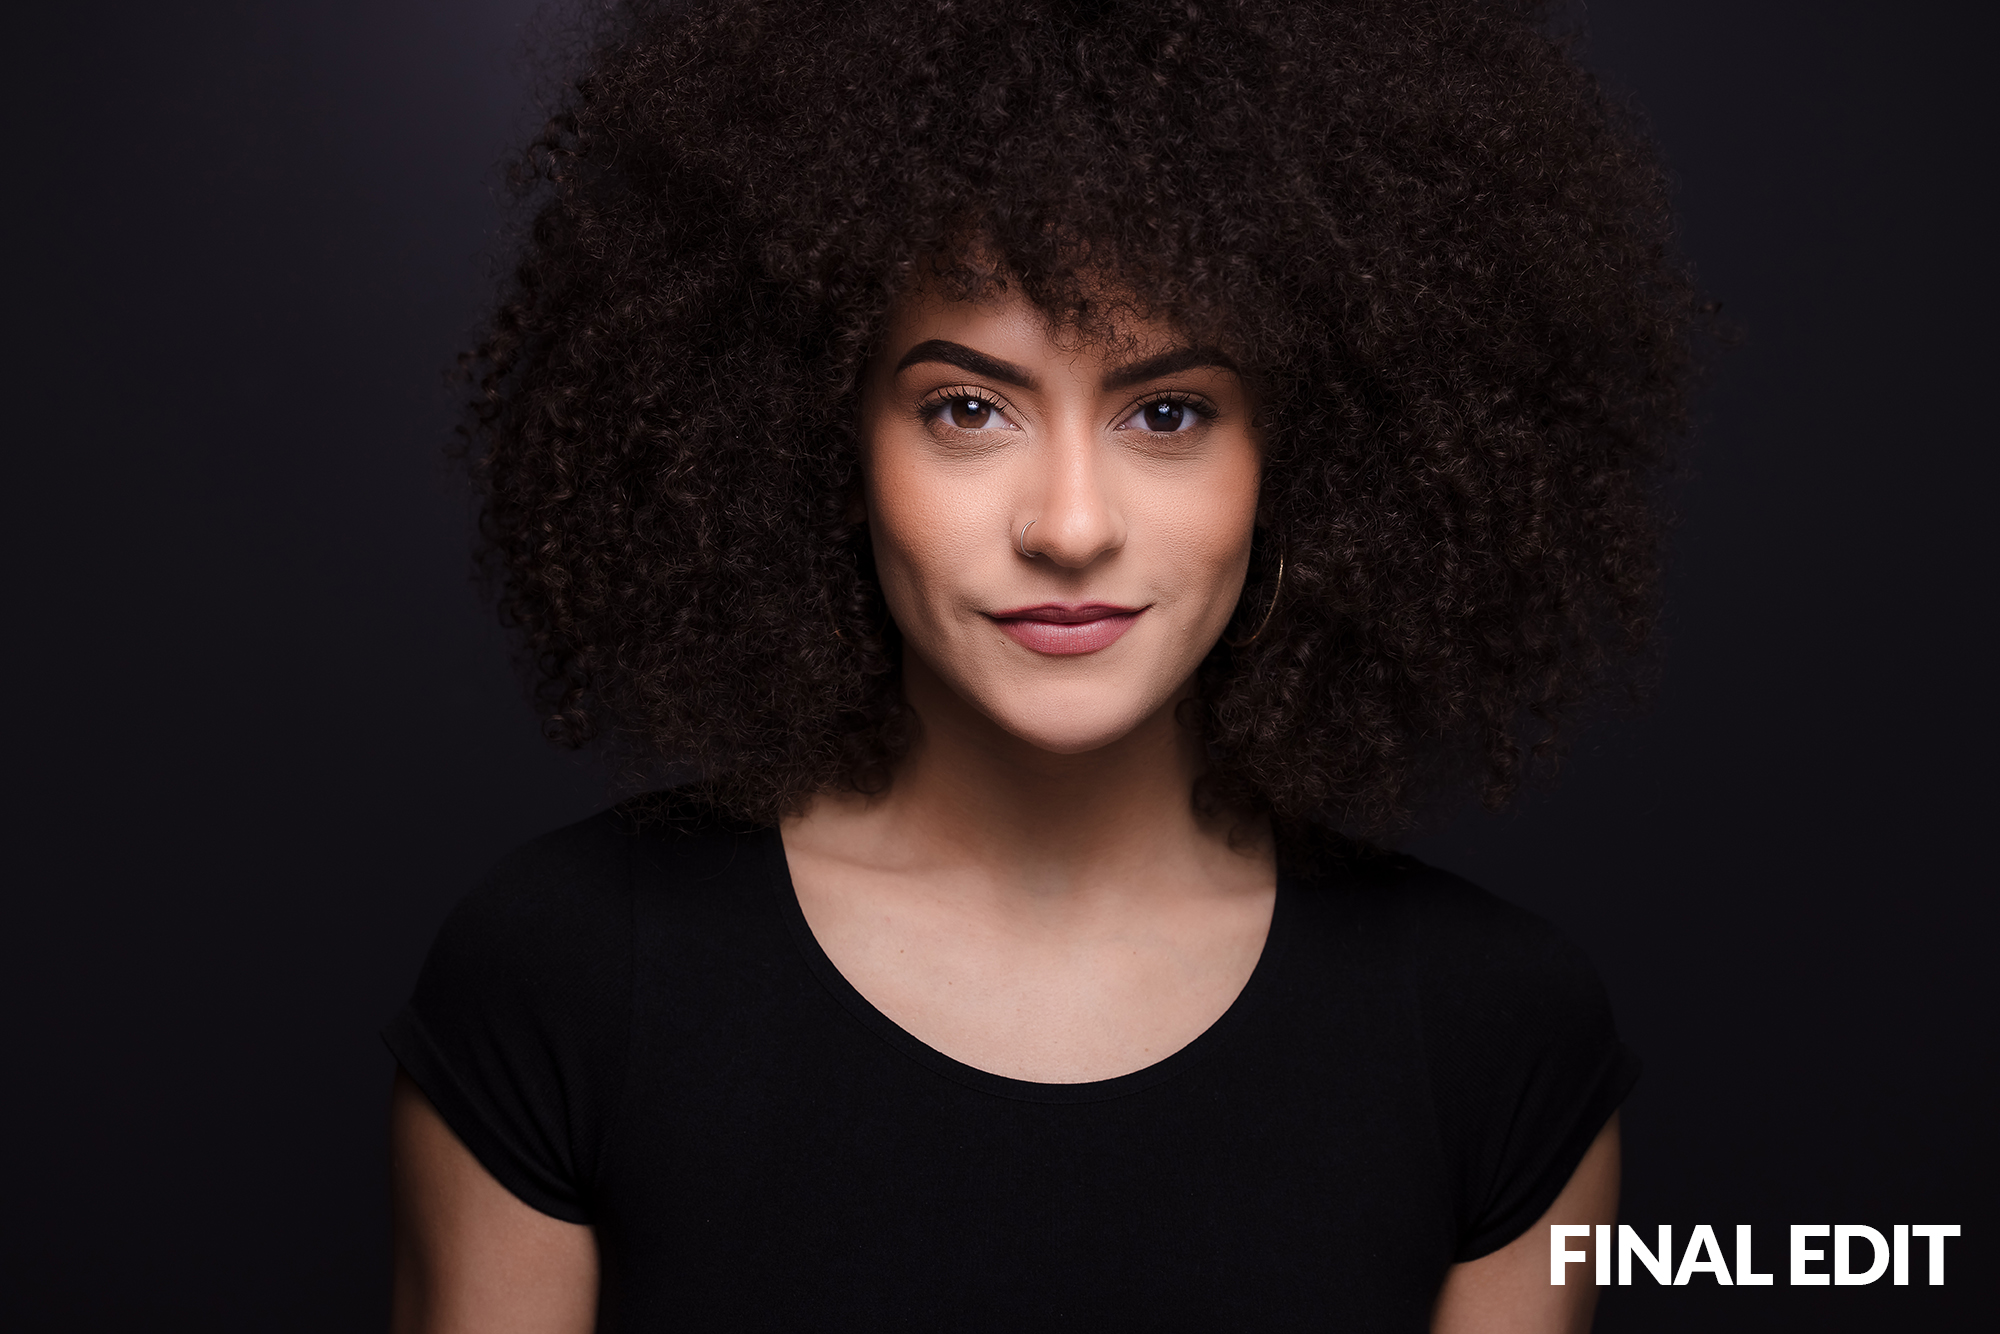
Final Image

rawimagefinaledit

You can also convert and create a black and white version as well.

blackandwhitefinalcolorfinal

Conclusion

I hope you enjoyed this article/video. With Lightroom and Photoshop’s incredible set of tools, we can make the portrait editing process quick and easy and still end up with professional results. For a complete Lightroom guide, check out Mastering Lightroom, available at SLR Lounge Premium. In addition, you can visit Visual Flow for lighting based presets as well as the Retouching Toolkit which provides all the tools we used today.

Don’t miss our next episode of Mastering Your Craft on Adorama’s YouTube channel next week! If you want to catch up on all the episodes, make sure you check out our playlist!
4 Step Lightroom Guide to Cohesive Photo Editing for Portraits

photo editing for portraits feature

When telling a story through a series of photographs, it’s important that the images seam together stylistically. In this video, I’ll be walking through an easy 4 step guide to cohesive photo editing for portraits.

Video: 4 Step Lightroom Guide to Cohesive Photo Editing for Portraits

Cohesively editing a series of images is particularly important when they’re all a part of the same story. This means that stylistically, the images will share similar colors, tones, and mood. Editing cohesively is crucial when creating books and galleries for clients and shows.

Before we jump into this guide for cohesive photo editing for portraits, be sure to capture your photos in Manual Mode. This is to ensure that your exposure settings stay the same, making this editing process a whole lot easier.

You can download the exercise files here and follow along the tutorial! To see how this series was shot, be sure to check out How to Capture a First Look Moment On Your Own.

Step #1: Start With a Look

photo editing for portraits preset

Begin by editing the first image to your liking. Dial in your settings to get the desired tones and mood that you’ll be applying to the rest of the images. For these images, I applied VF Presets > Pastel > Soft Light. Then, I tweaked the settings until I reached a nice, bright, look for the image.

Step #2: Synchronize Your Settings

Select the rest of your images and hit Ctrl / Cmd + Shift + S. I like to check all the boxes except for local adjustments, spot removal, and crop, since those are specific to each image.

Step #3: Individually Adjust Each Image

Applying the settings from our first image to the rest of them will get us most of the way. However, as we change angles or zoom in/out, the exposure might vary. Scroll through each image and tweak the settings until they match the look from our very first edit. During this step, you can also apply radial burns and crop specifically to each image.

Step #4: Review/Survey Your Gallery

photo editing for portraits gallery

Lastly, select all your edited images and press N to bring up survey mode. Here, you can see all of your images together on screen and verify that each image is edited correctly and looks alike. From there, you can then go on to create galleries and collages for your clients or portfolio.

Conclusion

I hope you enjoyed this article/video. Whether it be advertising, weddings, portraits, or fine art, knowing how to edit cohesively is a crucial skill. Give this guide to cohesive photo editing for portraits a shot and watch your series come together to tell a complete story. For a full course on Lightroom editing, be sure to check out the Mastering Lightroom Guide in SLR Lounge Premium. In addition, visit Visual Flow for intuitive lighting based presets and retouching tools like we used in today’s tutorial.

Don’t miss our next episode of Mastering Your Craft on Adorama’s YouTube channel next week! If you want to catch up on all the episodes, make sure you check out our playlist!
Simple Dramatic Lighting for Hollywood Style Evening Portraits

dramatic lighting step by step

Simple lighting is all you need to transform nighttime architecture into a beautiful scene. In this video, I’ll be walking through how to use dramatic lighting to create Hollywood-style evening portraits.

Video: Simple Dramatic Lighting for Hollywood Style Evening Portraits

We found ourselves in Orange, California in front of a beautiful building. The scene called for a nice symmetrical image and I wanted to bring out the glamour of a Hollywood portrait using dramatic lighting. To do this, we’ll follow the C.A.M.P. framework and we’ll begin with our Composition.

Related Reading: The C.A.M.P. Framework | What You Should Check Before Taking a Photograph

Step #1: Composing the Frame

The building featured these pillars that I could use as leading lines. Keeping symmetry in mind, I captured a basic composition of the scene.

Step #2: Set the Ambient Light

Captured at 1/160 sec, f/2.8, ISO 3200 @ 20mm

The rule of thumb is that for a dramatic look, darken the ambient light. For a natural and airy look, keep the ambient light bright. Since we’re going for dramatic lighting, I kept the exposure dark.

Step #3: Add & Modify Light

I used the model light on my Profoto B10 Plus to light up my assistant, Jay, who is standing in for my couple, Chris and Salome. Notice that by itself, the light spills everywhere. To fix this, I added a grid to focus and create the dramatic lighting on my subject.

I then brought in my couple and had Jay hold the light from a higher angle. I wanted to aim the light on Salome to have her as the focus of the image.

Step #4: Photograph!

dramatic lighting final one

Check out our first final image with the dramatic lighting, edited using the Mood Pack from Visual Flow Presets.

I also wanted to capture a wider image, however, Jay would be visible in the shot. To accomplish this, I first captured the image Jay in the shot. Next, having my couple hold their pose, I had Jay step out and captured a plate shot. Then, I can merge the two images together in post-production to get the photograph I had in mind.

dramatic lighting final 2

Here is the final merged image.

Conclusion

I hope you enjoyed this article/video. You can use the C.A.M.P. framework in any situation to bring your vision to life. To learn about dramatic lighting and more, check out the Flash Photography Training System in SLR Lounge Premium. You can also check out Visual Flow for intuitive lighting based presets and retouching tools.

Favorite Lenses Used For 10,000 Couples Portraits (Updated)

In 2017, we wrote the original article for our “Favorite Lenses Used For 10,000 Couples Portraits.”  This was before the introduction of the Canon R5 and the introduction of their game-changing RF lenses.  In particular, the Canon RF 28-70mm f/2L USM Lens changed our entire approach. How?  Well I no longer use prime lenses within …

Read more

The Role of Psychology in a Successful Photography Business

successful photography business

For those in the business of photography, understanding the psychology behind a photograph is key. A photograph is more than a snapshot. It’s a memory, an experience, a symbol of a special moment. Knowing this will lead to more and happier clients. In this video, I’ll be discussing the role psychology plays in a successful photography business.

Video: The Role of Psychology in a Successful Photography Business

Favorite Photograph Exercise

Close your eyes and step out of your role as a photographer for a moment. Then, think of a photo that you personally appreciate. Likely, it’s a photograph a lot like mine. One that evokes a memory of a certain point in our lives of ourselves or someone we care about.

successful photography business young pye

My favorite photograph is one of myself and my father when I was very young. You see, he was a single father and immigrated to America with me, raising me while earning a degree in civil engineering. Despite how busy he was, he still made time for me.

There’s a good chance that when you thought about your photo, you didn’t consider anything technical. My favorite photo is just a simple snapshot. Yet, this photograph means so much to me. That’s because photography is a psychological product. To understand how this applies to building a successful photography business, we can look at it from two perspectives.

#1: The Photographer’s Perspective

As photographers, when we take a photograph, we likely look at it from the perspective of our own journey learning the craft. As we hone our skills, constantly pay close attention to our technical abilities. Therefore, in our own photos, we might pay attention to the light, composition, colors, etc.

However, anybody else may not see any of that. This becomes particularly important when building a successful photography business when we’re taking photographs for other people, such as clients.

#2: The Client’s Perspective

When a bride and groom see a photograph taken of them, they’ll  likely remember experience leading up to that photograph. They may think about how they were feeling at the moment of capture, whether they were confident or felt beautiful. They may see a symbol of their love for each other. What I can guarantee is that they won’t be thinking of the f-stop, or the lighting, or the composition. They won’t be thinking how the photo was captured with such a high megapixel state of the art camera. This is an important distinction.

Much like in our earlier exercise, to our clients, these photos are emotional anchors to that special time in their lives. And to build a successful photography business, we need to understand that that is the product we are selling. This is why the experience leading up to the photograph is so important. Because that’s what the client will remember. Did we understand what is important to them? Did they feel confident and beautiful when we captured the photo? Were they having a good time?

The W.A.V.E. Framework

For our Complete Business Course on SLR Lounge Premium, we’ve created a framework for talking with clients called the W.A.V.E. Framework. In this framework, we guide the client through a visualization exercise that pinpoints exactly what they want to see out of their photographs. Through this, we come to understand their values and we can take extra care to make sure their needs and desires are fulfilled. This will lead to ecstatic clients who are more than eager to recommend you to everybody they know. Because you’re the photographer who knew and gave them exactly what they wanted.

Conclusion

I hope you enjoyed this article/video. This knowledge of psychology when taking photographs of your client can be your superpower. Photography and practically all sales can be attributed back to applying psychology to understand your client’s true needs and desires. This is a part of our Complete Business Training System on SLR Lounge Premium where you can learn how to create a successful photography business. We’ve also discussed this very topic on our new podcast, 12 Week Relationships, where Dr. Glen Hong and I discuss all things involving cultivating healthy relationships.

Don’t miss our next episode of Mastering Your Craft on Adorama’s YouTube channel next week! If you want to catch up on all the episodes, make sure you check out our playlist!

8 Step Advanced Black and White Portrait Editing in Lightroom

black and white portrait featured

Black and white photography is a great way to capture something that feels timeless. Lightroom provides great tools to draw out those rich and dramatic tones. In this video, I’ll be walking through an advanced 8 step black and white portrait edit.

Video: 8 Step Advanced Black and White Portrait Editing in Lightroom

Rather than a simple black and white conversion, this advanced method gives you better control over the tones. By following these tips, you can edit your image with precision and intent. I’ve outlined this step before in a previous video on landscapes, and now, I’ll be bringing the method to a black and white portrait photograph.

Before we jump in, download the exercise file here and follow along as I edit.

Related Reading: How to Edit Black and White Landscapes in Lightroom

Step #1: Neutralize the Colors

Before we convert to a black and white portrait, there are a couple steps to prepare the image. I used the eyedropper tool to select the white wall in the background. Then, I fine tuned the white balance until the skin tones looked natural.

Step #2: Exaggerate the Colors

By saturating the colors, we’ll be able to control each tone in the Black & White mixer to our liking. To separate and make the colors pop, I went to the Calibration panel.

Step #3: Convert & Lower the Exposure

black and white portrait initial conversion

Now we can convert to a black and white portrait. I also like to lower the exposure to allow the base adjustments to reveal the details, which is our next step.

Step #4: Revealing the Tones

black and white portrait tones

I essentially lowered the highlights and lifted the details to bring in as much details as I can. The image will appear flat but we’ll be tackling that in the next step.

Step #5: Adjust the Tone Curve

Next, I added the contrast using the Tone Curve. I also “faded” the image a touch for that vintage black and white portrait look.

Step #6: Black & White Mixer

black and white portrait black and white mixer

This is where step 2 comes into play. In the Black & White Mixer, we have control over each underlying color. I used this to boost the skin tones and add more depth to the image.

Step #7: Presence & Stylization

This is where I boost the details in the image. I added clarity, de-haze, and added a vignette as well as grain. You can save these settings as a preset to apply to other images.

Step #8: Local Adjustments

This is where we add our final touches. I added a Radial Burn from Visual Flow’s Retouching Toolkit.

Lastly, I boosted the white tones using the Dodge Whites tool and painted it over my subjects.

Comparing the B&W Conversion Methods

black and white portrait comparison

Let’s compare our final black and white portrait with a simple and standard conversion. Notice the difference in retained details and depth in the tones.

Conclusion

I hope you enjoyed this article/video. The vast tools in Adobe Lightroom allows us to precisely edit our images in many different ways. By exercising control over our tones, we can edit with intent and portray the exact mood we want in our black and white portrait. For a full Lightroom tutorial, check out Mastering Lightroom in SLR Lounge Premium. In addition, for presets and a vast library of Lightroom  editing tools, check out Visual Flow and the Retouching Toolkit.

Don’t miss our next episode of Mastering Your Craft on Adorama’s YouTube channel next week! If you want to catch up on all the episodes, make sure you check out our playlist!

Natural vs. Dramatic: 2 Lightroom Editing Styles Using One Image

lightroom editing styles

Post-production can open the doors to a variety of looks from a single image. The flexibility and range of digital RAW images allows us to pretty much edit however we like. Understanding our editing tools is crucial to nailing the final look we’re going for, be it moody or colorful. In this video, I’ll be showing how to create natural and dramatic Lightroom editing styles from a single image.

Video: Natural vs. Dramatic: 2 Lightroom Editing Styles Using One Image

Capturing the Image

lightroom editing styles how it was shot

I followed a tip from a previous tutorial where I talked about placing your subject in the brightest area of the frame. I captured this image in a ballroom and I added a flash to make my couple pop from the background. You’ll see that this will give us a lot of flexibility later on to change Lightroom editing styles.

To capture this, I used a Canon 5DM4 with a Canon EF 85mm f/1.2 Lens.

Before we begin, download the exercise files here and follow along as I edit!

Related Reading: Level Up Your Portraits With This Simple Lighting Tip

Edit #1: Bright & Natural

The goal of the first edit is to get that bright and airy feeling like it was naturally lit. I applied these basic adjustments to brighten up the image while maintaining the contrast.

In the HSL panel, I brought the colors closer together, mainly in the reds and oranges which are the primary colors in the image. Then, I added profile corrections. This removes the natural vignette and we get edge to edge brightness. Lastly, I adjusted the color calibration to boost some of the warmer tones in the image in a way that feels natural. Here are the settings I used.

lightroom editing styles bright look

After fine tuning the image, this is our final before and after of the bright and airy look.

Edit #2: Dark & Dramatic

Here are the settings for our basic adjustments. You can already see how different the image appears from the first edit.

As with the first look, I used the HSL adjustments to bring the colors, mainly the reds, together. Next, I calibrated the colors to get that uniform warmth.

Lastly, I added a vignette to darken the area around our subjects. This works well because we lit our subjects to be the brightest part of the image. When everything else around them darkens, it looks very natural.

Comparing Both Lightroom Editing Styles

lightroom editing styles final comparison

Check out final images side by side, both edited from the same RAW image.

Conclusion

I hope this video/article showed just how powerful and flexible RAW images can be when it comes to editing. Once you learn the steps, creating multiple Lightroom editing styles out of a single image will be a breeze. For a full course on Lightroom editing, check out the Mastering Lightroom Course from SLR Lounge Premium. In addition, for intuitive lighting based presets and tools to kick off your great edits, be sure to check out Visual Flow.

Don’t miss our next episode of Mastering Your Craft on Adorama’s YouTube channel next week! If you want to catch up on all the episodes, make sure you check out our playlist!