Looking to change up your dramatic lighting with a single light source? In today’s video, I’ll be walking through how to create a DIY studio lighting setup for dramatic editorial portraits.
Video: DIY Studio Lighting Setup for Dramatic Editorial Portraits
This DIY studio lighting setup is quite simple and is designed to mimic the look of a natural strip box like you’d find by closing down the curtains. This creates a thin strip of soft light that’s perfect for dramatic portraits.
Today, I’ll be photographing my friend, Kiara, who you can find on Instagram here. I’ll also be shooting with the Canon EOS R5 with the RF 28-70mm f/2 lens.
The Set-Up

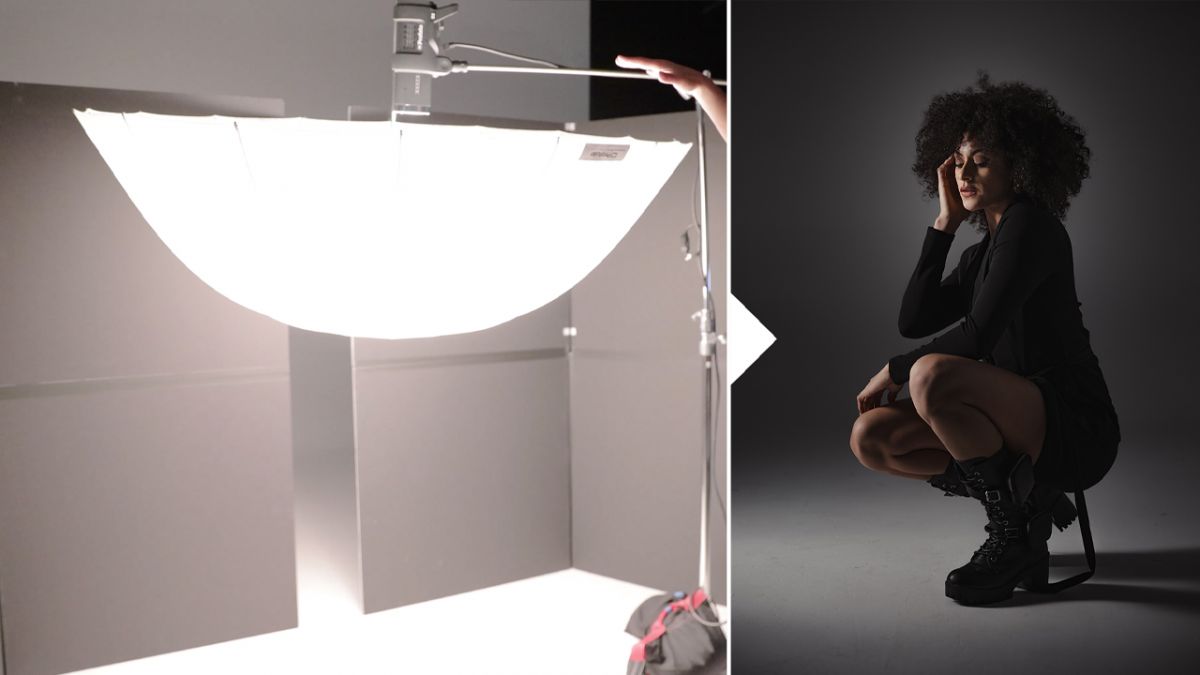
We begin with a single light source aimed down through a large umbrella for maximum diffusion. I’m using the Profoto D2. Then, I have the light bouncing off the white surface below. I recommend creating this setup on a light and neutral surface such as concrete or a garage floor. The umbrella and light colored floor will bounce the light back and forth and completely diffuse the light.

Now, you’ve probably noticed the two V-Flats behind the light with a bit of space between them. This is what will create the strip box effect on the other side. Now, you can use anything to block the light in a similar way. With the light softened by the umbrella and the floor, we get this very soft light coming through the narrow space created by the V-Flats. This is what creates a light similar to that of a window with nearly closed curtains.
Subject Placement
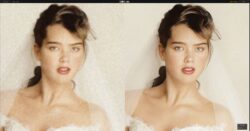
Subject placement is important here due to the Inverse Square Law. This law basically means that the further away the subject is from the light source, the intensity of the light decreases. That means that to properly expose our subject, we’ll have to either power up the light, or increase our ISO. Either way, the further we place our subject from the light source, as we increase the exposure, the background also gets brighter.

Here is a comparison of Kiara, taken at three different distances from the light source.
Photograph!
You can now move around and capture different angles of the light. Play around with camera angles and focal lengths or create rim lighting for an extra dramatic effect. You can capture many different looks without needing to move the light.

Here are my top photos from this DIY studio lighting setup.
Conclusion
I hope you enjoyed this article/video. Give this DIY studio lighting setup a try and see what great dramatic portraits you can capture! For more tricks and tutorials on lighting, check out our Flash Photography Training System on SLR Lounge Premium. You can also check out the Mood Pack and other great lighting-based Lightroom presets at Visual Flow.
Don’t miss our next episode of Mastering Your Craft on Adorama’s YouTube channel next week! If you want to catch up on all the episodes, make sure you check out our playlist!