
Because the majority of us take pictures using digital cameras (including smartphone cameras), most photos never make it to print. While this may be okay for that picture of the sandwich we snapped during lunch, we often do ourselves a disservice when limiting our photos to the digital realm. This holds especially true for professional photographers who avoid making print sales a key part of their business. In the photographer’s guide to pricing prints below, we’ll share some tips for integrating print sales into your business model to maximize your profits and make your clients happy.
Why You Should Print Your Photos
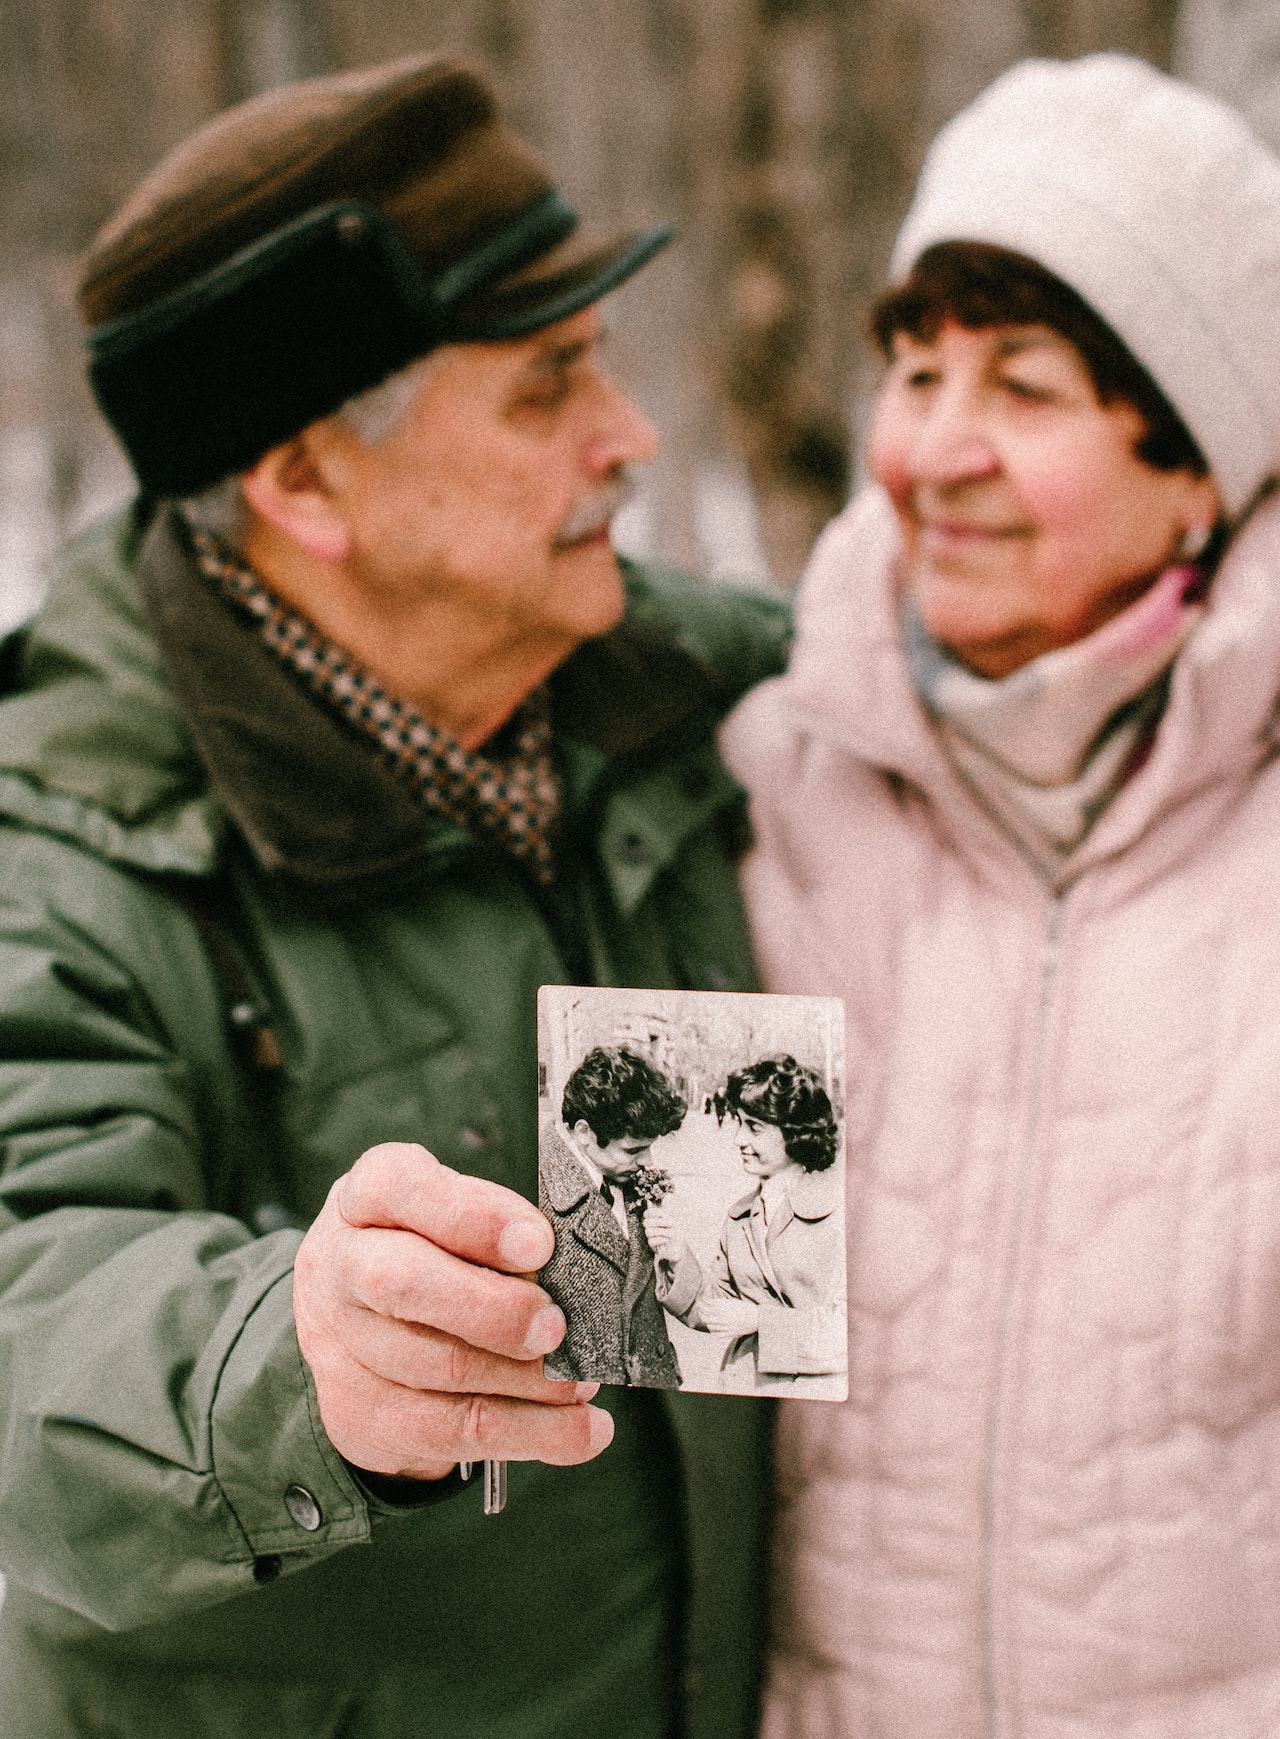
When we look for the “why” in terms of why we dedicate our time and energy to taking photographs, we usually find the answer has something to do with capturing moments that matter, whether for ourselves or our clients. In other words, we’re documenting our lives with photos that we can revisit and pass on for generations. The best way to keep those moments top of mind over time is to have them printed.
Most of the digital files we share only make a brief appearance online before disappearing down a bottomless social media feed. Or, they’ll get looked at once before spending the rest of their existence on a seldom seen hard drive (or cloud collection). These same images, however, can take a different path and be viewed and experienced daily when printed in albums or hung as wall art.
For professional photographers, adding print options to the services you offer and properly pricing prints can open up a significant new stream of income. Some successful photographers build their businesses around selling prints, giving prints a key role in nearly every step of the process, from initial talk-throughs to shoots, design consultations, and more. Simply put, it literally pays to sell prints.
So, You Want to Sell Prints. Now What?
Choosing to sell prints of your work represents only one link in a chain of decisions to make regarding the printing process. How should you go about pricing prints? Which printed products should you offer? Individual prints, albums, canvases, framed and matted wall art? Which lab should you use? Also, while it’s important to know what to sell and at what price, it’s equally important to know how to sell it. We’ll help you answer all of these questions below.
Guide to Pricing Prints, Pt. 1: How to Sell Your Prints
In this part of the guide to pricing prints, we’ll discuss how to make prints a part of your workflow before jumping into the technical side of finding a lab, getting prints made, and pricing your printed products to maximize your profit.
Begin at the Beginning with the W.A.V.E.

Here at SLR Lounge, we’ve long talked about using the W.A.V.E., or the Wall Art Vision Exercise. It’s an exercise that we recommend running by your clients as soon as possible, even if it’s during a call. So long as your clients have time to talk, you can use the W.A.V.E.
Here’s how it works.
When meeting with your clients, either on the phone, over a zoom meeting, or in person, ask them to do the following:
- Imagine your home
- Pick a location in your home where you’d hang a portrait from the upcoming session
- Understand the print represents a significant investment without specifically pricing prints
- Know that you’ll see this photo daily
- What is the one image you imagine in that space?
Running this exercise before your shoot will do two important things at once. First, your clients will think about the prints they’ll want to have from the shoot, right out of the gate, and they’ll have some expectation of cost. Second, you’ll also understand exactly what they’re looking for in terms of imagery, or the kinds of shots they value. If you deliver images they love, they’re more likely to purchase prints, and the W.A.V.E. is a great tool to use for that purpose.
Offer a Free Design Consultation

Be sure to include a free design consultation for your clients after the shoot, ideally within one to three weeks. Doing so adds value to your services and gives you a chance to share your images while clients are still excited about them. We call it a “design consultation” because we use the opportunity to share pre-designed samples and encourage our clients to share feedback on what they’d like to see for a finished product, say for albums or wall art. Some photographers call these consultations “reveal parties,” and they’ll provide champagne and snacks to help create a celebratory vibe for the occasion.
Slideshows, Album Design Samples, and Wall Art Mockups
Once you’ve scheduled a design consultation with your client, start setting up for the meeting. If your clients already selected a print package when acquiring your services, you’ll need to send over a quality gallery in advance so that your clients can select favorites for use in the consultation. Even if they haven’t, it’s a good idea to have your clients start picking out favorites for an album design. After completing that task, here’s a quick overview of the materials you’ll need to have ready to help your clients realize the value of having their photos printed:
- Slideshow: Choose 20-30 images (using favorites that your clients have selected) and put them together in a brief slideshow set to music. This is where using software like ZNO Slideshow will come in handy as you can import images directly from your ZNO Gallery and choose from over 650 royalty-free songs, which means the slideshow can be shared online. On top of that, you can add your logo and quickly customize the fonts and colors used in the slideshow. While the slideshow doesn’t represent a print product, it still gets your clients’ hearts beating and reminds them how good it feels to see the images from their shoot, which should help get them in the mood to talk about buying prints.
- Photo Album and Wall Art Mockups: For photo albums, design 4-5 spreads using images from the slideshow, as well as some others that may not have been selected, so long as they help tie the images together to tell the story. Also, create 4-5 wall art mockups featuring different print and framing options, like a framed canvas or acrylic print. Again, ZNO offers helpful tools here on both fronts with their cloud-based ZNO Designer, which can be used to design and proof the album and wall art options, either before, during, or after the consultation, depending on how you run them. Ideally, you will surprise your clients with the designs on the day of and then address any revisions during the consultation (time permitting) so that you can close the deal before the session ends.
[Related Reading: The Best Online Album Proofing Options for Photographers]
Create Positive Associations
People will associate their photos with the experience they had throughout the process, from the initial talk-through to the shoot and then on to the design consultation, so be sure to make the experiences positive.
Sometimes, we can’t control the events that unfold while photographing clients (such as a tiff between relatives during a wedding), but we can work to recognize when they’re enjoying themselves and feeling valued (or not). Plant positive anchors throughout the process and positively reinforce your clients’ participation, whether commending them on their choice of venues, the moodboard they put together, or their selection of print products. Be supportive and let them know you’re on their side each step of the way.
Guide to Pricing Prints, Pt. 2: Price Your Prints

Now, it’s time to price your prints. A number of aspects will impact your approach to pricing prints, including your initial cost, the materials used (metal vs canvas), and the size of the prints or albums, not to mention the type of clients you’re working with. If you understand your target market persona, what they value and where they’re willing to spend money, you’ll have a better sense of which print products to offer and how you should price them. Regardless, there are some basic approaches to follow, which we’ll outline below.
Basic Pricing
You’ll need to consider your cost of goods sold (COGS) when pricing prints, and then determine how much profit you want or are able to make. If you’re unsure where to start, here’s a common method you can use to determine how much you need to mark up the cost of printed products in order for them to provide a worthwhile profit.
- Charge anywhere between two to seven times the cost of goods sold (four times being the average markup rate). Again, this just provides a general starting point. We’ll go more in-detail below to help you determine a number that works for you.
Costs begin with what you pay for the prints, but as I mentioned above, other factors like material quality & size, labor, etc., will also influence the price. For example, a metal print will offer more room for profit as clients will perceive it to be worth more than a standard paper print. In addition, you’ll need to factor in other cost considerations such as time invested and other overhead costs like editing software, wifi, electricity, and so on.
Establishing the Initial Cost of Goods
To establish the initial cost of the print products, refer to your print lab’s pricing sheets. Affordable prices up front from your printer will allow for lower prices for clients while still leaving a comfortable profit margin, so look to partner with a lab that offers quality products at affordable prices. For example, ZNO offers very competitive pricing, that is typically 20%-40% less than competitors for comparable products. But on top of this Zno also offers huge lab discounts when signing up for software tools that you’ll need anyways. As an example with Zno Designer’s Pro Plan you can earn lab credit and get free shipping. With Zno Gallery, you get an additional 25% off Print Sets, Prints, Wall Arts and Tabletops. And with Zno Slideshow you get an additional 25% off USB & DVD products.
Establishing Overhead Costs for Pricing Prints

The overhead costs will vary dramatically, but you can arrive at a reasonable number based on your particular needs. To do this, do the following.
- General Labor Costs: First, figure out your general labor costs. Consider your ideal salary for the year (say $50,000, as an example), and divide that by the number of weeks you plan to work (50, allowing two weeks for vacation), the number of hours per week (40), and the number of minutes per hour (60). Here’s your equation in number form:$50,000 ÷ 50 ÷ 40 ÷ 60 = $.42 cents per minute of laborAnother route might involve determining how many jobs/gigs you plan to take in a calendar year and dividing it out that way rather than using a traditional work-week system.$50,000 ÷ 30 (gigs) ÷ 15 (hours per gig) ÷ 60 (minutes per hour) = $1.85 per minute of labor
- Project-Specific Labor Needs: Next, determine how much time you’ll spend working on the product you’re selling. This includes the time spent talking to (or emailing) your client about the print, as well as the time it takes to retouch, order, and so on. That said, a single print with a fair amount of retouching might take somewhere in the neighborhood of 30 minutes, whereas a photo album might take three to four hours (and possibly more, depending on the extent of the retouching involved).When you figure out this number, add it to the initial cost of goods. Spending 30 minutes on a wall art sale, then would add $12.60 ($.42 x 30) to your initial cost of the print. If you’re printing a 16×20″ metallic print that costs $110.50 and add your labor cost, your looking at a base price of $123.10. But we’re not finished yet.
- Overhead Costs: Things like camera equipment, computers, software subscriptions, and advertising that you need to maintain in order to run your business also add up. If you follow a standard 35% cost-of-goods model (which means our cost of goods should represent 35% of our revenue), our mark-up for the product we’re selling will be multiplied by 2.85 (100 ÷ 35 = 2.85).Our base price of $123.10 then grows to roughly $350 for the 16×20″ metallic print. Whether or not you stick to this formula or adjust the price based on the size and quality of the product, as well as on how confident you are charging your client this rate, just be sure to stay consistent across all of your product offerings.
Print Credit, Print Packages, and Add-Ons
A lot of photographers offer print credit, print packages, and add-ons. Let’s take a closer look at each of these sales tools below.
Print Credit
Including a print credit as part of your overall photography package makes it more likely to have a client purchase wall art and photo albums from you rather than trying to get prints on their own. Offering a print credit helps build your clients’ perception of value for the print products they plan to buy because they’re “saving” money on the purchase. As an example, if your print cost is $120 for a 16-page, 12×12” album (using the formula above), and you price the album out at $350 (nearly 2.85 times the cost of goods), you can offer a print credit of $100, which will still net you a profit and hopefully be the foot in the door you need to offer additional print products.
Print Packages
By offering a variety of print packages to choose from, you can help your clients see the value in the products you’re offering. For the most part, people have an easier time establishing value when they have different options to compare. You can use this to your advantage by designing packages that strategically reveal an ideal package, which would be the package you really want to sell.
A common way to go about designing print packages is to offer three choices with low, medium, and high price points. The medium-priced package will usually be your most popular (and you can label it as such), and it will likely yield the best return on your investment. One of the tricks to deciding which products to include in the packages is letting go of our tendency to create proportional value across the packages. In other words, you want to ensure that your ideal package is somewhat obvious in that it clearly provides the best value in terms of price and included products.
Guide to Pricing Prints: Package Example
Design package A and package C to have a lower perceived value so that your client doesn’t feel as if they’re missing out if they don’t choose those options. For example, if package A only includes a basic album and the price isn’t too far off from Package B, which includes a deluxe album (more pages, better cover, etc.) and a piece of wall art, then the client won’t feel bad about skipping out on package A. The same is true for Package C. If it doesn’t offer much more in the way of products, but the price jumps somewhat significantly to include one or two more high-priced print products, then they’ll feel happy about choosing Package B.
To help establish specific packages, I recommend doing a bit of market research and checking the options and prices your local competitors offer. By competitor, I mean to look at photographers with a similar style to yours or those who might draw similar clients. You’ll find some photographers on the lower end and others on the higher end. Take note of their quality, compare it to yours, and look into their pricing packages (this can apply to general shoot packages as well as print packages).
Add-Ons or “Second Money”
Second money is easier than the first. This concept is taken from the psychology of closing sales, such as adding on “extras” to the initial package (like extra hours of coverage for a photoshoot), only now it’s applied to selling prints. One great example of how this works is considering your options when you purchase a laptop. After making the initial decision to purchase a laptop, you’re more likely to add on upgrades, which tend to be cheaper as upgrades than if you’d purchased them on their own. This keeps the original purchase price lower while also making it easier to build on the sale. For print sales, you might sell additional wall art prints to create a collage, or additional pages in an album, or even an additional album (a common add-on for parents of newlyweds).
Print Products to Offer
So, which print products should you offer? Should you keep it minimal or offer every print product under the sun? Answers will vary, of course, but somewhere in between you’ll find a good starting point. You’ll need to consider your target market persona (ideal client) and their taste. Whatever that may be, a printing solution that interests them exists. Professional printing labs like ZNO offer a wide array of popular go-to products for most photographers, including lay-flat photo albums, large acrylic prints for hanging on the wall, and even custom-printed USB cases for digital prints, among others.
Here’s a look at some of our favorite and most popular print products for our clients.
Photo Albums
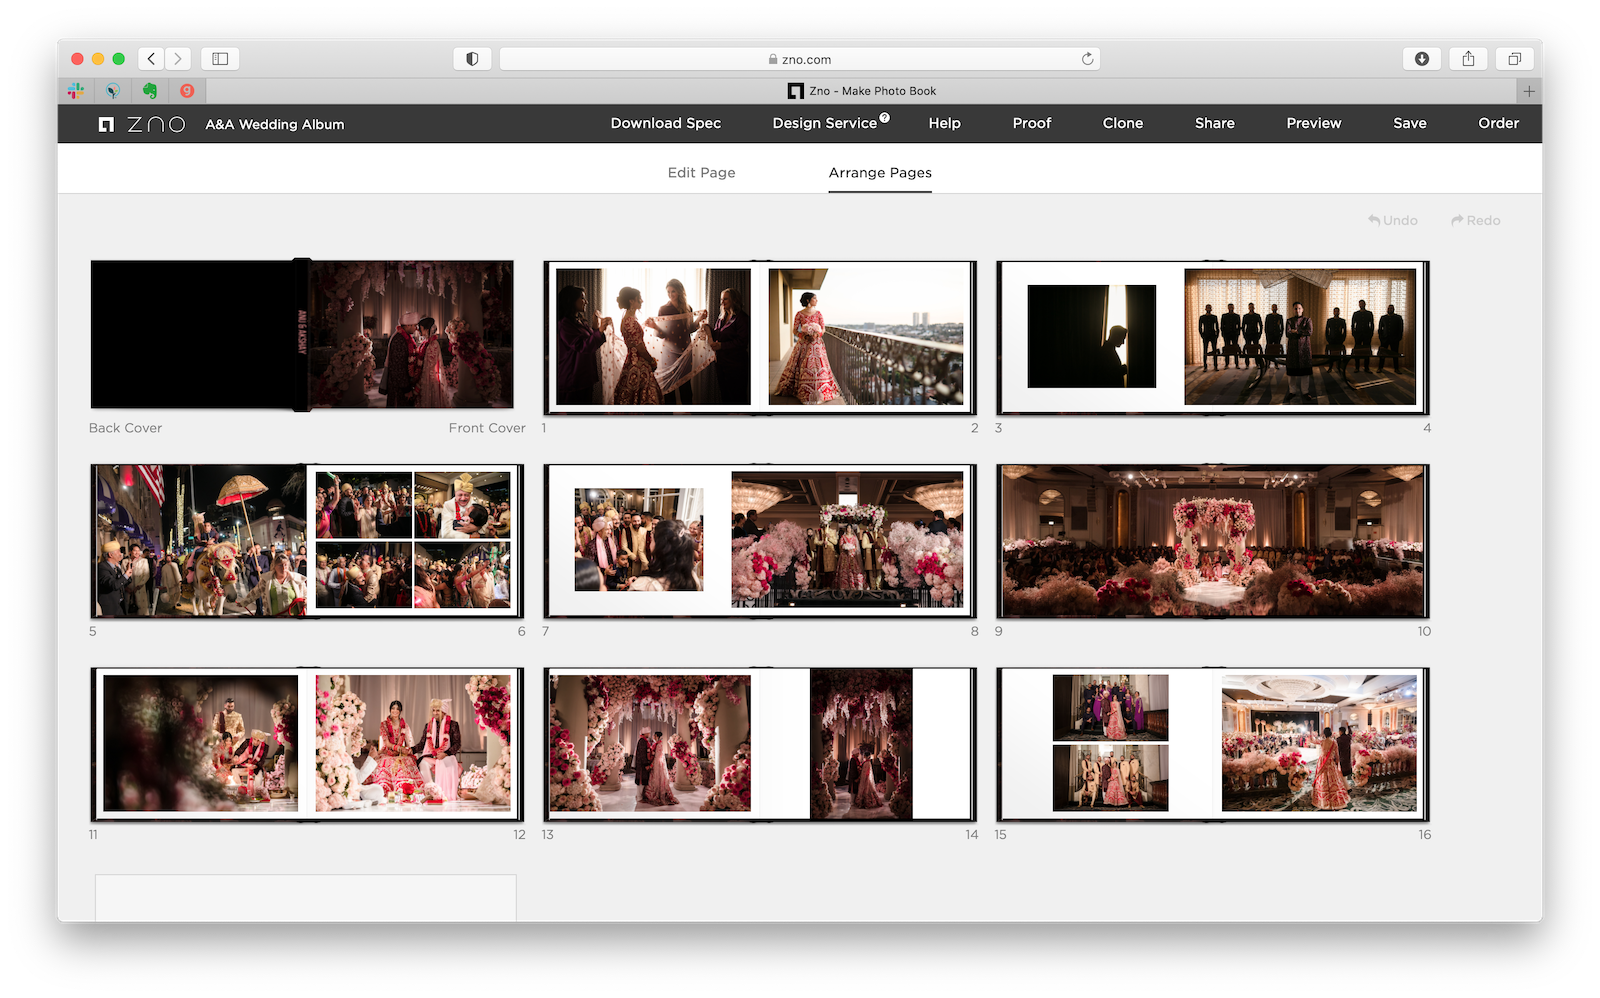
Photo albums offer the ultimate storytelling opportunity for printed pictures. Over the course of eight or more spreads, you can visually recreate the day of the shoot and give your clients the perfect means to revisit their memories. If you’re newer to designing albums, you can check out our video on YouTube for some quick tips to design more impactful albums and wall art.
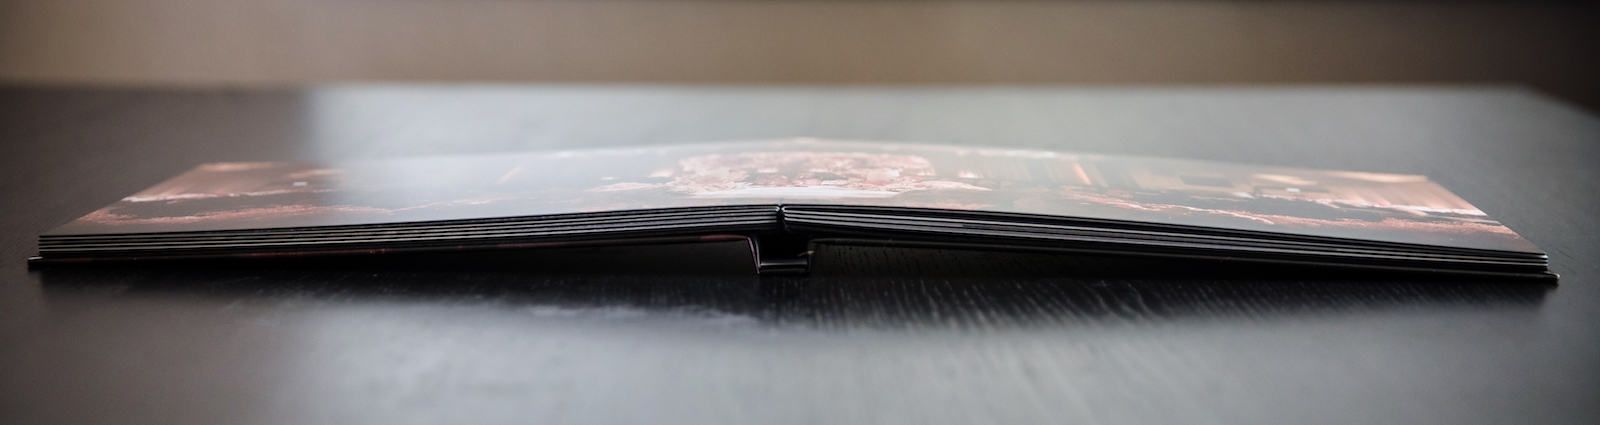
Photo albums come in all shapes and sizes, feature different finishes and thicknesses for the prints/spreads, and use a variety of materials like leather, acrylic, linen, or paper for the cover. Some popular photo album options include flush mount books, layflat books, and fine art books. Whichever option(s) you choose, photo albums are highly customizable and easy to design with the right software. They also represent a worthwhile source of income, especially if you sell duplicate copies (say for parents), which only require a single design effort and yield multiple sales.
Cost of Goods: $86+ (for 12×12″, 20-page, Paper Cover, Lay-Flat Album)
Canvases
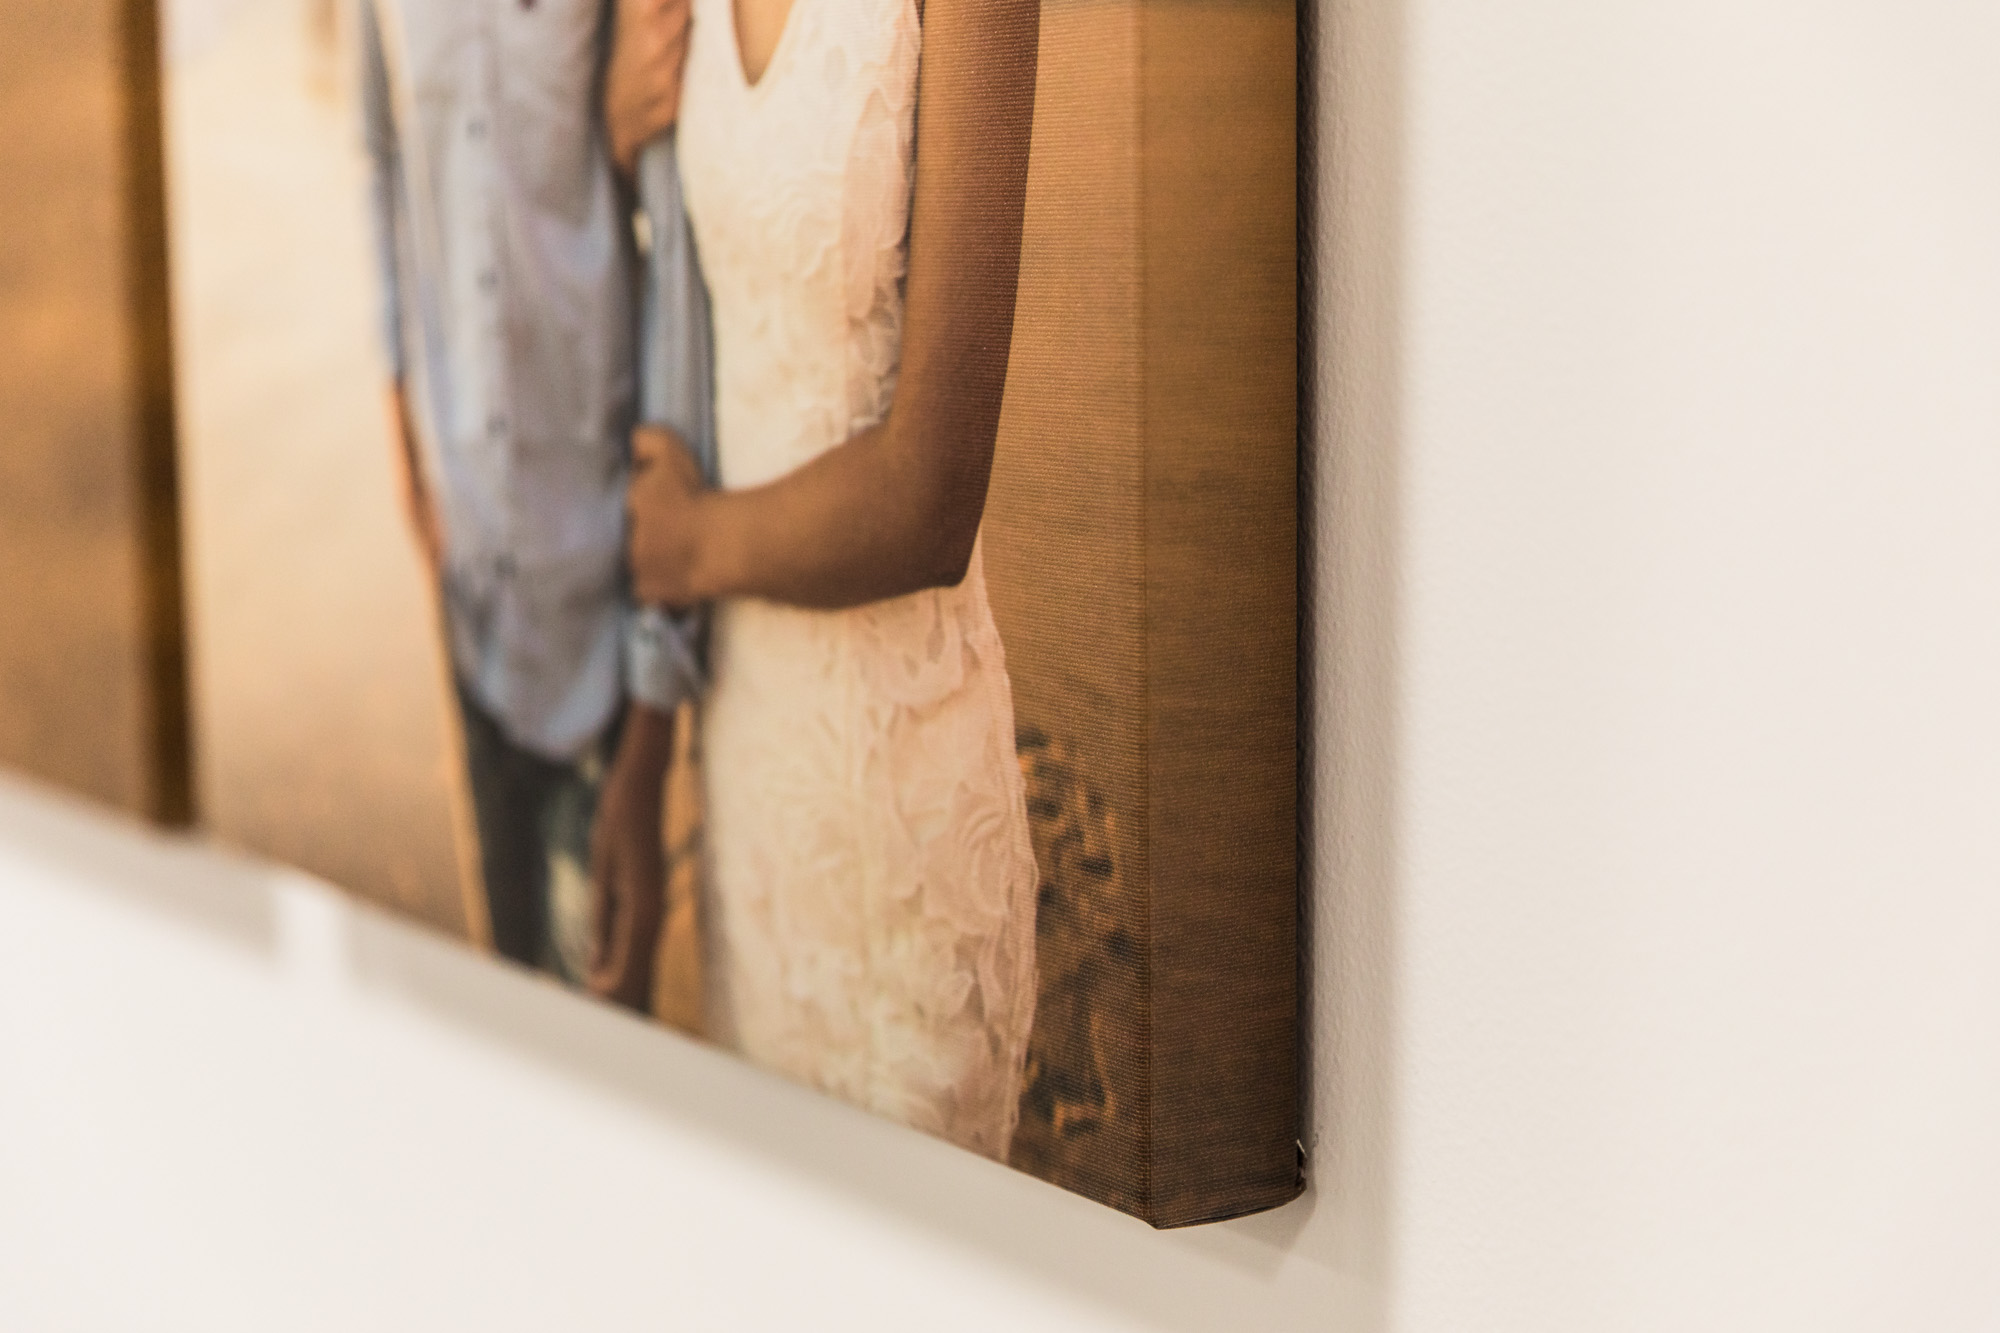
Everybody is familiar with canvases, right? They’ve proven a go-to print option for years now. In fact, a good number of wedding photographers offer a free canvas print in their packages, usually with the goal of adding perceived value as well as providing an incentive to consider other prints or albums. Canvases represent an affordable option for larger prints, and they look quite stunning when framed, in my opinion.
Cost of Goods: $35+ for an 11×14″ Thin-Frame, Canvas Gallery Wrap
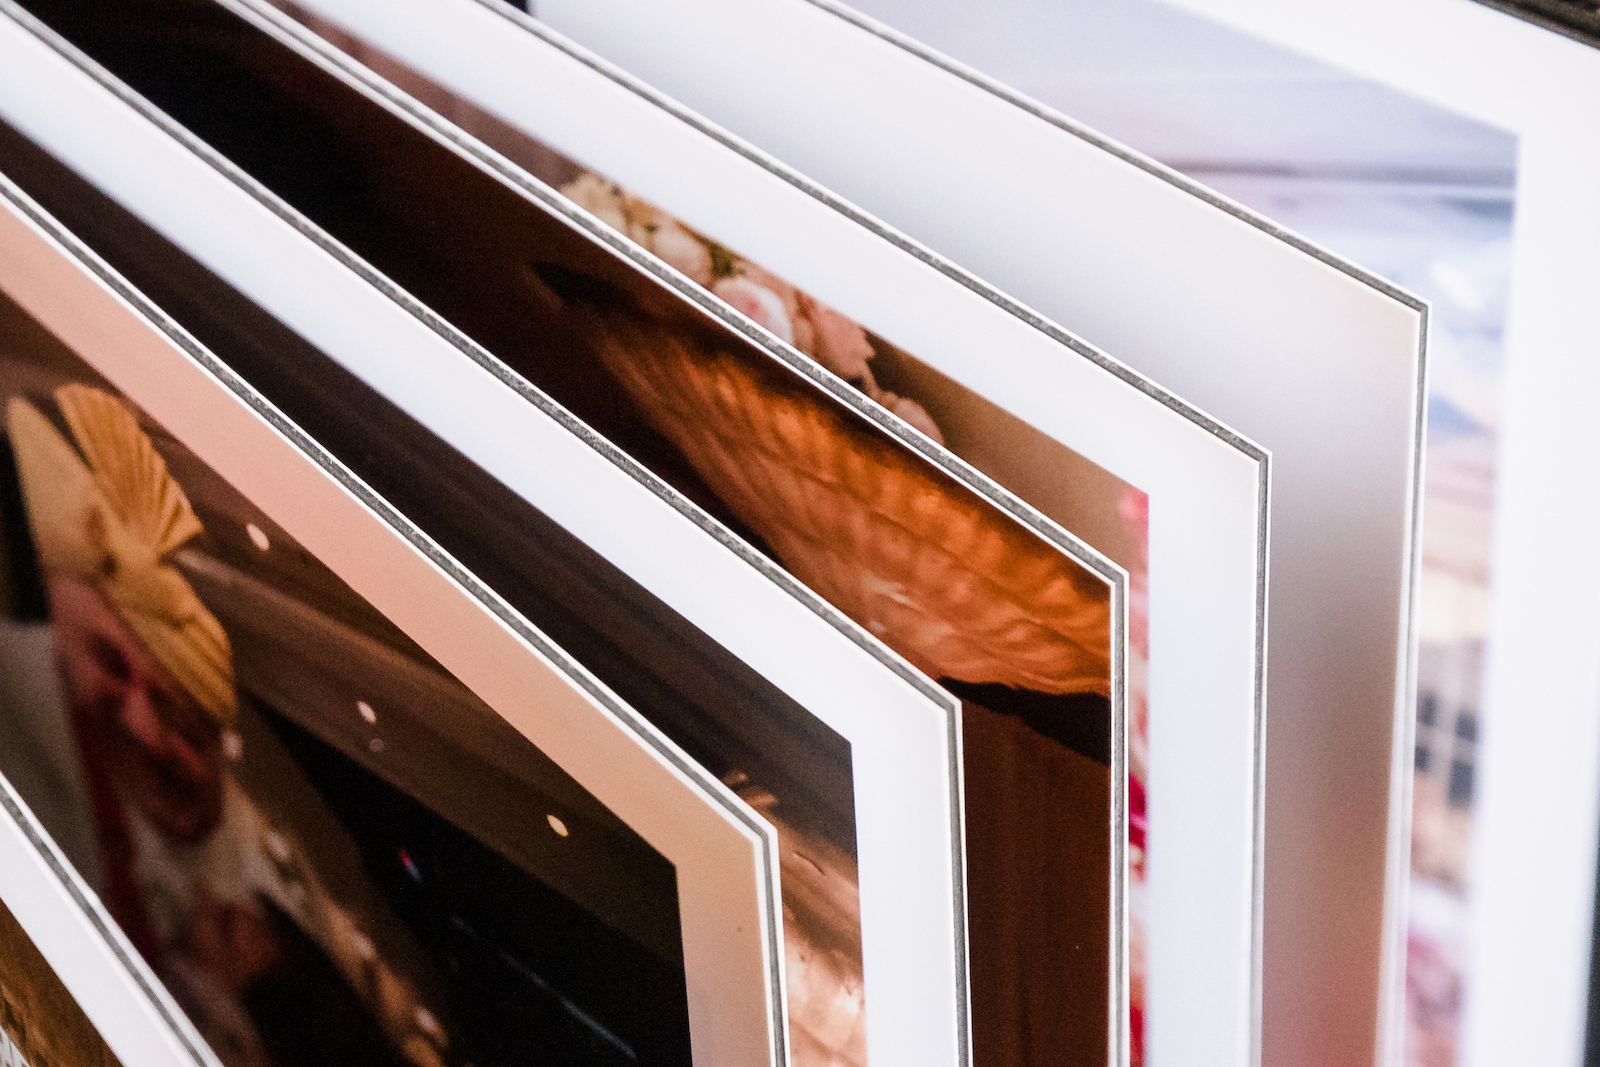
Framed Prints
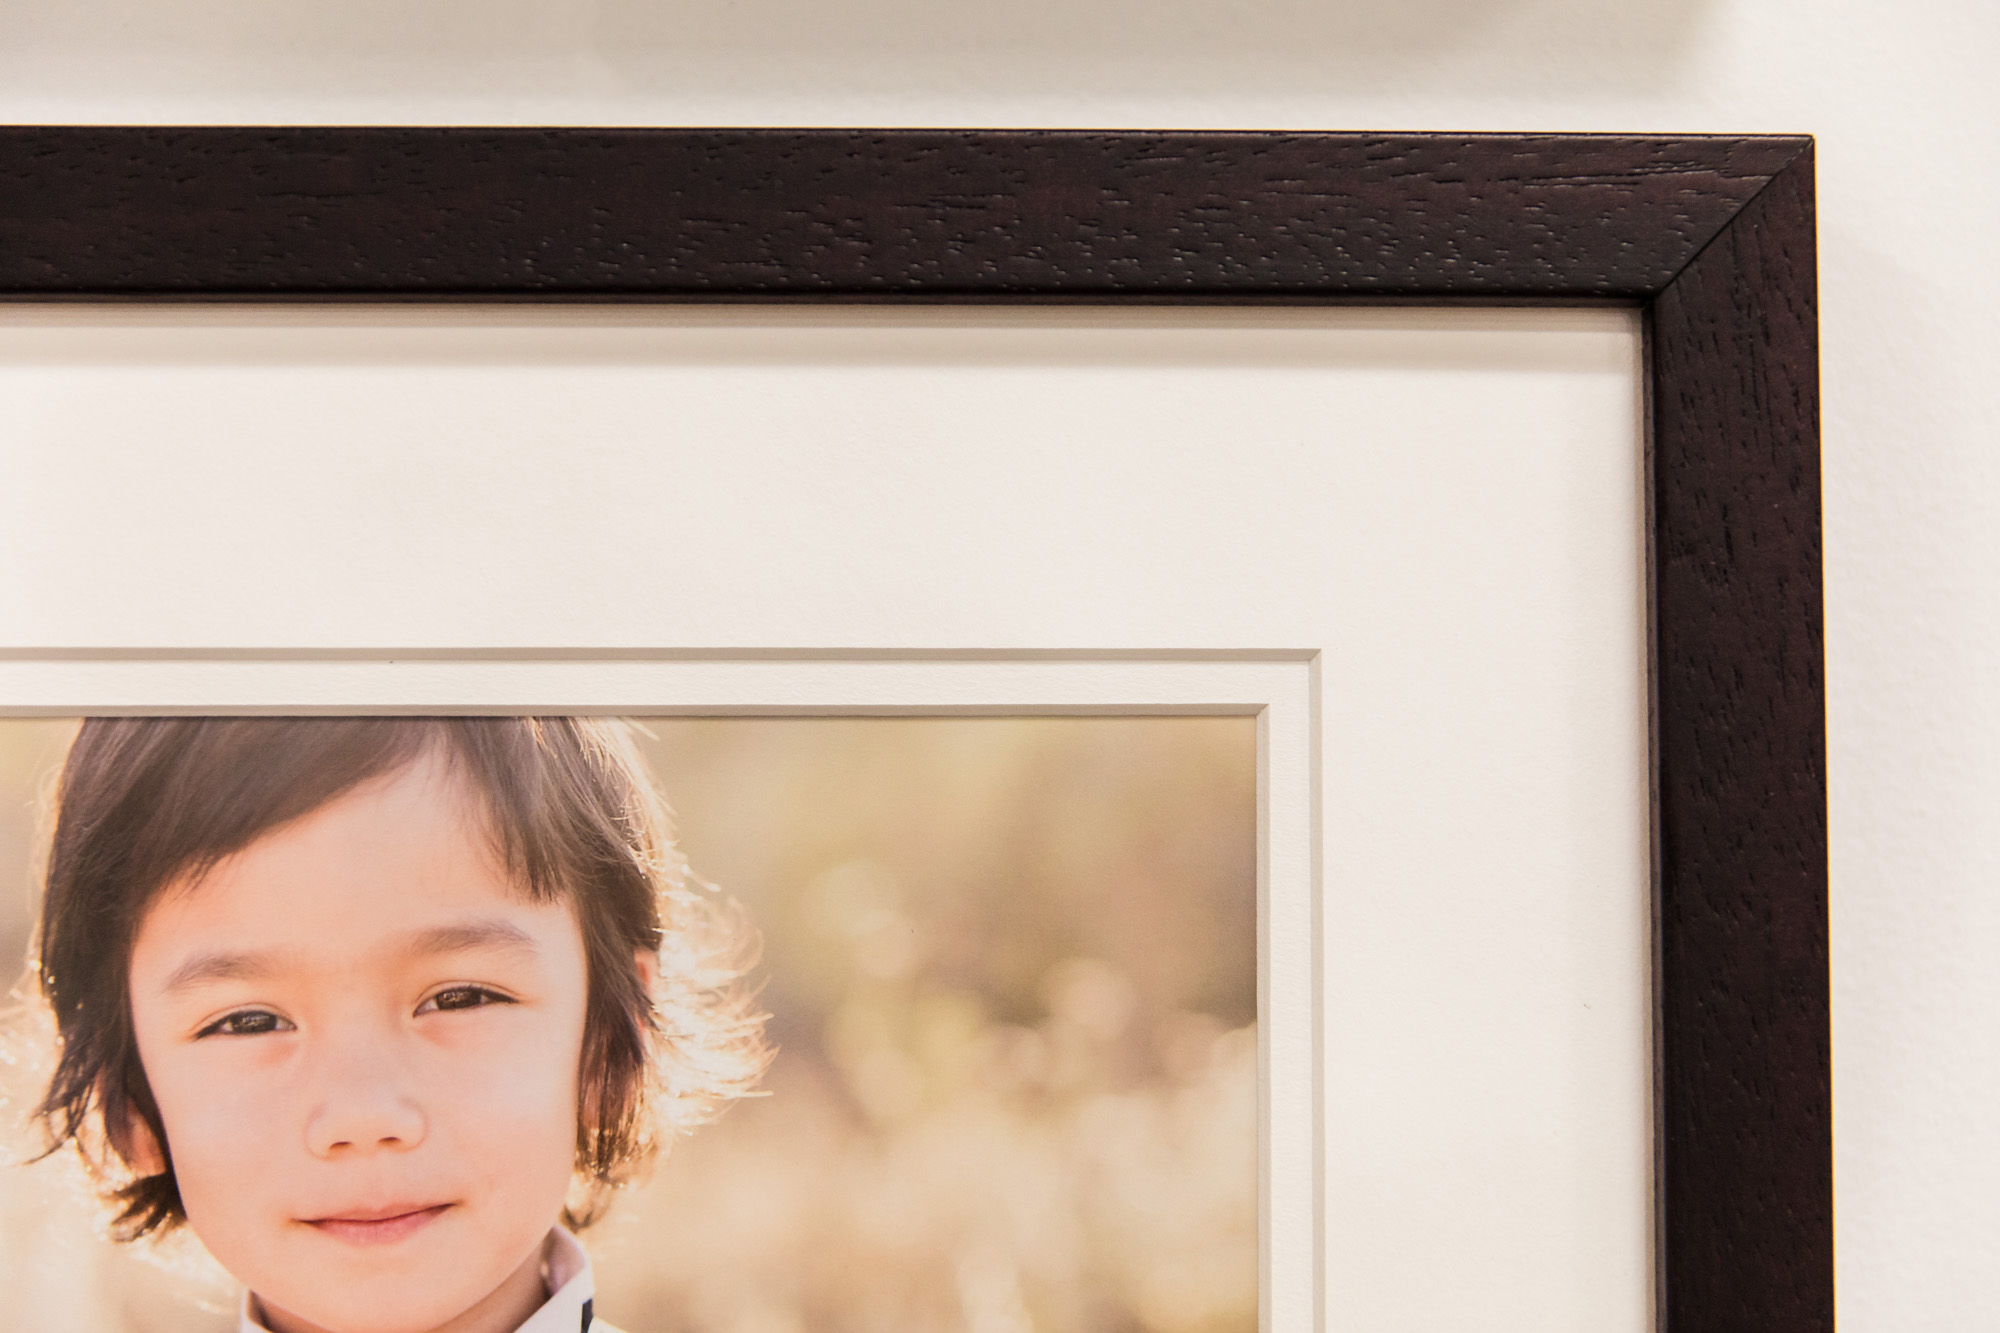
A number of decisions need to be made when choosing a framed print for wall art. Which print paper (or material) should be used? What type or color frame? What about size? You can find countless options for framed prints, featuring a number of different molding and matting options. The easiest thing to do is understand the different qualities of the available options (such as which options are more prone to glare, which are more durable, etc.) and walk your clients through their options while creating a mock-up during the design consultation. If you have the means to provide samples in your studio or home (or wherever it is you intend to host the consultation), then that can prove a big plus for influencing a sale.
Cost of Goods: $55+ for Standard, Modern 8×10″ Frame with Lustre Print
Metal & Acrylic Prints
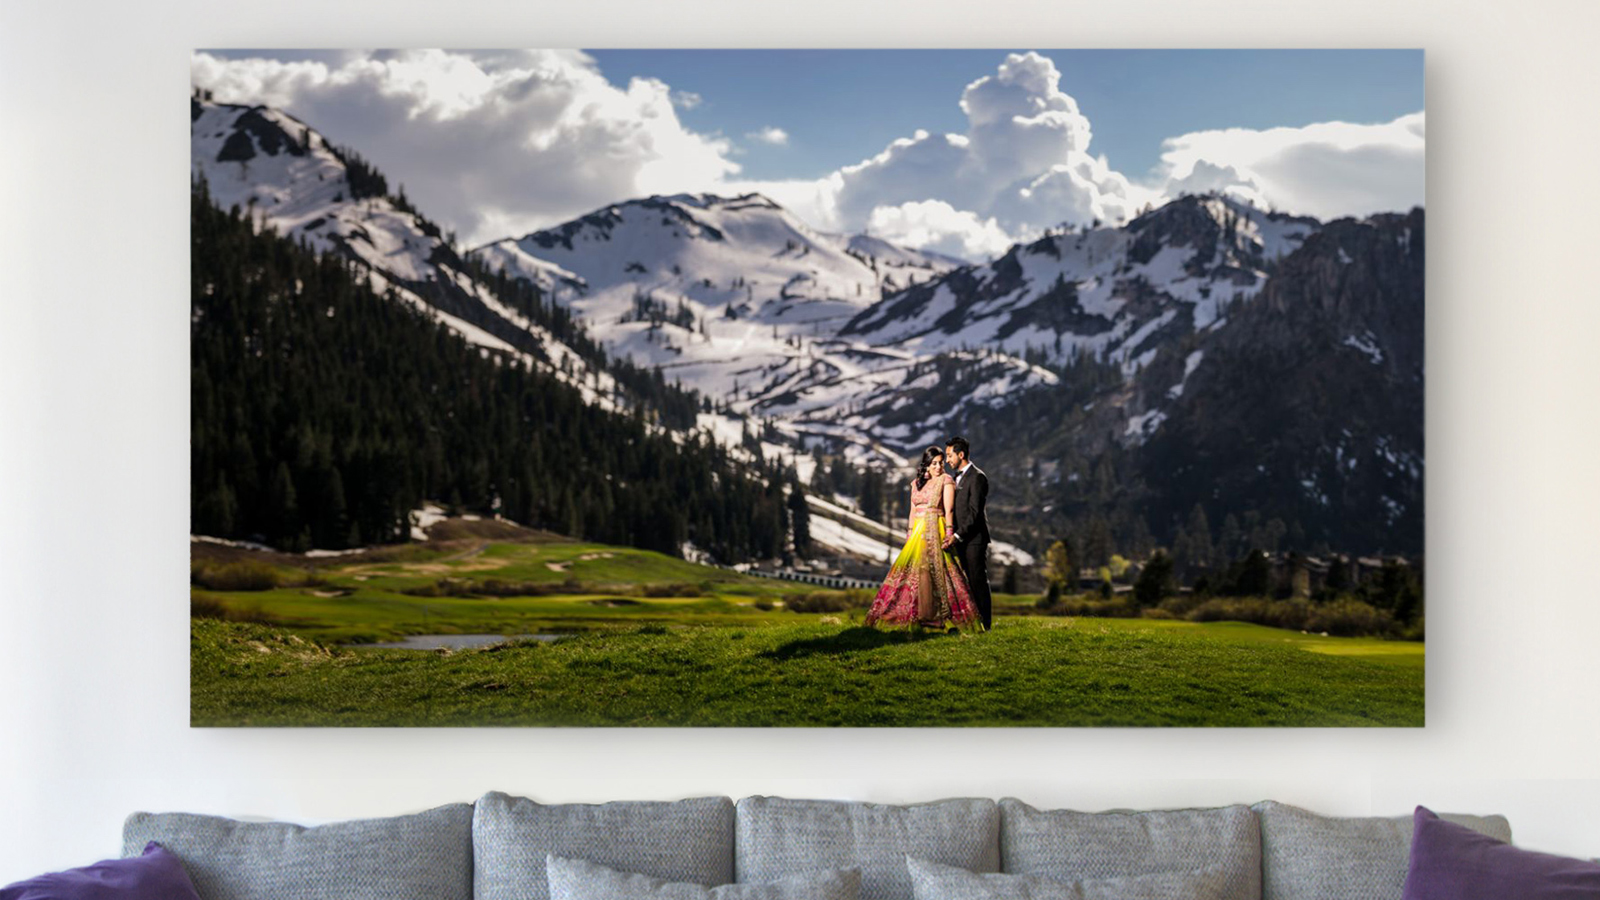
Metal and acrylic prints provide a unique and elegant solution for showcasing some of life’s most important moments. They are visually striking (these prints look especially impressive at large sizes), usually with more detail than you might find in other print options, and they’re durable. This means they’re easy to clean, they hold up to heat, they’re water and scratch resistant, and they don’t fade quickly. When you see them in person, you can instantly see their appeal, so try to have a sample on hand if possible for your clients to experience.
Check out this sample listing of different wall art collections from Lin & Jirsa Photography for more ideas and inspiration.
Cost of Goods: $60+ for 8×10″ Metallic Print
Box Sets & Cards
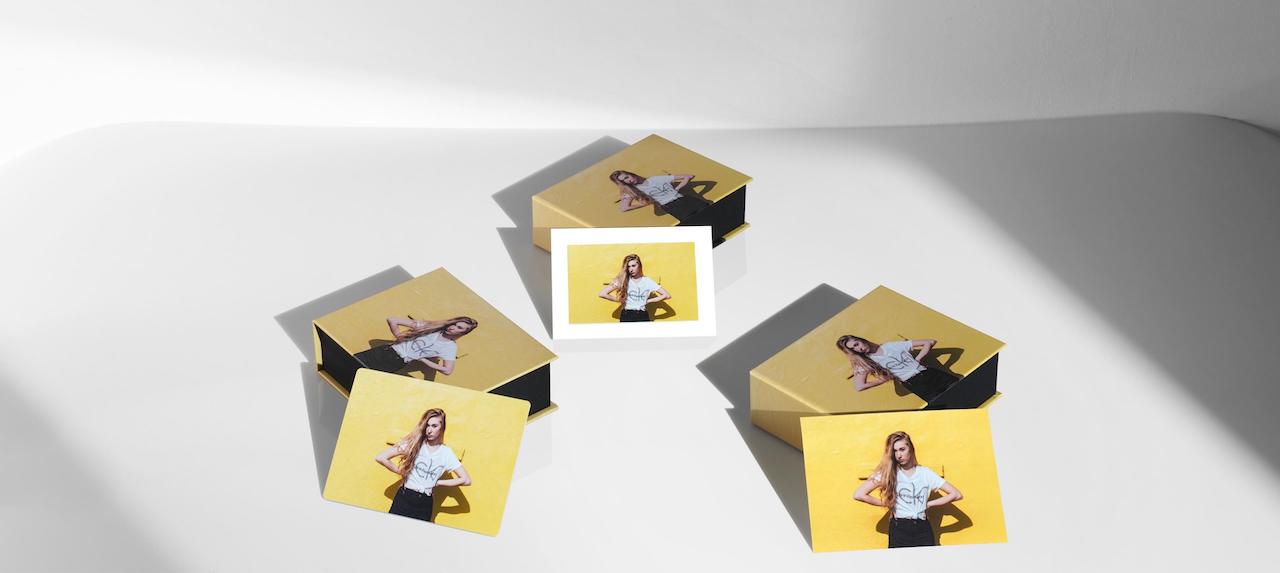
Sometimes, customers want prints but they don’t necessarily want to purchase an album or large pieces of wall art. In that case, offering quality prints at smaller sizes and presenting them in a box set will give your clients something to feel good about and add a bit of elegance to your print sale.
Depending on the occasion for the shoot, your clients may want to purchase cards as well, whether for announcements (newborn/maternity, engagements, save-the-dates, etc.), thank you’s, or holiday greetings. Be sure to include these in your offerings as well.
Cost of Goods: $38+ for Box Plus the Price of Prints
USB
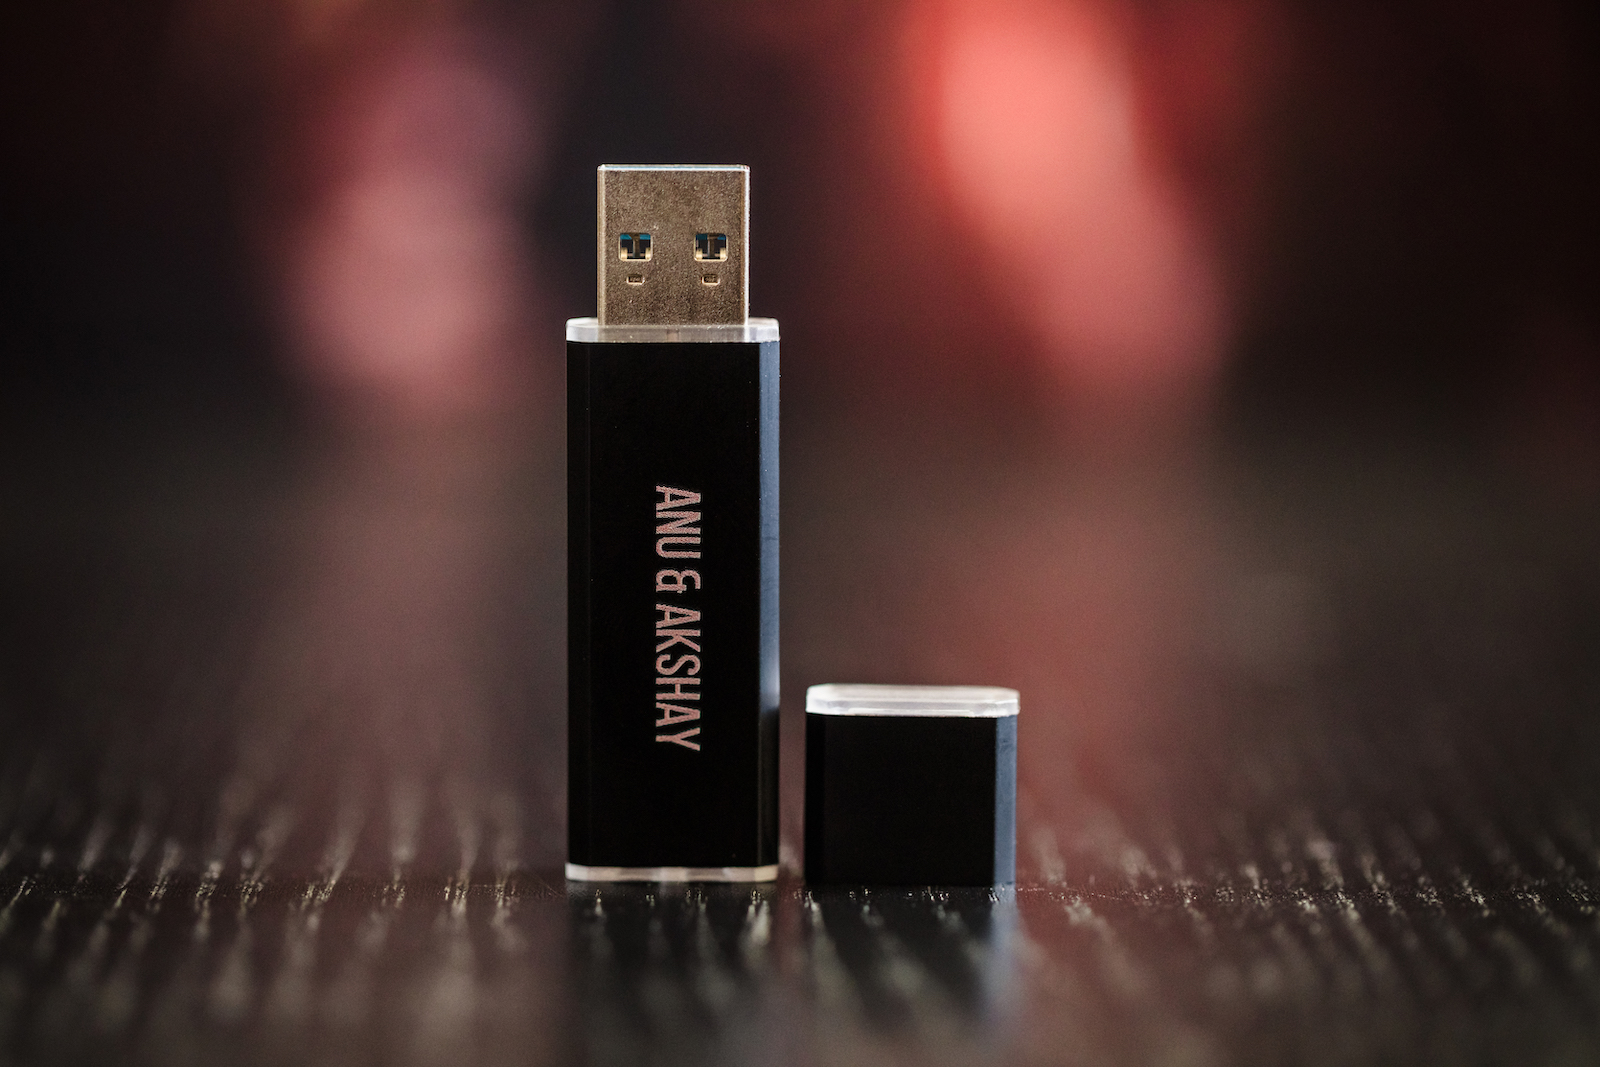
Finally, even your digital offerings can include a unique touch, like custom labeling or even a customized USB case. Most photographers share digital prints in an online gallery, which is fine, but offering them in a customizable USB package will add a special touch and help set your service apart.
Cost of Goods: $15+ for Metal, Customized USB Drive
Conclusion
I hope you found this photographer’s guide to pricing prints for maximum profit helpful. You have plenty to consider when it comes to offering printing services as part of your photography business, but using helpful tools and following a solid game plan make the task of designing and selling prints manageable, and the client satisfaction and added revenue makes it more than worth the effort.


