Adobe Lightroom is already packed to the brim with powerful editing tools and the new AI features are a welcome addition. The new AI-based masking tools optimize efficiency with surprising accuracy and can help add that extra punch to the final edit. In this video, I’ll be walking through a black and white editing tutorial using Lightroom’s new AI masking tools.
Video: Black and White Editing with Lightroom’s AI Based Masking Tools
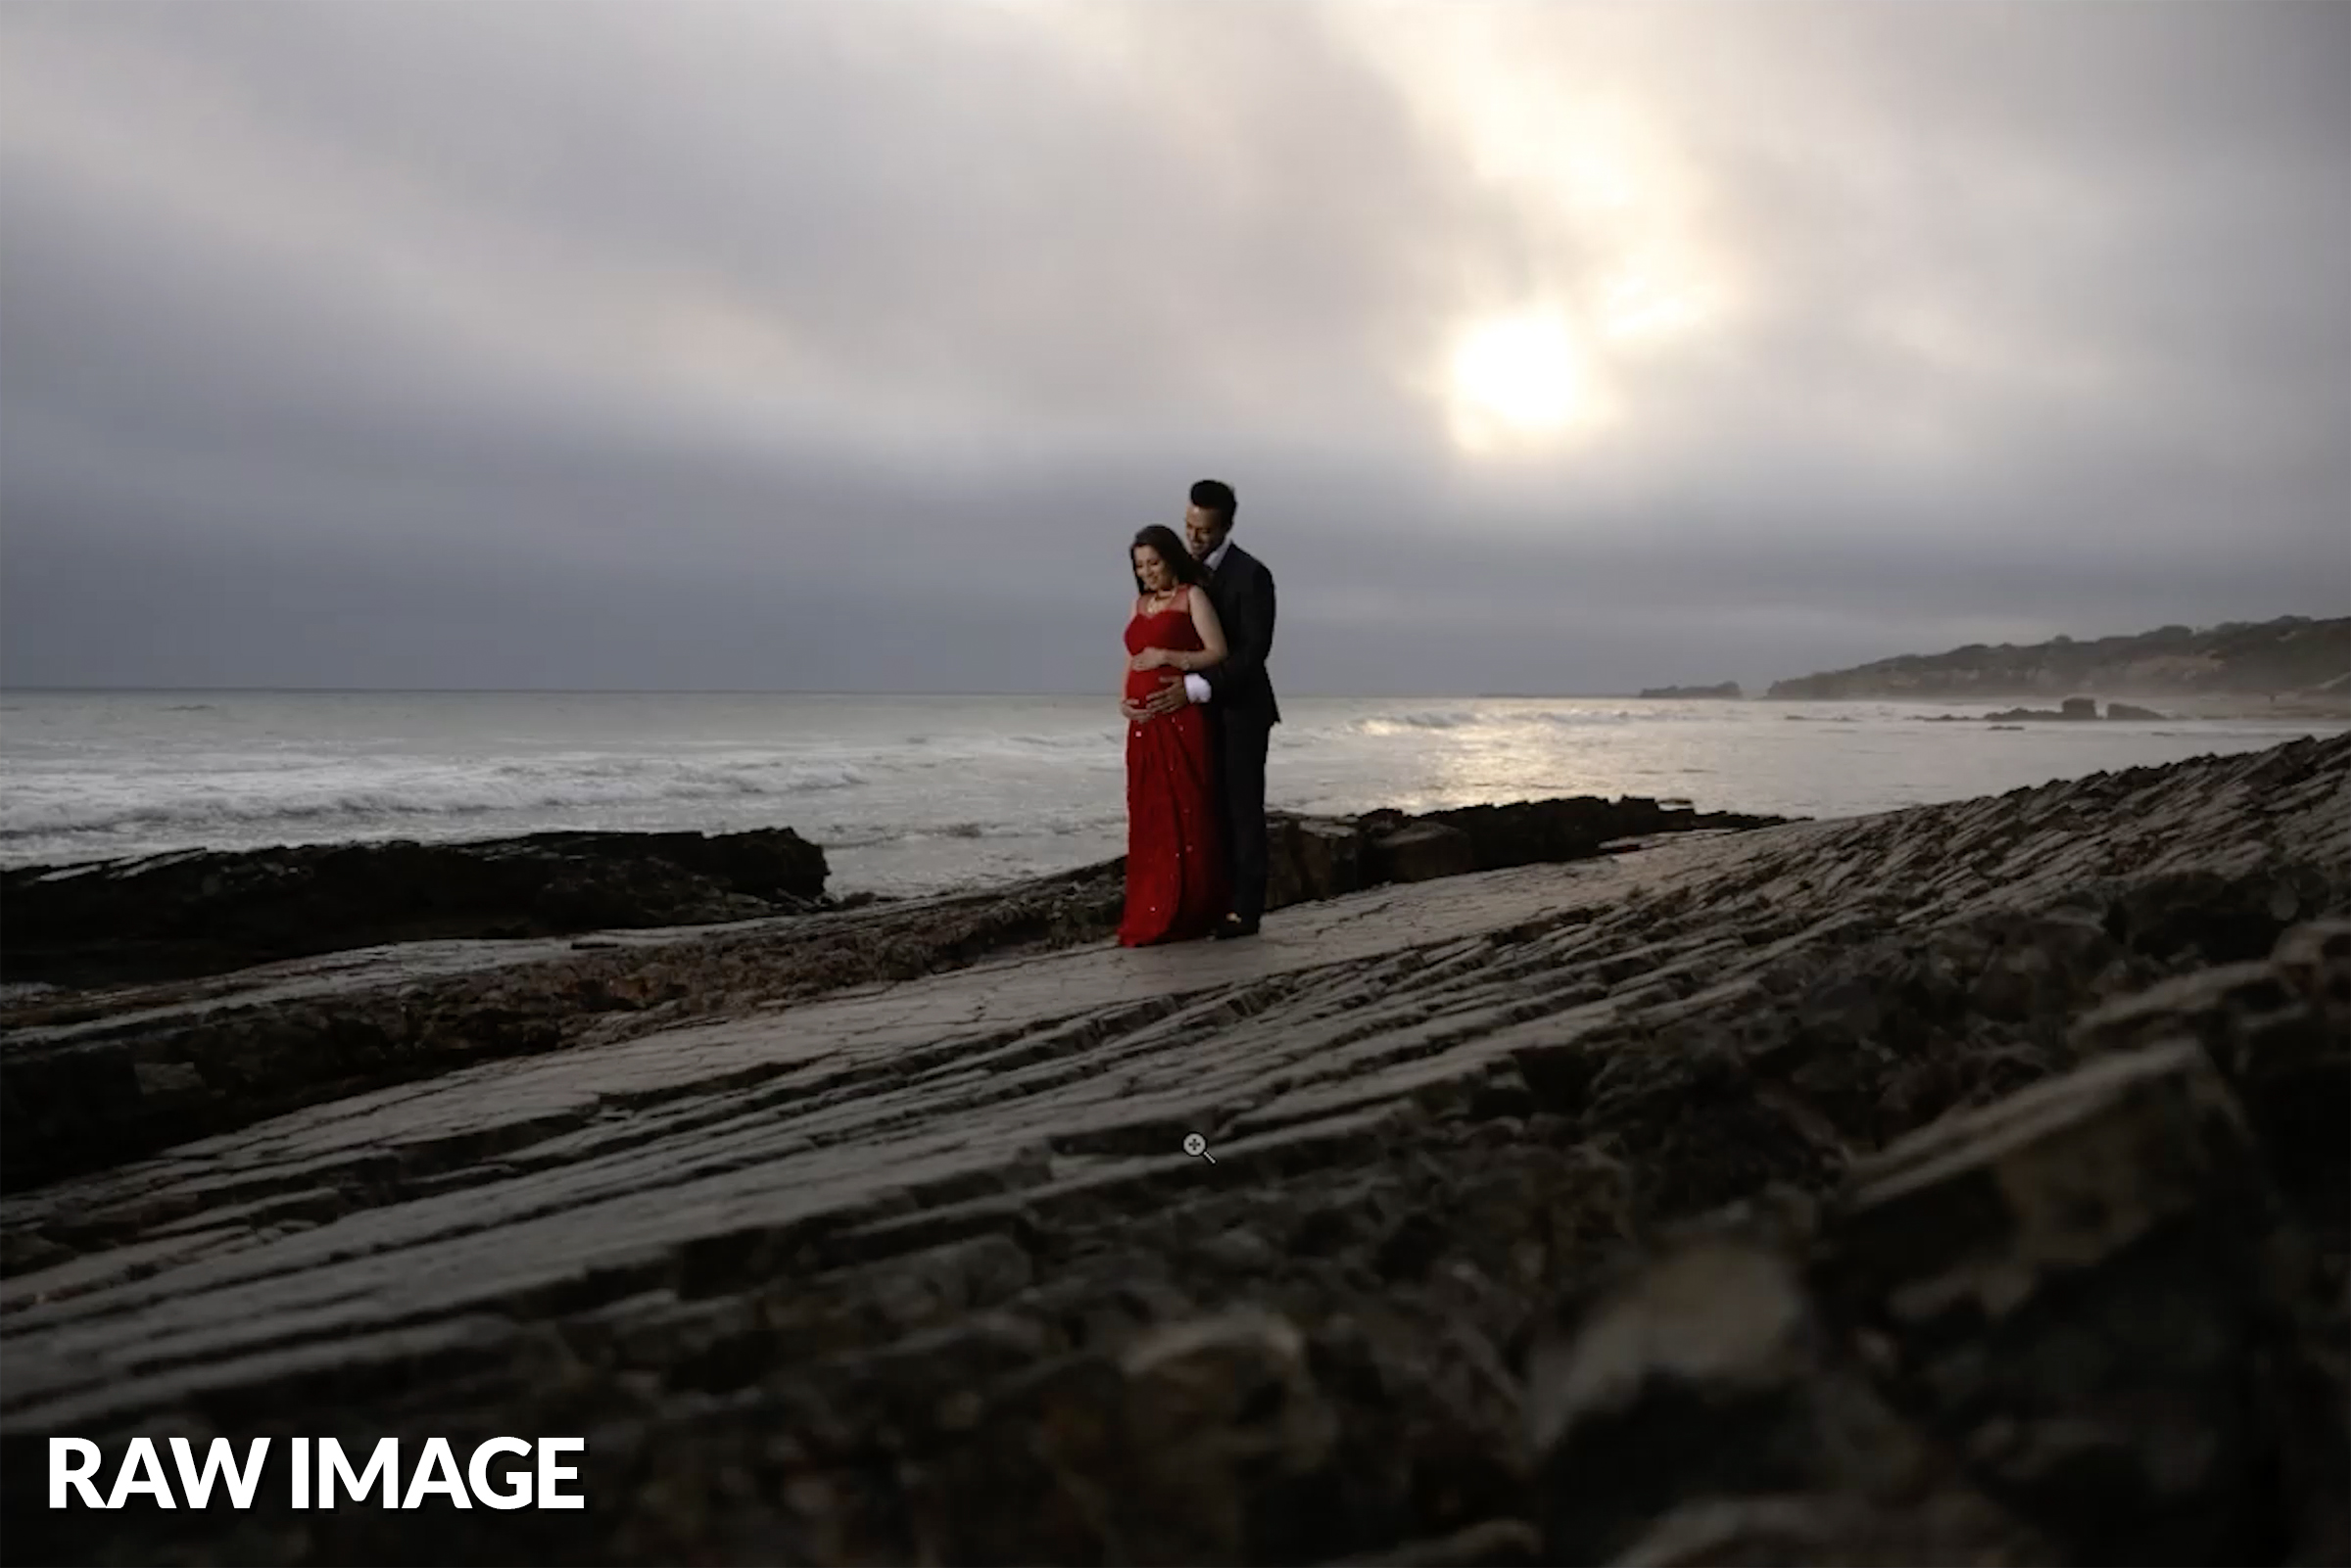
Our image today was taken on location at the beach and before we get to the edit, let me walk through how it was shot.
Capturing the Image

My vision was to take a dramatic image that captured all the detail in the scene including the sky. To achieve this, I had to add a touch of flash onto my subjects. I had my assistant hold a Profoto B10 flash and feather it above their head.

I captured the shot on a Canon EOS R5 using the RF 28-70mm f/2L lens. With High-Speed Sync, the final exposure settings landed at ISO 50, f/2, 1/1250 sec.
Post-Production
Before we jump into editing, be sure to download the exercise files here and follow along!
Global Adjustments
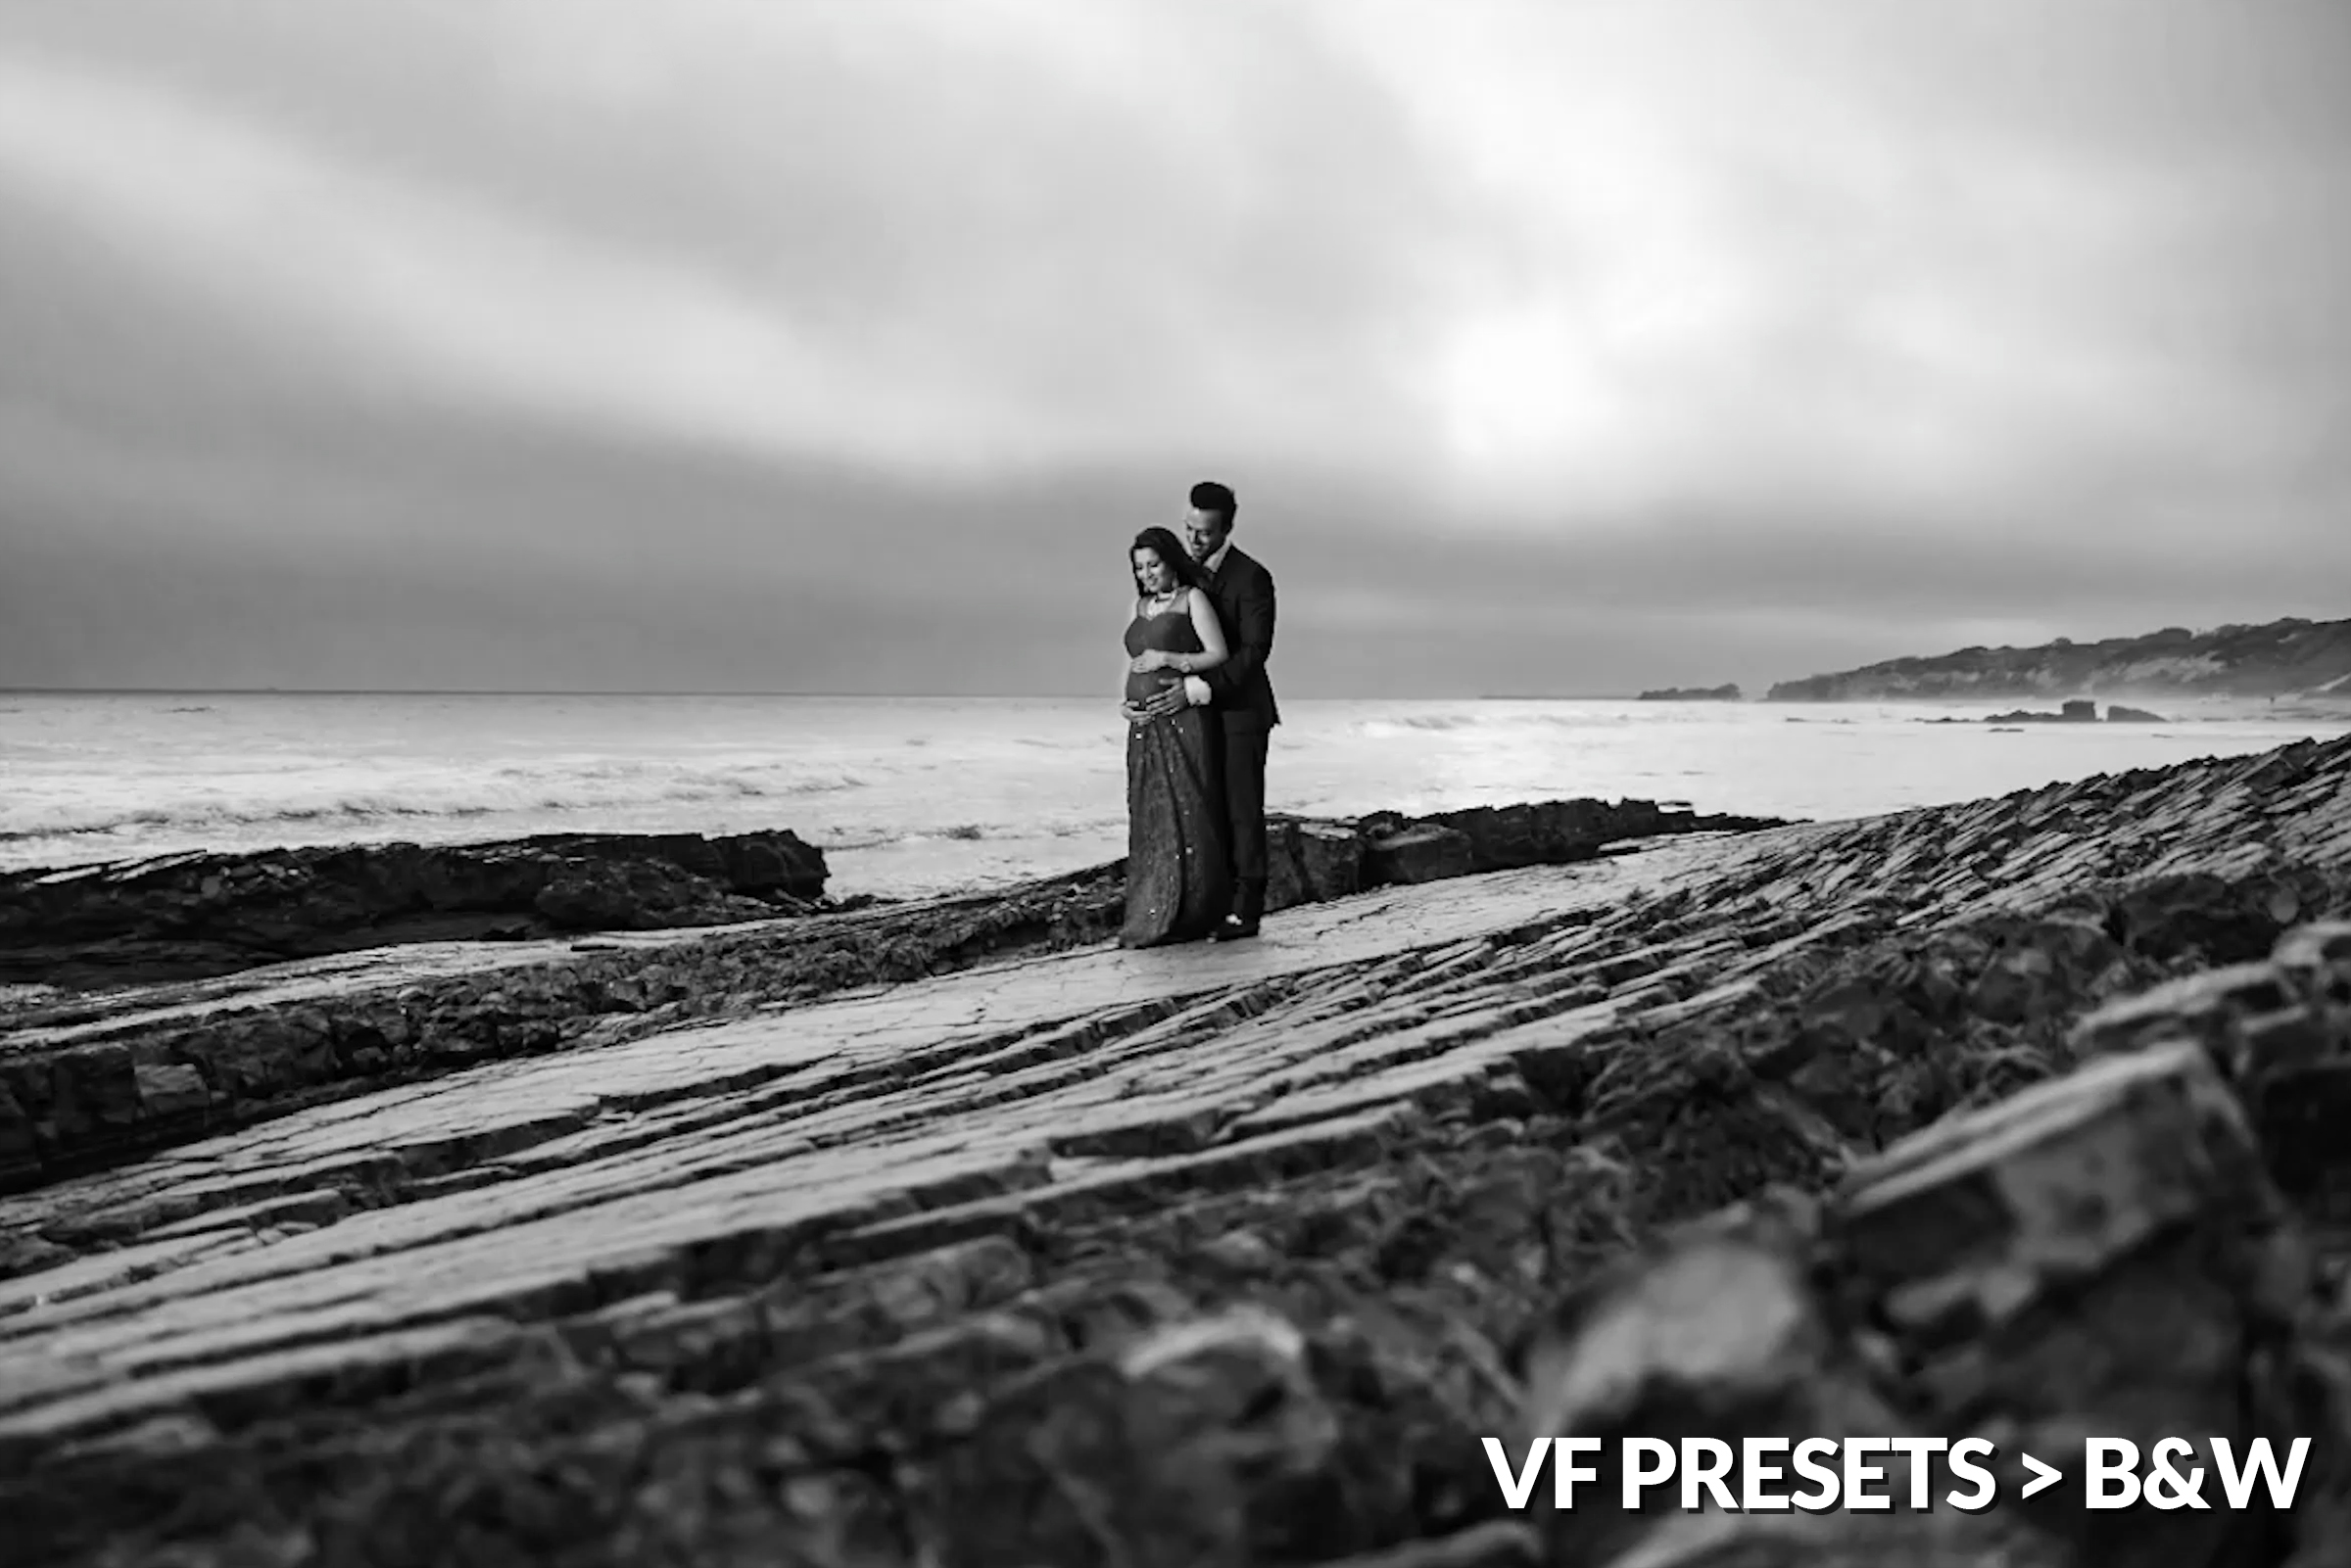
I began by dialing in the global adjustments. I used a combination of “Classic Portrait” and “Dramatic Portrait (Deep Blues)” from Visual Flow’s Black & White Presets.

After a few tweaks, here are the final settings for our global adjustments.
Lightroom’s AI Masking
This is where it gets fun. Lightroom’s new AI based masking tools helps speed up the editing process by automating the selection of our subjects or sky. This allows us to quickly apply adjustments to specific parts of the image without hand-painting our masks.
Related Reading: Advanced Masking in Lightroom Using New AI Features

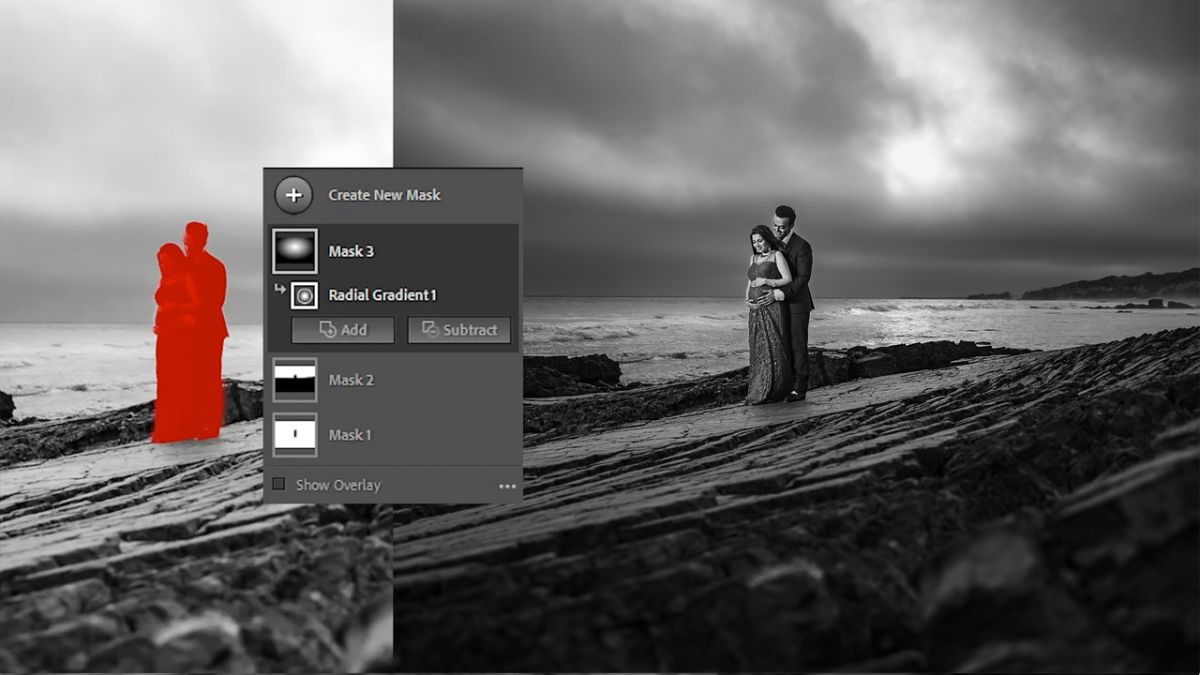
I created a new mask and hit “Select Subject.” This will automatically create a mask of our couple.

I then inverted the mask to darken everything else around them. Fix up any missed spots on the mask using the brush.

The great part of this new feature is the ability to stack the automatic masks. First, hit “Select Sky.” Then, under “Subtract,” go to “Select Subject.” This will leave you with a mask of just the sky.


Then, make your adjustments.
The Final Image
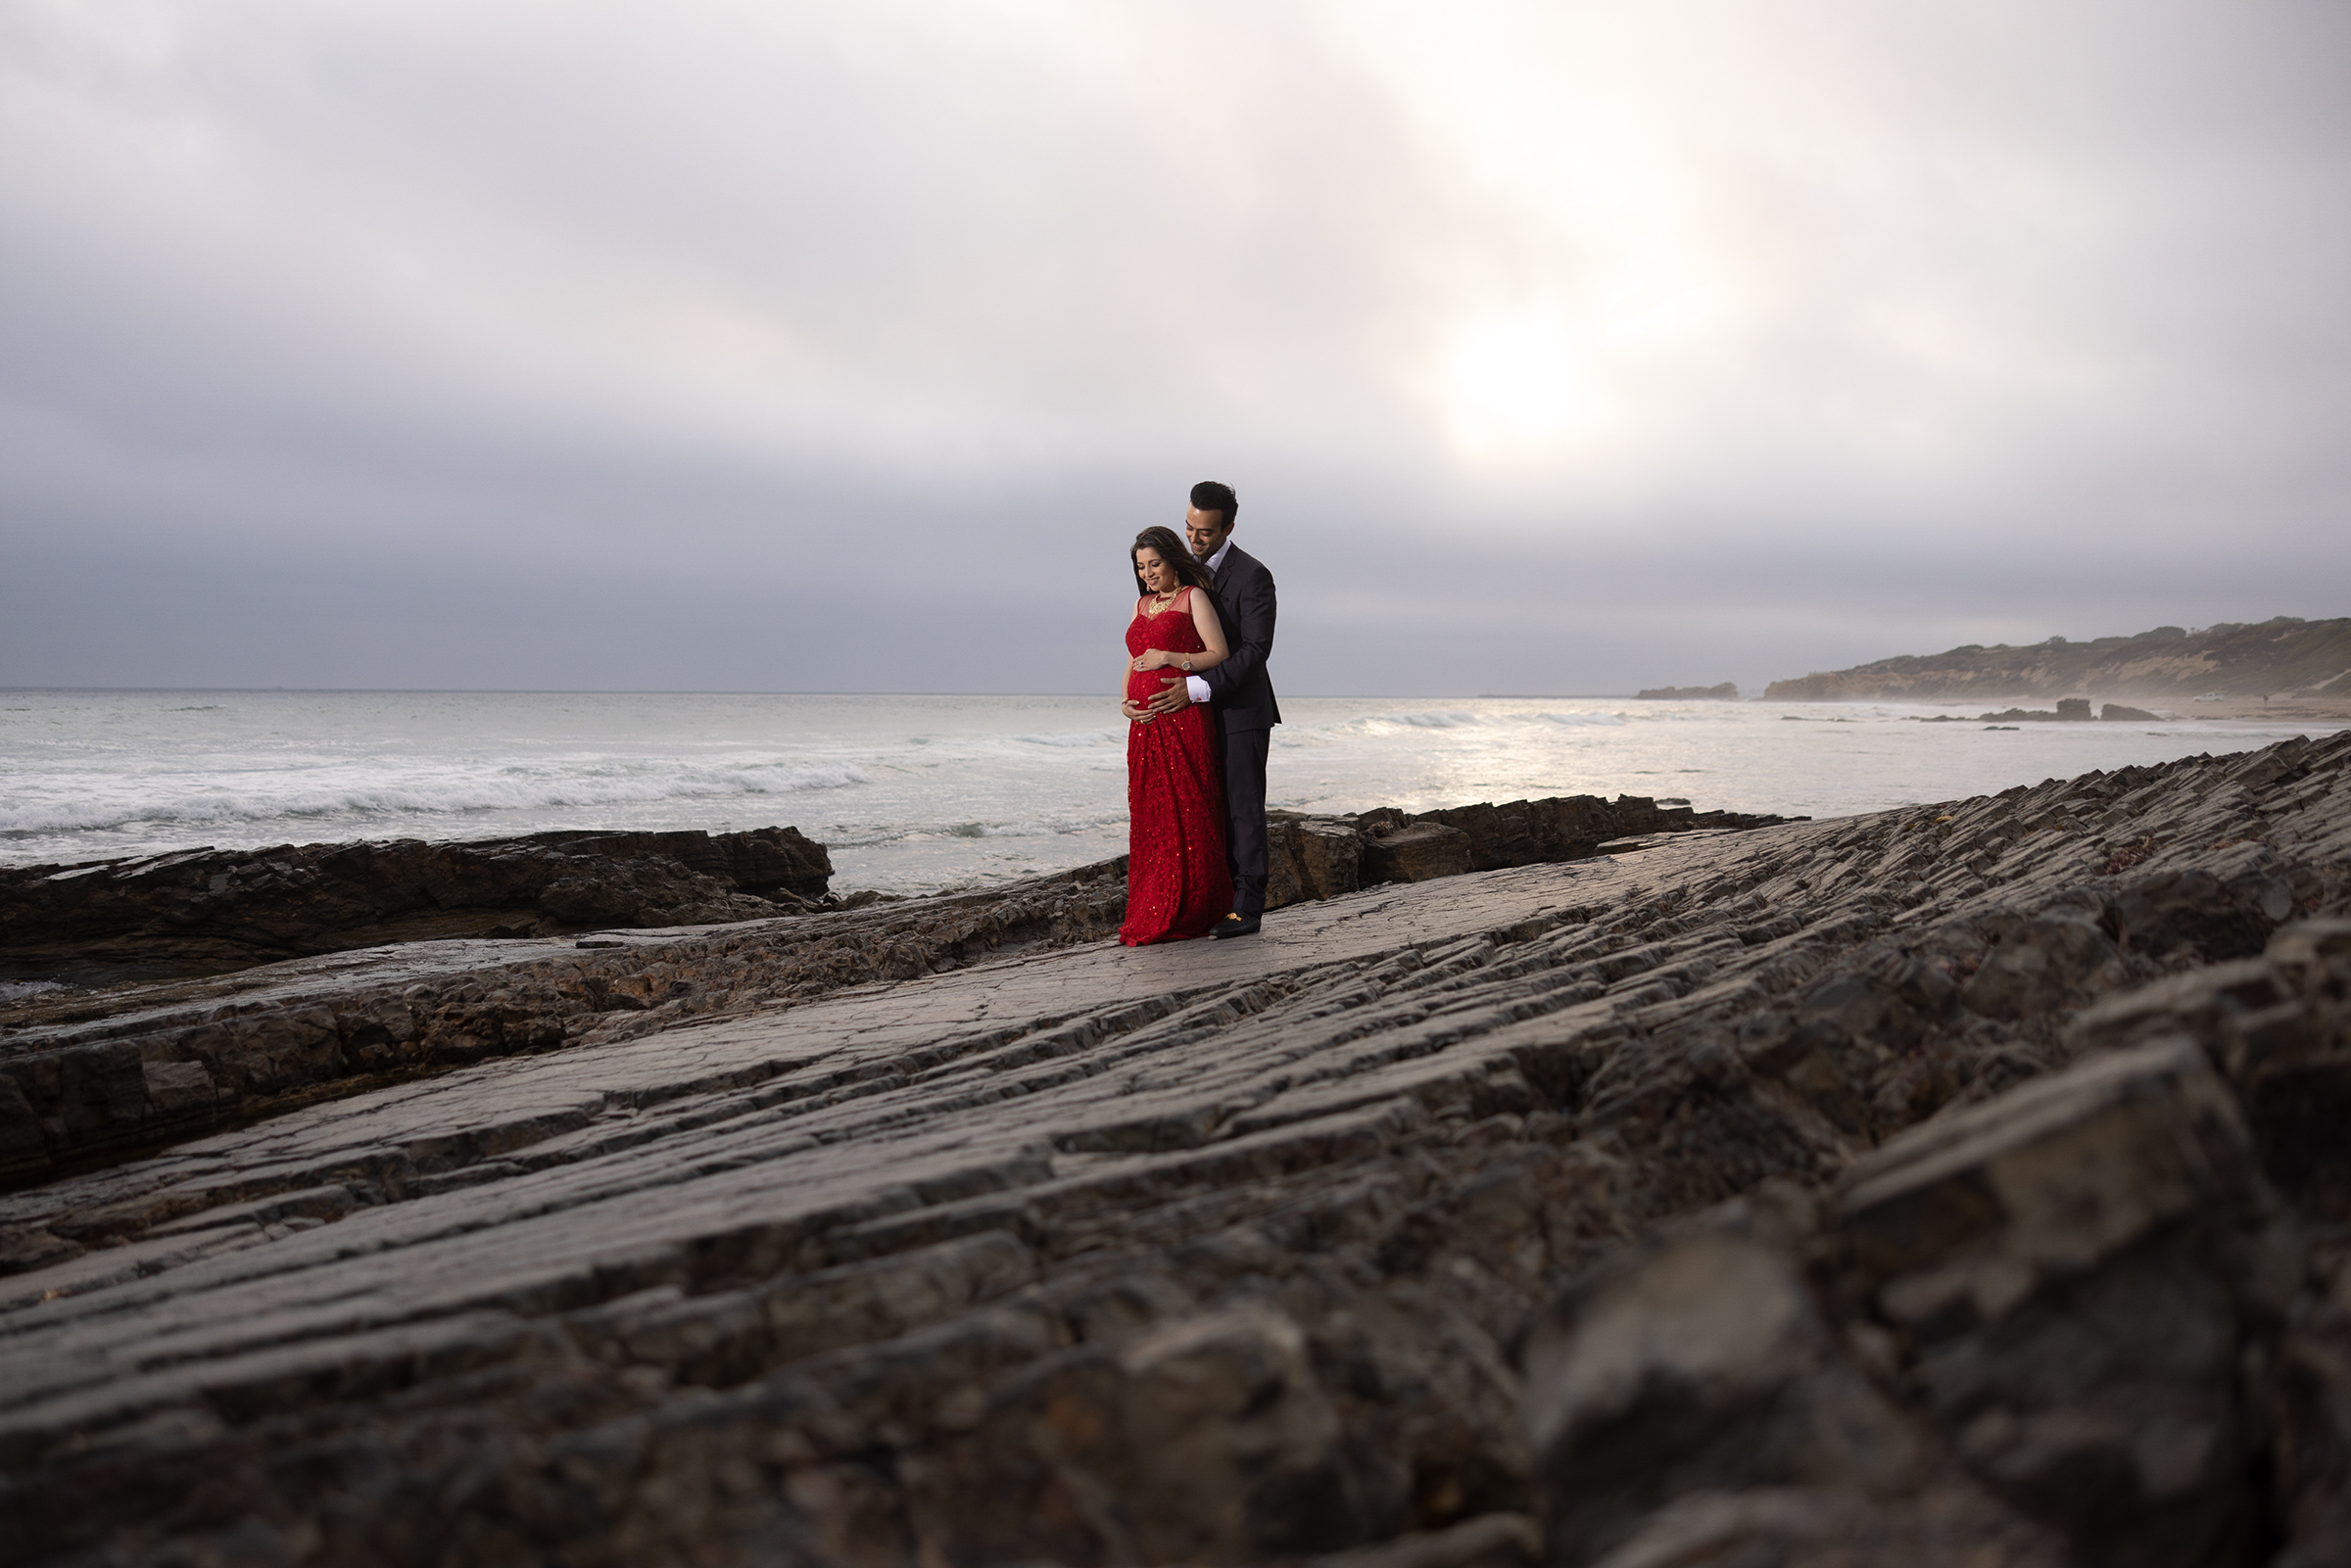
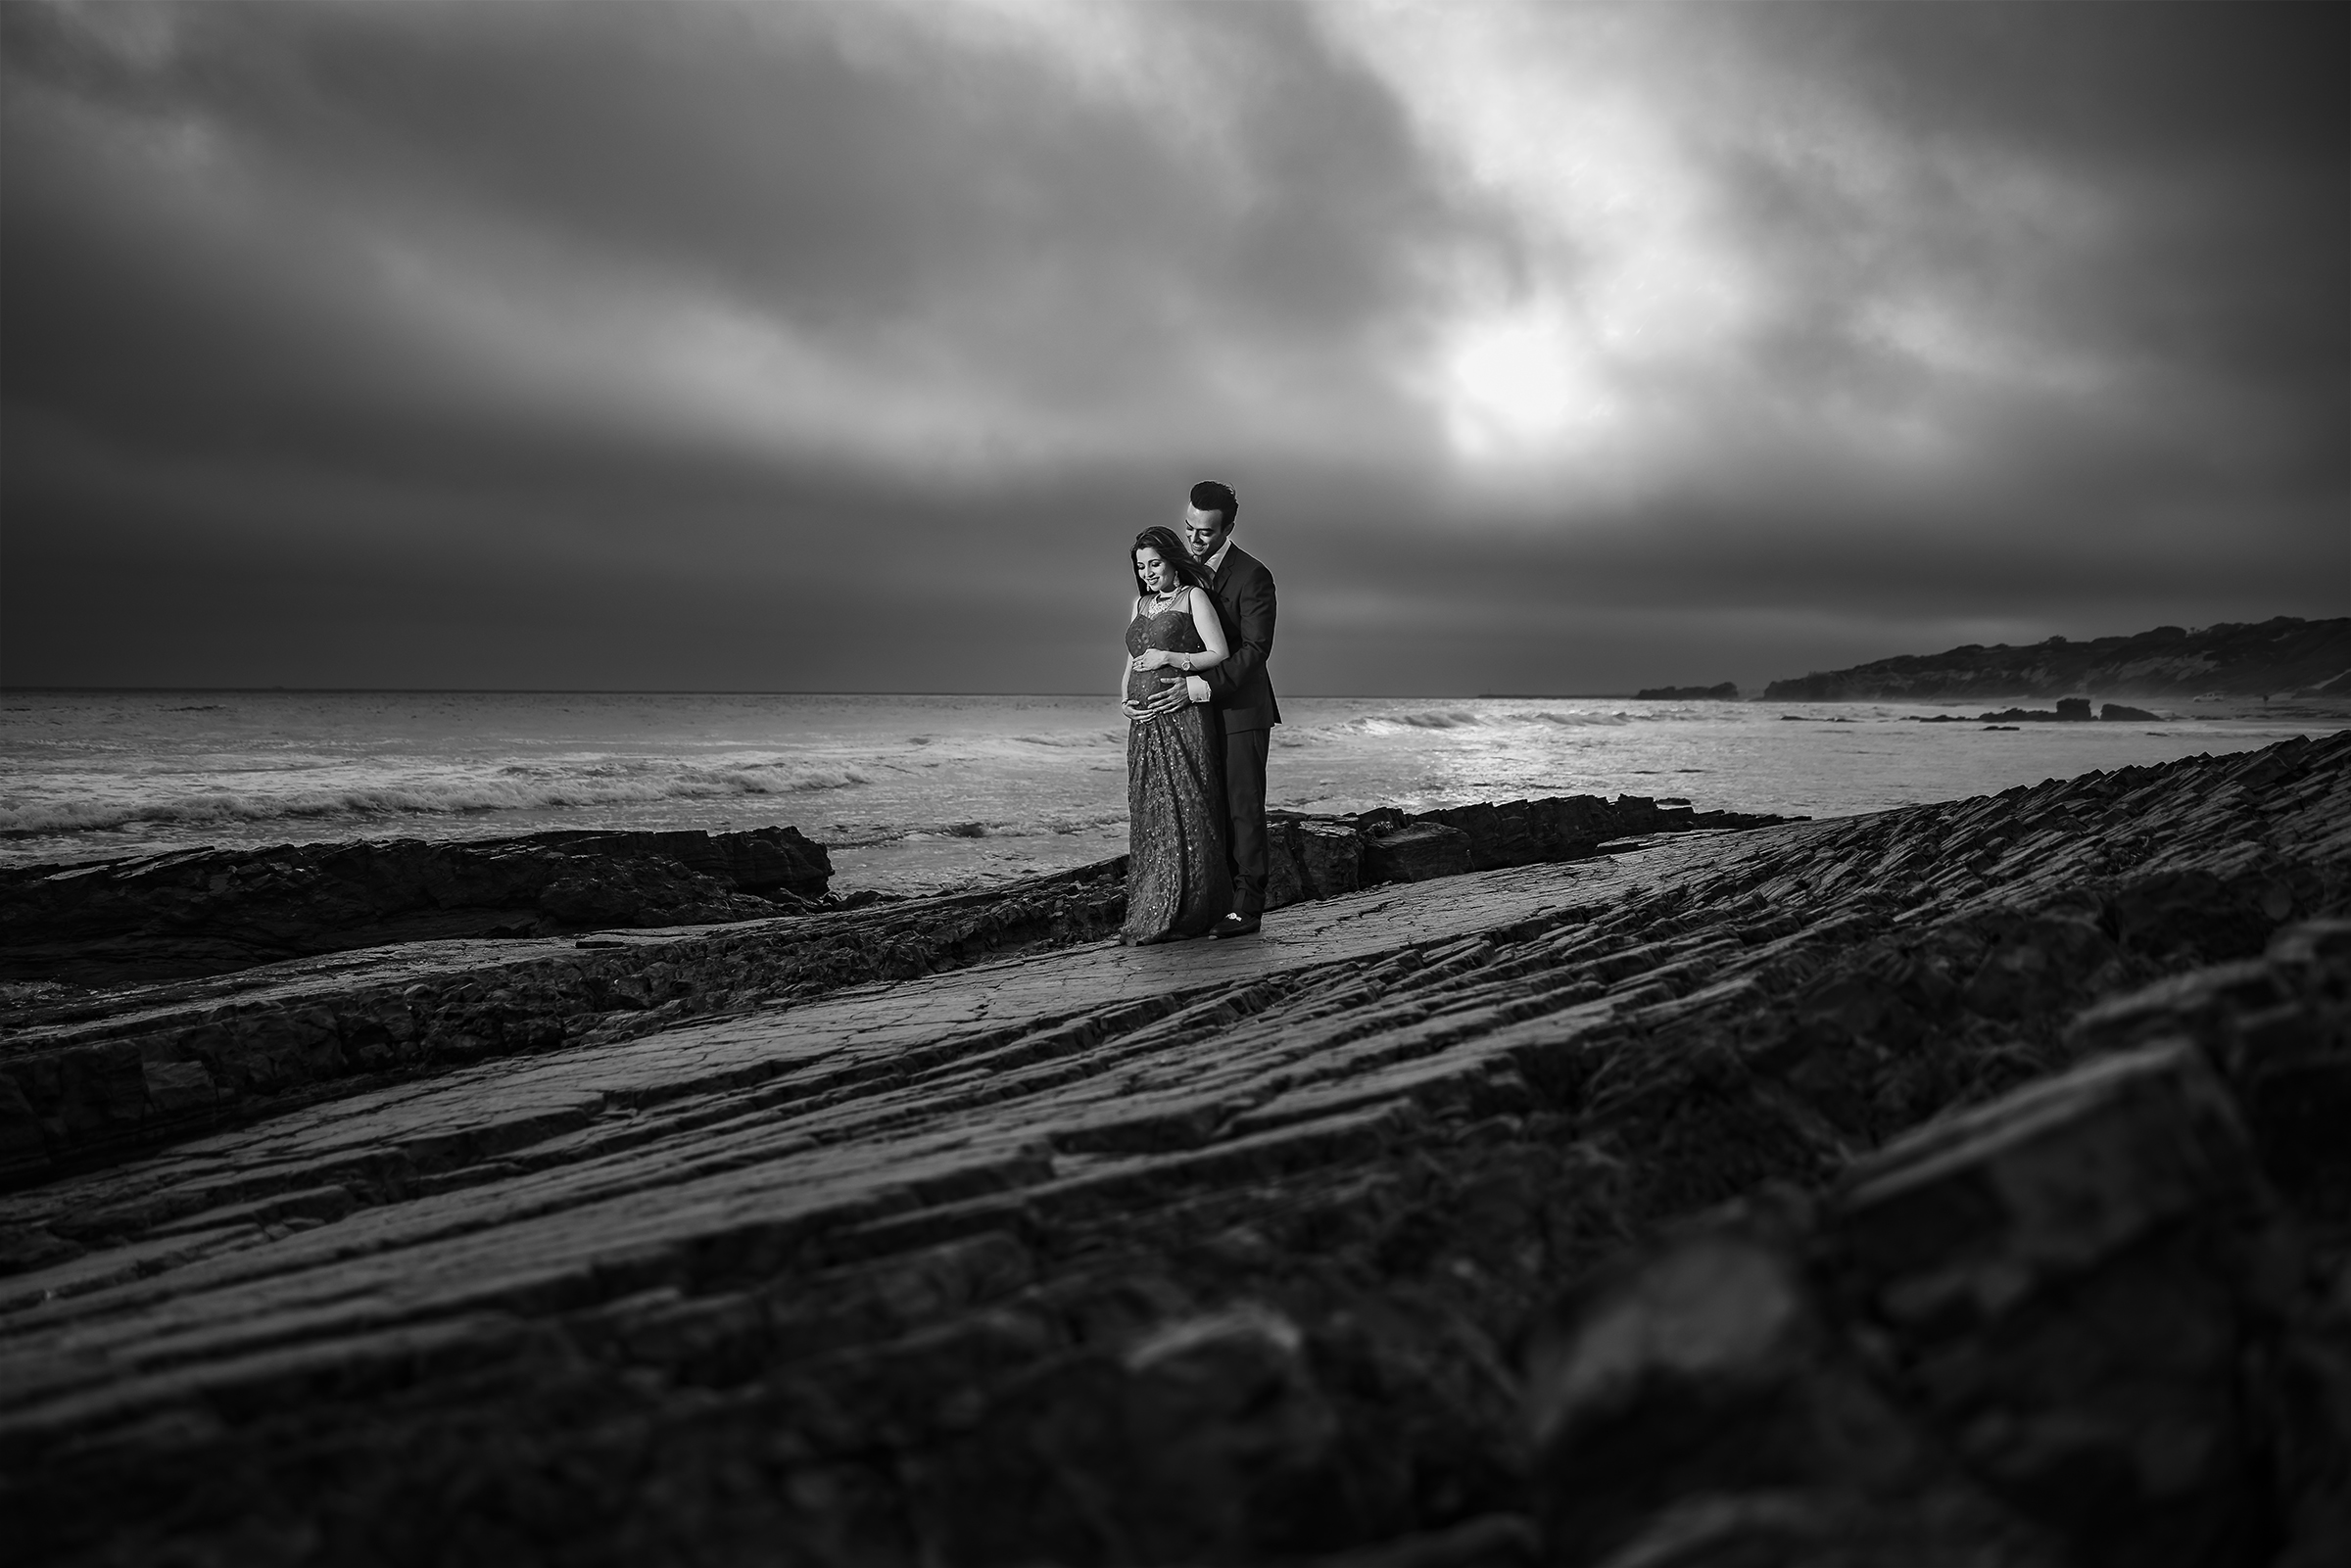
After adding a simple radial filter for a vignette and a graduated filter over the sky, this is my final image.
Conclusion
I hope you enjoyed this article/video. Lightroom’s new AI based masking tools opens up the doors for incredibly easy and epic black and white editing. To learn all about editing in Lightroom, you can check out the Mastering Lightroom Course on SLR Lounge Premium. For some great Black and White presets like we used today, check out Visual Flow‘s collection of intuitive presets for all lighting conditions.
Don’t miss our next episode of Mastering Your Craft on Adorama’s YouTube channel next week! If you want to catch up on all the episodes, make sure you check out our playlist!