In this video, we’re going to create a black and white Luminar presets packed with high detail for street portraiture using Luminarᴬᴵ’s powerful system. Make sure you download Luminarᴬᴵ (you can use the code SLRLOUNGE for $10 off!) to edit with me!
Video: Creating Luminarᴬᴵ Presets for Street Portraits
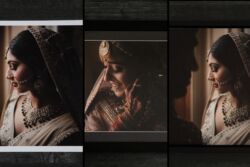
Street portraiture is one of my favorite niches of photography that has turned into somewhat of a hobby over the past couple of years. There is something so beautiful about capturing random strangers just going about their day and living their lives that I like to contrast against posed wedding portraits. In this tutorial, I am going to create black and white Luminar presets specifically for the gritty look of street portraits. In order to follow along with this Luminar presets tutorial, make sure you download the exercise file that corresponds with this video.
Luminar Presets: How to Create a Template
1. Creating the Black & White Luminar Presets
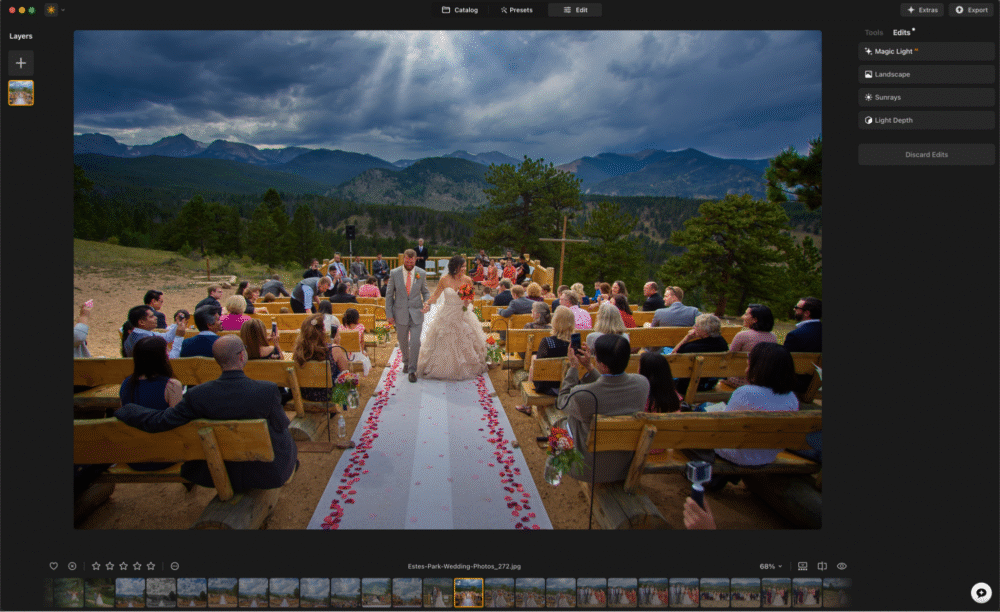
Even though we’re going to be converting this image to a black and white, I do like to have a starting point where we have the right exposure and white balance because it will affect the black and white mix. This follows my process of making the largest adjustments first and then working our way down to the smaller enhancements. Next, we convert the image to black and white under Luminance and Saturation which gives us the ability to dial up the brightness or the saturation of any of all the tones in the photo. Here is a screenshot of my final adjustments to the color:

2. Enhancements & Fine Tuning
Now that we’ve got our colors and tones dialed in, let’s start enhancing the image to really bring that street portrait punch to the edit. Luminar presets are so handy once you’ve fine-tuned your style and edit because then you can batch process a bunch of images to look consistent and cohesive. In this section, we are going to dive into multiple portions of the AI enhancement tools to bring out that detail and grit that you find in street portraits. Here is a closer look at some of the changes I made for these black and white street portraiture Luminar presets
Related Reading: Cinematic Street Portrait Presets Using Luminarᴬᴵ
 3. Save as New Template and Add to Luminar Presets

When you’re creating Luminar presets you really want to have all the different settings dialed in because you’re going to be applying the preset on multiple images. In order to save this as a template, you’re going go to ‘My Templates’ and name and save out this template. I usually struggle with naming these on the spot but I have a good one for this one – Intense Black and White Street Portrait…creative, I know.
Final Before/After


Make sure you download Luminarᴬᴵ (you can use the code SLRLOUNGE for $10 off!) to save the settings seen in the video and create this street portrait Luminar preset for yourself!