Everyone loves a good bokeh effect, right? But sometimes, Photoshop can leave you scratching your head when trying to apply one. Luckily, bokeh doesn’t have to be hard! And Aaron Nace at PHLEARN is here to show you how to do it!
Applying a Cool Bokeh Effect to Your Images in Photoshop with PHLEARN
Recently, Aaron uploaded a video to his popular PHLEARN YoutTube channel on how to add bokeh to your images in Photoshop.
“This is such a cool effect, and guess what—it’s incredibly easy to do,” assures Aaron at the start of the video.
In order to get this cool effect, you’ll need TWO things:
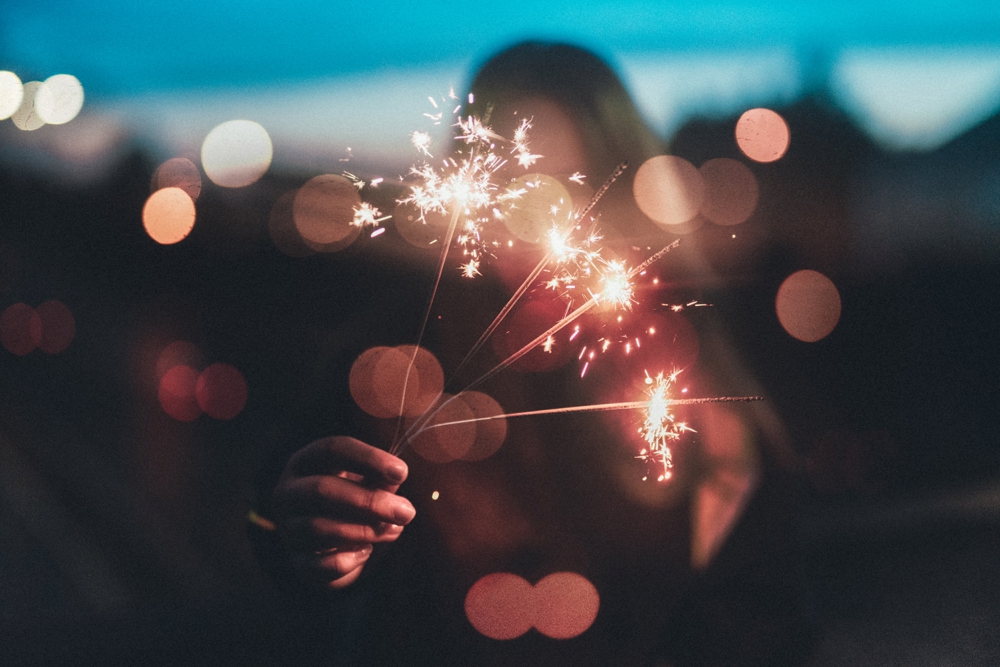
- An image of your choice that you’d like to apply bokeh to.
- An image of some cool bokeh.
- Adobe Photoshop.
…Okay, three things…
And don’t worry if you don’t have any images on hand, because Aaron has so kindly provided the image files he’s using in the video for you to follow along! If you DO want to use your own unique images, you can always check out a free stock image website like Unsplash.com and grab whatever images you’d like to use for the tutorial.
And if that’s still not enough for you and you want to be extra original, just go ahead and photograph your own bokeh by switching your camera into manual focus, making it super out-of-focus, and snapping a shot of whatever pretty lights you have lying around.
Once you’ve gathered all your materials for the tutorial, head back up above and check out the video by PHLEARN! Aaron covers everything you need to know, step-by-step, on how to apply the awesome bokeh effects you crave to any photo you desire.
And as always, let us know what you think in the comments below!


Get Connected!