Your tripod can be used for more than just long exposure photography and groupies (selfies for groups!). In this video, we have six artistic photo effects that you can achieve with a tripod! If you need a tripod recommendation, we love using MeFoto. It’s the perfect combination of price, quality, portability, and durability. You can check out our full review of MeFoto tripods here.
Watch the 6 Artistic Photo Effects Using Tripods Video
Tip 1: Use a Tripod for Composites
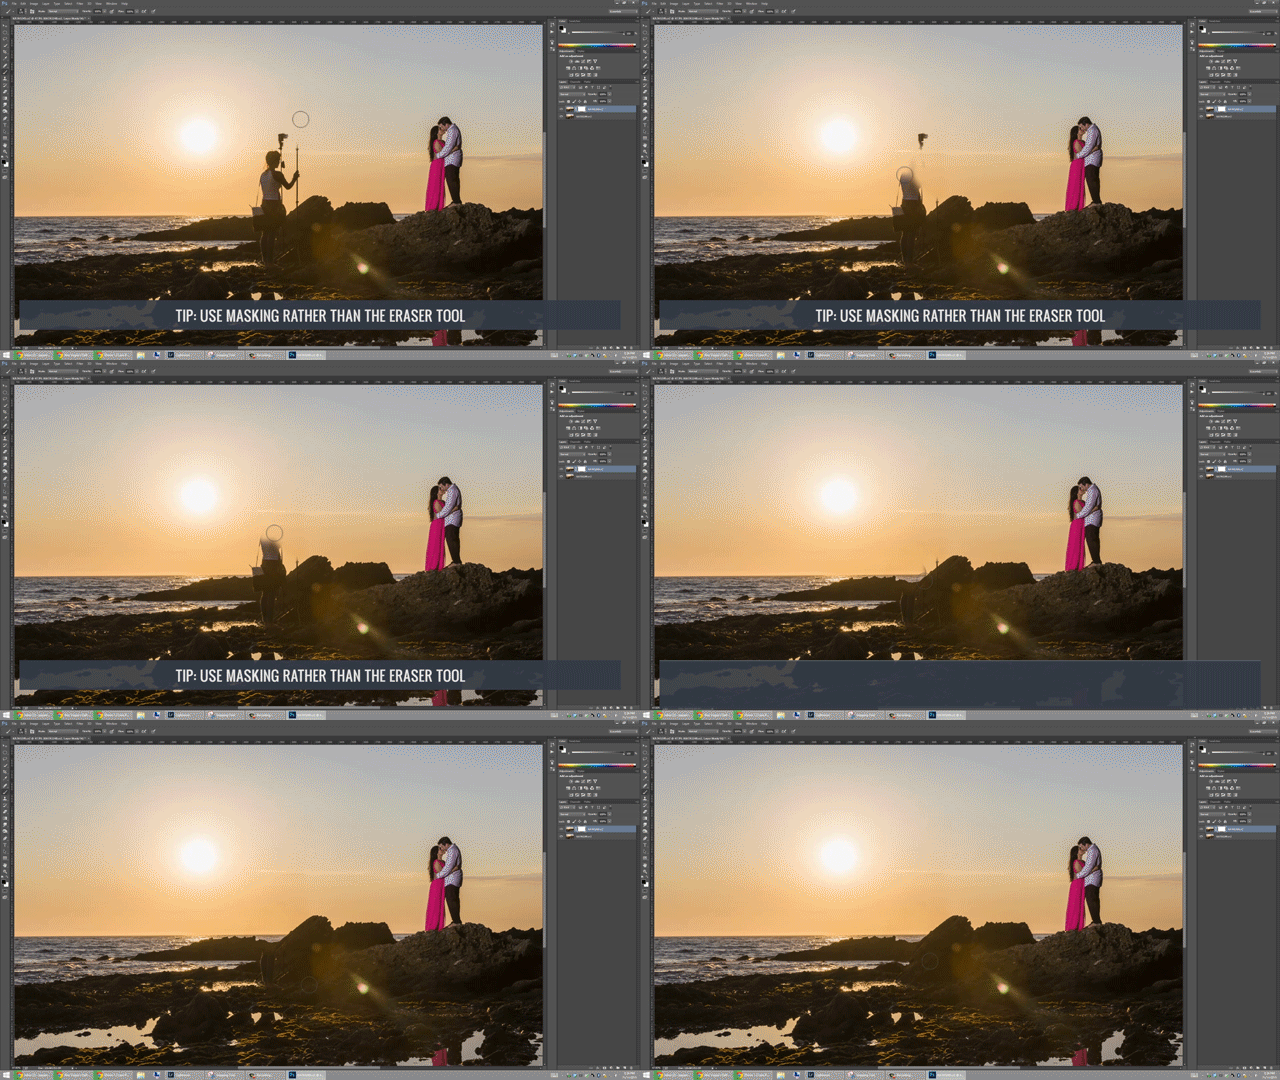
Using a tripod for composites is the easiest way to perfectly light your subject and capture the environment they’re in. Check out our tutorial for simple composites here!
- Take one photo including the light source
- Take one photo without the light source
- Layer the images in Photoshop
- Mask out the light source in Photoshop

Tip 2: Use a Tripod with Sparklers
Do you want to literally paint fire into your photos? Use a tripod and some sparklers to become a pyro-tographer!
[Recommended Reading: The Best Tripods According to SLR Lounge]
- Slow down your shutter speed to 20-30 seconds
- Have your subject hold very still
- Light sparklers and paint the scene
- Use rear curtain sync if using flash

Tip 3: Use a Tripod to Capture Motion
Use a tripod to slow down your shutter and capture the motion in your scene! This artistic effect works especially well with water.

Tip 4: Use a Tripod for Smooth “Whip Pans”
This is a great technique if you want to wow your clients with some cool images.
- Slow shutter speed to 0.5-1 seconds
- Loosen tripod head
- Press shutter button then quickly pan in one direction
- Use rear curtain sync to freeze subject

Tip 5: Use a Tripod to Capture the Night Sky
A sky full of stars is one of the most beautiful sights on Earth, so be sure to use a tripod to capture the celestial wonders.

Tip 6: Use a Tripod for HDRs (High Dynamic Range)
Using a tripod to create an HDR is a cool technique that’ll show all the details in the Shadows and Highlights of your image.
- Set your camera to capture multiple exposures (bracketing)
- Merge and process multiple images in Photoshop or HDR software

I hope you enjoyed this article. If you want to know any more cool tips or tricks, then let us know in the comments below!


Get Connected!