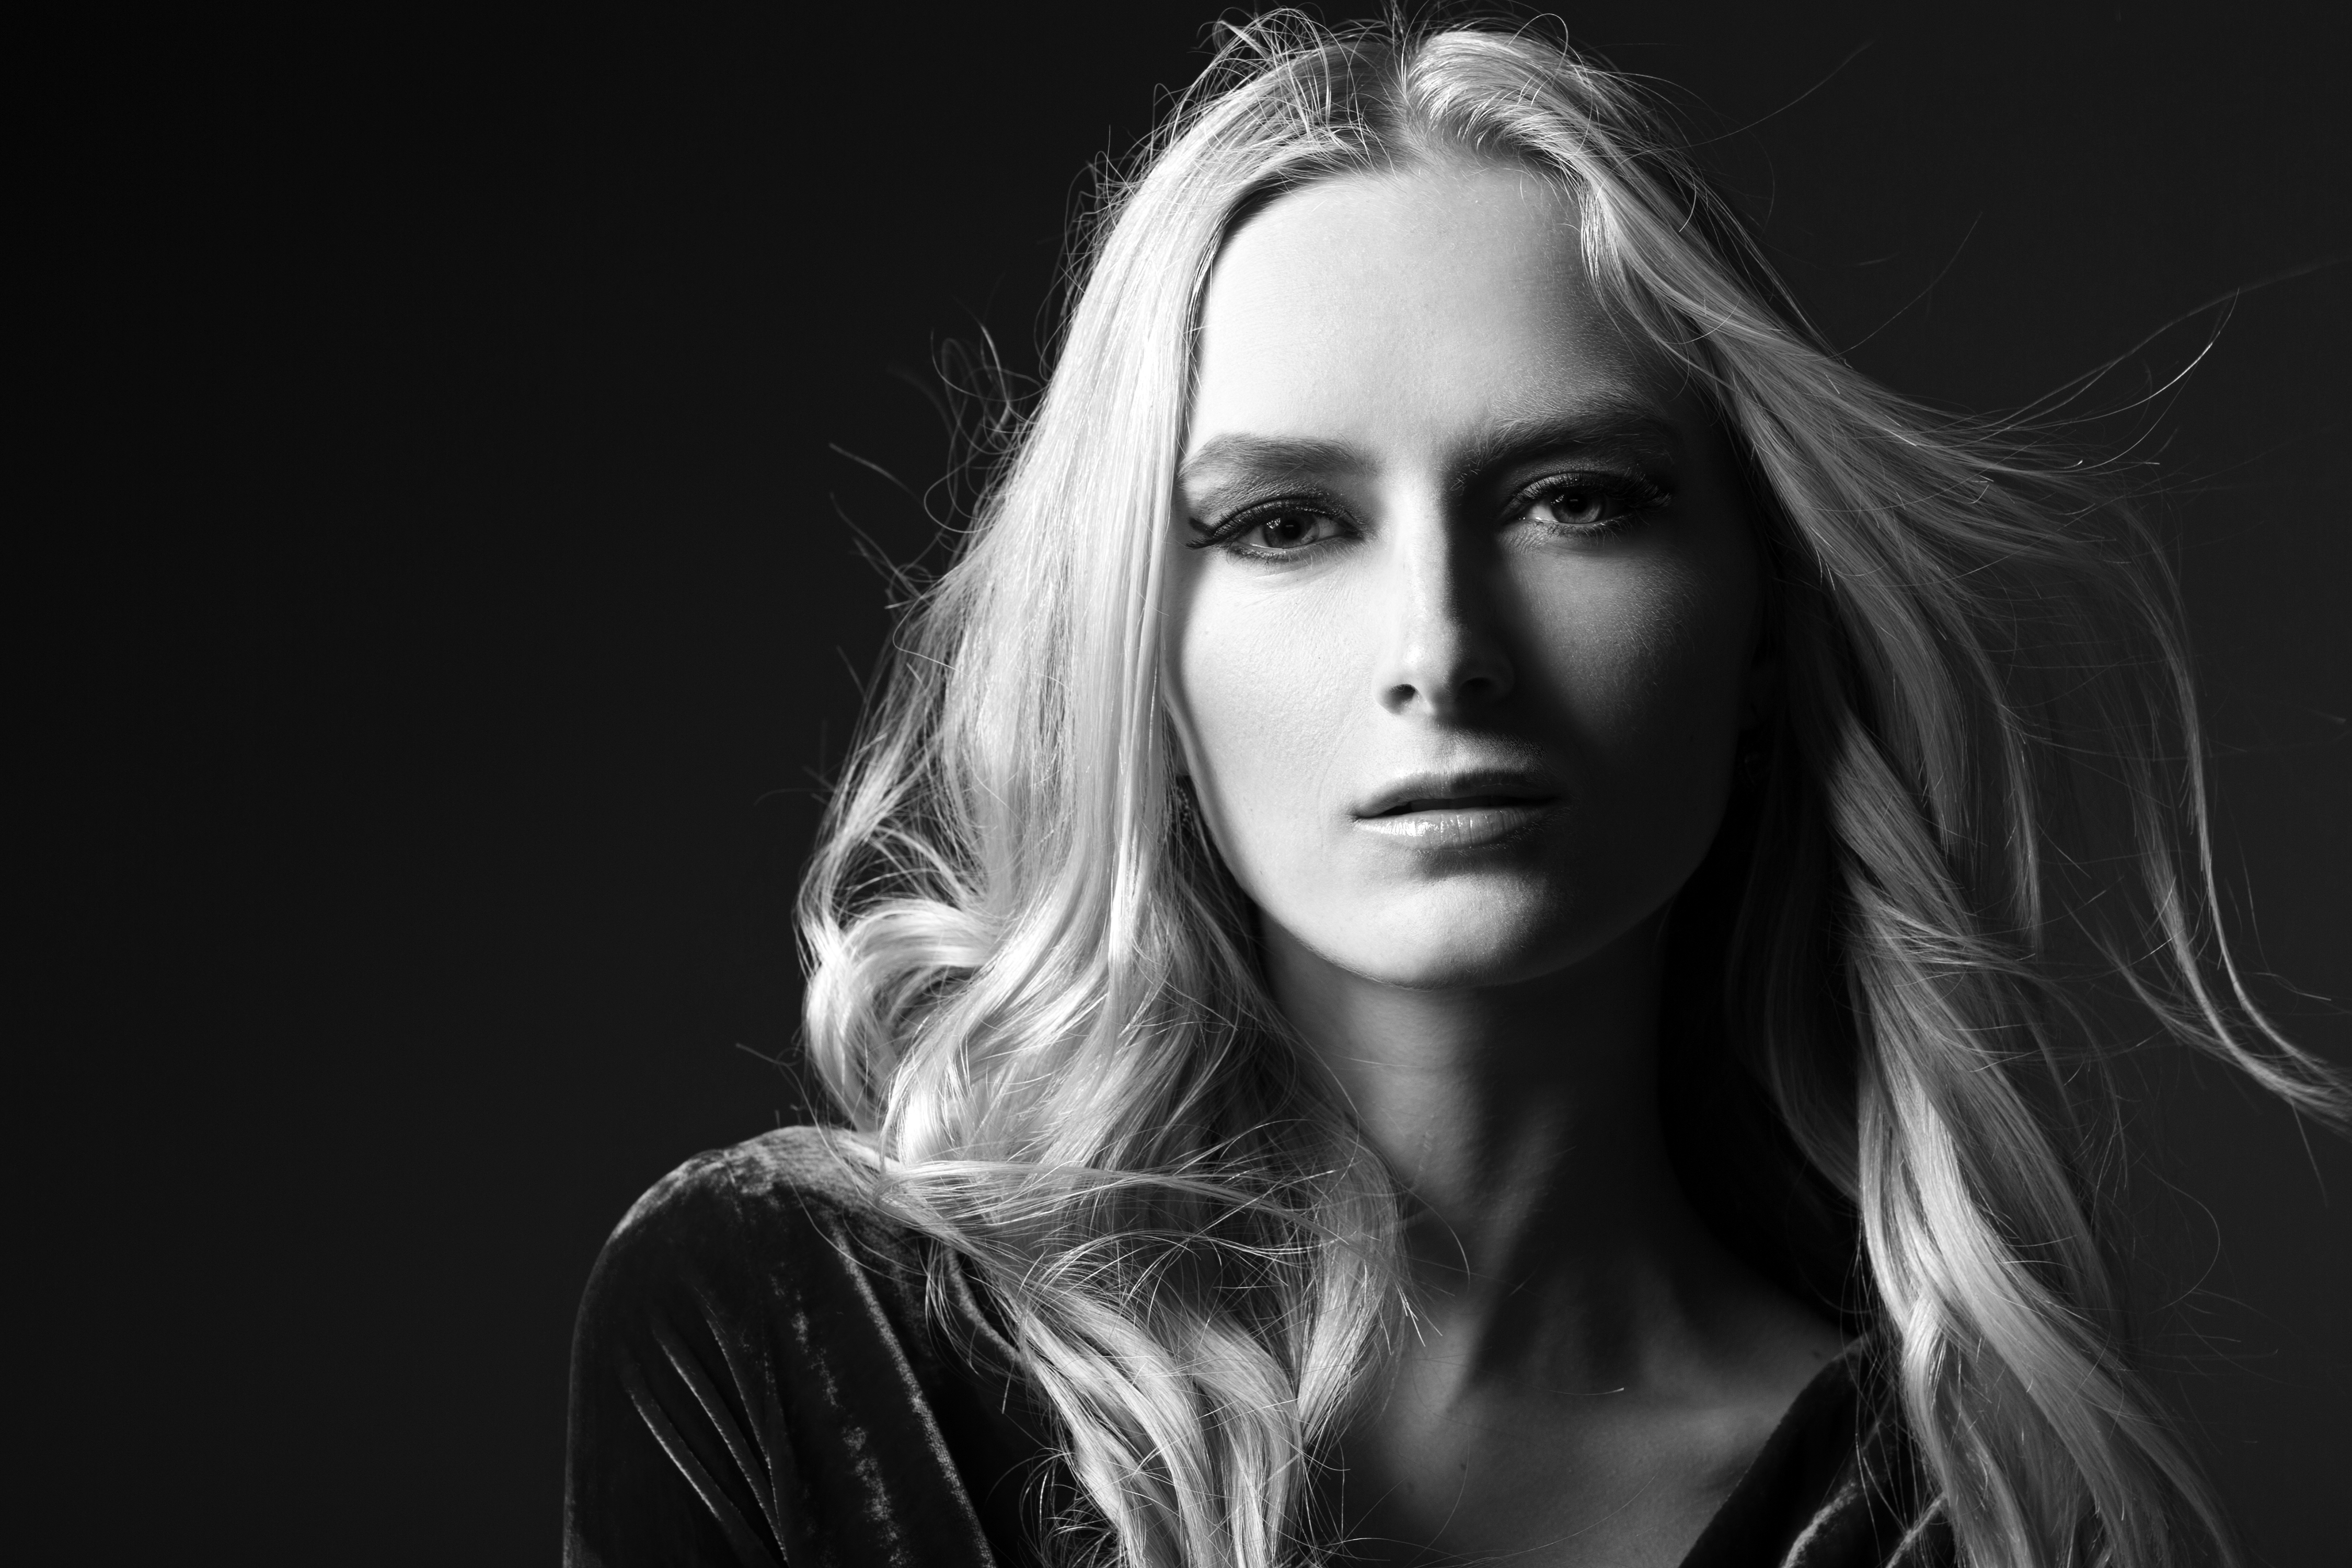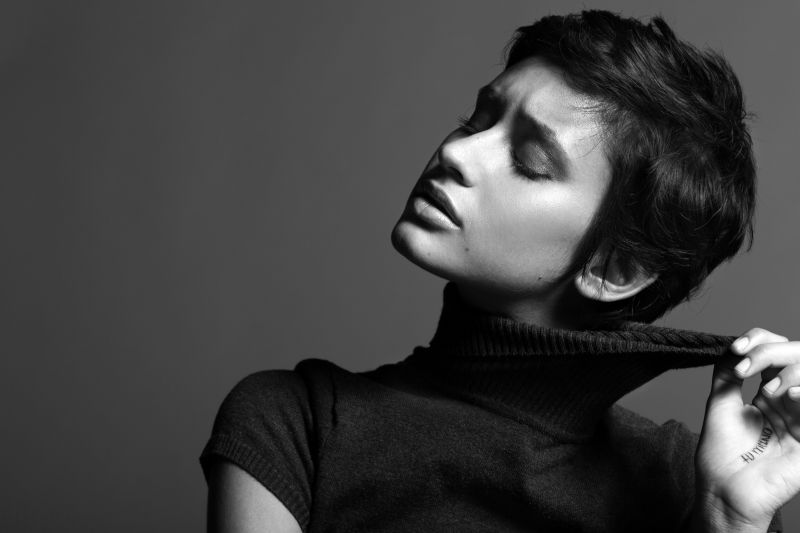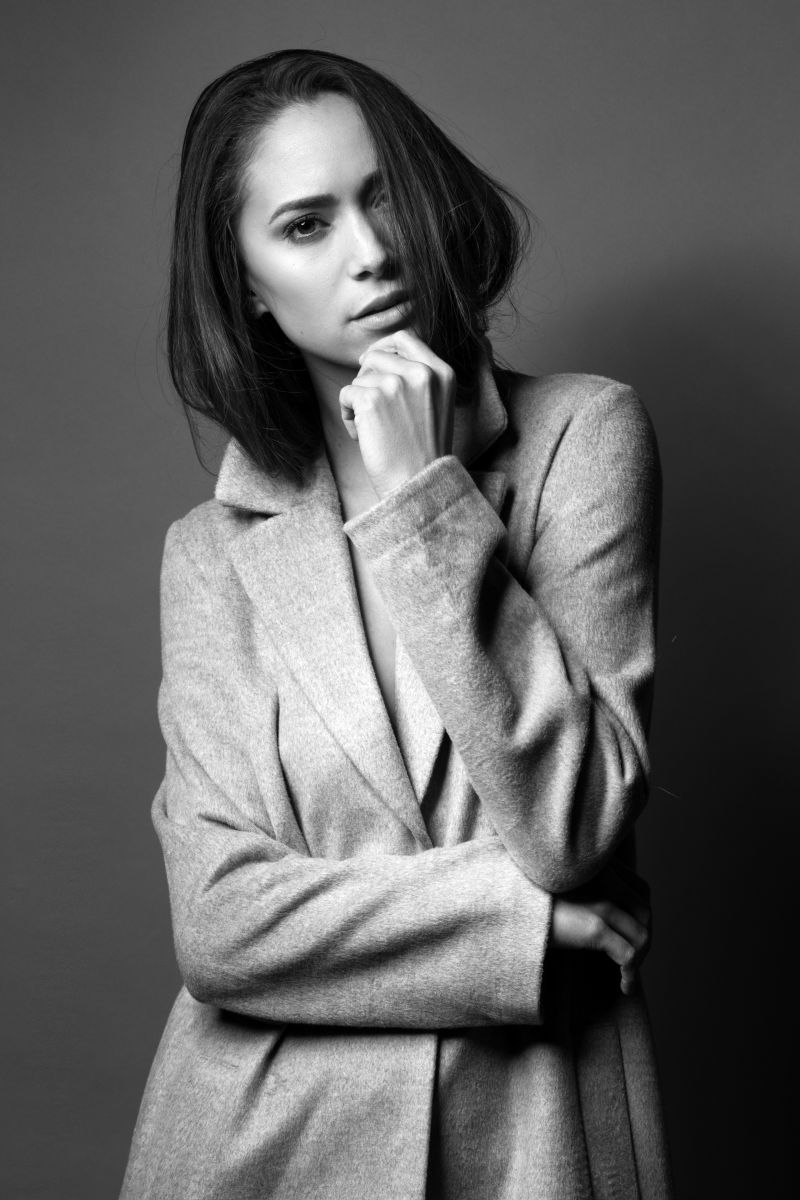
Seeing in monochrome tips the world on its axis and provides a fresh perspective; almost as if seeing it for the first time. All too often a poorly executed color image is converted to grayscale in a final attempt of saving the image. A great black and white should always be the end goal, not a last ditch effort. Below are some black and white photography tips for creating more impactful and interesting images.
Key to understanding this is to understand that B&W doesn’t simply mean all color is removed from the image. The tonality of those colors are varied in lightness and these dictate the look of the final image. Also different cameras, as was the case with film, will represent and interpret color differently, not to mention the paper they are printed on, so it’s not a bad idea to test each beforehand…if you need to be that discerning.

Simplicity is often key to black and white photos
Choosing to work in greyscale allows us to hone in and focus on the individual thus making the overall set and scene less important. Keep the aesthetic relatively simple, approach it with a less is more attitude, and choose an aperture and exposure that makes the subject pop when shooting in a busy location.
Continue this mantra all the way through to the editing phase too, as nothing kills a perfectly executed image quite like that of a hack editing job.

Look for Texture (and personality) in your black and white photos
Think leather, wool, faux fur and other shiny things that light well in regard to styling. Textured textiles photograph impeccably well and the lack of color information only amplifies the details.
Hair is another key focal point in the image and can be paired with accessories. A properly stylized shoot with various textures will elevate the overall image.

Expressions are essential
Connection and expression should be the main priority of any image but especially important in black and white photography. Encourage the subject or model to over exaggerate their facial expression to ensure that it comes across. Show them the back of the camera to encourage them that their efforts are or are not working and they will more than likely fully commit to the shot. Everything can be there from the styling and the lighting but if the face is dead the entire concept is lost in translation.

Make sure the contrast is fitting for B&W photos
Tip number 6 is that drama exists in between the shadows and choosing whether or not to make use of them dictates the overall mood. Choosing less contrast and shadows creates a lighter feel with more tonality while embracing more creates an edgier vibe. Bruce Weber and Helmut Newton are prime examples and their works make for great study material. Additionally, high key and low key exposures are great uses of expression.
The use of contrast and shadows is ultimately a personal choice in black and white photography. Take the time to meter properly and create for the sole purpose of a finished image sans color. If aiming for more contrast, push it slightly during the shoot to reduce the need to push it in post.

Look for the Imperfectly Perfect
The next black and white photography tip to keep in mind is that perfection is overrated and often translates as mundane across an audience. Imperfections are what pique interest and draw attention to the subtle details throughout a piece. This is easily achieved when working in the unpredictable environment of the outdoors. The blowing wind creates ripples in fabric and movement of the hair while the ever changing light creates different patterns that wouldn’t otherwise be there.
The studio environment is often typecast as perfection as well, however it is the curated imperfections that make it this way. It is an art form to pick and choose which stray hairs make the cut and deciding when the hair needs to be messed up a little bit. Also pay attention to personal imperfections as they are often revered as the most attractive component of a person.
When turning images Black and White, Take the time to simplify the overall frame, eliminate distractions and shift the focus to the subject. It really is all about the small details and limited distractions; the best portraits are the ones that appear seemingly effortless and seem minimalistic.
Consider Digital Filter Options
Instead of black and white photo editing, using filters with your camera set to monochrome can be a great help, and with digital you can see quickly how a certain filter color affects your final image. Not everyone is yet adept to using them, or has the required equipment, but most modern DSLRs will give you filter options digitally. Surprisingly, they can be quite effective. It’s a rather simple and quick tool I often use to shoot a test shot, to see which shots will look good in B&W before heading to post processing and finding it just didn’t suit. The example screenshots are from Nikon, but anon has similar menu choices.
Note: RAW shooters beware that your images will be in color when uploaded to the computer. You could shoot RAW+JPEG as a solution.
Selecting In-Camera
First, go into Settings and select ‘Set Picture Control’ and then ‘Monochrome.’ Don’t stop there, however, go a step further and you’ll see ‘Filter Effects.’ Scroll down to ‘Toning,’ where you’ll see a scale of colors each able to be even more finely tuned once it’s selected.


What do those colors do? Essentially, the color of filter you select will lighten the tone of that particular color, and make its opposite darker in the final image. For example, a Red filter will generally lighten skin tones, but turn Blue, its opposite, darker. I usually use the red for photographing people and tends to be my go to all round. It is, as stated above, all subjective to the look you are going for, so I encourage you to play around.


Get Connected!