When I see photos shared on the internet, I often spot five bad photo editing practices that are somewhat hard to detect but that can easily be avoided with Luminar.
Not considering the color profile
The color profile is essential for the chromatic key of an image. If used improperly, it can ruin all your editing work. Unfortunately, this is not common knowledge. Imagine the color profile as a pair of glasses you wear when you look at a photo. If the lenses are colored or altered, the image will be distorted.

With Luminar, you can assign the right color profile to your photos based on their expected use. If, for example, your photos will be published on the internet, you should export them with the sRGB color profile. On the contrary, if they will be printed, the right color profile to apply is Adobe 1998.
Creating the “divine light” effect with a luminosity mask
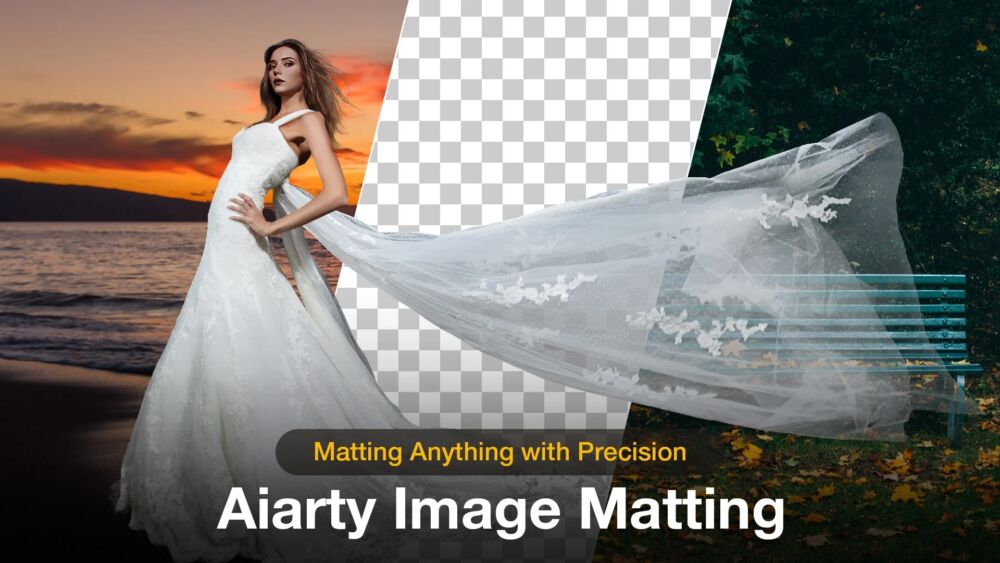
This is a common mistake with wedding photographs caused by incorrect use of a luminosity mask.
The adjustment brush that’s typically used for this in Photoshop is not to blame. But it must be used with caution. If you’re in a rush or not very used to this tool, it can easily lead to this mistake. As a result, brides seem struck by divine light or the highlights are ruined, which is immediately visible.
To avoid this, you need to apply a luminosity mask only to selected areas. But there’s an easier and more automatic way. Using the power of Artificial Intelligence, Luminar offers AI Enhance and AI Structure tools to help you manage luminosity in a natural way with a simple slider.
Excessive sharpness
Details should remain realistic or at most be a little more intense than reality.
Excessively enhancing details leads to unpleasant visual effects and deterioration of the image.

Nowadays, we all want sharper lenses and higher-performing sensors, but overdoing the detail or clarity in Lightroom or Capture One can only do terrible damage to your images. Luminar offers a great tool called the Detail enhancer inside the Essentials tab. It allows you to work non-destructively on small, medium, and large details. This is a very precise and useful tool for managing the sharpness of your photos gradually and precisely.
Unrealistic photo compositions
Photomontage is part of the history of photography and art. The list of great artists and photographers who have dedicated themselves to this specialty is long. Thanks to new digital tools, it has become much easier to compose a photo.
Digital compositing is a lot of fun, but it’s difficult and photographers should respect rules of perspective, light direction, color consistency, etc.
To achieve a high-quality digital composite, you need a technique that you can acquire through training, lots of practice, and a lot of patience. Unfortunately, the current trend is a complex composition, which hides some errors behind special effects or unlikely color shades. The Creative panel in Luminar allows you to make high-quality compositions by keeping your photos realistic.

Landscapers will love this feature. Imagine a photo where the sky is too gray or you wish you could change not only the color but the content. Luminar has an amazing new feature called AI Sky Replacement that allows you to quickly change it by choosing a built-in style or uploading your own. You can also add objects or animals to the sky — for example, an airplane flying overhead or sun rays at sunset. To conclude the composition, you just need to adjust the colors with the Relight scene tool.
Blaming the software
The worst thing that can happen after post-production is not taking responsibility for the outcome.
If you aren’t satisfied with the results of your post-production, don’t blame your slow computer, claim that the graphics tablet doesn’t work properly, or decide that the picture is blurred and not as you expected.
Blaming an external factor doesn’t help: the retouching is yours, as is the responsibility for it. If you feel you don’t have the environment in which you can do a good job, stop and set up that environment, then start working again.
Trust tools that will never betray you and guarantee professional results. I’m confident with the combination of Adobe Photoshop and Luminar as my working software tools. There’s no software on the market as complete as Photoshop or as simple and effective as Luminar.
If I’m not satisfied with a job, the most effective method to improve the result is self-awareness and continuing to learn. Skylum Ambassadors offer workshops and video tutorials in which you can learn new skills and put them into practice to quickly become more professional at post-production.
Download a free 7-day trial of Luminar 4 at www.skylum.com and check out Luminar for yourself. When your trial is over, don’t forget to use the discount code SLRLOUNGE10 to save $10 on the full purchase price.
About the Author
Gianluca Ferradino has dedicated himself to post-production photography, collaborating with dozens of photographers and several editorial and promotional production studios. He specializes in processing portrait, still life, beauty, and fashion photography and is among the most referenced digital imaging technicians in Italy. Gianluca also provides workshops in which he helps professional photographers improve their skills and speed up their post-production workflow.


