Welcome to Part VI of the Professional Photoshop Retouching Series on SLR Lounge.
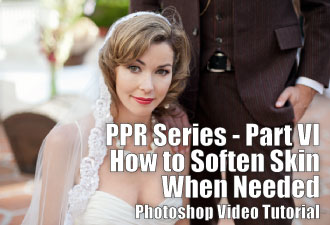
In this Photoshop tutorial we are going to be working on how to soften and smooth skin when needed.
Before we get started let me preface this with a little warning. Skin softening and smoothing is often overused and overdone when used. When overdone, skin softening will make your subjects skin look too soft and smooth like a porcelain doll. It will be very noticeable, and it will be obvious that the image was Photoshopped.
So, when should you smooth over skin? Skin smoothing and softening is necessary when your subjects have very coarse skin or large pours. The majority of subjects in your image will require some blemish and line reduction, but will not need skin softening. You shouldn’t soften skin simply to cover blemishes that are better off being healed out. So, when you do use it, be sure to keep it subtle and light handed.
If you haven’t watched the previous parts to the PPR Series, then please catch up by watching the prior videos below:
Part I – Adobe Camera Raw Editing and Importing into Photoshop
Part II – Learning and Setting the Healing Brush Presets
Part III – Healing Blemishes and Unwanted Detail
Part IV – Diminishing Eye and Age Lines
Part V – Correcting Skin Tone Shifts and Tan Lines
Part VI – Softening Skin When Necessary
Part VII – Retouching the Eyes
Part VIII – Cleaning Up Stray Hair and Other Detail
Part IX – Enhancing and Sharpening Image Details
Part X – Final Color Adjustments
Note: These images have been provided to the SLR Lounge users curteousy of Lin and Jirsa Photography for educational purposes only. They may not be used in any other manner outside of these SLR Lounge learning videos without the express written consent of Lin and Jirsa Photography. Thank you.
Full RAW Exercise File (13MB) – This full RAW file will allow you to follow the tutorial while achieving the exact same results as shown.
 1) Adobe Photoshop CS5 – Buy the full version of Adobe Photoshop CS5 at at Amazon (free shipping) Click any of these links to take you to the offer.
2) Adobe Photoshop CS5 Student and Teacher Edition is also available through Amazon, click here to take you to the offer.
Post Production Pye
SLR Lounge Senior Editor
Partner of Lin and Jirsa Photography


Get Connected!