 If there is one common thread of complaints from photographers who have purchased a Sony A7 series camera (or have tried them), the menu system has got to be one of the most talked about. Unlike a Canon to Nikon (or vice versa), where the menu systems are laid out pretty similarly, the Sony menu – while very robust – is a completely different beast.
Here are some of the ways that I have set up my Sony A7R II to work easier for me, and keep me from having to deal with that complex menu as much as possible. (Though, in reality the menu isn’t that bad, after a short while of regular use, you will get used to it just like with any camera)
1. Turning Off The Auto Image Review
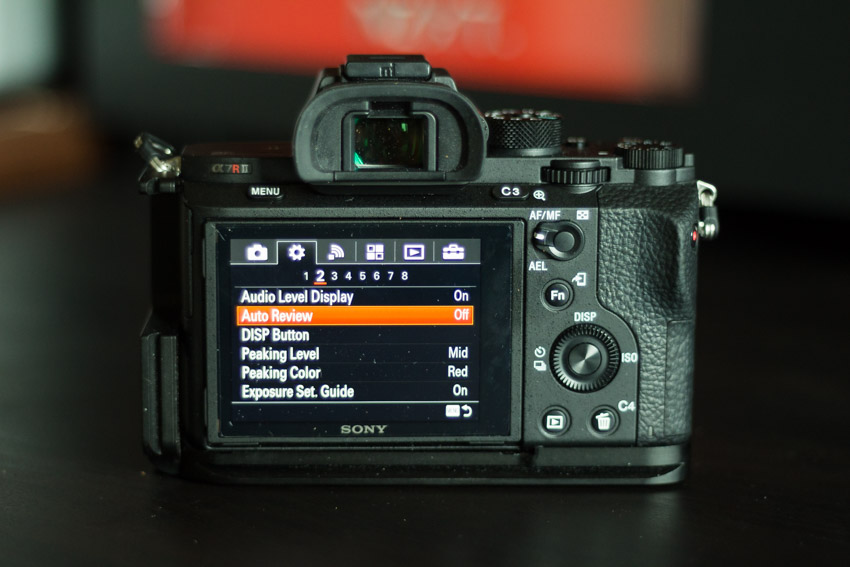
One of the most annoying aspects of the A7R II, or any A7 series camera really, is the image review that pops up in the EVF after you take an image. By default, the image stays up on the EVF for five seconds, which is nice for viewing your image, but annoying because it prevents you from seeing your subject.
Luckily, this can be disabled altogether, allowing you to chimp like you did with your DSLR. To do this, simply go into the menu, tab 2, page 2, and find the menu option that says ‘Auto Review.’ Then you can select to disable the review altogether, or select from 10sec, 5sec, or 2sec reviews. It’s that simple and is a huge time saver while you are shooting and don’t need to review every shot right after taking it.

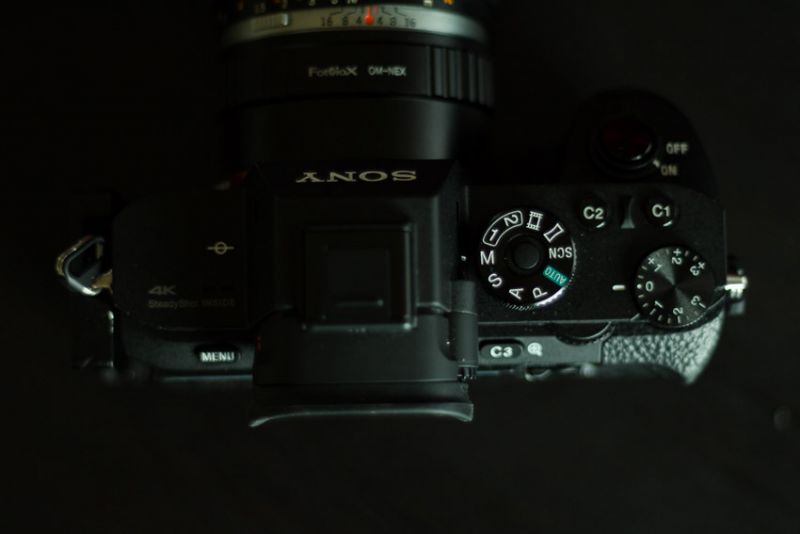
2. Setting Custom Button 1 To ‘Focus Magnifier’
As I have said in other posts, one of the biggest reasons that I enjoy mirrorless cameras so much is the manual focus aids that they provide which make it so easy to manually focus. The A7R II, and the other A7 series cameras, are no different. The first thing that I did when I bought my A7R II was set my custom button 1 to the ‘Focus Magnifier’ so I could easily zoom in and confirm focus while using my collection of old film lenses.
The process for this is rather simple as well. Just as with the Auto Image Review, open the menu into tab 2 and then navigate to page 7. On page 7 you will see an option that says ‘Custom Key Settings‘; press that and you will be taken to the sub-menu allowing you to change what all your custom buttons do.
In this case, I went to the Custom button 1 section and selected the ‘Focus Magnifier‘ option. Now my focus magnifier is just a short finger press away from my shutter, making my manual focus workflow incredibly fast and easy.
3. Setting Custom Button 2 To ‘White Balance’
This one may be a surprise for some of you, but the A7 shooters out there know it can be a pain to change your white balance on these cameras. It is one of those settings that is only accessible from the menu by default. Since I also mainly shoot natural light, I do have to change my WB settings as the light changes.
For that reason, I have set up my Custom Button #2 as my WB button. This allows me quick and easy access to my WB settings, meaning less time digging into the menu to change it over the course of a shoot. If you want to set up one of your custom buttons to do that, you can follow the steps in the above section, except select Custom Button 2, and change the setting to White Balance.
[REWIND: SONY A7R II CROWNED KING OF DXOMARK | IS THE TESLA P85D OF CAMERAS]
4. Turn Audio Signals Off
Shutter noise is one thing, but something that really annoys me about mirrorless cameras is all the sound effects that these cameras have. I don’t want a tone whenever I click a button or turn a dial; sound effects can be very distracting during a shoot.
For this reason, I specifically turn off audio signals on my A7R II so as to keep my experience as sound effect free as possible. (On a side note, the camera is literally silent when you put it into silent mode). To turn off the audio signals on your A7 series camera you can open your menu to tab 6, and then go to the last option, which say ‘Audio Signals‘, and then turn it off.
5. Adjust the Power Saving Mode Timer
Battery Life. Battery Life. Battery Life. Mirrorless cameras, and especially these Sony A7 series cameras, are known for their less than ideal battery life. But this trick can be used to help limit the amount of wasted power you use by changing your power saver mode time.
By default, the camera is set to 1 minute. But you also have the option to set it to 30 minutes, 5 minutes, 2 minutes, and 10 seconds. I personally have changed mine to 10 seconds, as this means after 10 seconds without input, the camera goes into power saving mode. This can help quite a bit in saving battery life.
But at the same time, if you are one of those people who hate having to wake up your camera after a letting it sit, you can set that limit longer so it doesn’t go into power saving mode so soon. This is totally a user preference thing.
Conclusion
The double-edged sword of these Sony cameras is the fact that they are so customizable. The good is that you can really set these cameras up to work better for you, based on your needs and preferences. The bad is that right out of the box, you are going to need to dig into these menus and figure out how to set the camera up to work how you need it to.
But, as with any tech, the learning curve is only as harsh as you make it, so spend some time with your new camera. Learn what it can do, and where you find yourself being frustrated and then customize your buttons to help you work around those frustrations.
Do that, and you will find these A7 series cameras to be every bit as powerful as the DSLRs that you are coming from. Have a great weekend everyone!


Get Connected!