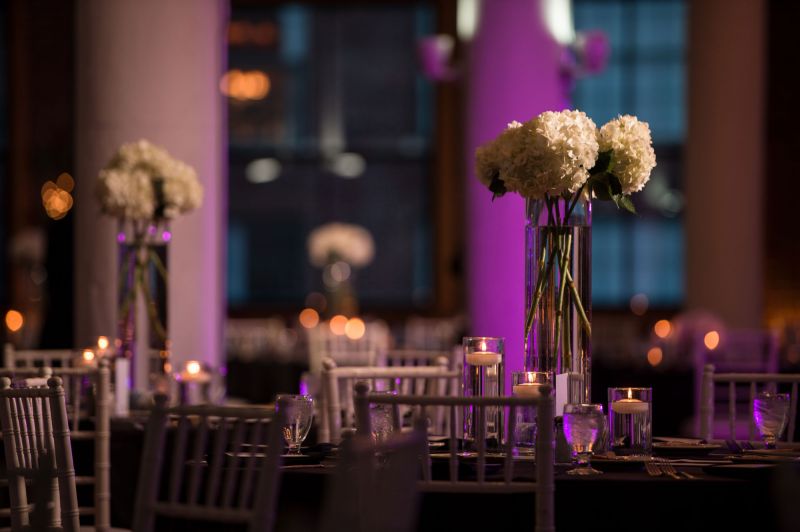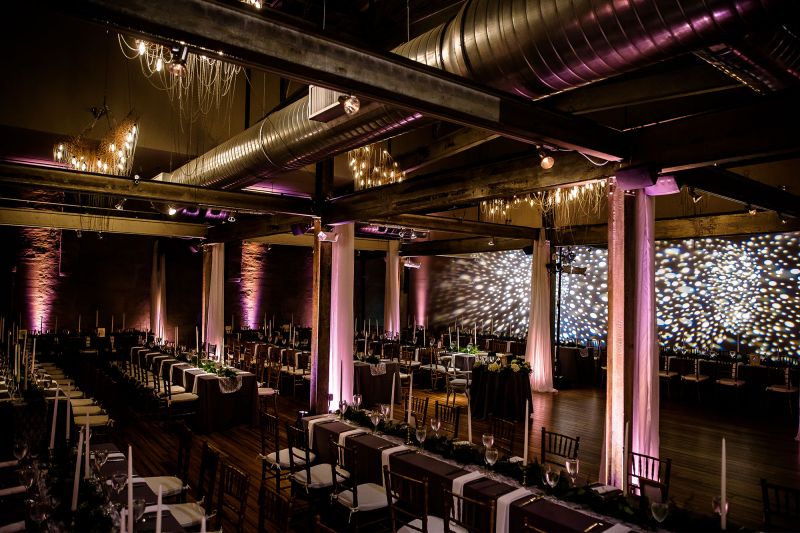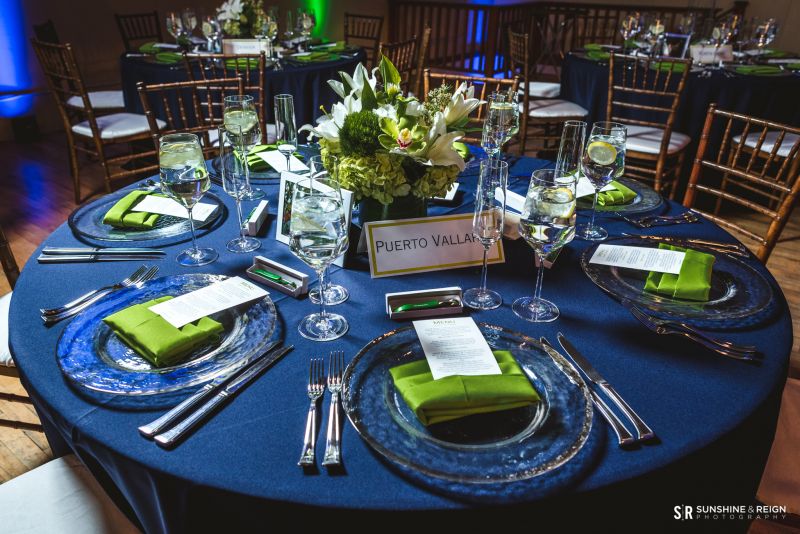
Images of wedding decor are easily the most Pinned and searched images for wedding clients. Brides scour the internet to find the perfect floral arrangements and table settings while wedding florists and decor artists share their work on social media and websites.
The marketing power that these wedding decor images hold is almost immeasurable, considering that both the client and the vendors involved have a necessity for them. That being said, every wedding photographer at some point has been faced with the challenge of photographing a dark, large ballroom in less than 5 minutes.
Taking shots that publications will accept and are ‘pin-worthy’ take skill & practice with different lighting tools but are well worth the struggle. So to offer some advice, we asked 14 of our award-winning photographers all over the world the following question:
“What tips do you have for those struggling to capture incredible wedding details? This can be in regards to lighting, composition, dealing with time constraints, angles, etc.”
See their favorite lighting tools, tricks, and advice below:
Dan Dalstra – Instagram | Website | Awards Profile
I HATE moving the cake. I don’t want to be the photographer that tips over the cake and ‘ruins the bride’s wedding’… so if the cake is in a boring location, I’ll pop some color behind it and cross light to give it a bit of depth. It’s super easy to do during dinner, and I will try to match the color of gel I use with a wedding color or close to the bridesmaid dress. The cake here is in front of a simple white curtain. Yawn. But with a pop of color, it looks much more eye catching!
[REWIND: The Marketing Power Of Wedding Decor Photographs]
Christina Blanarovich – Instagram | Website
Don’t be afraid to move things around. Just be fast, efficient and try not to disturb the guests! The cake was tucked in a boring corner of the room. I wanted a shot that also incorporated the space, but where the main focus was the cake. I asked the venue if I could move it (I ALWAYS ask permission before moving the cake) and they happily helped me pull the table out about five feet so I could sneak behind it to get this shot. It brings more of the whole decor into the shot, and fit the aesthetic well.
The caterer brought this tray of hors d’oeuvres for the couple and set it on a plastic side table until they were done talking to guests. I quickly grabbed it, set it on an outdoor ottoman, pulled another tray and a vase off the nearby lounge table and snapped this before the couple even finished their conversation. I always have my assistant quickly return items so no one even misses them!
This place card sign was handmade by the bride and stuck inside the tent of the cocktail hour in horrible lighting. It would have made for an awful photo where it was. I quickly moved it outside the tent and used the trees in the background to do it justice and got it back inside before anyone noticed!
Ashley Fisher – Instagram | Website
I use my Magmod grid! I like to light multiple centerpieces to get a pin light effect when people don’t pay for them. I used three lights here to pin light those tall centerpieces.”
Megan Kuethen – Instagram | Website
“When you’re struggling to capture with your camera what you’ve been envisioning in your head, mix it up. If you normally use your 50mm for reception details, try your 85mm. If you’re typically using a zoom lens, switch to prime. If you’ve been shooting straight on, change up your angle. Try horizontal instead of vertical. Get up way high, or stoop down to the level of the table – make yourself see things differently.
Almost everything I do that I love was an accident, or wasn’t my natural tendency. You have to work for it, because it’s art, not science. We all have to try different tools and techniques until we master the look we’re aiming for.”
[REWIND: Ideal Lenses For Capturing Wedding Decor]
Leaha Bourgeois – Instagram | Website
“When shooting the cake, we always try to up our game and get creative. There are two steps to this tip!
Step 1: Light the cake with an off-camera flash and Magmod gel. It’s best to pick a gel that is in contrast with the second step. Step 2: Shoot through florals, candles or glassware to add a creative foreground and a secondary color to help it pop! In this case, we used an orange CTO gel to light the cake and shot through glassware for the added layer. Play with your kelvin to really help your colors pop!”
Jorge Pastrana – Instagram | Website
“Before I was married, one of my biggest problems at weddings was the details. There is very little to no time left for the details to be shot because many times we do the family session 30 minutes before entering the reception site, but the reception site does not have anything ready until 5 to 10 min before the guests are entering and taking their seats.
Since my wife and I got married, we don’t have this kind of problem anymore. Most of the time she shoots the details (sometimes using natural light, sometimes strobes) while I’m shooting the civil ceremony, the cocktail or the family formals, so I don’t have to do everything by myself and running out of time.
That’s why I think that having a two-photographer team to shoot a wedding is so important. Two people can help each other a lot with unexpected needs such as a card or a battery, or if something really important is happening in front of the lens it is always good to know that there are two people who can ensure that the moment won’t be lost.”
Citlalli Rico – Instagram | Website
We know details are an important decor element and our clients spend a lot of time and money on them. My advice is to always try and incorporate a human element to help us connect with the objects and give them that extra special “feeling”. If you want to show the ballroom, take photos of it in different stages, when it is empty, when guests are arriving, during dinner and during party time. For menus or favors, wait until the guests arrive and show their hands or how they show them to each other. This way, the detail shots get an extra value and meaning for our clients.
You can hire a third shooter for only a few hours to arrive early for the ceremony and reception venue and capture all the detail shots so you can focus on the couple and the people around them. Always ask questions about the details too, some objects have more meaning, history and value than we can imagine.
Daniel Meyer – Instagram | Website
“Capturing décor at a wedding is almost our most favorite part. It reflects the couple’s personalities that went into the wedding. It’s of utmost importance to get these shots before the chaos starts, and then shift focus to whatever the couple needs. Table décor images takes us 20 min tops. We recommend to set a “must have shots”. Just arriving in the hall unprepared will make you feel like you would never finish because of every detail.
One main tip to give any photographer is to prepare the couple to have everything done before the ceremony would start, so you aren’t rushed while photographing wedding details.
Request one or two tables to be lit and all lights to be turned on in the main hall, creating a luminous effect with more depth and light. The smallest things count. Table numbers, chairs, ribbons, menus etc. Your couple spends time selecting these small details so make sure to capture them.
Make people see on a new perspective on their table décor. Whether you shoot from above or below. Add some unique perspective on how you see everything. Let your artistic side fly.”
Joe Dantone – Instagram | Website
Photographing wedding details is one of those tasks that can consume quite a bit of time if you don’t have a solid approach to shooting them. I try to get everything from the food set up in cocktail hour to the cake and all reception details on tables and in the room.
When I photograph the room details in receptions I try to pick a good angle to view most of the items on the table, then from there I’ll remove any chairs in the way. My second shooter will usually hold the LED light up to the centerpiece and I will get a pretty standard photograph as well as a more creative one.
Amii & Andy Kauth – Instagram | Website
“When photographing wedding decor, we recommend directional (at about a 45 degree angle from the camera), off-camera lighting. And depending upon the particular needs of the location/venue, we personally use a Westcott Rapid Box – 26″ Octa Softbox or a MagMod MagGrid/MagSphere combo. We make sure to photograph the particular decor from several perspectives (pulled back and close in, for example) and try to get a few different angles, as time allows. Getting your light off camera, keeping it directional, and getting as many angles and perspectives as time will allow, will leave you and your clients with a variety of photographs that are well lit, and not repetitive.”
Nicole Chan – Instagram | Website
“I keep things simple for wedding reception details. Typically, I have about 5-10 minutes tops to photograph the reception room, centerpieces, cake, and other personal touches. For lighting, I ask my assistant to either hold a continuous video light or an off-camera flash (usually with a MagGrid, MagSphere, or both) off to the side. Depending on the type of centerpiece, I’ll get lower to find a clean and uncluttered background. I love photograph centerpieces with a longer lens (85 or 135) and a wide aperture in order to get separation from the subject and the background.”
Tom Fuller – Instagram | Website
“Reception details can be done with just a simple speed light. If you’re by yourself grab a Cheetah Stand or something similar, a speed light and a Mag Mod sphere or Grid and you can quickly bounce around the reception capture all of the great details. I typically expose for the background about 1/2 stop under and I can easily bounce around the reception area capturing all of the details with this simple setup. When you get comfortable with this setup you can easily add a light or two for creative shots.”
Matt Gruber – Instagram | Website
“Often times we arrive at a venue and the cake is tucked away in the most unflattering and uninteresting part of the room. I usually will light the cake with a flash with a MagMod grid on each side. If the background is boring, I will throw a gel on another flash and place it on the ground behind the cake, lighting up the wall. This really gives a nice pop of color and adds to the scene. If you use a gel that matches or compliments the wedding colors, it’s even better.”
Pye Jirsa – Instagram | Website
“Before even setting up your lights, set your camera down and walk the room. Often times photographers make the mistake of rushing through reception details because they are racing against the clock and they miss the best angles in the process. Take a quick walk through to see potential objects you can use as foreground and decide which angle the room looks best from. Remember, these images hold great marketing power for your business so hastily capturing wedding decor won’t get you published or help you gain social shares.”


Get Connected!