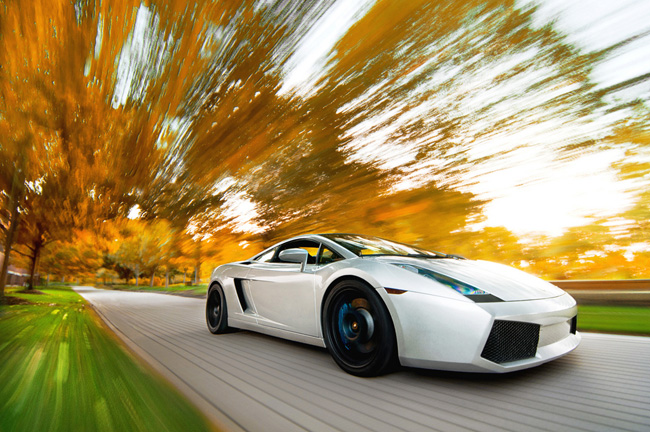
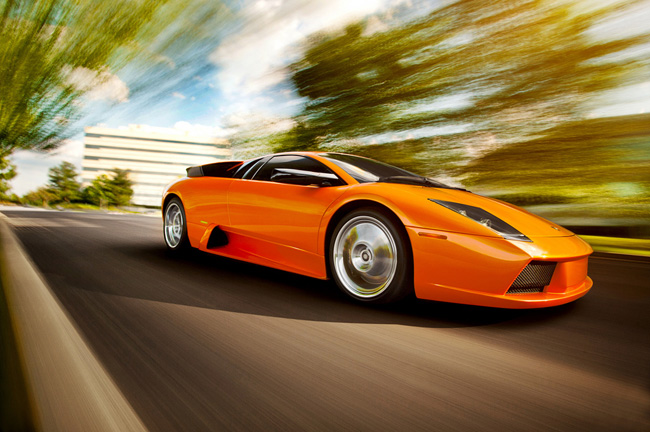
When Ronaldo Stewart first started dabbling in the world of auto photography, he knew that he wanted his photos to show the one element that he felt was most important, speed. He loved and admired the car photos that showed a car speeding down a back country road as the trees whipped by, or down a city street as the buildings were transformed into blurry streaks in the background. He wanted his photos to tell a story. He wanted to evoke emotion and curiosity. Where was this car coming from? Where was it going? He wanted the fast cars in his photos to look, well…fast.
[REWIND: How To Be Creative With Slow Shutter Speed]
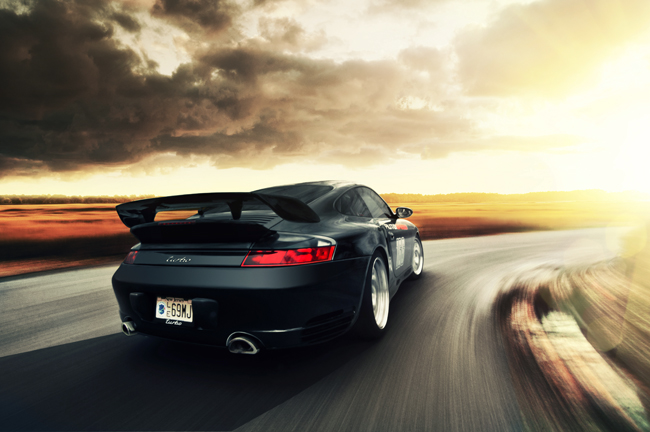
Just like a lot of other special effects, Photoshop can be used to throw a little blur on the background of a car and a little on the wheels to make it look like its moving. Ronaldo wanted his photos to be real. He wanted to find a way to use a long exposure shot to capture the movement of the background, but in order to get the car in perfect focus he turned to using a rig. Having never used a rig before, he started researching it and spent hours on the Internet studying long exposure car photos that were taken with a rig. He found someone who sold ready-to-use aluminum poles for rigs, then found suction cups, clamps, a magic arm and the rest is history.

Ronaldo says he loves using a rig because it’s so much safer than hanging out of a moving vehicle to get a rolling shot, which almost every photographer who has wanted to get a long exposure shot has tried at some point. It also gives you a chance to be creative with angles, backgrounds, and locations. The ironic part of some of these shots is that sometimes the car doesn’t even have to be on to take the photo, he simply puts the car in neutral and has a friend push the car while he snaps away.

The Equipment:
- 15ft Rig-Pro poles (collapses into 3 – 5ft pieces)
- 2 Avenger F1000 Suction Cups
- 3 Manfrotto Super Clamps
- Manfrotto 143A Magic Arm
- ND filter (I use a 3-Stop ND)
- Vello wireless ShutterBoss remote trigger
- Nikon D700
- Sigma 50mm f/1.4
- Nikon 20-35mm f/2.8


One of the most important tips Ronaldo says he can give to someone who is thinking of getting into rigging is not to go cheap on equipment. Don’t do it. Going cheap on equipment can result in a number of bad results including damaging the car or your camera/lens. Companies who sell the equipment exist for a reason, they went through all of the trial-and-error phases to sell you what is proven to work. Also, he stresses to triple check everything when you are setting up!
When shooting a rig shot, Ronaldo says he tries to find a spot that will be visually appealing when blurred. He usually looks for something with a foreground and background that will work with the car. For example, a road with trees in the background and grass in the foreground. Merging lines help give an awesome perspective to the viewer. Try to pick a time of day that will give you the best light, i.e. “Golden Hour.” He recommends a 2 – 3 second exposure for best results, but that’s all personal preference, so play around with it.
BEFORE

AFTER

I’ve known Ronaldo for years and his work is nothing short of inspiring. The thought of putting big rubber suction cups on someone else’s Lamborghini sends chills down my spine, but that is why he stresses the point of not going cheap on your gear. He bought his first rig off the guy who currently owns Rig-Pro on Facebook, and has used his gear ever since. Rig-Pro provides everything you need for rigging and can help you out with any setup questions you have as well. You can find more of Ronaldo’s work on his Facebook page HERE.


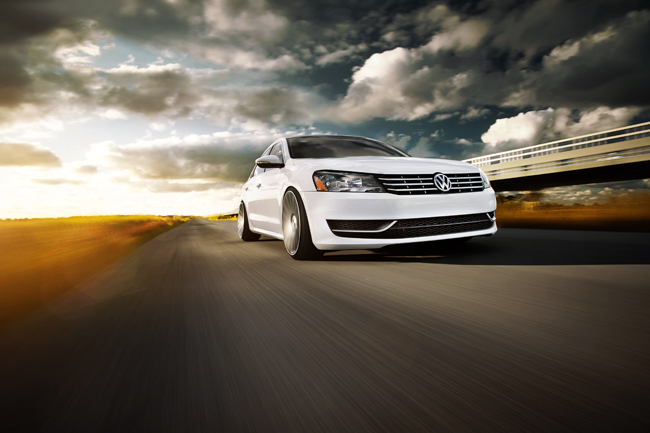
CREDITS: All photographs shared by Ronaldo Stewart are copyrighted and have been used with permission for SLR Lounge. Do not copy, modify or re-post this article or images without express permission from SLR Lounge and the artist.


Get Connected!