Dance photography is a unique and challenging genre of photography that captures the grace, fluidity, and energy of dancers in motion. From choosing the “right” camera settings, to understanding the importance of timing and composition, dance photography requires a combination of technical skills and creativity. Whether you’re shooting a professional dance performance, a street dance competition, or even the first dance at a wedding reception, the following dance photography tips will help you take better dance photos.
Dance Photography Tips
- Use a Fast Shutter Speed…Sometimes
- Experiment with Different Lighting
- Get Close to the Action
- Use a Wide Aperture
- Pre-Plan Your Shots
- Capture Moments of Stillness
- Be Mindful of the Background
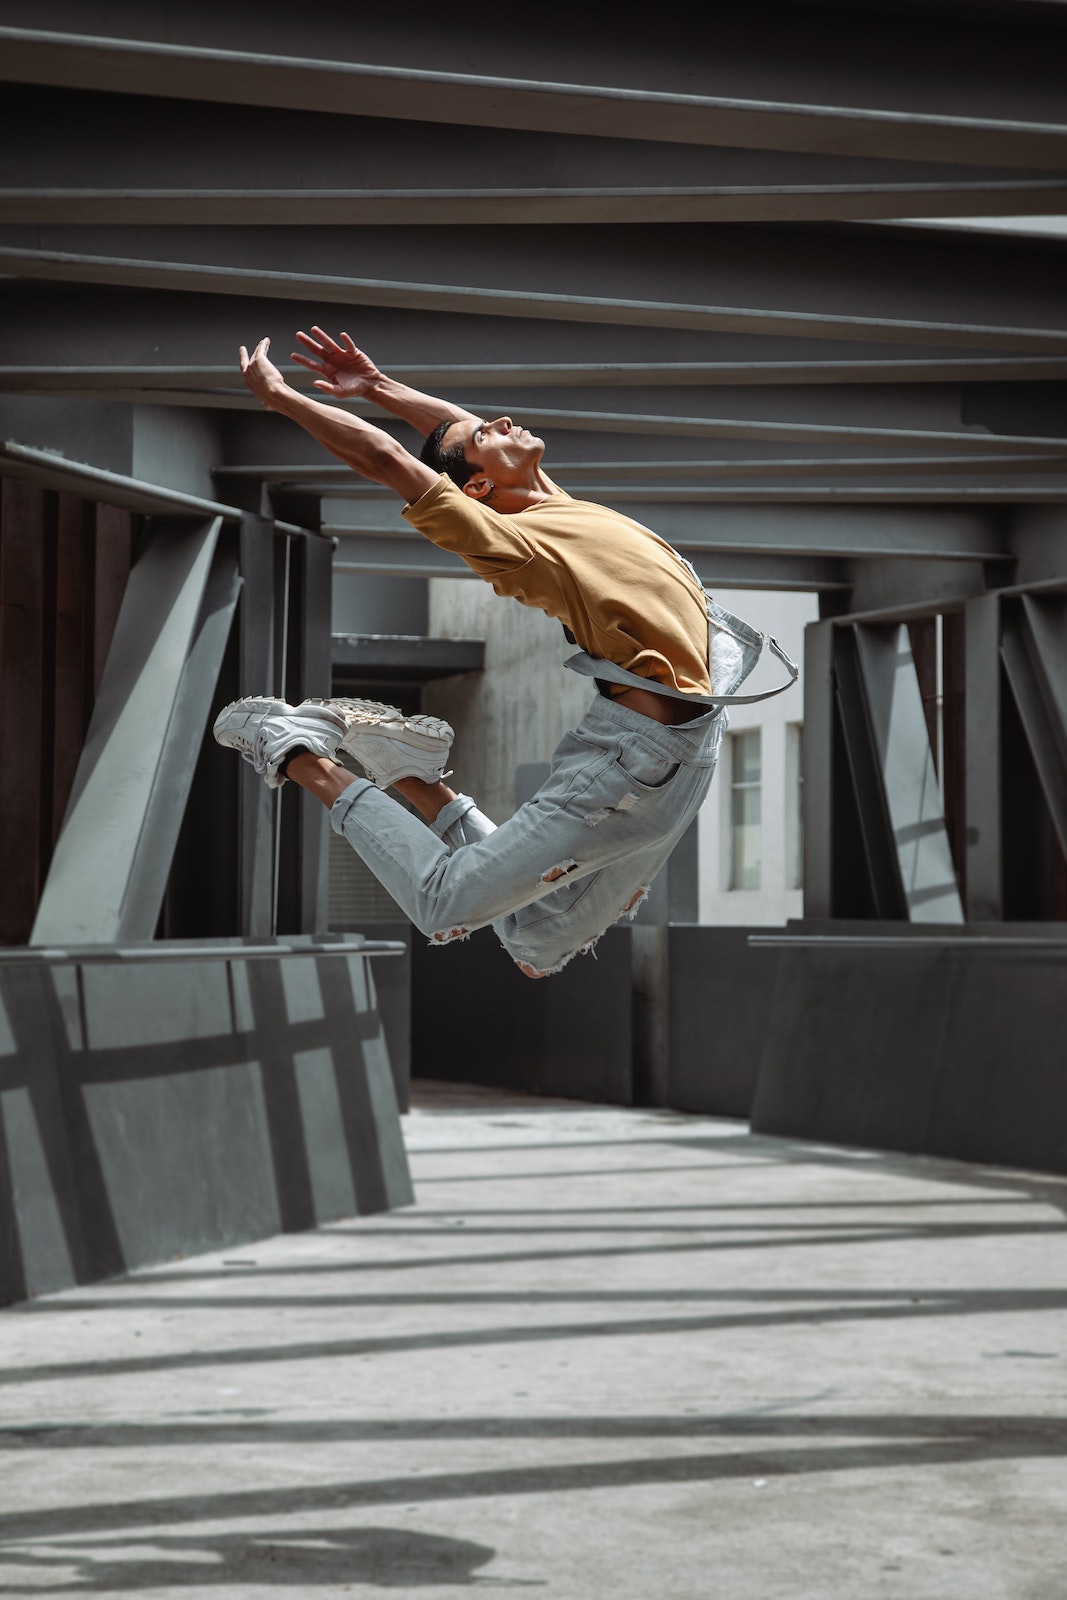
Tip #1: Use a Fast Shutter Speed…Sometimes
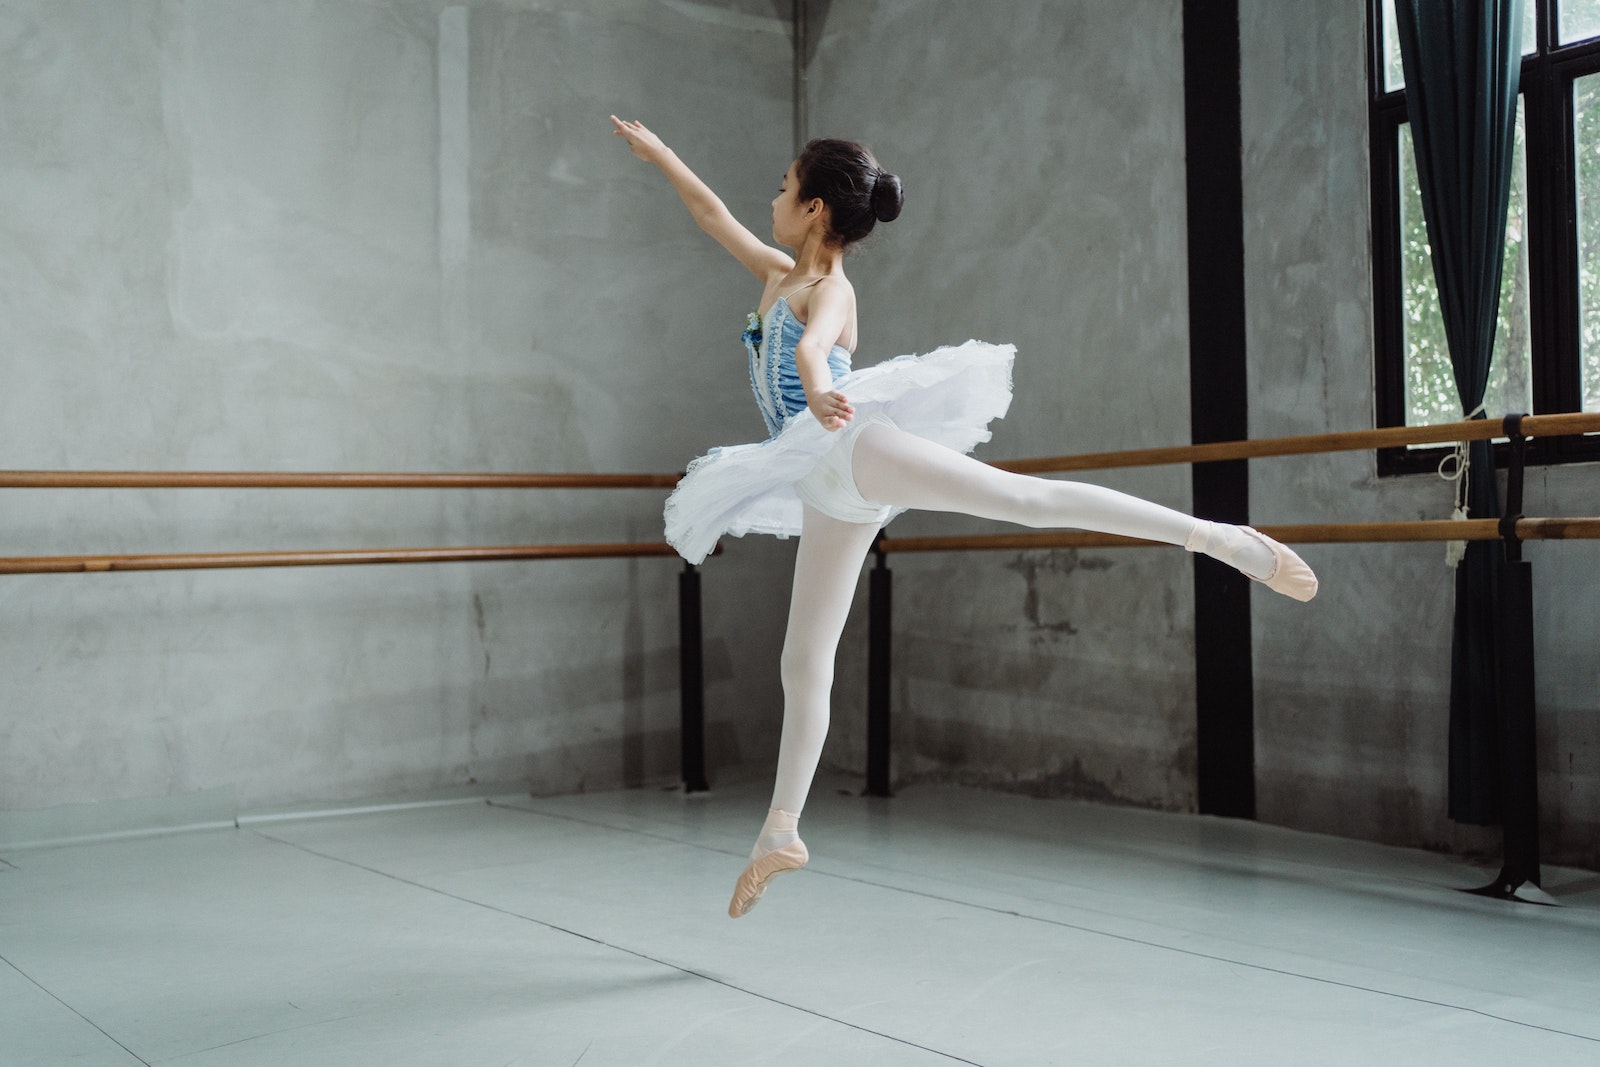
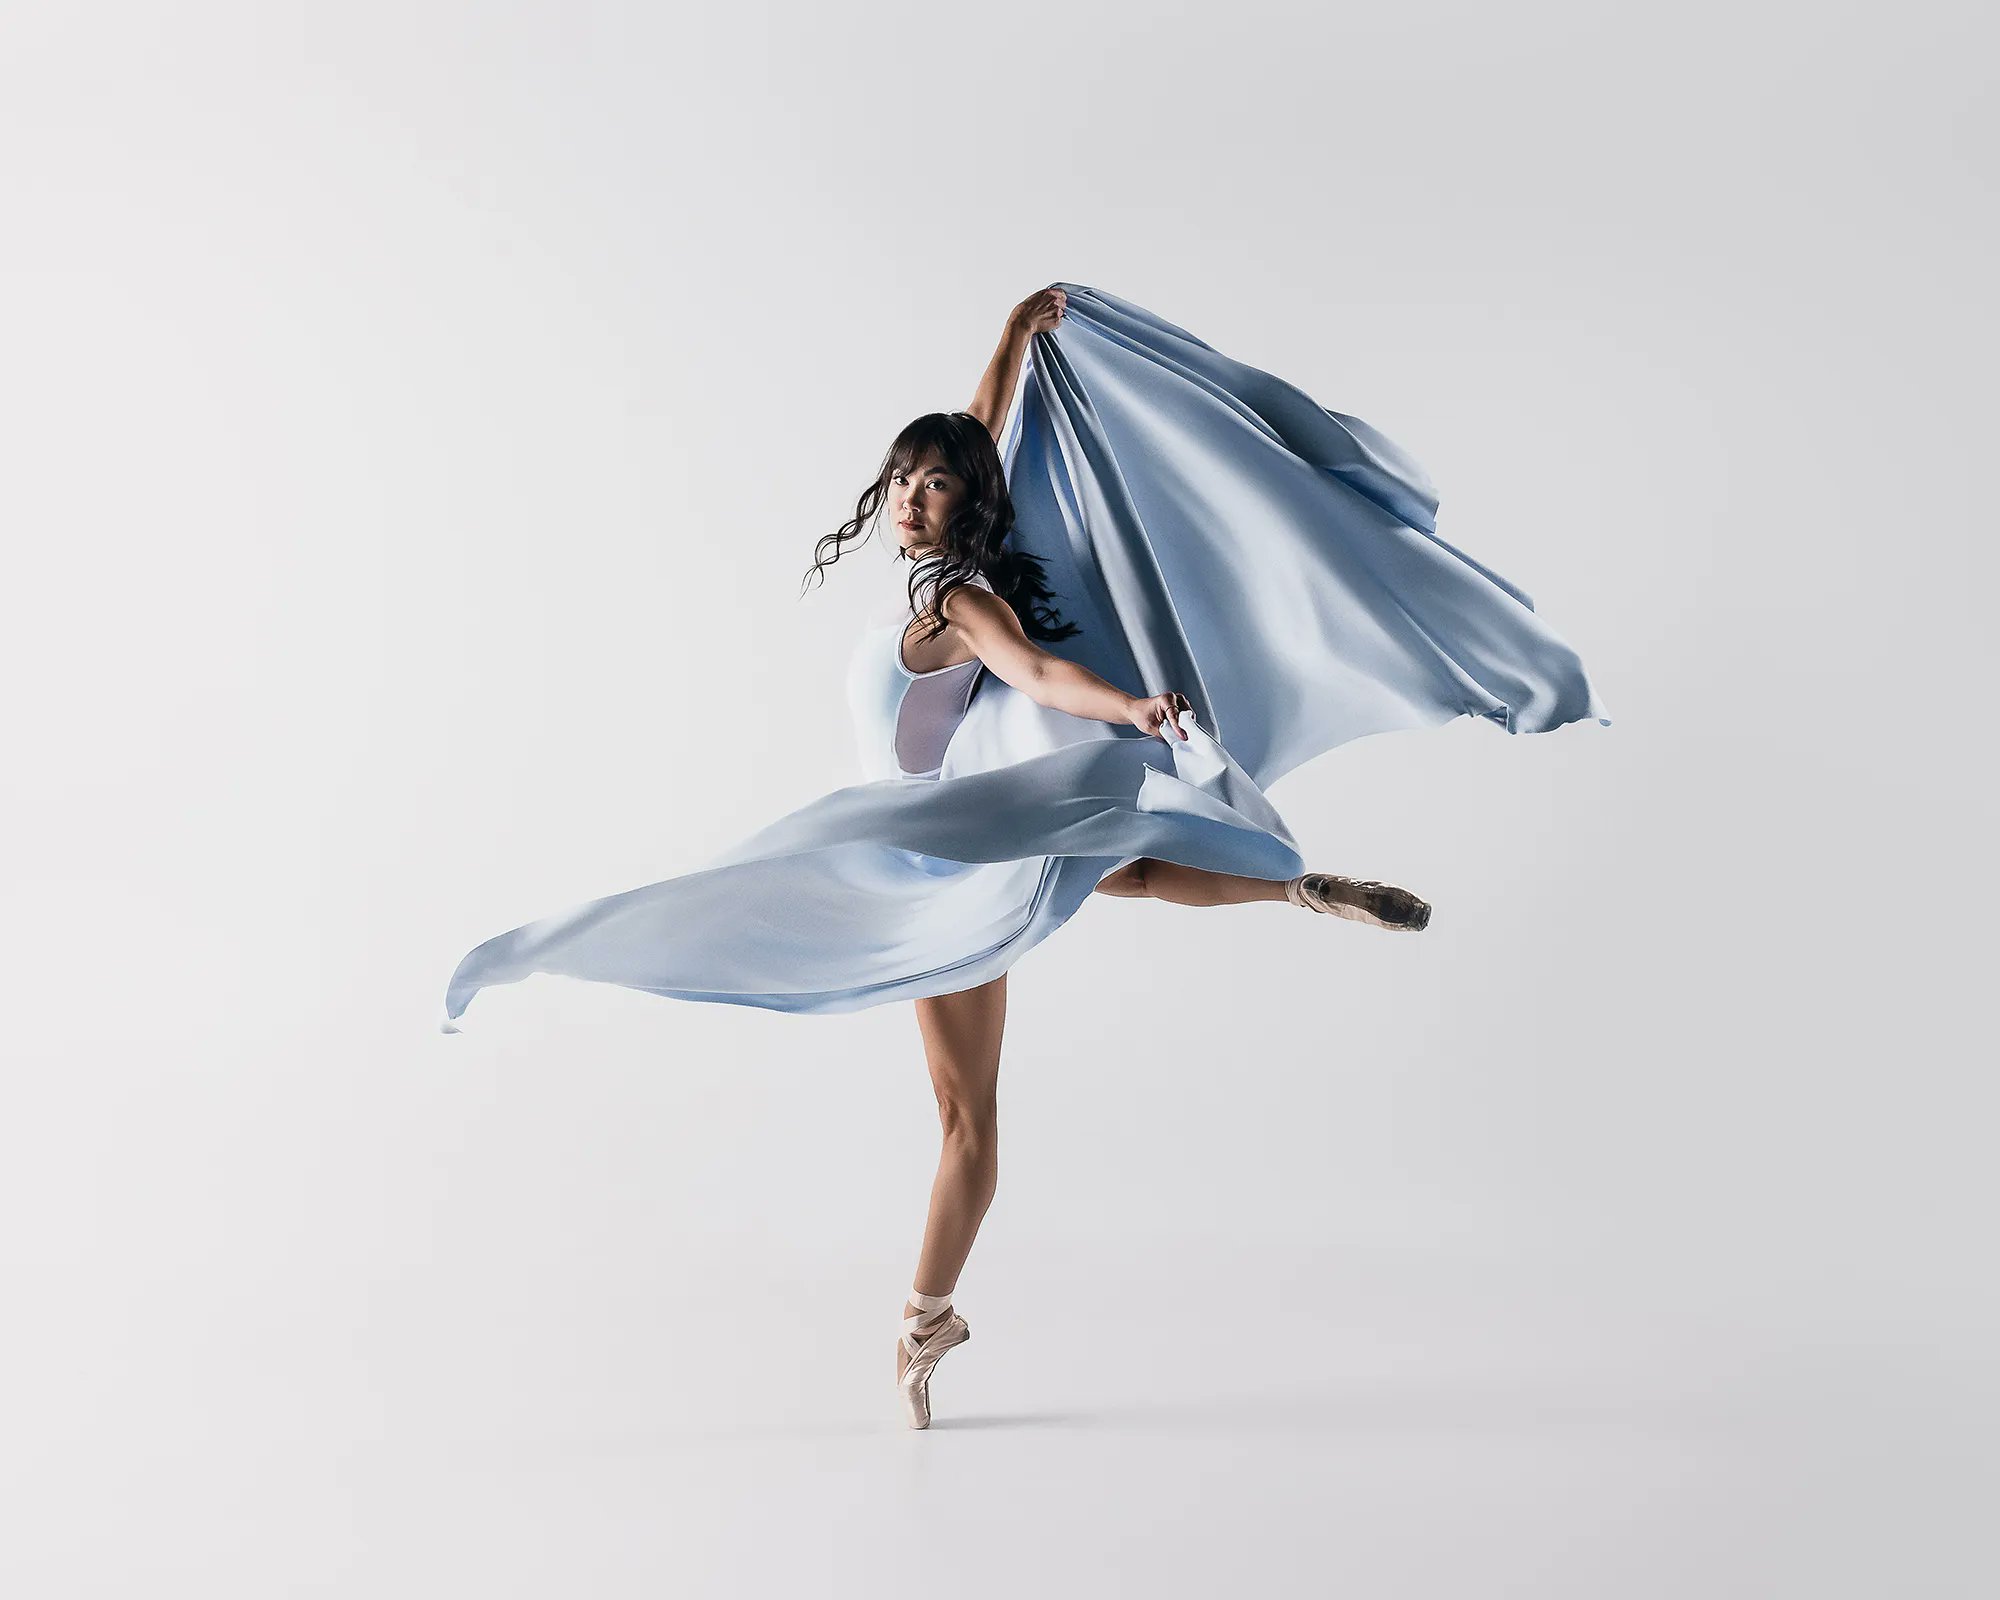
When shooting dance photography, you will need to freeze motion to capture sharp and detailed images. A fast shutter speed of 1/500th of a second or faster is recommended to achieve this (1/200th at a minimum). This will help you avoid blurriness, which can detract from the beauty of the dance.
Or Make an Exception to Show Motion
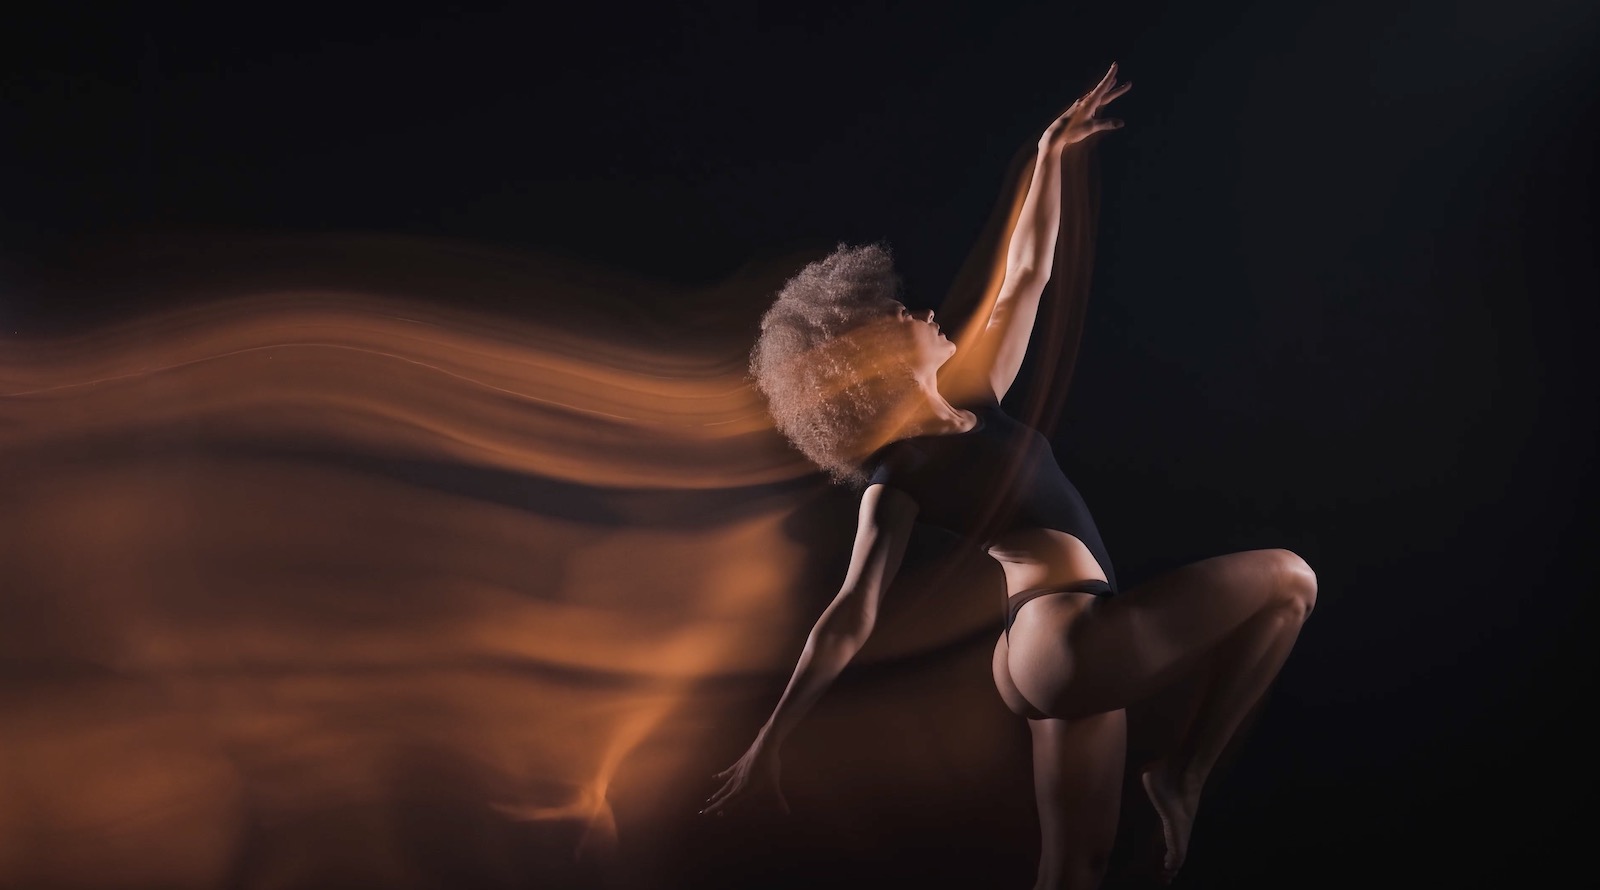
Of course, there are times when you will want to use a slower shutter speed to capture motion in your dance photos. Long exposures can help to convey a sense of movement and flow that is often associated with dance. In a sense, this type of dance photography uses an artistic touch to merge form and function. The exact shutter speed you’ll need will vary depending on available light and other creative choices, including how much movement you want to capture, etc. Generally, though, you can expect to start somewhere around ¼ to ½ second and adjust accordingly.
Dance Floor Camera Twist
In the video above, check out the “dance floor camera twist” technique. This technique uses a long exposure with a camera twist and flash to create a unique effect. As a result, viewers can’t help but feel like they’re right in the middle of the action.
Dance Photography Tips, #2: Experiment with Different Lighting
This really goes for all genres, but lighting plays an particularly critical role in dance photography. It can enhance or detract from the movement and emotion of the dancers. Depending on the occasion, it’s worth experimenting with different lighting setups, including natural or available light and off-camera flash. You can achieve both light and airy or dramatic looks using natural light or flash. One lighting style is not exclusive to one type of light source. For each scenario, you’ll need to decide whether you want a light and airy or dramatic look, and then set up accordingly.

Tip #3: Get Close to the Action
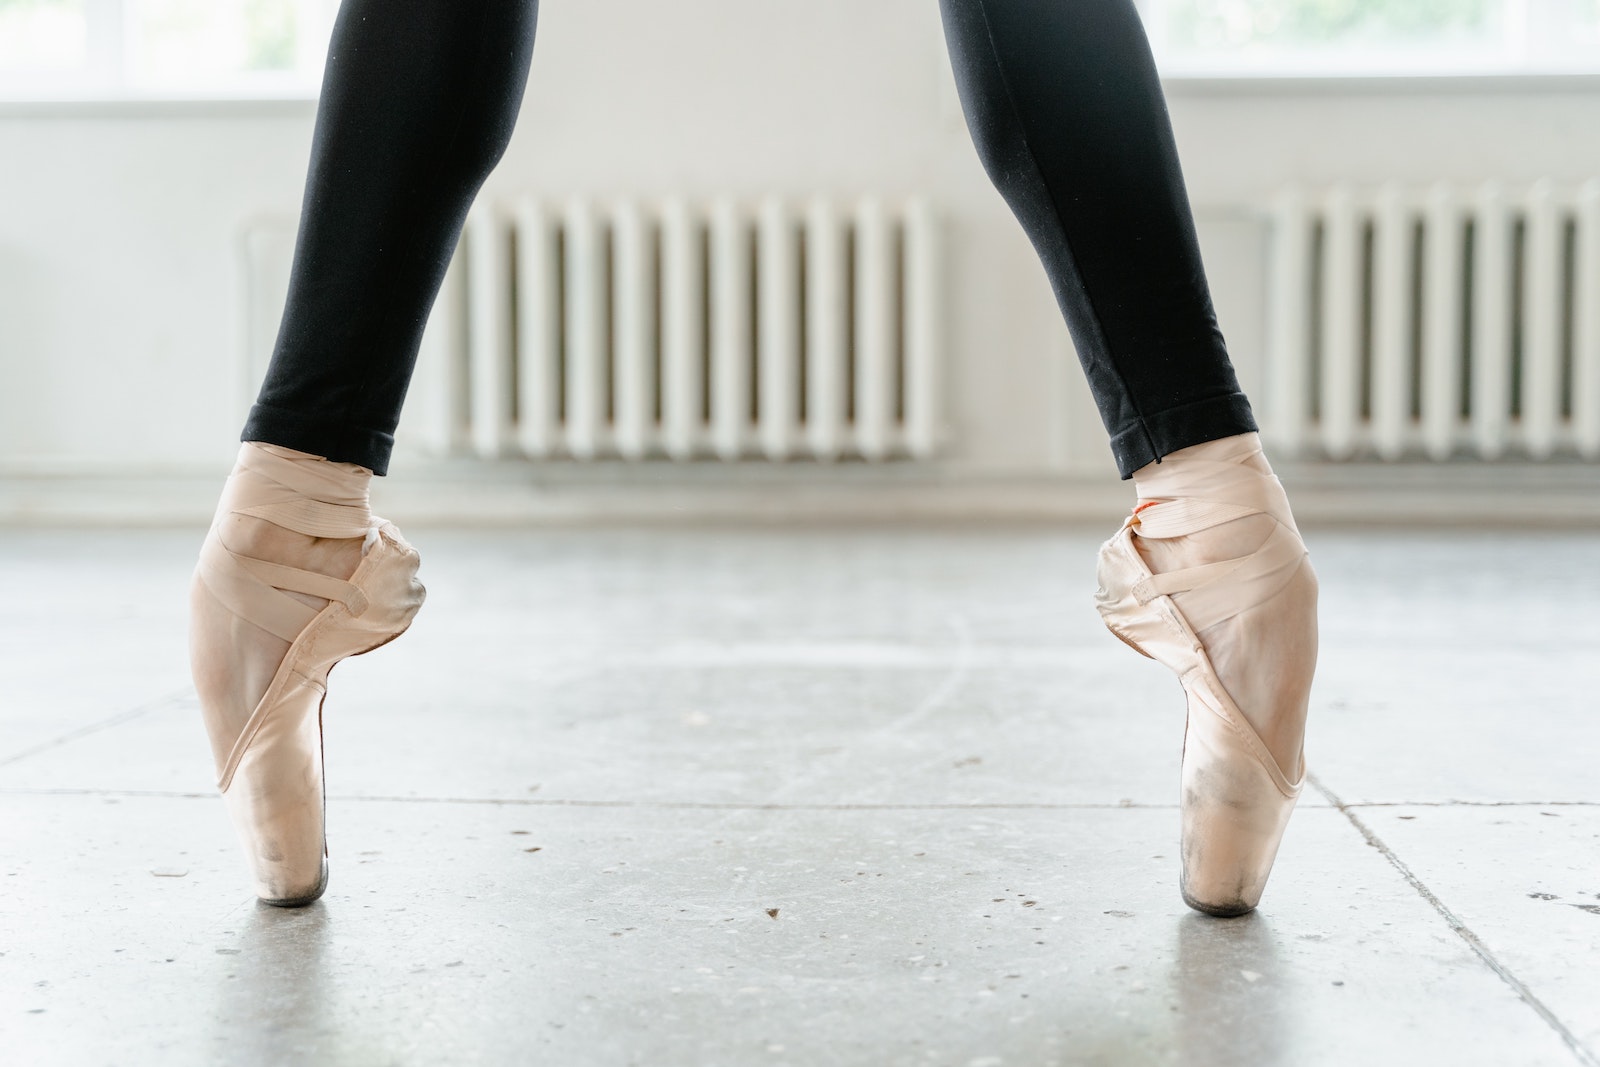
Dance photography often requires you to get close to the dancers. This allows you to capture the intimate details of the movement, such as facial expressions, hand gestures, and body language. If you’re shooting with a high-resolution camera, you can shoot wider and crop in post without sacrificing (too much) quality.

Getting close to the action doesn’t necessarily mean having to shoot closeups. It has more to do with positioning yourself near the dancers to capture the best angles. We also recommend shooting different sequences in wide, medium, and tight angles for storytelling purposes. Whether you’re sharing the images in a blog or designing album spreads, it’s easier to tell a more impactful story with all of these angles covered.
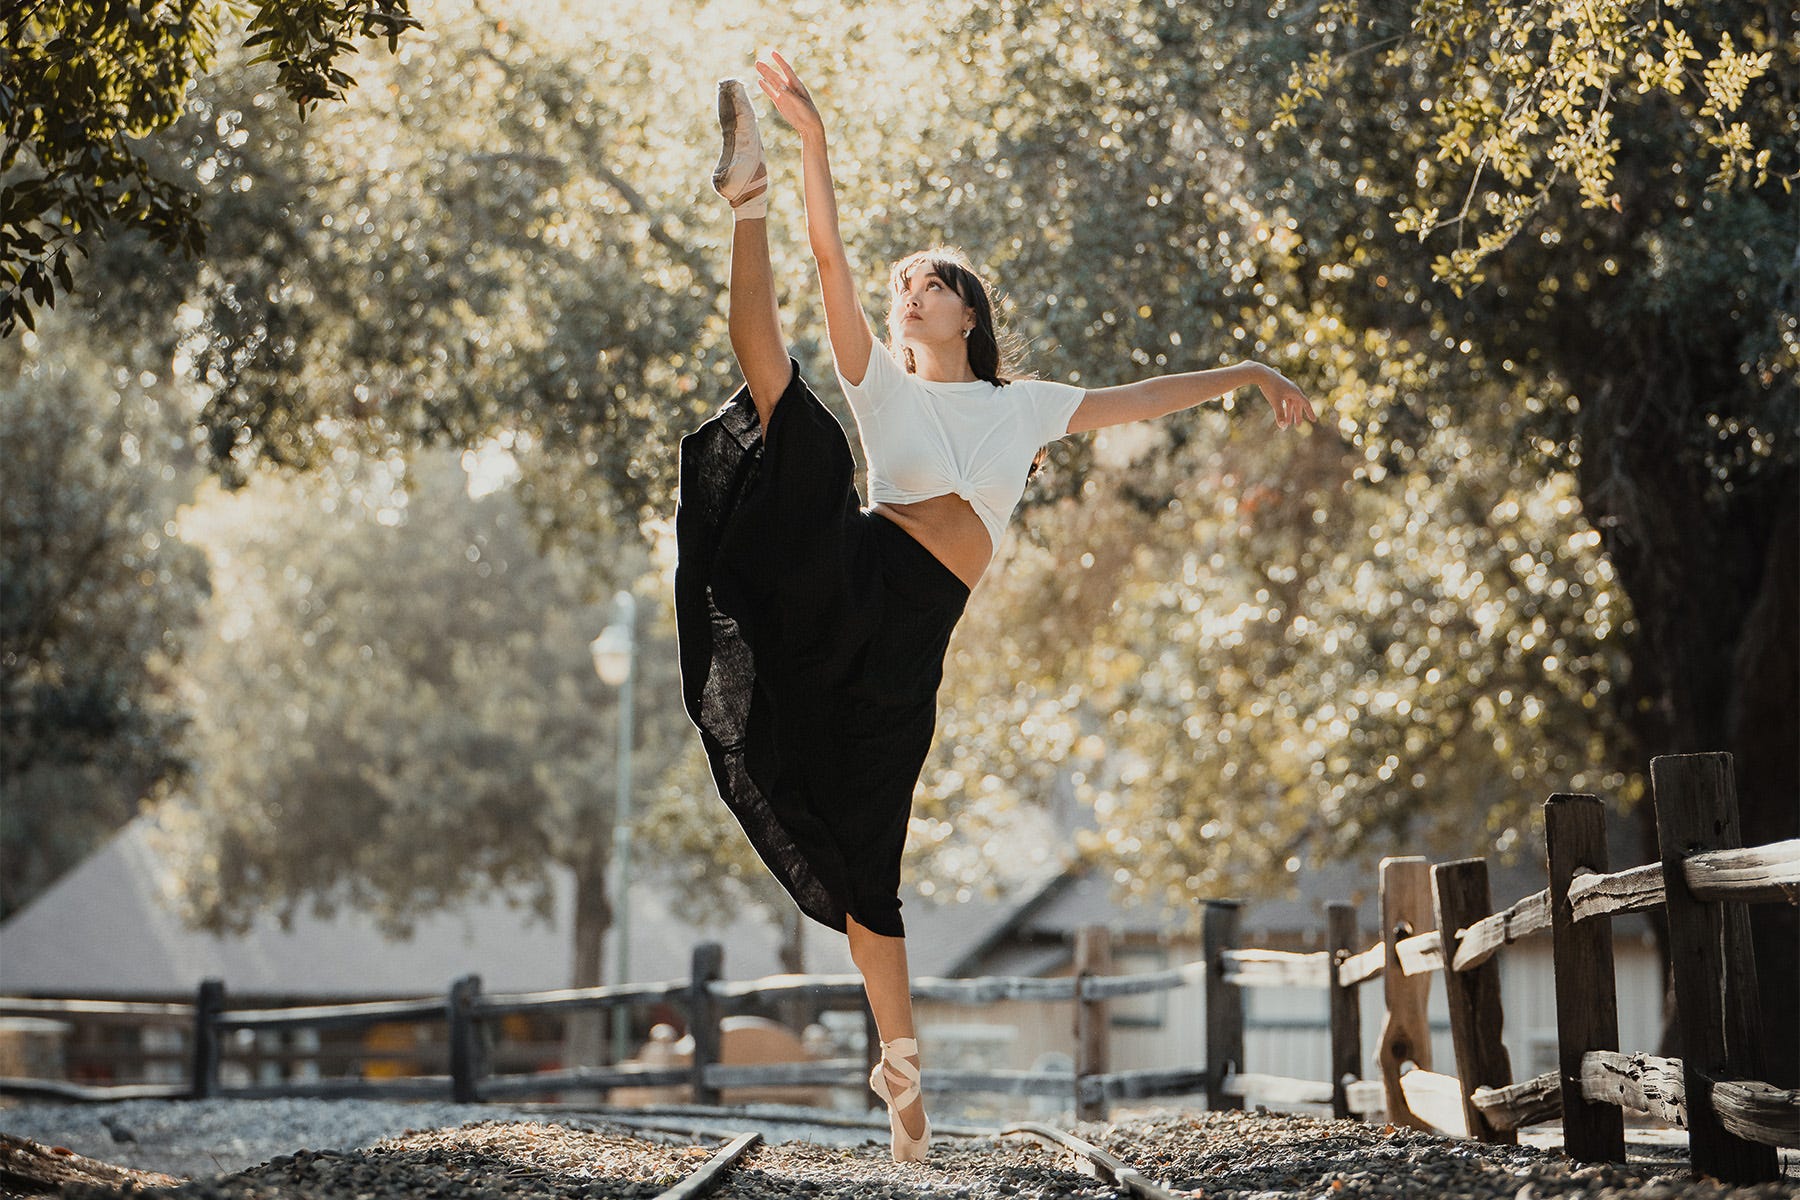
Tip #4: Use a Wide Aperture…
A wide aperture (f/4 or wider) will allow you to create a shallow depth of field and isolate the dancer(s) from the background. This will draw the viewer’s attention to the dancer(s) and make the moment stand out. It also helps to open up the aperture when you’re shooting in low light scenarios.
Or Use a Narrow Aperture

It should be noted, if you’re trying to capture multiple subjects in motion (such as an entire dance routine), a narrow aperture will allow you to keep more dancers in focus. The same is true if you want to capture more of the environment in which the dancer is performing. Like always, you’ll need to consider the context and desired outcomes when deciding between these wide or narrow aperture settings.
Dance Photography Tips, #5: Pre-Plan Your Shots
Most of the time, when we photograph clients for portrait sessions, we meet with them before the shoot to discuss their “vision.” What kinds of photos are they hoping to get from the session? Moodboards on Pinterest help put together an overview of the style that can help determine the best locations, lighting styles, compositional choices, and more to deliver what they want. The same holds true for dance photography sessions, whether or not they’re for a client.
If your client is a dancer and that is why you’re exploring dance photography tips, then it’s a good idea to do something like the W.A.V.E. exercise with them before the shoot (which we cover in detail in this article on couples photography tips). You might also ask them to put together a moodboard for additional visual expectations. On the other hand, if you’re taking an interest in dance photography on your own, it’s still a good idea to put together your own mood board and take some additional steps to determine how you want the final images to look and how you might go about capturing them.
Additional Steps Before the Shoot

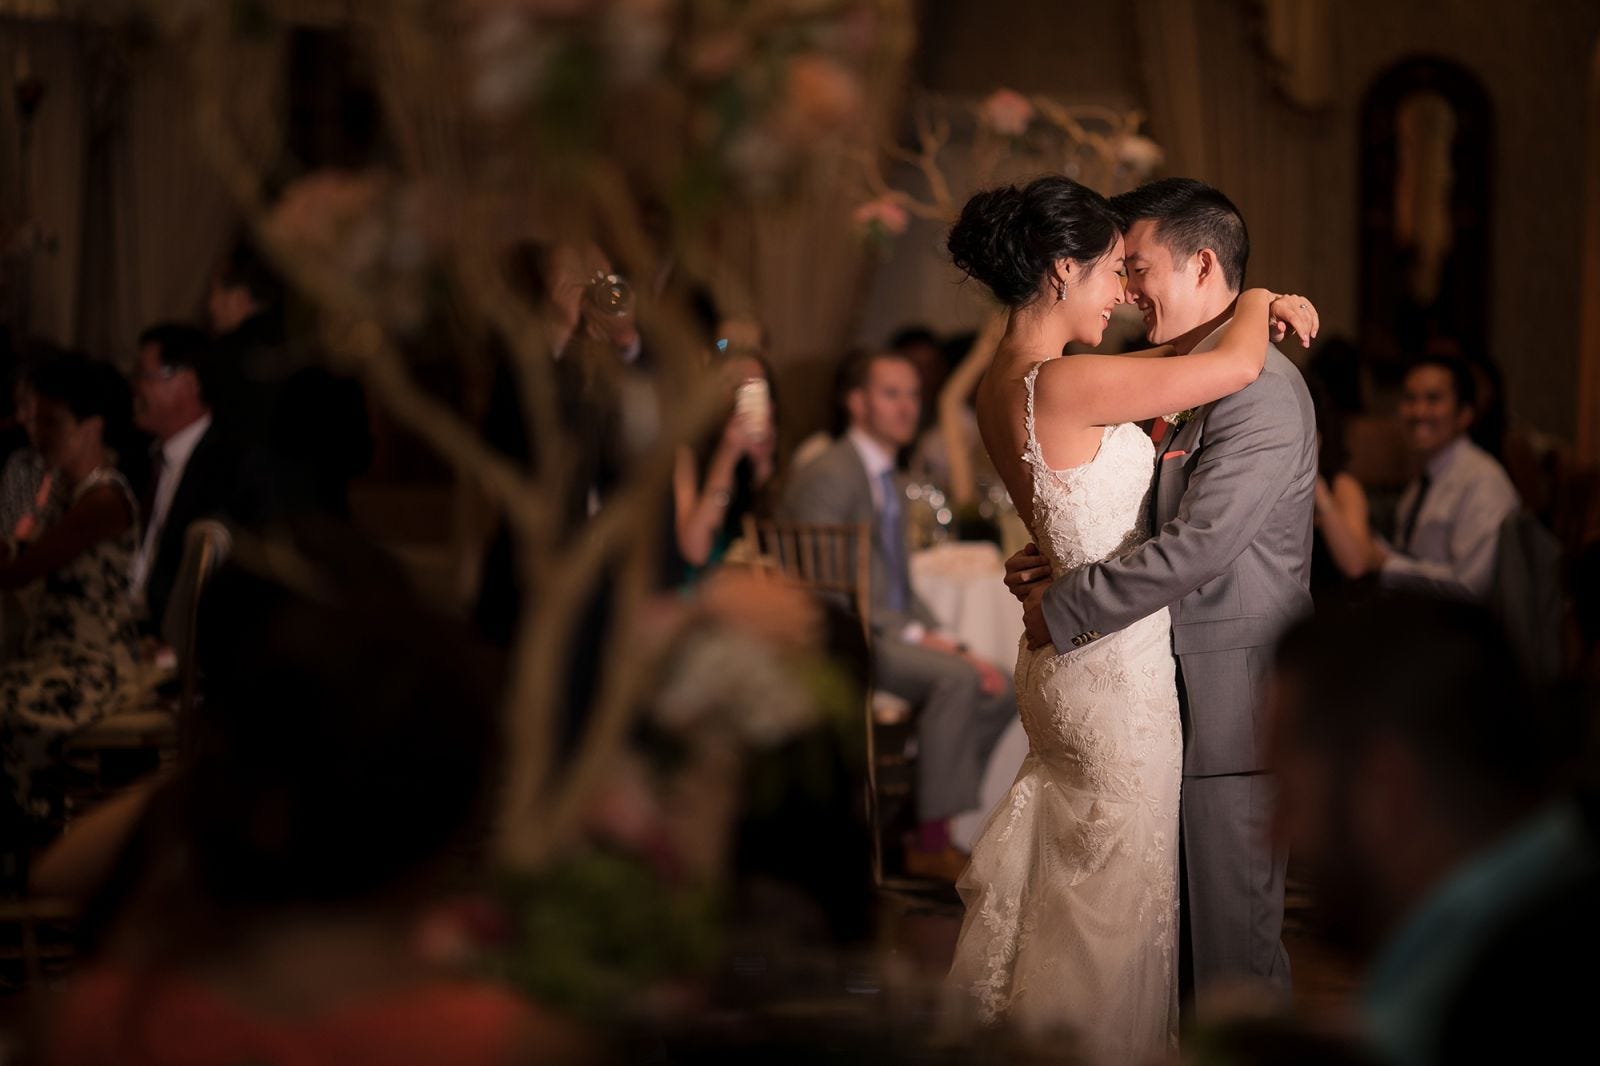
The nature of dance photography and its fluid motion elevates the importance of preparation. You’ll need to understand how the choreography will play out as well as how you might best position yourself to capture it. Before the performance begins, take some time to study the location and the dancers. It can prove especially helpful if you have access to view a warmup before the performance. If you’re photographing the first dance for newlyweds, ask them to share notes or even practice the dance in front of you if possible, ideally before the wedding day. This will help you anticipate the movements and marks and make more informed decisions about your camera settings and composition.
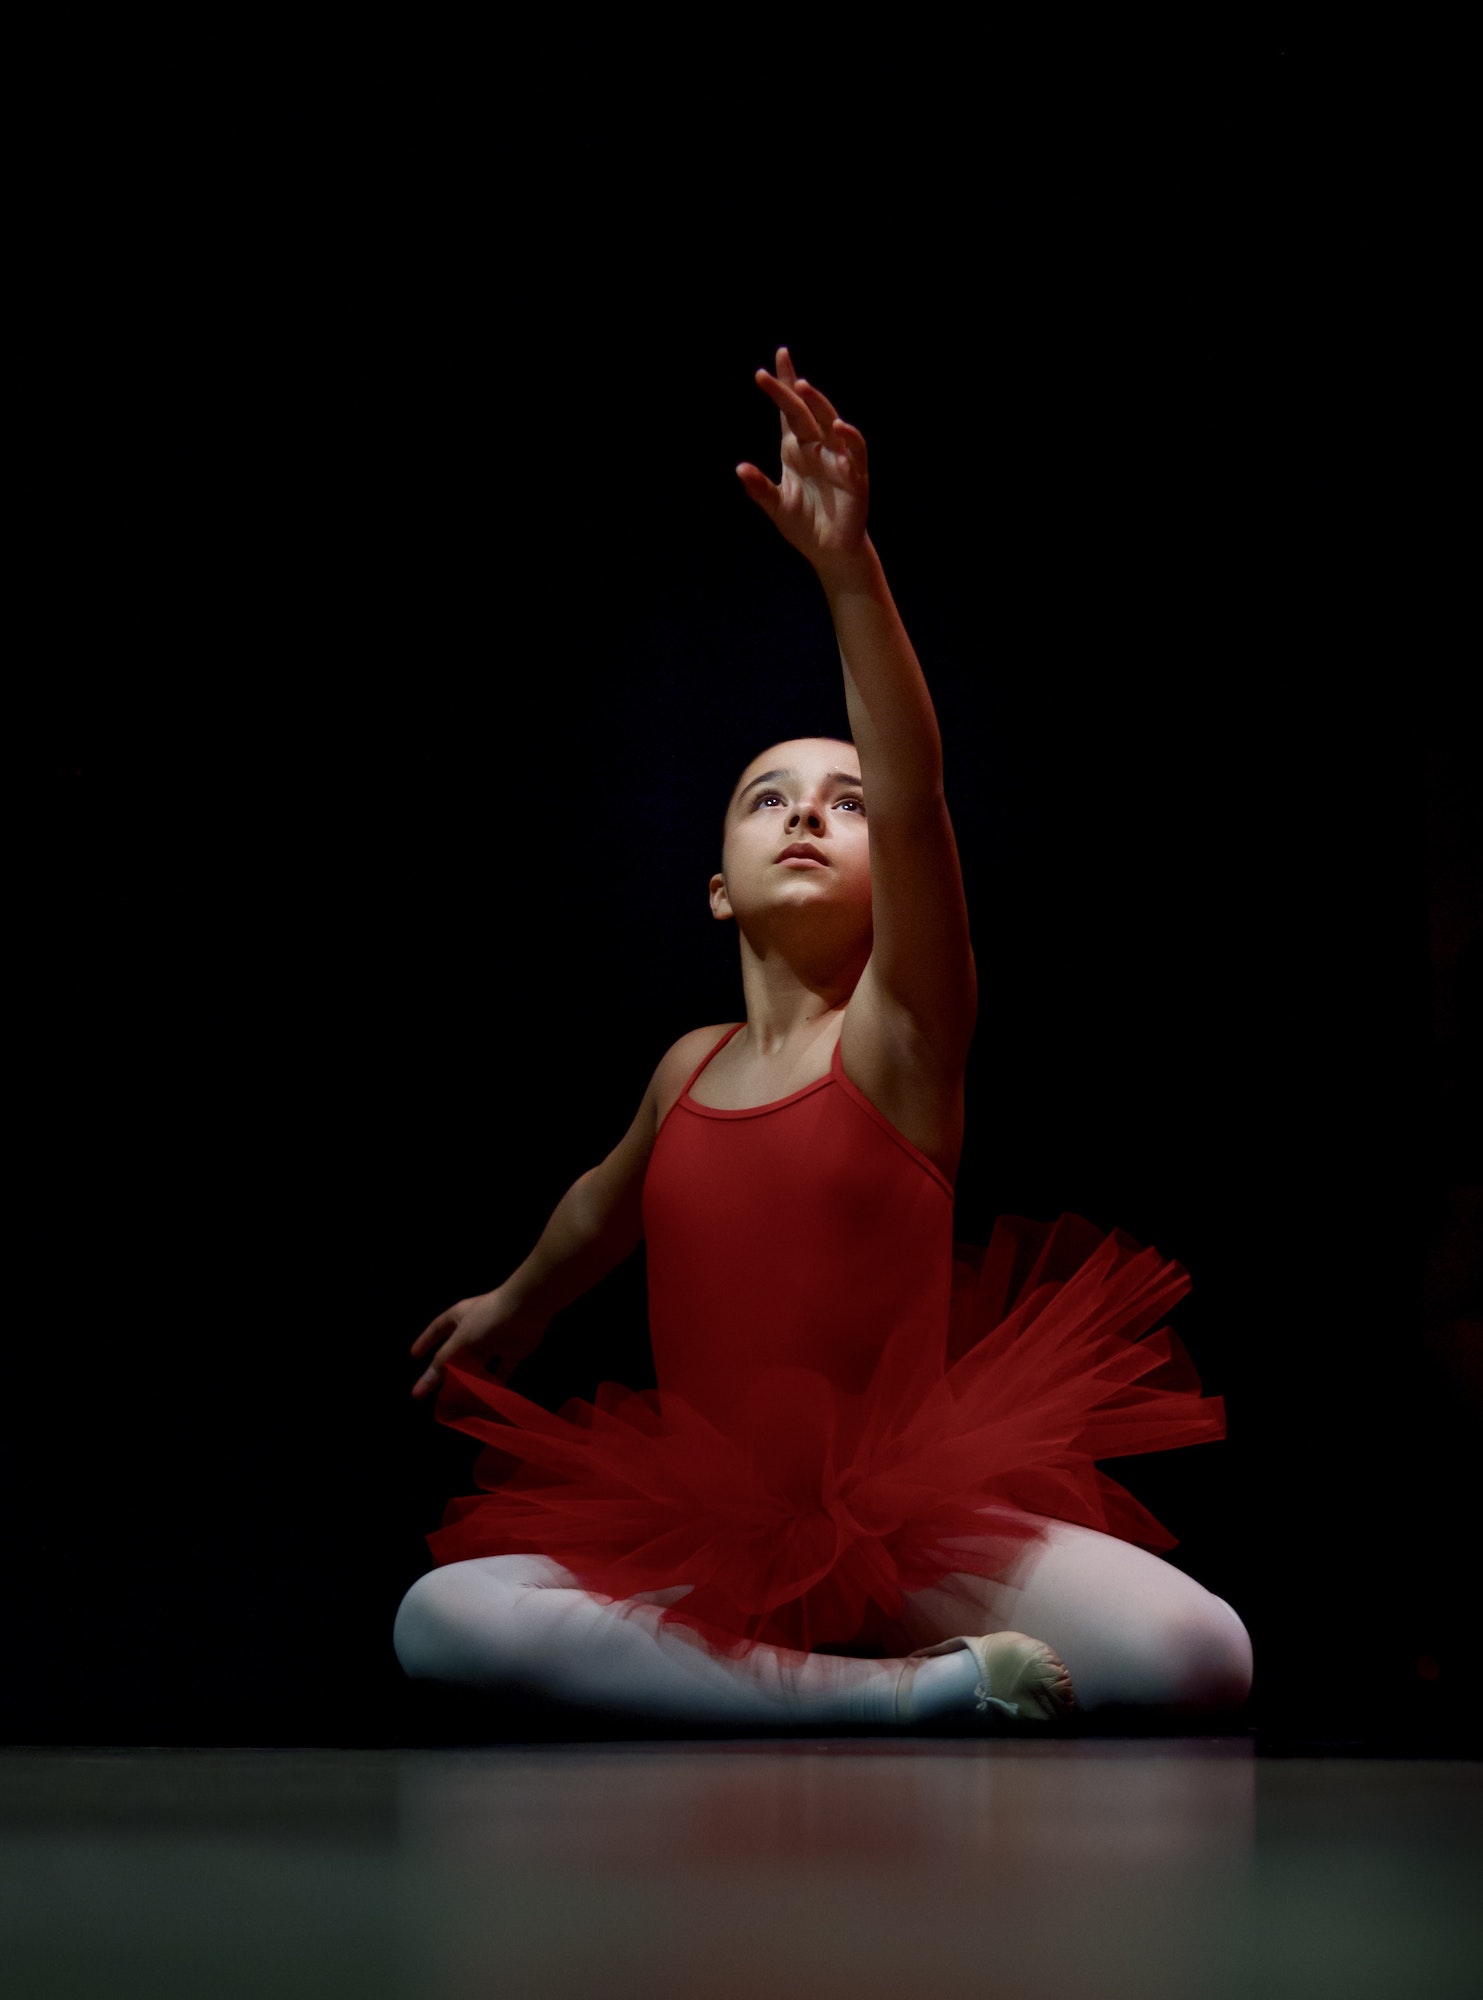
Tip #6: Capture Moments of Stillness
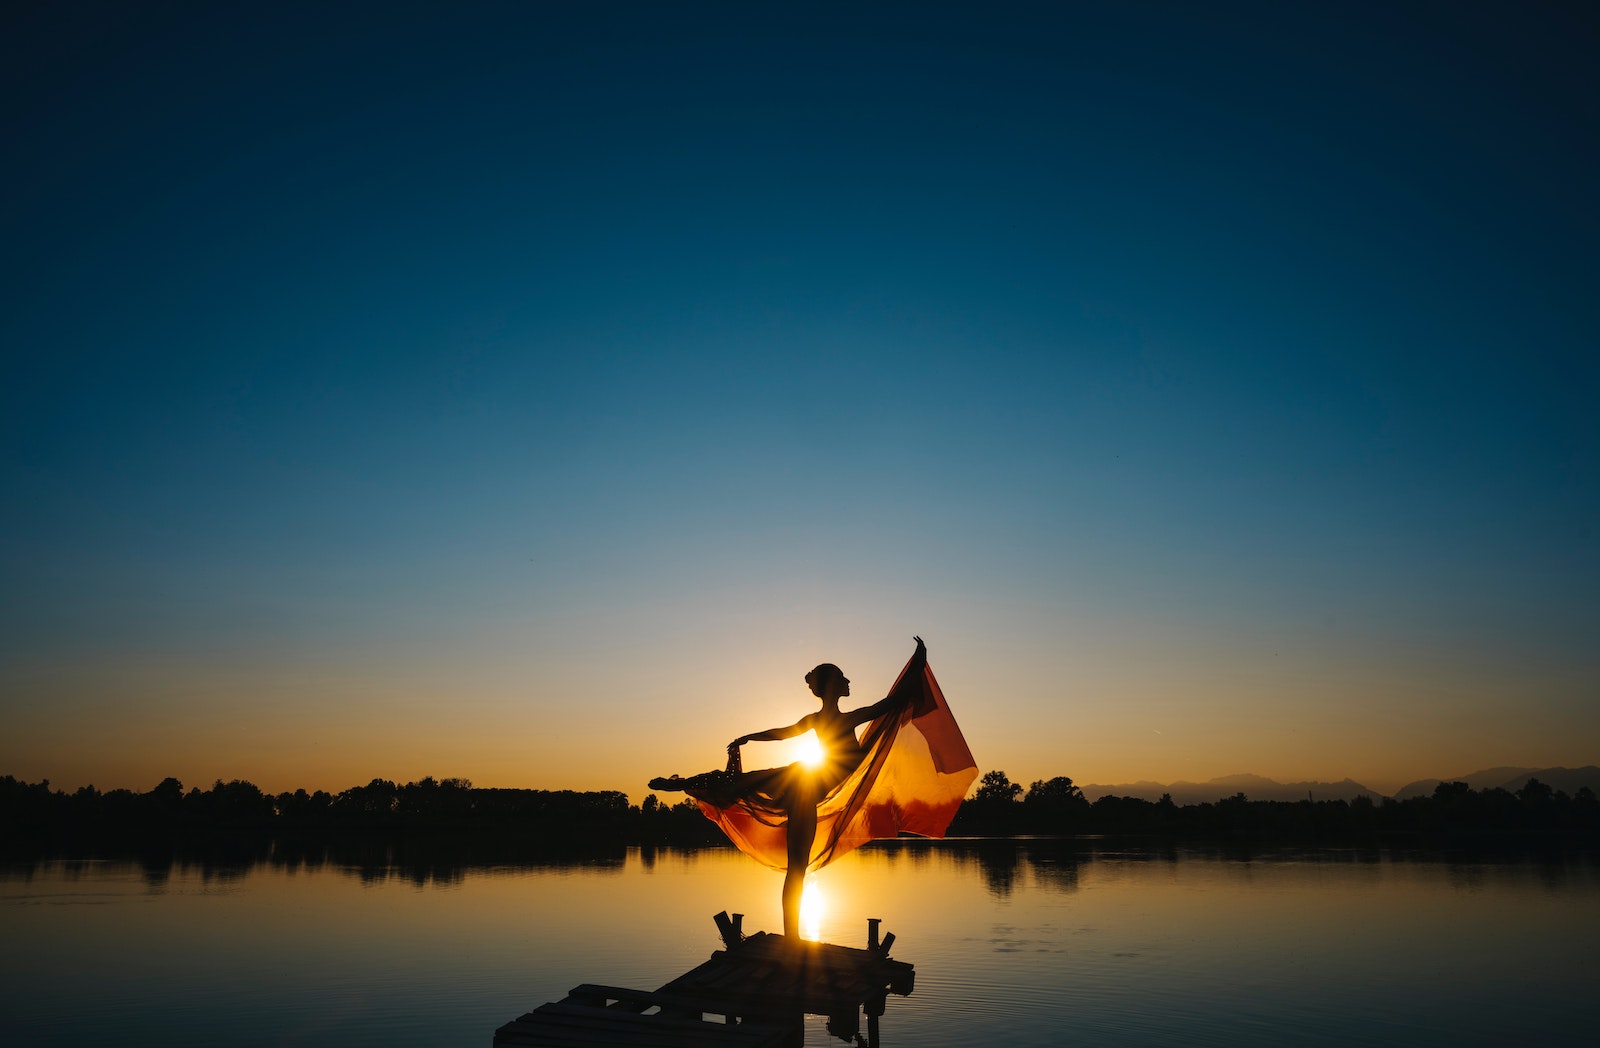
While the majority of dance photography is focused on capturing movement, it’s also important to capture moments of stillness. These can be powerful moments that convey the emotion and energy of the dance. Again, following through with the previous dance photography tips on preparing for the shoot will help you capture the action and the stillness in between.
Dance Photography Tips, #7: Be Mindful of the Background
The background can greatly impact the impact of your dance photos. Try to choose a simple and uncluttered background, or experiment with using motion blur to create a sense of movement in the background.
Conclusion
We hope you enjoyed this collection of dance photography tips and examples. This uniquely creative and rewarding genre of photography requires careful attention to lighting, camera settings, and composition. By following these tips, you will be well on your way to capturing stunning dance photos that showcase the beauty and power of movement.
**Feature image by Pixabay