
Eyes have long held the fascination of painters and photographers alike. Because of their particular details and nuances, like their unique colors and shapes or their ability to convey emotions and personalities, eyes make great subjects. There’s something mesmerizing about this small but incredibly complex organ. You can find examples of eye photography in everything from editorial fashion shoots to weddings and boudoir portrait sessions, as well as medical texts. Whether you’re a portrait photographer looking to add a new element to your work or an aspiring, specialized eye photographer, exploring the intricate details of the eyes can offer a fascinating and rewarding subject to capture. In this article, we’ll take a closer look at eye photography, sharing everything from recommended gear to basic tips and challenges associated with this genre.
What Is Eye Photography?
Eye photography, also known as ocular or iris photography, is a specialized genre of photography that focuses on capturing the intricate details and beauty of the human (or animal, insect, etc.) eye. It can include portraits of eyes, close-up shots of the iris or eyelashes, and even medical photography of eye conditions. Because eyes feature prominently on our subjects’ faces and provide a point of interest, we can apply many of the following tips and techniques to different kinds of portrait sessions.
Camera Gear Requirements and Settings

Before you begin your journey into eye photography, you’ll want to ensure you have the right equipment. Remember, you’re trying to capture the intricate details of the eye. A typical point-and-shoot camera can only get you so far, and it likely won’t produce the best results. Instead, you’ll want the following items:
Camera and Camera Settings for Eye Photography
As far as getting the best camera for eye photography, you’ll want a basic DSLR or mirrorless camera that captures RAW files and offers the following:
High-Resolution Sensor
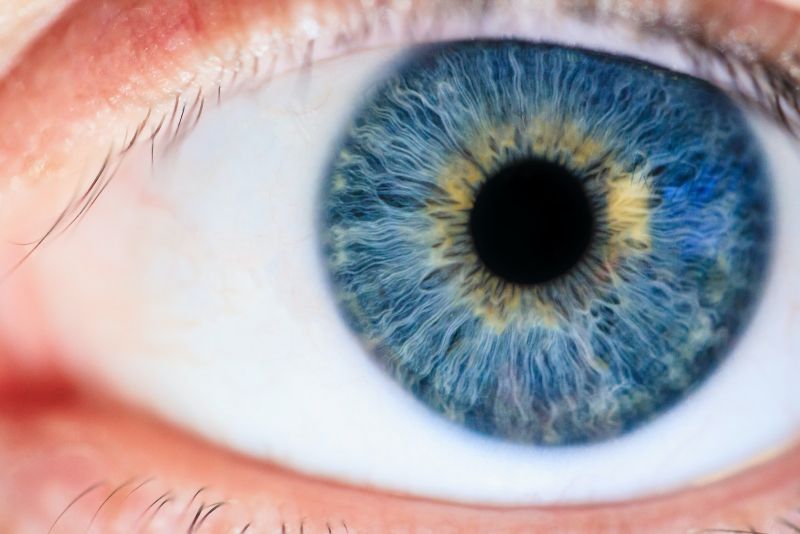
A high-resolution sensor (ideally 30 Megapixels and up) can capture more detail and clarity in an image. This will allow you to better capture details of the eye such as the iris, eyelashes, and blood vessels. Because the image file will be higher resolution, you’ll also have more options for cropping the eye photos to isolate the details mentioned above. In addition, high-res images are easier to handle during post-processing and they can be printed in larger formats with clear and sharp results.
Manual Settings
Here’s a quick overview of the camera settings you should use when practicing eye photography.
- Aperture: While a shallow depth of field from a wide aperture of f/1.2 to f/2.8 might yield interesting results for eye photos, we typically want to capture more detail than a wide aperture will generate, especially when shooting close up. For that reason, try sticking to narrower apertures between f/8 to f/11 when photographing eyes.
- ISO: Because eye photos deal in large part with detail, we want to keep them “clean.” To minimize the noise and grain in your eye photography, keep your ISO setting between 100 and 800. Some cameras do better than others in regards to image quality at higher ISO settings. To keep it safe, however, stick with these recommended settings.
- Shutter Speed: Anytime we’re shooting handheld and trying to freeze the action, we want a shutter speed faster than 1/60. If possible, a shutter speed of 1/200 would serve us even better. Again, because these photos rely on sharp focus, motion blur is unacceptable. If the narrow aperture and low ISO require you to use too low a shutter speed, then you need to add more light to the scene.
It’s worth noting that the camera should also work with interchangeable lenses. And on that note, let’s move to our next piece of camera gear for eye photography.
Macro Lens
For the lens, you’ll want to use a dedicated macro lens, preferably around the 100mm focal length. A macro lens will allow you to get up close and personal with the eye, revealing details that would be impossible to capture with a regular lens.
Lighting Gear
To light eye photography, you can opt for natural light or flash. When using natural light, you’ll want to modify the light with a scrim (for diffusion) or a v-flat (for fill light). You can add light with a flash or constant light source. We’ll cover flash in more detail below while discussing lighting options, but a basic off-camera flash with some sort of diffusion would be ideal. For constant lighting, a ring flash offers a solid option, and you can find a number of tutorials on how to use them. Ring lights provide even lighting and eliminate harsh shadows, creating a more natural look.
Important Eye Photography Tips
Now that we have our gear list and basic settings down, we can jump into some helpful tips for eye photography.
Light Quality

One of the most critical tips for successful eye photography is to get the lighting right. More often than not, soft, diffused lighting is ideal for eye photography. It helps eliminate harsh shadows and create a more natural look. We mentioned above that you can use a scrim or other light modifiers (soft box, translucent umbrella, etc.) to soften and diffuse light. Light modifiers are available for use with both natural light and flash or constant light sources.
To Flash, or Not to Flash, for Eye Photography
The use of flash in eye photography is a topic of debate. Some photographers prefer to use flash to enhance the details of the eye, while others find it causes too much strain on the model’s eyes. If you do decide to use flash, you can ask your model to keep their eyes closed while you make your adjustments and dial in focus. When your subject’s eyes open for the shot, wait a short time to let the eyes adjust before photographing them.
Light Direction
Paying attention to light direction for eye photography is crucial in achieving a well-lit and flattering image. One option is to have the subject directly face a window or a soft light source such as a diffused light panel. This can provide a soft and even light that illuminates the eye’s details and creates a flattering effect. Ring lights work well for this approach because of the catchlight they produce in the eyes.

Additionally, experiment with different angles to help determine the best light direction. For example, try placing the light to the side or above your subject to create more depth and dimension in the eye’s texture and color. This will also minimize the reflection of the light source in the eye.
Eye Photography Composition

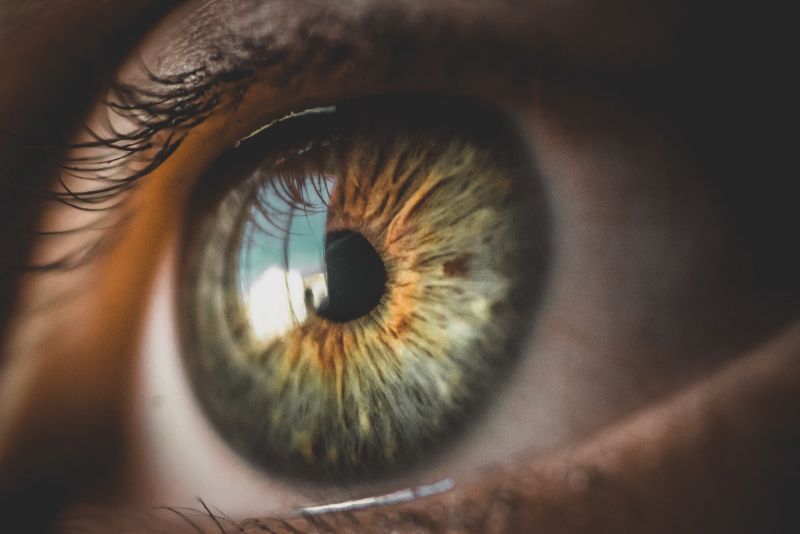
When photographing eyes, like anything else, composition matters. Aim to frame the eye in a way that highlights its unique features, such as the iris or the eyelashes. You can also crop the image to isolate the eyes and cut out unwanted elements in the frame.

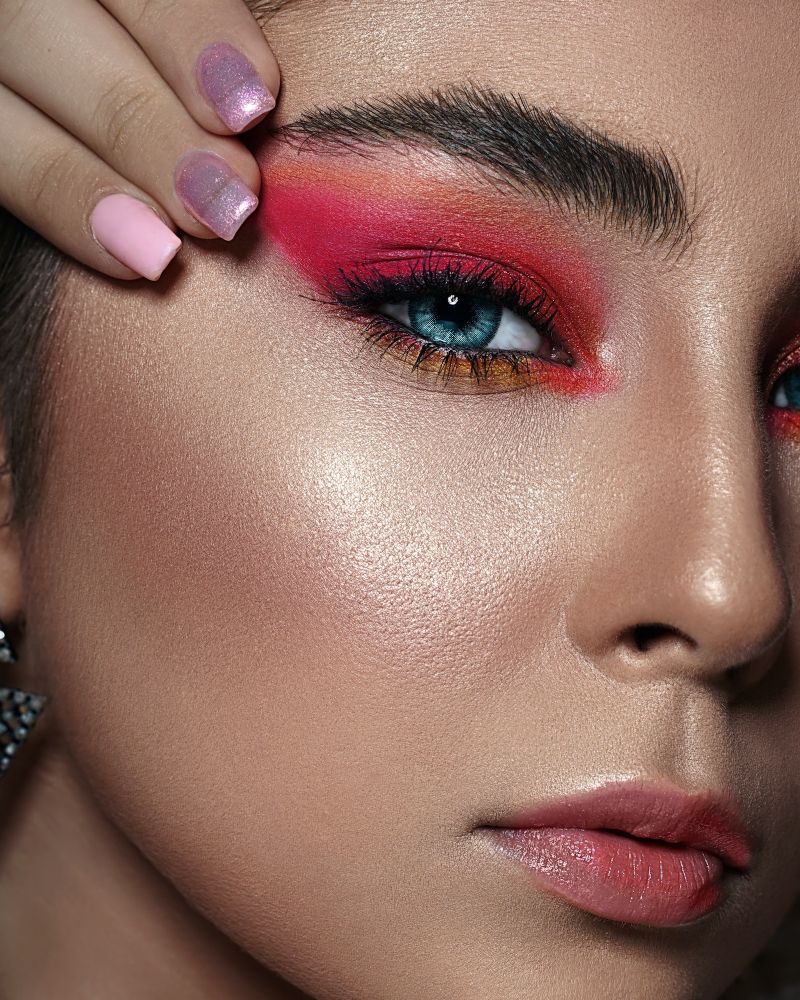
For fashion-inspired eye photos, the eyes can be open or closed with the frame pulled back a bit to highlight makeup or other design elements. For those who use gobos, casting a pattern around the eyes can add a nice creative touch as well.
Depth of Field
We mentioned depth of field earlier when discussing ideal aperture settings for eye photography. Remember, to ensure the eye is in sharp focus, we’ll want to use a narrow aperture somewhere in the range of f/8 to f/11. On the other hand, we can still experiment with a shallow depth of field to create visually appealing eye imagery.
Posing
Posing for eye photography goes hand in hand with light direction in terms of facing your subject in a certain direction. However, this posing tip deals specifically with asking your subjects to either sit or lie down. The reason for this is they need to hold as still as possible, and sitting or lying down will assist in their effort. Of course, the latter option will require you to take certain measures in terms of adjusting your camera angle and light source.
Post-Production/Editing for Eye Photography
Editing your eye photography for optimal results is a must. Here are some basic Lightroom editing tips for eye photography:
Exposure
- Adjustment Brush: The Adjustment Brush is a powerful tool in Lightroom that allows you to selectively adjust specific parts of your image. Use it to make the eyes pop by increasing clarity, sharpness, and saturation (see the default “iris enhancement” brush). You can also use the Adjustment Brush to selectively lighten (dodge) or darken (burn) specific areas around the eyes to create a more dramatic effect.
- Exposure: Use the exposure slider to brighten or darken the overall image, being careful not to overexpose the whites of the eyes.
- Radial Filter tool: The Radial Filter tool allows you to create a circular mask around the eyes, which can be used to adjust the exposure, clarity, or color temperature of the eyes.
Sharpening
- Clarity slider: The Clarity slider is a great tool for enhancing the details in your photo. Increase the clarity of the eyes to make them stand out.
- Sharpening tool: The Sharpening tool can be used to add crispness to your image. Apply it to the iris and eyelashes to bring out more detail.
Color Correction and Retouching
- White Balance: The color temperature of your photo can have a big impact on the appearance of the eyes. Adjust the white balance to make sure the colors of the eyes are accurate and vibrant.
- Spot Removal tool: Remove any blemishes or stray hairs around the eyes using the Spot Removal tool. You might be better off moving to Photoshop for this sort of retouching.
Remember that less is often more when it comes to photo editing. Don’t overdo it with any one tool, and aim for a natural-looking final result. Check out some of our other articles for more tips on brightening dark eyes and editing eye photos in Photoshop.
Primary Challenges of Eye Photography

One of the most significant challenges associated with eye photography is minimizing unwanted reflections and glares. When not attended to, they can obscure the details of the eye. While we expect to see a catchlight reflected in the eyes, we typically don’t want to see ourselves or other distracting elements. Controlling reflections in eye photography requires careful attention to light placement and camera angle, and some retouching in post may be required. In most cases, the editing tips included above should get the eye photo where it needs to be.

Another issue that pops up in all genres of photography is ensuring the subject is in sharp focus. The eye is a tiny subject, and even the slightest movement or misplaced focal point can result in a blurry image. Earlier, we mentioned steps like using a suitable shutter speed or having your subject sit or lie down to help them hold still. You might even consider tethering your camera to a larger monitor so that you can check the sharpness of your eye photos as you work through the session. Whatever technique you use, make sure the iris in your eye photo is tack-sharp.
Additional Tutorials
If you look back at what it takes to photograph eyes, you can see that several different skills go into it. We have to understand everything from composition, lighting, and exposure settings to focal lengths, post-production, and more. For that reason, it’s worth exploring other avenues of photography as well in your pursuit of perfecting eye photography. Check out resources like SLR Lounge’s Premium Memberships for access to a wide range of courses to learn foundational photography skills with camera settings, posing and communicating with subjects, lighting (both natural and flash), editing, and more. As you continue to develop your skills, you’ll also be exposed to more styles and techniques, which in turn will further inspire your creativity. It’s really a win-win and worth the investment.
Conclusion
Eye photography is a unique and rewarding style of photography that requires specific techniques and equipment. By following the tips and tutorials outlined in this article, you’ll be well on your way to capturing stunning images of the eye. Remember to experiment and have fun with different techniques and lighting setups. With practice, you’ll be able to create eye-catching images that showcase the intricate details of the eye.
**Feature Image by Jonathan Borba


Get Connected!