
It is said the eyes are a window to a person’s soul, which makes them so very important when it comes to shooting and retouching a portrait. After all the retouching, blemish fixing, and color correction steps are done oftentimes adding a little dash of light into the pupils helps give a bit of life to the portrait, focusing our attention on those windows to the soul.
There are a variety of ways experienced retouchers accomplish this, let’s take a quick look at 3 of these techniques.
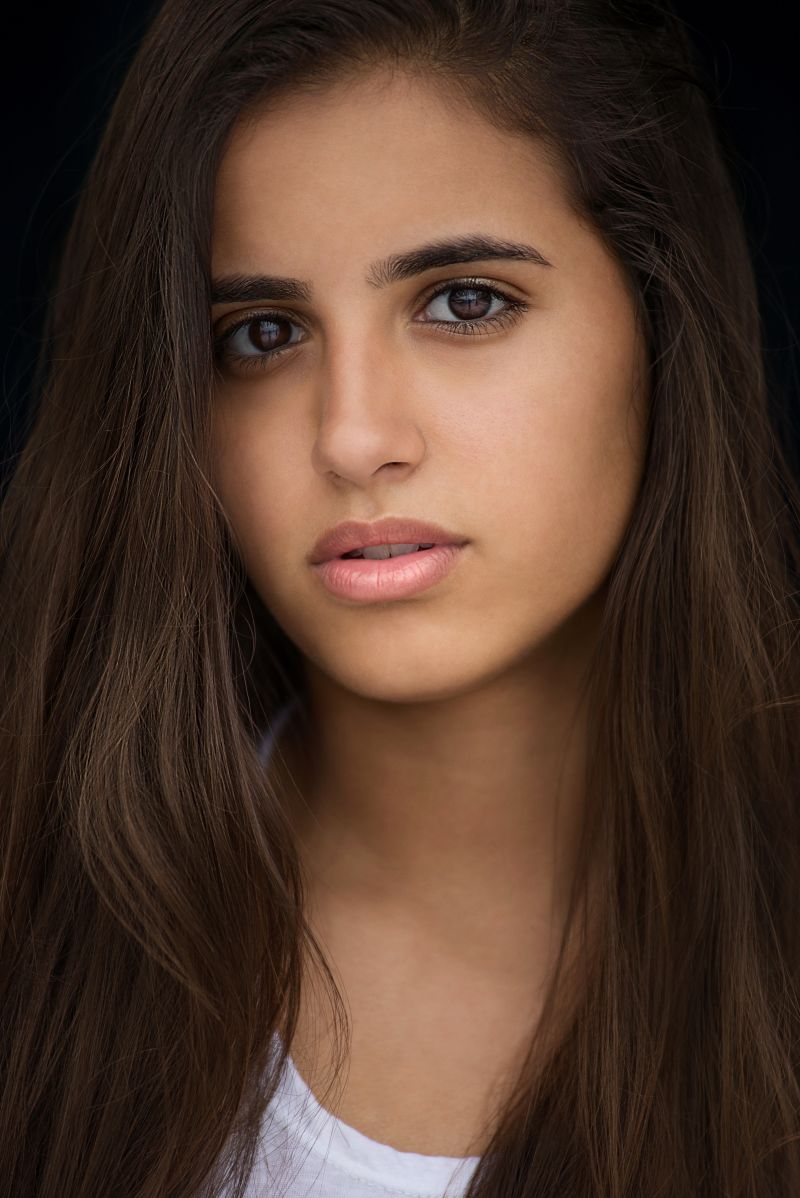
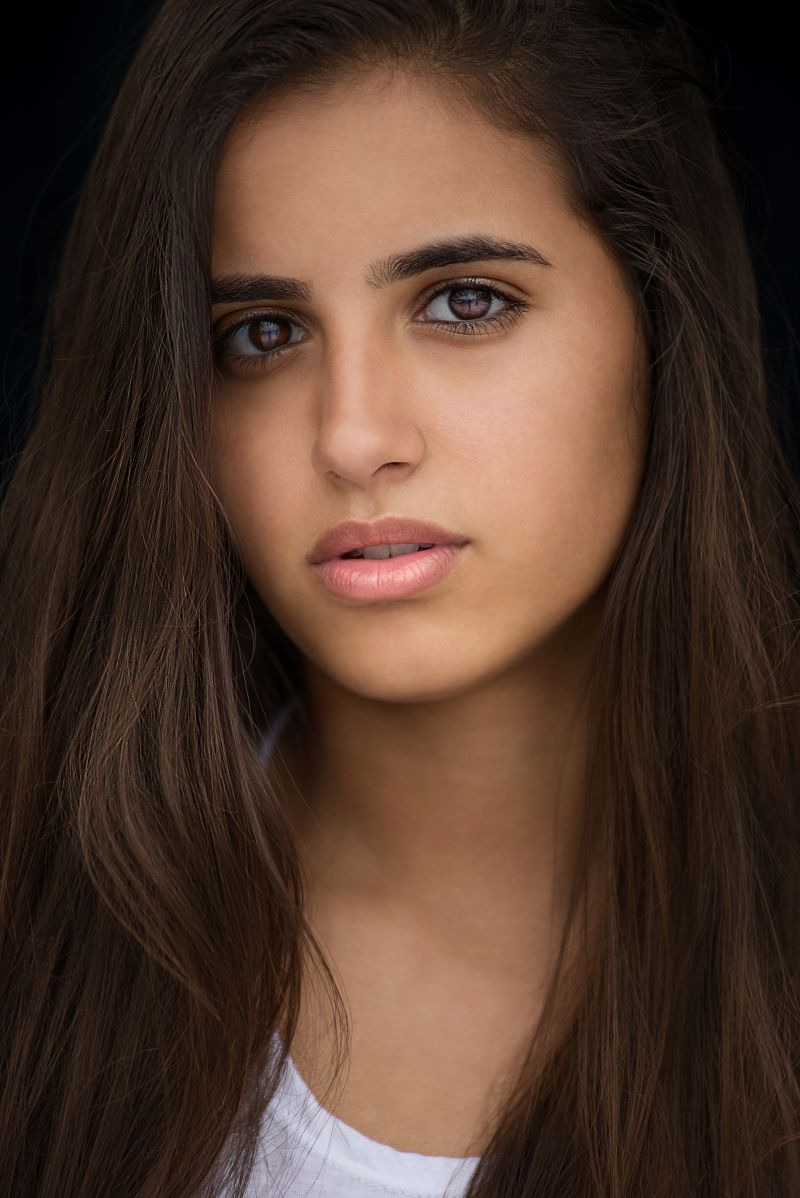
In the shot above the basic retouching has been done, but the brown eyes of the model seem a little too dark and mysterious. Adding a little light into them would give the shot more life.
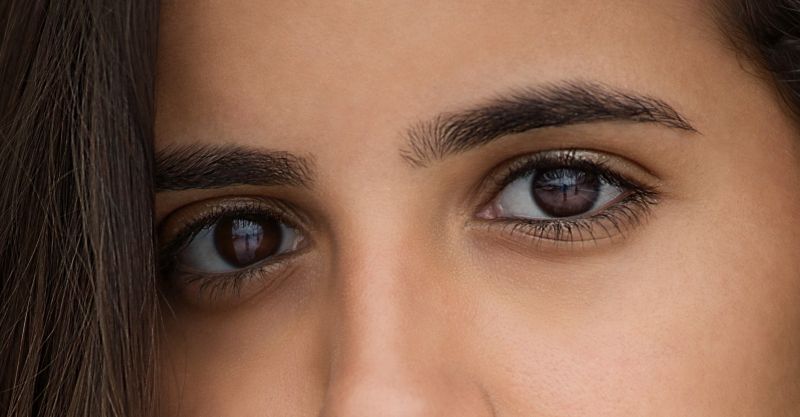
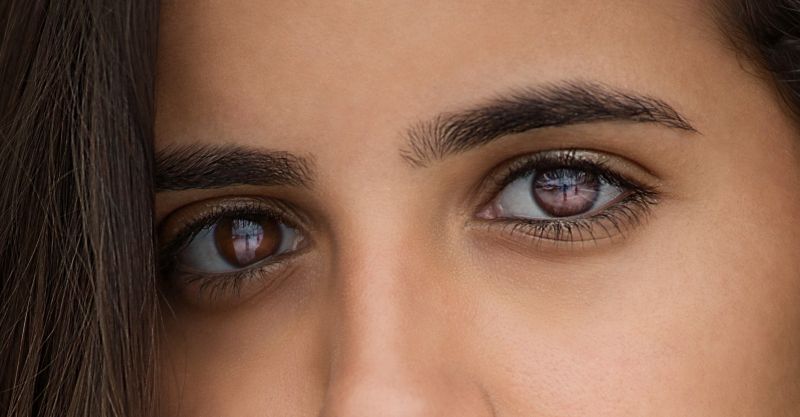
To make it easier to see what we’re doing here’s a tightly cropped version of our “Before” shot.
Closeup of the model’s eye before adding the lightening.
The 3 basic techniques we’ll discuss here are:
- 1) a Curves or Levels Adjustment Layer set to Normal Blending
- 2) a Curves or Levels Adjustment Layer set to Screen Blending
- 3) a regular layer set to Overlay Blending where you use the Brush tool to paint White over the areas you want to lighten.
Each of these ways works well but they also tend to give you results that are different in very subtle ways.
Using a Curves Layer set to Normal Blending:
- Tap the Q key to enter the Quick Mask mode then choose the Brush tool and adjust your brush size to just a little smaller than the pupils of the subject’s eye. Using Black as your Foreground color paint over the pupils then invert the Quick Mask by tapping Command/Control + I.
In this particular case I deliberately left out the lighter highlights at the top of her pupils as those areas were already light enough. Next turn the Quick Mask into a Selection by tapping the Q key one more time. - With the selection active add a new Curves Adjustment Layer and name it “Open Eyes”. The selection will automatically turn into a Layer Mask restricting the effect of the Curves Layer to just the pupils.
- With the Curves panel open click on the RGB curve and pull up to brighten the pupils. The more you pull up on the curve the stronger the effect will be.
- Once you’ve made the adjustment dial down the opacity of the Curves Adjustment layer to tone down the effect according to your taste. (In the shot below the opacity of the layer is at 100% to make it easier to see the difference.)
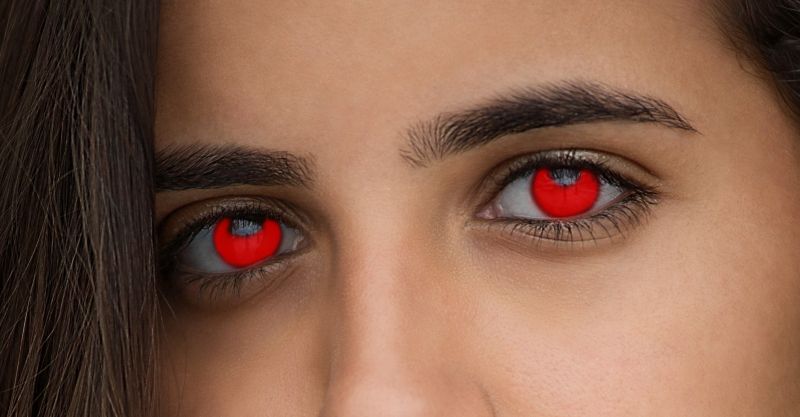
In the Quick Mask mode use the Brush tool to paint Black over the pupils, then invert the Quick Mask before tapping ‘Q’ to turn this into a selection.
After using the Curves Adjustment Layer to brighten the pupils.
Using a Curves Adjustment Layer set to Screen Blending:
- As with the previous technique use the Quick Mask to paint a selection over the areas of the pupils you want to lighten.
- With the selection active add a Curves Adjustment Layer and set the Blending Mode to Screen.
- Because this Blending Mode can have such a strong effect on the image dial the opacity of this layer down to soften the effect. In this case I used an opacity of 60%.
Note: The Screen Blending Mode lightens the image so you usually don’t need to make any adjustments to the Curve itself. The way it works the closer to White the image is the stronger the effect so this Blending Mode will a stronger effect on the lighter parts of the pupil.
After using the Curves Adjustment Layer set to the Screen Blending Mode at 100% Opacity.
Using the Overlay Blending Mode with a Layer:
- Create a new layer and set the Blending Mode to Overlay. Then use the Brush tool to paint White, or a very light color, over the pupil to lighten it.
- Often times I’ll set the opacity of the Brush to around 30 or 40% so I can have a little greater control over how I’m applying the lightening effect.
- As with the other techniques you can also use the Opacity of the Layer to back off on the strength of the effect.
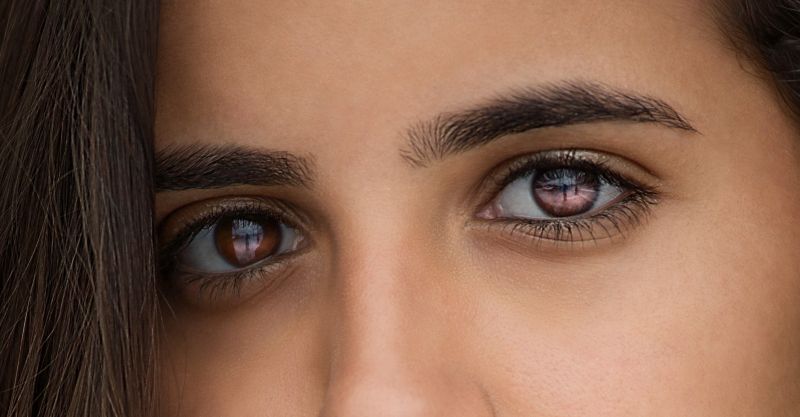
After painting White into a Layer set to Overlay Blending. (Layer opacity 100%.)
Below is the “After” shot using the Overlay layer set to 50% opacity.





Get Connected!