Color management for photography and videography extends beyond just calibrating your screens to make sure the look is the same across each of them. It includes controlling your colors from start to finish. There are a lot of ways to make sure your images have the proper colors & tones that you envision both on set and in your head. You can spend hours in post-production after the fact making adjustment after adjustment to correct any white balance shifts or mixed lighting scenarios, or, you can get it set properly before you even click your first shutter.
How? In this post, we’ll cover how you can use a single and very affordable tool to ensure you’ll capture accurate, vibrant, and consistent color regardless of what or how many cameras you use, and the lighting scenarios you encounter. Once you’ve set your lighting if you use a product like the Datacolor Spyder Checkr 24 you can be sure that your color will be consistent across all your shots & devices!
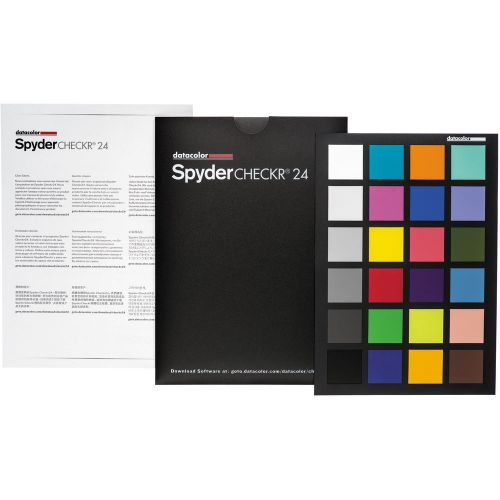
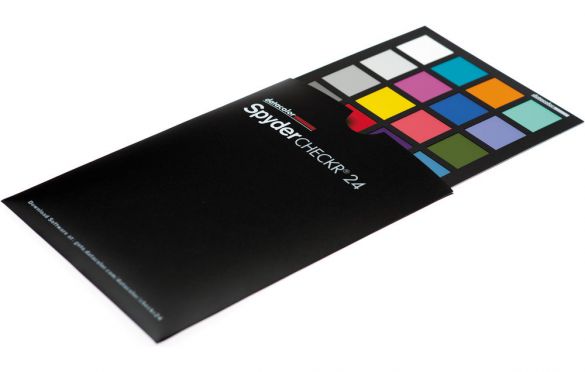
Datacolor Spyder CHECKR 24
This handy color card contains A Large Grey calibration Pane, 24 spectrally engineered color patches, and a simple & easy to use piece of software that’ll let you quickly and easily maintain accurate and consistent color across all of your devices and settings.
The Grey side will help you adjust your exposure and white balance in camera and especially during your editing by taking a couple of test photos once you’ve settled on your lighting and position and then uploading them into the Datacolor Software, you can create a unique profile for the session that’ll make keeping your colors consistent a breeze! These profiles can then be used in Lightroom, Photoshop, Hasselblad Focus, and Blackmagic DaVinci Resolve.
The software analyzes the test image you took with the Spyder Checkr 24 card and then creates a calibration that’ll adjust the values for hue, saturation, and luminance in the supported applications like Adobe Lightroom Classic.
If you feel like you don’t have the time to mess with the software to create these profiles, you can also simply use the White Balance selection tool in Lightroom (or other application) and select your white level from the test images and then apply that setting across your session!
Creating an In-Camera White Balance Setting
To avoid the potential headache of post-production adjustments, you can create an in-camera white-balance profile. To do this, you’ll need to activate the white-balance function of your camera (each is different so you’ll have to check your user manuals accordingly). Then use the Grey side of the Spyder Checkr 24 chart to fill the frame as much as possible and set your white balance manually using that reference. Remember to do this again whenever you change the lighting. If you’re using multiple cameras, doing this will ensure your colors are consistent across them once you get to post.
Using the Datacolor Software To Create a Color Profile
It might seem overwhelming at first, but it’s really not bad at all. Creating your camera corrections for your workflow takes just a few steps. As I mentioned above, you simply take a test shot in your session when your lighting and scene is set with the Spyder Checkr 24, and then import that image in the Spyder CHECKR software. Once you’ve lined up the color swatches, just export that HSL preset. You can apply the preset during image imports or individually during your editing.
Here’s what you need to keep in mind when taking the test shots and using the Datacolor Software;
- When taking the reference/test photos, the SpyderCHECKR 24 should be evenly lit (if possible) and try to avoid hot spots or shadows across it. (Obviously, we want to be shooting in RAW whenever possible)
- Import and Open the image file in Lightroom, ACR, or Phocus, so you can crop the image to the black border of the chart, with as little or no background showing beyond the target.
- Adjust the image: Use the 20% gray patch to gray balance/white balance the image. Use the exposure adjustment tool to set the RGB value of the white patch to approximately 230 (or 90%). Use the Blacks or Shadow adjustment to set the black patch to average RGB value of 10 (or 4%).
- Save the finished reference file as a high-bit TIFF file if possible (when shot in raw)
- Open the reference file in the SpyderCHECKR software and clean up as necessary.
- Align the guides and save your new calibration to your preferred RAW processor like Adobe Lightroom.
- Finally, you just apply the preset to your images. You’ll have to relaunch whichever application you’re using and select an image shot with the same camera/lens combination.
Post-Production with the Spyder CHECKR 24
If you’ve created the color profile using the software, shot the white-balance card manually on set, or are simply using the white-balance selection tool in your post-processing manually, making your adjustments in post will be a breeze since you’ll have a great starting point. If you want things to stay “real” or get creative, it doesn’t matter because it ensures your colors are right and consistent throughout. You can then edit your pictures based on your needs, by either staying true to these colors (thinking about all of those beauty and fashion photographers out there) or creatively mixing things up.
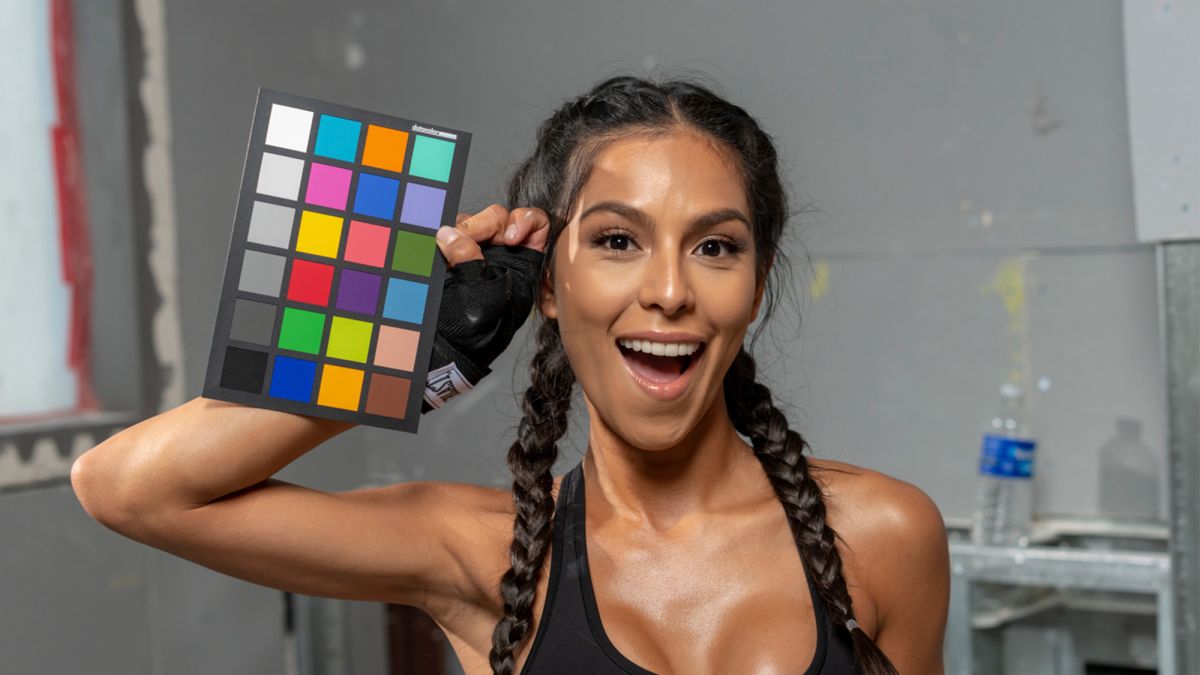
The images below were created for a fitness campaign for a gym, and we shot this in the middle of the actual construction of it. Meaning, there were fluorescent lights, giant flood lamps (tungsten), and crazy overhead daylight bulbs in the rafters. Basically meaning the white balance and color blends were all over the place! But once we found our location and had the lighting set (using my own strobes), by creating my test/reference file (as seen above) I was able to apply the accurate and same white balance setting myself and the creative director wanted to finish production on the shots.
This may not seem huge, but if you’ve ever shot photographs using auto-white-balance in an environment with Fluorescent lights…you’ll know it can be an absolute nightmare in post! The calibration card from Datacolor made editing all that much easier!
Final Thoughts on the SpyderX Photo Kit
I met the team from Datacolor years ago during one of the countless tradeshows we all go to like WPPI, and when I first learned about calibration and what things like this simple little color chart that can fit in your laptop sleeve can do, well it was a no brainer for me to invest (heavily) in these products. Yes, I actually own several of these myself, including 3 generations of the Spyder Monitor Calibration tools, and the lens/focus calibration charts. The more I got into this creative work, the more I realized I was making my images wildly different from screen to screen and camera to camera.
How did I discover things looked weird? I started making prints. What looked perfect to me at home on my laptop, turned out to be WILDLY inaccurate and nearly alien when printed on a properly calibrated professional device! Yikes!
I know that these tools can be pricey, which is why if you’re not sure, starting with the Datacolor SpyderCHECKR 24 is one of the most cost-effective ways you can ensure your images will look great and consistent. On its own, the card is only $49 USD which is by far, the most budget-friendly color calibration tool you’ll find out there!
If you’re looking to dive a little deeper (like me), there’s no better time than now. Datacolor is launching its SpyderX Photo Kit, at a special 50th-anniversary price of $199* (retail price: $399) – a $200 savings!
The Datacolor SpyderX Photo Kit has everything you need in one convenient and cost-effective package to ensure precise color, depth, and detail for all your photos from capture through post-production. The SpyderX Photo Kit includes:
- SpyderX Elite – Datacolor’s fastest and most accurate calibrator to color calibrate displays. SpyderX Elite aligns seamlessly with monitor upgrades for screen types, resolutions and gamuts, and is 64-bit ready.
- Spyder Checkr 24 – Color correct your camera, lens, and system combinations for more consistent, accurate color within post-production workflow in Adobe Lightroom, Adobe Photoshop, and Hasselblad Phocus.
- Spyder Cube – Set your exposure and white balance in RAW conversion, for accurate detail across shadow and highlight areas.
Check Pricing & Availability of the Datacolor SpyderX Photo Kit Here;
B&H | Datacolor
Find the Datacolor SpyderCHECKR 24 Here;


Get Connected!