
Whether you’re a professional photographer or an amateur taking pictures for fun, dealing with flyaway hairs can be a nightmare. They can ruin a great shot, distract from the subject, and require hours of post-processing to fix. Fortunately, there are tools in Lightroom and Photoshop that can make the process of removing flyaway hairs quick and painless.
In this article, we’ll explore how to fix flyaway hairs in Lightroom and Photoshop, and compare the advantages of each program. By the end of this article, you’ll have a better understanding of how to effectively remove flyaway hairs in your photographs.
What are Flyaway Hairs?
Flyaway hairs are those small, thin hairs that stick out from the head or face of the subject in a photograph. They can be caused by wind, static electricity, or even just natural movement of the hair. While they might not seem like a big deal, they can be distracting and take away from the overall look of the photograph.
Why is Fixing Flyaway Hairs Important?
Fixing flyaway hairs is important because they can be a distraction from the subject of the photo. They can take away from the overall appearance of the image and make it look unprofessional. By removing them, you can enhance the quality of the photograph and make it more visually appealing.
How To Fix Flyaway Hairs | Video
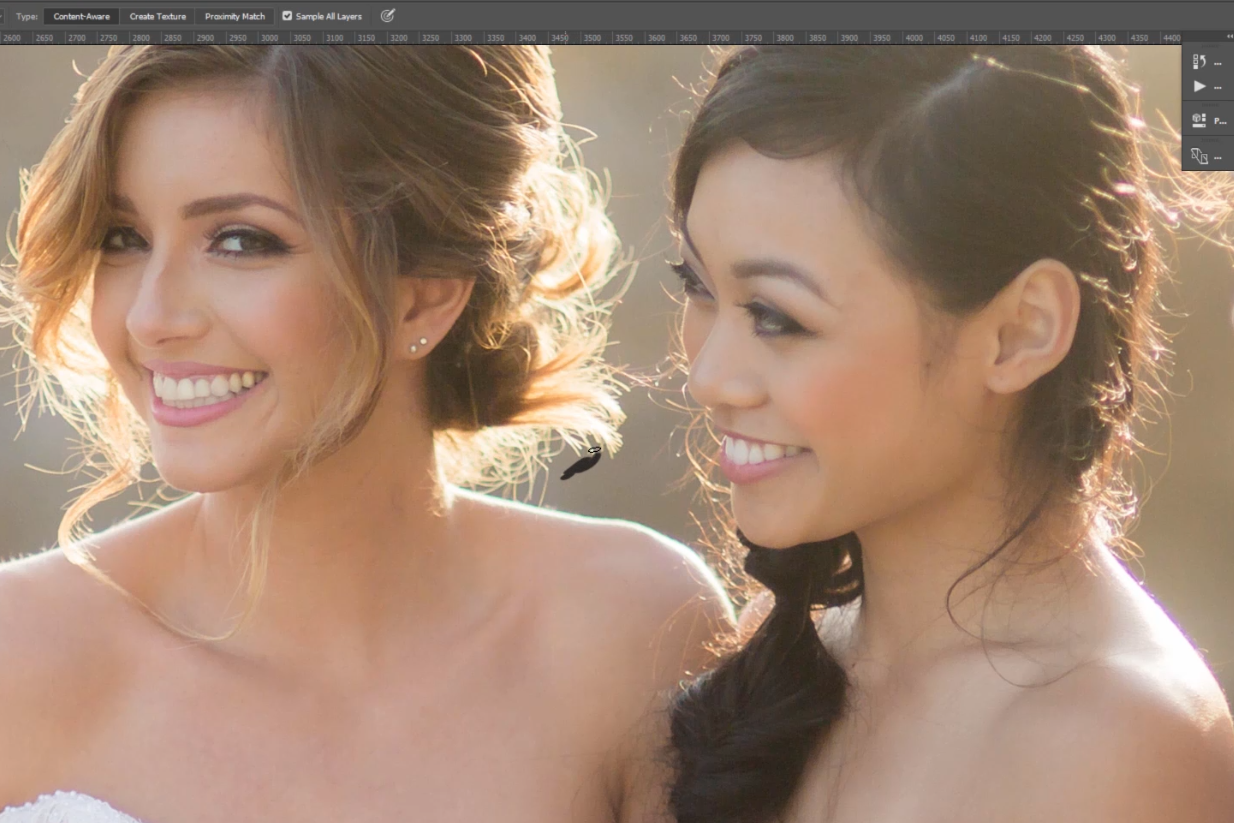
As part of the Photoshop Week CreativeLive had Chris Orwig on hand to show us how to deal with those pesky flyaway hairs in Photoshop without ripping out our own hair! I especially liked the part where he talks about reduction, rather than removal. I think that this is an important concept many photographers new to post-production overlook.
It won’t always be as easy as it was in this video. Sometimes, the healing brush can get confused, or it doesn’t look quite right. But that said, more times than not, I have found that when you need to remove individual flyaways like the one in that video, the method he shows us works wonderfully.
Overview of Lightroom and Photoshop
Lightroom and Photoshop are two of the most popular photo editing programs available. Lightroom is designed for quick and easy editing of large batches of photos, while Photoshop offers more advanced editing tools for more complex editing needs.
Fixing Flyaway Hairs in Lightroom
 Step 1: Importing Image into Lightroom Open Lightroom and import the image that you want to edit.
Step 2: Selecting the Spot Removal Tool In the Develop module, select the Spot Removal Tool from the toolbar on the right-hand side of the screen.
Step 3: Adjusting Brush Size and Feathering Adjust the brush size and feathering settings to fit the size and texture of the flyaway hairs.
Step 4: Removing Flyaway Hairs Click on each flyaway hair to remove it from the image.
Step 5: Saving the Edited Image Once you have removed all the flyaway hairs, save the edited image in the desired format.
Fixing Flyaway Hairs in Photoshop
 Step 1: Importing Image into Photoshop Open Photoshop and import the image that you want to edit.
Step 2: Duplicating the Background Layer Duplicate the background layer by right-clicking on the layer and selecting “Duplicate Layer”.
Step 3: Selecting the Clone Stamp Tool Select the Clone Stamp Tool from the toolbar on the left-hand side of the screen.
Step 4: Adjusting Brush Size and Hardness Adjust the brush size and hardness settings to fit the size and texture of the flyaway hairs.
Step 5: Removing Flyaway Hairs Hold down the Alt key and click on an area of the image that matches the area you want to remove. Then, use the Clone Stamp Tool to paint over the flyaway hairs.
Step 6: Saving the Edited Image Once you have removed all the flyaway hairs, save the edited image in the desired format.
Comparison of Lightroom and Photoshop for Fixing Flyaway Hairs
Lightroom is better suited for quick edits of large batches of photos, while Photoshop is better suited for more complex editing needs. When it comes to fixing flyaway hairs, Lightroom is quicker and easier to use, but Photoshop offers more control and precision.
Conclusion
In summary, to fix flyaway hairs in Lightroom, you will need to import the image, select the Spot Removal Tool, adjust brush size and feathering, remove the flyaway hairs, and save the edited image. In Photoshop, you will need to import the image, duplicate the background layer, select the Clone Stamp Tool, adjust brush size and hardness, remove the flyaway hairs, and save the edited image.
It’s important to keep in mind that while removing flyaway hairs can enhance the overall appearance of a photograph, it’s also important not to overdo it. Too much editing can make the image look unnatural and detract from its authenticity.
In conclusion, fixing flyaway hairs is an essential skill for any photographer, and Lightroom and Photoshop offer effective tools to make the process quick and easy. By following these simple steps, you can enhance the quality of your photos and create more visually appealing images.


