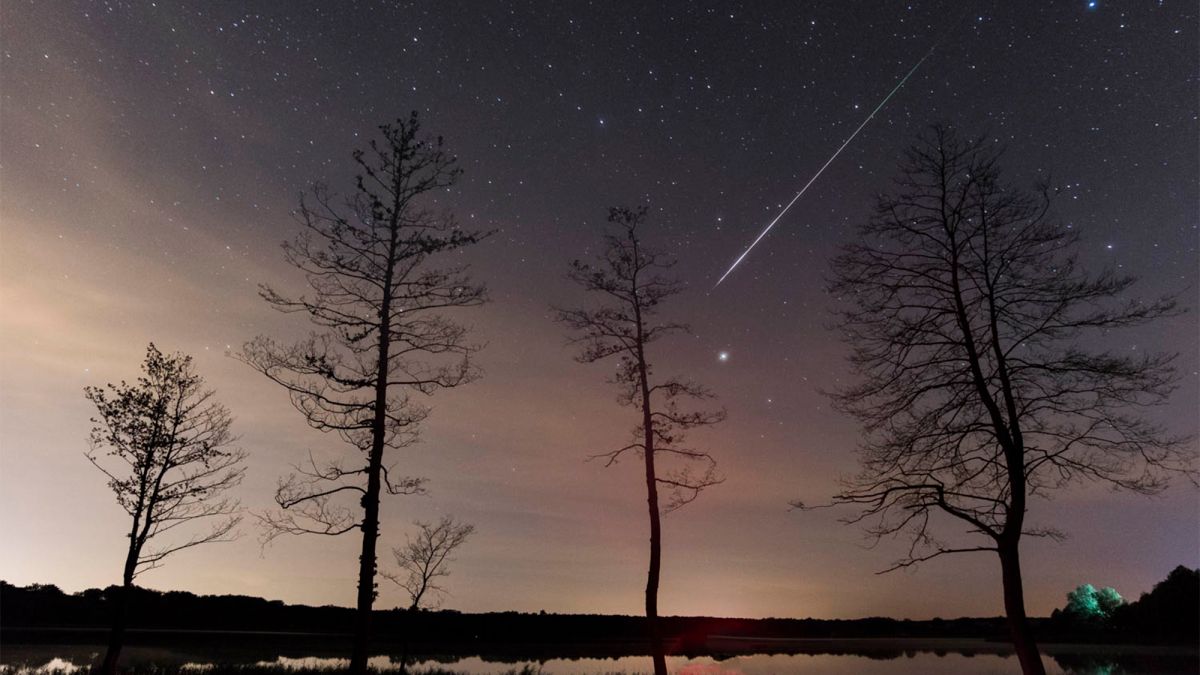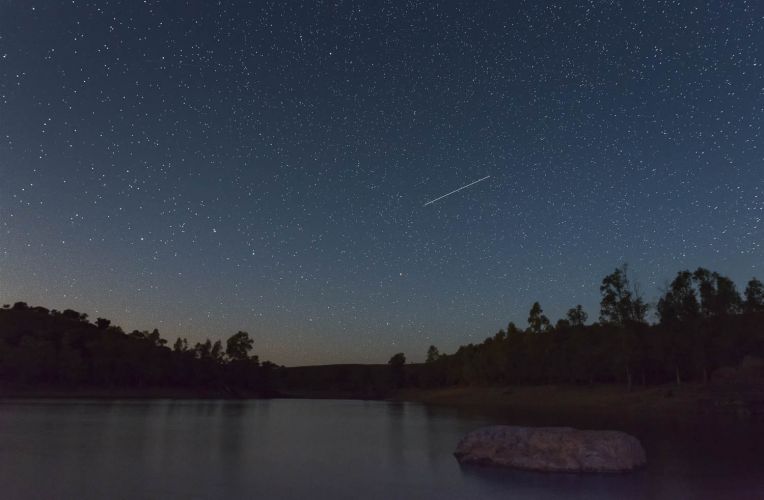
As Matthew explained in his post on Friday, this week is the peak of the annual Perseid meteor shower – one of the brightest showers of the year. This Summer more and more families are camping in the backyard or taking local road trips, making now the opportune time to take advantage of nature and catch something truly out of this world. In order to best capture a keepsake shot of the fireballs frequently seen in the shower (basically meteors that shine brighter than Venus), Adobe’s Bryan O’Neil Hughes has some tips on how best to capture shooting stars in photos.

Capturing anything in the night sky is confusing to your camera/meter, but by following Bryan’s tips, you’ll be able to take some truly stellar photos. Below I’ve included his thoughts on shooting and editing in Lightroom. Photographers have also shared some of their own editing tips in Lightroom’s community-created tutorials geared towards Night subject photography. I recommend checking out this one on how to add color to a starry scene.
The Perseid meteor shower will be most visible this week from the hours of 10:30pm to 4:30am local time. If that’s too late for you or if taking photos isn’t your main priority, you can relive the meteor shower again and again by creating your own photos in Adobe’s free Photoshop Camera mobile app using the Interstellar, Night Shift or Reverie lenses.
[Related Reading: Perseid Meteor Shower 2015 | Everything You Need to Know to Photograph It]

Bryan O’Neil Hughes (Adobe)’s Past Astrophotography Tips

Shooting Tips For Capturing the Night Sky
- Stability: stabilizing the camera is key and will assure both the sharpest image and the lowest possible noise
- Use a firmly planted tripod to stabilize the camera. Assure that the head is tightened, wind is low or blocked (standing beside your camera will often suffice) and the baseplate and camera are secure – things that don’t matter at 1/250 will be profound at slower speeds; remember though, the stars move quicker than you might think, so don’t use too slow of a shutter speed!
- Trigger the shutter remotely or with self-timer to minimize vibration
- Fidelity: the better the file, the better your experience editing
- Shoot raw (this will assure the most editable file)
- Shoot mid-ISO (modern cameras have incredibly high ISO and can essentially see in the dark, however, noise will be introduced at higher ISO’s; experience will vary based upon your camera and sensor, but an ISO of under 1600 is recommended)
- Shoot wide-open or close to it (allowing the camera to gather the most light will assure shorter exposures and lower ISO)
- Consider shooting in Manual mode; while somewhat intimidating, ordinarily, using the above tips (lock your ISO) and shooting with a fixed Aperture; varying your shutter speed to achieve well-exposed stars will be easier than you think and you’ll be able to preview the best results within a few frames; you’re looking for detail in the subject and a dark sky – the latter is easy to control in editing, but if you lose the highlight information, there isn’t too much that can be done in post
- If you encounter focus trouble (and you’re likely to without a lot of light), switch to manual focus, and set focus at infinity.
- Shoot with a telephoto lens, if you can; if not, remember that many modern cameras are high enough resolution to crop in post.
- Find a dark spot with as little light pollution as possible.
- Bracket: your camera’s preview is small and not always the best reference; once you’ve narrowed in on what feels best, adjust the variables to give yourself a safety-net.
- Vary the ISO slightly between captures (noise may not be evident until you’re looking at a large screen)
- Expose for the highlights, even if the image looks dark; remember, it’s easier to adjust shadows than recover lost highlights
- Especially with longer exposures, be mindful of movement in the night sky (planes, etc.); for this reason, shooting the exact same frame more than once will often save you later.
[Related Reading: Best Star Tracker Apps for Android and iPhone]

Editing in Lightroom
- Culling: you’ve probably shot a lot of what look like the same image; this is where you refine your work to your best images
- Import first and assure that your photo editing platform is building high-resolution previews
- Zoom in to 100%+ on your subject; you’re looking for focus; a lack of motion blur and recoverable information (highlight data)
- Reference metadata with your best composition and check for the best focus, best detail and lowest ISO (you won’t use a number of the shots you captured)
- Editing: now to make what you shot look like what you saw! Remember, everything in Lightroom is non-destructive, so experiment with the knowledge that you can always undo!
- Crop to place your subject – whether that be a soaring fireball flare or a group of shooting stars – where it makes the best composition (with a wide-angle this is usually a dramatic rule-of-thirds with a large sky; with a tight telephoto shot (ideal), the subject is most often centered); this is “season to taste”, so go with what looks best to you.
- Begin with the Highlight (negative) and Shadow (negative) sliders to introduce contrast and place focused detail on the subject; remember that controls like “Exposure” and “Contrast” are sledgehammers and best reserved for more extreme cases – your culling should have left you with files that need only minor exposure tweaks
- Color – your raw file allows the most editability in terms of color temperature and tint, your choice here is a combination of memory (what did it look like to you?) and realism vs, surrealism. Temperature will warm or cool your photo and tint will establish or counter a color cast – either will dramatically change the look and feel. So you want to establish a pleasant exposure first, then adjust color…and in many cases, then refine the exposure (as they are related)…this is slightly less daunting, as your sky is largely black (so you’re really adjusting color in one isolated piece of your composition).
- Advanced editing: you can further refine your photo with these pro tips:
- Texture: taken to a positive value, this amplifies texture; but taken to a negative, it smooths texture & can be great for softening the night sky!
- Curves: these don’t have to be scary; using the sliders you can adjust quadrants of the image (highlights, lights, darks, and shadows) very precisely – most people don’t know that you can move the quadrant ranges so that the sliders control more or less of a given region. This allows you control of the brightest and darkest regions of your image.
- Clarity: this essentially introduces (or reduces/softens) mid-tone contrast, think of it as “punch” or “drama” – it will make your subject “pop”. Warning though, a little bit goes a long way; resist the urge to max this out.
- Dehaze: this is an incredible tool that allows you to remove atmospheric haze (like putting on polarized sunglasses), but even more than Clarity, this should be used sparingly…and too much will darken your image – go easy here.
- Selective edits: you can apply most of the above edits to a selected portion of your image & now you can even define & change a selected Hue! (or the inverse of any selected area, everything BUT a portion).
- Smart Objects: putting a batch of images in Photoshop can offer even more control. Check out this video from Bryan on how to use several grainy images of the same subject to create one almost completely denoised photo using the Smart Objects functionality.

Additional Tips & Tutorials for Astrophotography and Photoshop
Looking for a little more information and tutorials before you get started? We’ve got a few additional posts as well as a few Lightroom Discover ‘tap to edit’ astrophotography photos if you’d like to try at home with someone else’s images if you haven’t been able to capture your own:
- Making Your Comet Photo Pop – Harrison Liu
- Night Sky Stars – Hari Panicker
- Creating Star Trails and Fixing the Night Sky Color – Takuma Kimura
- Neowise & Countryside – TKR Drumandpress
- How I Shot It – Astrophotography Composite | The Nub in Assiniboine Provincial Park
- How to Shoot Astro-Panoramas
- Beginner Astrophotography: How To Create Portraits Under The Stars – Part 2


Get Connected!