
We’ve teamed up with Adorama to bring you a series of photography tutorials called “Master Your Craft” to be featured on their YouTube Channel. Subscribe to see more of our videos on their channel that cover photography, lighting, posing, and editing education to help you hone your skills and master your craft. To watch the entire series, check out our playlist!
Video: Twice-Baked Photo Editing Technique with Lightroom & Luminar 4
Today, we’re going to look at a three-step post-production technique called “twice baking” that uses both Lightroom and Luminar 4. The name “twice baking” comes from the workflow for this technique, which can be broken down as follows:
- Process the Image in Lightroom
- Replace the Sky with Luminar 4
- Twice Bake the Image in Lightroom
Download this exercise file to follow along as we guide you through the entire post-production process for this image.
[Related Reading: How to Replace Skies in Seconds – Complete LR to Luminar 4 Editing Tutorial]
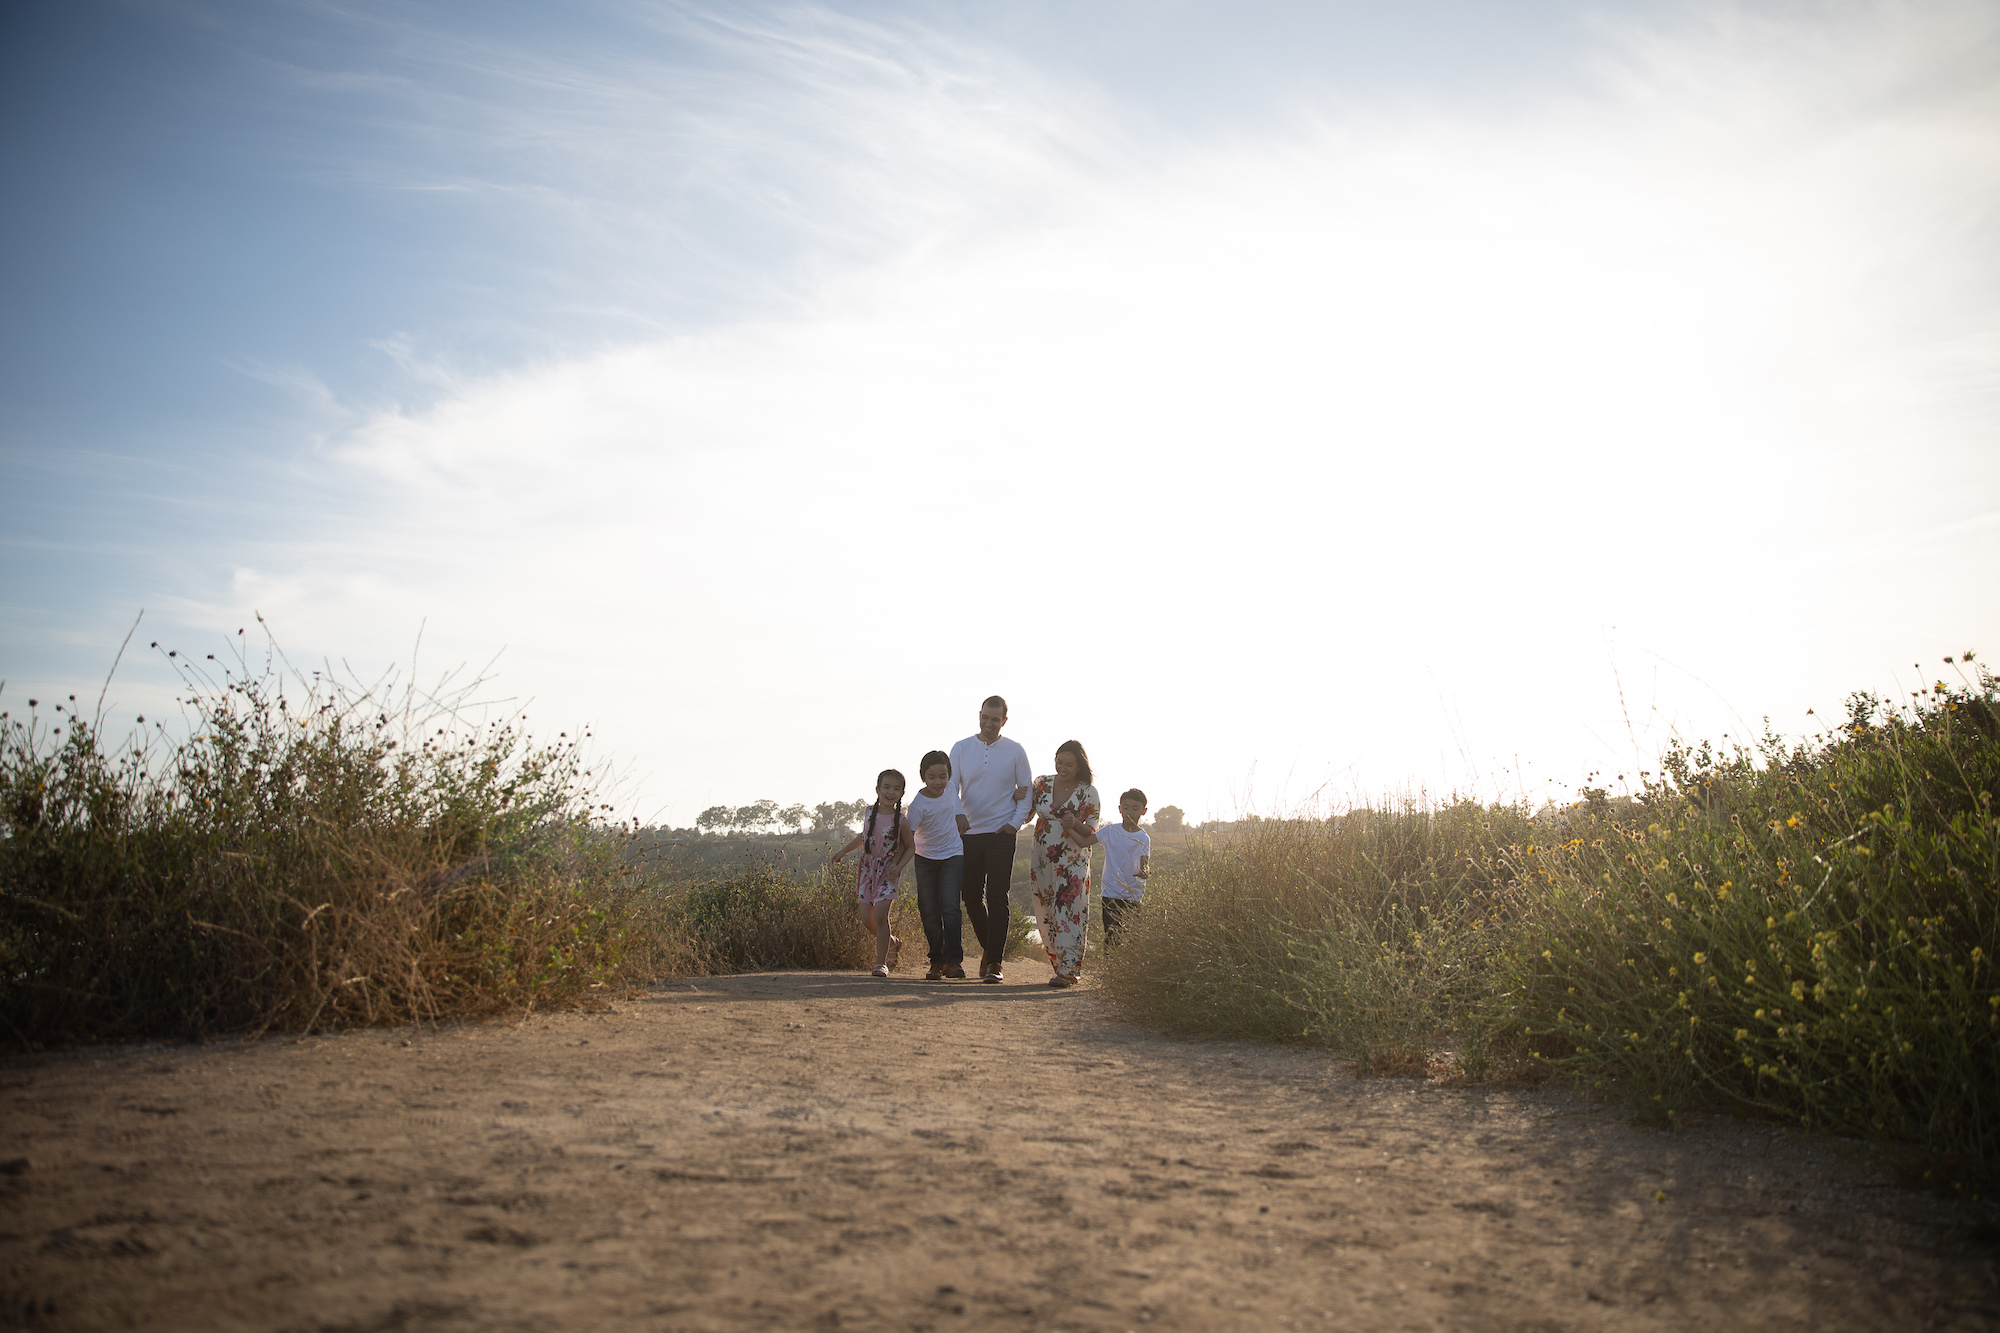
Step 1. Process the Image in Lightroom
For this edit, I’m going to use Visual Flow presets, but I’ll show you how you can complete the edit without them. This image is backlit, which typically calls for a lot of contrast, so I’ll use the Backlit Preset from the Pastel Pack and a profile correction from the Retouching Toolkit to start the initial edit.

After applying a preset, I generally like to begin by adjusting for skin tone. For the above images, I bumped the exposure and contrast a bit, and I also added a bit of warmth (you can find exact slider adjustments at the end of Step 1.

If we take a look at the results of making tone curve adjustments, you can see that it’s adding quite a bit of exposure and overall contrast with an “S” shaped curve. The curve has lifted the midtones and slightly flattened the highlights & shadows.
Below the Tone Curve tab, you’ll find the HSL tab. This is where a lot of the magic happens in terms of giving the image a soft, pastel look with noticeable shifts in hue, saturation, and luminance. Here’s a look at all of the adjustments I made using the preset for this initial edit:

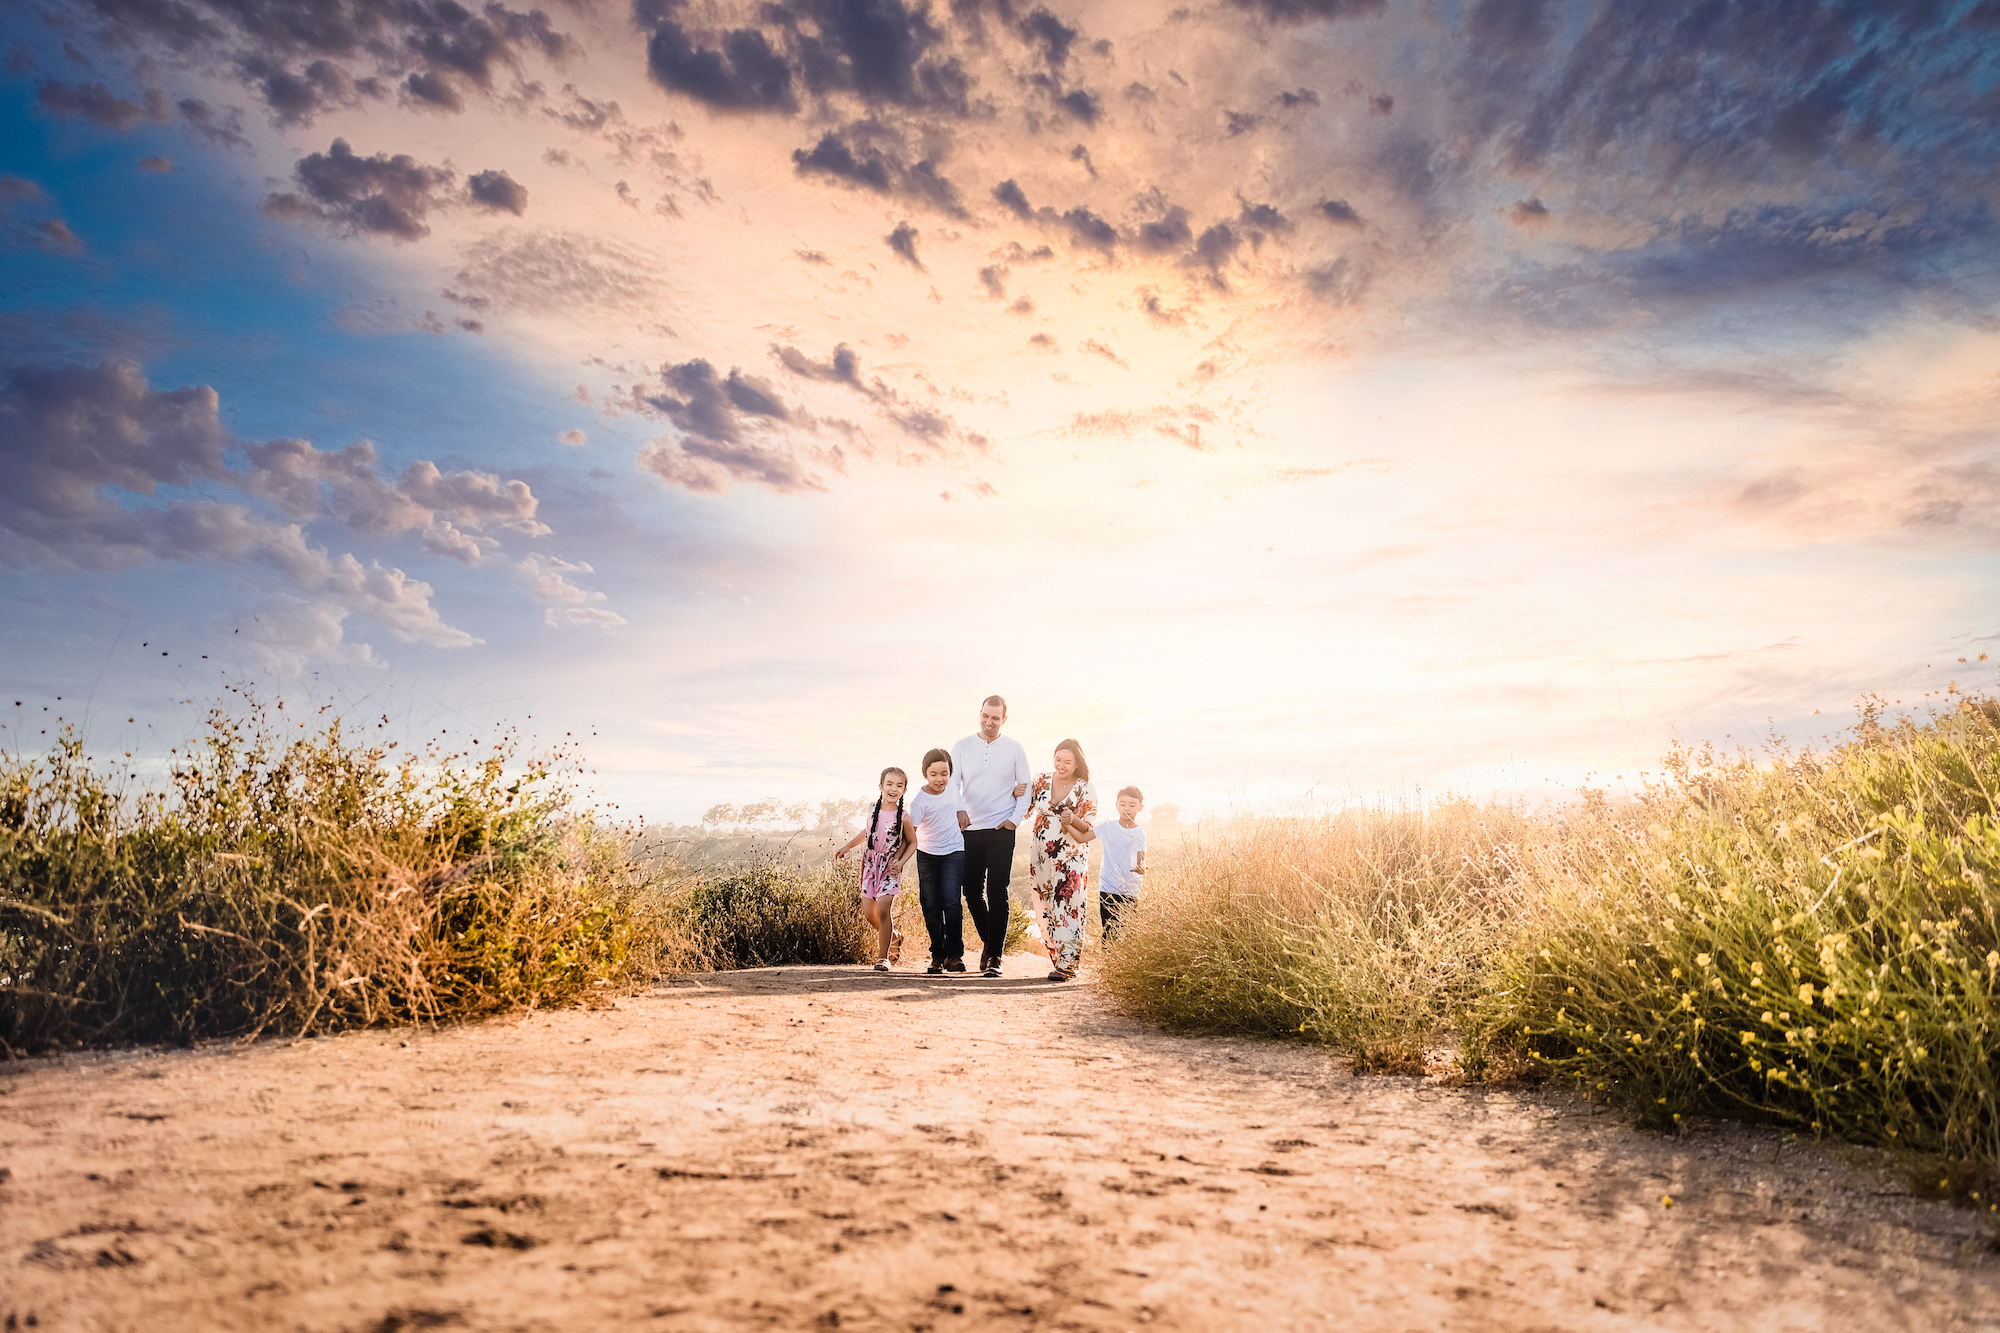
Step 2. Replace the Sky with Luminar 4

I’m going to export the file from Lightroom into Luminar 4 to replace the sky, but you can use whichever you have or prefer. You can see the settings I use in the image above. These settings give me the quality needed for a printable file.
In my experience, Luminar 4 has proven the easiest application to use for swapping skies. What can take minutes to do in other applications like Photoshop only takes seconds with Luminar 4. All you need to do once the file opens in Luminar 4 is click on the Creative Palette and select a sky that matches the lighting conditions and light direction of the image you’re editing. The app automatically blends the sky for you.

If the light direction doesn’t match but you like the look of a particular sky, you can flip the sky using the Creative Palette (see image above).
The next thing we need to do is make adjustments to the overall settings:

- Blending: You can use the blending slider in order to soften the transition of the sky.
- Horizon Position: After trying to adjust the Blending level, I opted instead to adjust the Horizon Position slider, which changes where the sky drops over the horizon.
- Close Gaps: This option adjusts how the sky blends into spaces like gaps between tree branches, leaves, etc.
- Sky Local: The Sky Local slider further affects the blending of the sky over/into the original image.
- Atmospheric Haze & Sky Exposure: Make sure the brightness of the sky matches the rest of the image. This is one of the most important adjustments you can make when swapping out skies. The Atmospheric Haze allows you to adjust the opacity of the sky and the Sky Exposure slider allows you to bump the exposure up or down as needed.
- Gradient Mask: This is another tool to use for adjusting the subtlety of the blend. I usually drop it in from the top of the image down to just above the subjects.
All that’s left is to press “Apply” (in the upper lefthand corner) and export the image back into Lightroom.
Step 3. Twice Bake the Image in Lightroom
With the image back in Lightroom, I can now select another preset to twice bake the photo. So far, the edits we’ve made have rendered a soft, pastel look on the image. I want to make it a little punchier, so I’m going to apply a Soft Light preset from the Visual Flow Crush Pack, which will basically amp up the adjustments I’ve already made.

I like to use Radial Burns (see above) to draw the focus to the subjects. Once you’ve placed the radial burn, you can hold Alt/Option and click & drag to the left and right in order to increase or decrease the intensity of the radial burn you’re adding. As is true with most adjustments, it’s important not to overdo this effect and create a heavy vignette.
Here’s an overview of the slider adjustments we made for the second round:

And here’s a before and after look at our final image:
[Related Reading: Lightroom Develop Module Basics – Quick Reference]
Conclusion
The direction you take, from the first edit through the sky swap and second edit in Lightroom, will create unique final images, which is part of what makes this technique so fun to use. I hope you enjoyed these tips for twice baking your images with Luminar 4. For more Lightroom education, be sure to check out our Mastering Lightroom workshop, a complete a-z Lightroom tutorial for everything from learning the interface and catalog structure to mastering Lightroom’s raw processing.
Be sure to catch our next episode of Mastering Your Craft on Adorama’s YouTube channel next week! If you want to catch up on all the episodes, make sure you check out our playlist!


