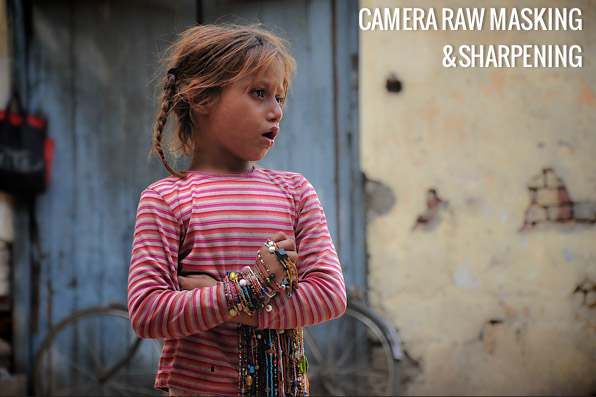
A few days ago we wrote, at some length, about sharpening your images; how to think about it, pitfalls to watch out for, and ways to actually do it. I happened to mention near the end that I do some sharpening in Camera Raw which does a great job masking, and have been asked to explain how to do this.
[REWIND: Sharpening | So Many Get It Wrong & This Will Help You Get It Right]
Firstly, you can do the following actions either directly in Camera Raw, or using the Camera Raw Filter in Photoshop. This method can work well with most anything, but I find it effective in architectural imagery, and portraits. The reason being is the masking feature allows for a very quick, yet accurate mask of edges which leaves open, empty spaces, free from the sharpening applied after. I still go in and use the method mentioned in the last article afterwards because I’m picky, but often this is a fine enough job.
How To:
Open an image in Camera Raw or from Photoshop go to Filters>Camera Raw Filter, and the same box will appear.

Click on the Details button (see below) and you’ll be presented with a menu of 8 sliders. For the most part, we’re concerning ourselves with the top 4.

Holding down the Alt/Option button, use your mouse pointer to select and hold the Masking slider. As you move it from side to side you’ll see on one end (left) your image box appears entirely white, and as you move to the right your image are will begin to refine as white gives way to black. As this happens, the white will stay on the edges, essentially where you want to sharpen, and anything that is black will not be sharpened.


Once you’re content with the selection your masking slider has made, you can adjust the other adjustment sliders to your will. That’s really all there is to it. Click on the images to follow for a larger view.
I’ve included a close up example here where I used this method, but overdid it to highlight how it masks.
You can see around the edges of the glasses, lips, nostrils, etc. that there is grainy noise, but in the more open areas of the skin, it’s been left entirely alone.


