
There is no measure of visible improvement within a photographer’s body of work quite like that of color editing and grading. It’s a skill set that takes many man hours to achieve and dedication to put into practice time and time again. While there are many editing programs available, Capture One has risen to the top and become the gold standard within the professional community around the globe.
[REWIND: Capture One 11 Review | Familiar But New & Better In Every Way]
The idea of learning a new program can be overwhelming and rightfully so. Pratik Naik partnered with the company earlier this year to share his color editing workflow in Capture One. Pratik is one of the most in-demand retouchers with major fashion magazines and photographers, a rising star within the photography community and is now also a brand ambassador for Capture One and Phase One.
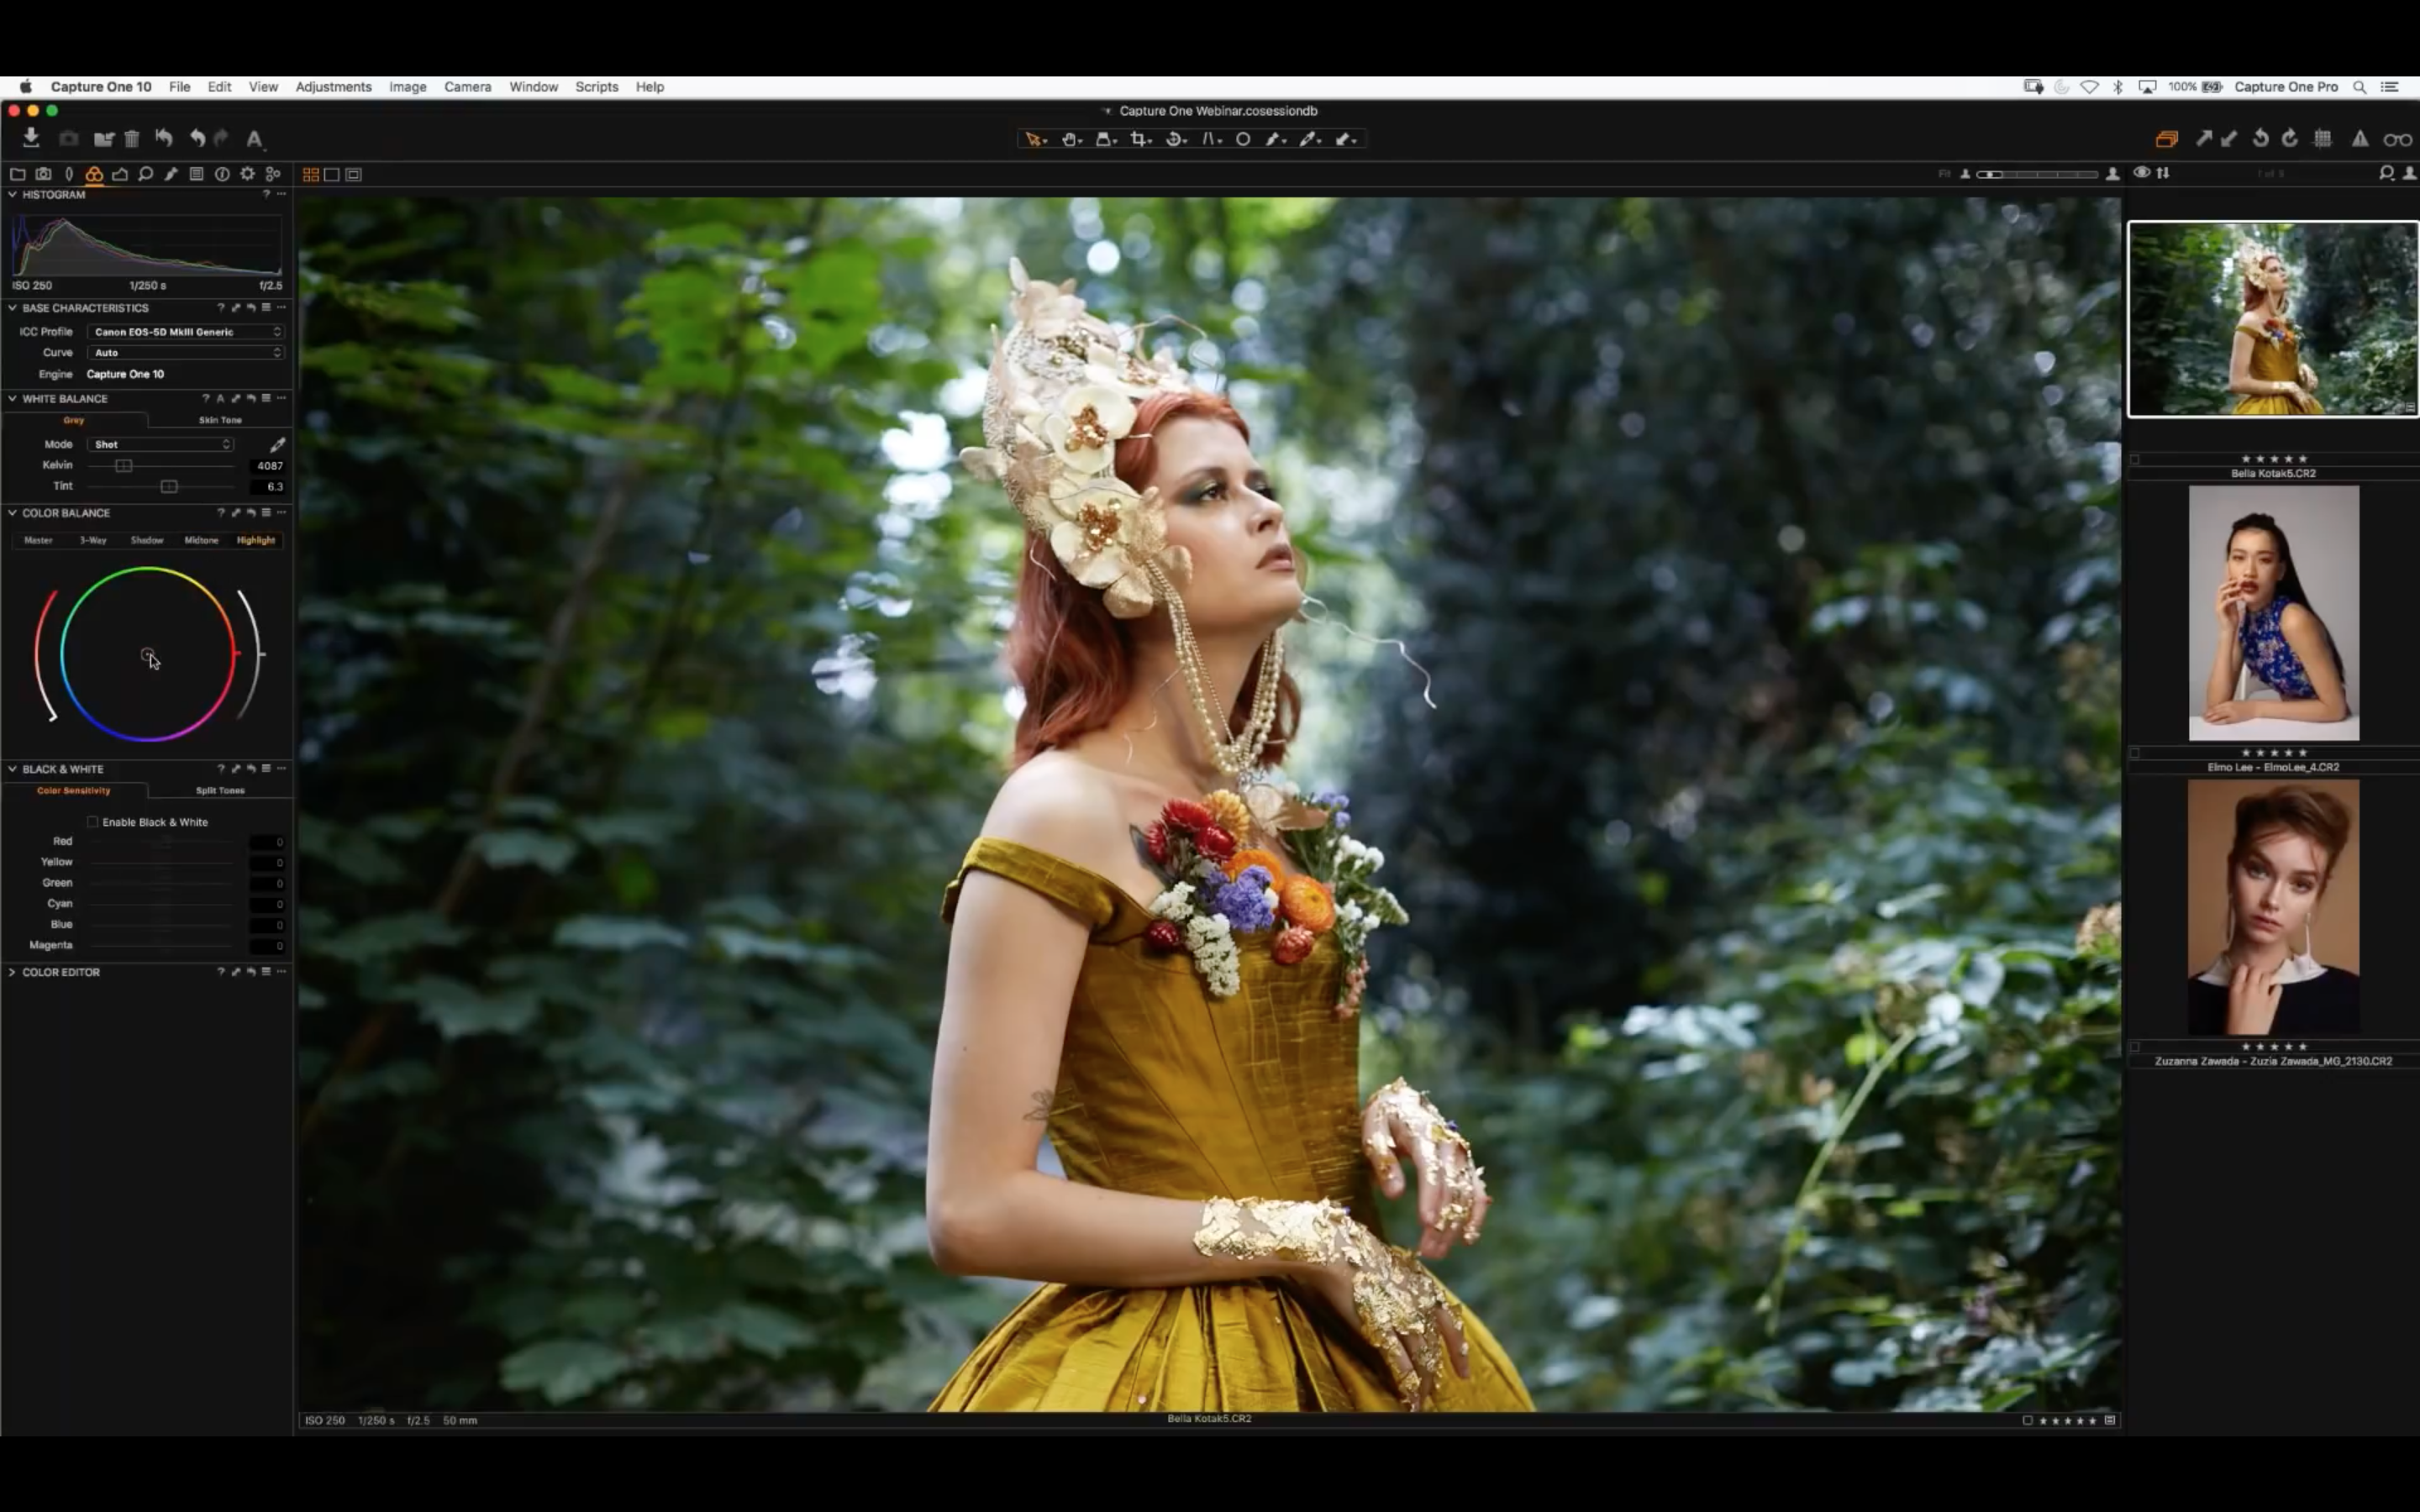
Aimed at novices and professionals alike, the webinar begins with a thorough overview of the program’s tabs, the tools and the terminology with explanations of what each one does. In addition to the standard curves that are common with most editing software, Capture One has a ‘Luma curve‘ which is independent of the traditional RGB curves and allows contrast adjustments without affecting the saturation. Pratik then demonstrates the advanced skin tone capabilities with matching skin tones within the image to provide a more harmonious gradation by means of the uniformity tab.


The webinar then subtly builds like a gentle crescendo with the addition of layers, inversion masks and advanced editing techniques with images submitted from all over the world. Pratik’s step by step workflow finishes in full forte with the inclusion of variants and presets. It then concludes as a Q&A session with photographer Bella Kotak that is packed with more priceless information.
Pratik has a knack for educating at a swift pace and providing insider industry knowledge that only comes with years in the industry. At just over 90 minutes, this is arguably one of the best tutorials available when it comes to Capture One. The layers and opacity functionality available in the newest addition of the program make now an opportune time to join in the dance with Capture One 11. A trial version or upgrade can be downloaded here.
You can subscribe to Capture One Pro’s YouTube Channel by clicking here and keep up with Pratik on Facebook by following his Solstice Retouch page.


Get Connected!