
Adobe Photoshop has come a long way since its first release, its AI and third party plugins now rivaling professional retouchers. In this video, I’ll be using 5 Photoshop AI tools and plugins and comparing the results with a professionally retouched version.
Video: Photoshop AI vs. Pro Retoucher: Which is Better??
We’ll be comparing various Photoshop AI tools and plugins and seeing the results side by side. Be sure to download the exercise file here and try out Photoshop’s tools as you follow along.
Before we jump in, start off by dialing in a look in Lightroom or Camera Raw. I used Visual Flow’s Pure Presets. Let’s get started!
Related Reading: Quick & Easy Headshot Portrait Editing in Lightroom & Photoshop AI
Tool #1: Retouch4Me Clean Backdrop
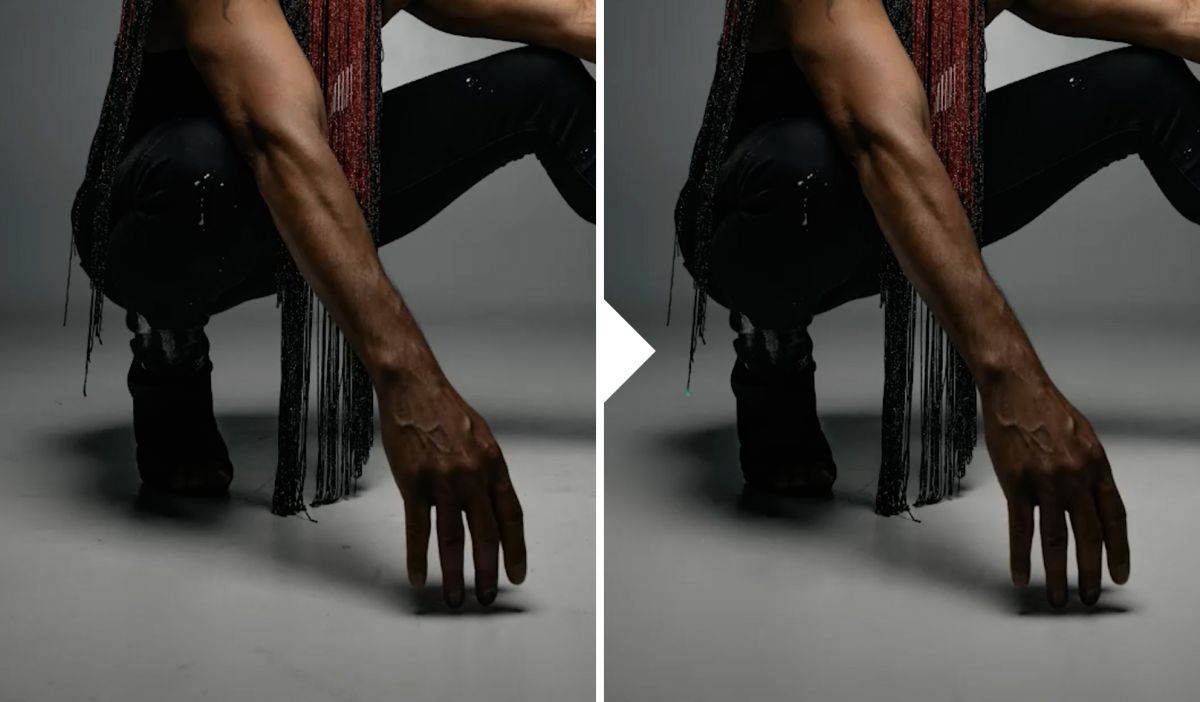
A messy backdrop is a common thing photographers have to deal with that would usually be manually fixed. Doing so manually can take a long time, especially when working with high volumes of images. Instead, I tried the Clean Backdrop plugin from Retouch4Me and instantly got great, though not perfect, results.
While the plugin got most of the marks on the backdrop and retained the grain texture, it did leave behind some artifacts that had to be manually fixed. However, this method can still save considerable time when working editing a large volume of photos.
Tool #2: Content Aware Fill

The content aware fill is a tool directly built into Photoshop. Using the lasso, I selected the unwanted elements in the photo including the ceiling and the v-flat to the right. Then, I hit Shift + Backspace/Delete to open the Fill dialogue and selected Content Aware with Color Adaptation checked. Use the patch tool to fix up what may have been missed.
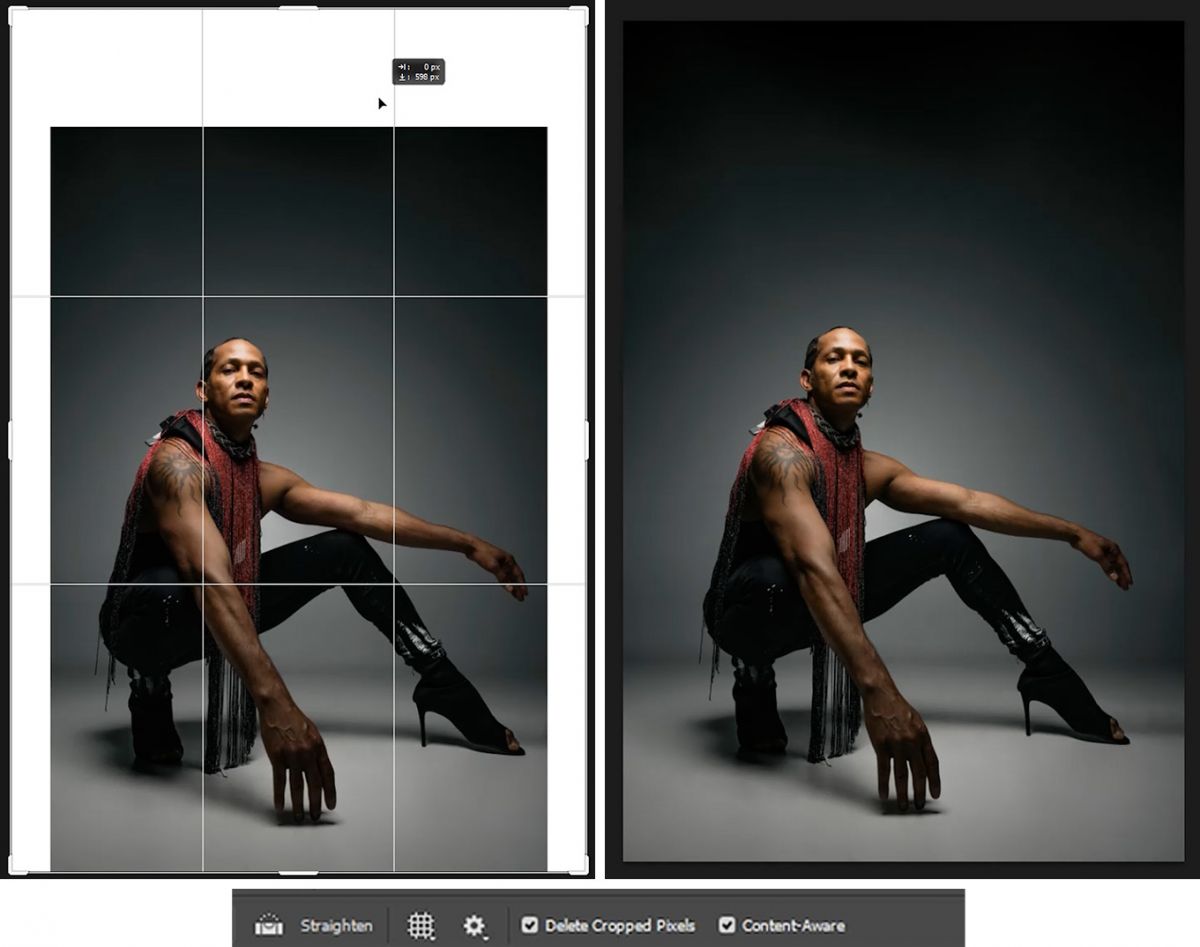
I even widened the crop and used Content Aware to naturally fill in the empty spaces.
Tool #3: Neural Filters

Next, I used the “Skin Smoothing” feature from the new Neural Filters. I max out the settings on the feature, set it in a new layer, and use that layer opacity to adjust the intensity.
Tool #4: Portrait Volumes

Retouch4Me also includes “Portrait Volumes” which handles a bulk of the finer retouches such as dodge & burn, lift, heal, and smooth. I applied this to a new layer and used the layer opacity to adjust the overall intensity of the effect.
Tool #5: Skin Tones
Lastly, I used the “Skin Tones” plugin by Retouch4Me, which evened out much of the skin tones and removed some unwanted yellow tones from the entire image. We’ll compare the colors below.
Comparing Photoshop AI vs. Professional Retouch
Let’s compare the results. Note that all of my adjustments were done using Photoshop AI and not any manual retouching tools. This also means that I didn’t clone in or out any wardrobe parts on my model.
The Color

I personally prefer the skin color done using AI due to the extra yellow tones that were removed.
Skin Retouching & Smoothing


The professional retoucher did a much thorough job retouching the skin which is critical for commercial type jobs. She did a great job evening out the skin tones and smoothing out the overall detail.
The Floor & Backdrop

Lastly, in my opinion, the AI did a much better job cleaning up the floors, especially in the shadows.
The Verdict
For most cases where the photos are viewed at a smaller scale or you’re handling high volume work, Photoshop AI may be the way to go. The high level of detail that a professional retoucher is able to accomplish is best for commercial type work. However, many regular portrait clients may not be able to tell the difference between Photoshop AI and the professional retouch, which goes to show just how far AI based technology has come.
Conclusion
I hope you enjoyed this article/video. Photoshop AI provides a reliable and efficient way to edit photos which can be useful when running a photography business or streamlining your editing workflow. Be sure to visit SLR Lounge Premium for complete courses designed to help expand your photography toolset! You can also visit Visual Flow for intuitive Lightroom presets and retouching tools.
Don’t miss our next episode of Mastering Your Craft on Adorama’s YouTube channel next week! If you want to catch up on all the episodes, make sure you check out our playlist!


