An environmental portrait is exactly what the name suggests: a portrait that features the subject within a significant portion of their surroundings. Rather than isolating the subject against a simple background, you’re telling a story about where they are, what that place means, and how they exist within it. Done well, it’s one of the most compelling and visually striking approaches in portrait photography.
Some photographers wonder why they’d want to show a subject as a small element in a large frame. The answer is that the environment itself becomes part of the story — and often, the location a couple or client chose for their session is one they care deeply about. Pulling back to show that location fully is a service to the story, not a distraction from it.
This guide covers how to approach environmental portraits from scouting through post-production, including how to use natural framing elements and off-camera flash to make your subjects stand out in a wide landscape.
This article is part of our Portrait & Posing guide.
→ See the complete Portrait Photography guide
What makes a strong environmental portrait

The defining characteristic of an environmental portrait is the balance between subject and environment. The subject is always the focal point — the viewer should know immediately who the image is about — but the environment gets meaningful real estate in the frame. Finding that balance is the central compositional challenge.
Many photographers who are new to environmental portraiture make their subjects too small — the couple becomes indistinguishable from the landscape and the emotional connection is lost. Others don’t pull back far enough to let the environment read. The sweet spot varies by scene, but as a general principle: the subject should be clearly identifiable and separated from the background, while the environment should be legible enough to tell its own part of the story.
Environmental portraiture often works as one technique within a broader session rather than the sole approach. Pull back wide for a few environmental frames that establish the place, then progressively move in closer for the intimate, tight portraits that show expression and connection. The wide shots and the close shots do different narrative work — both belong in a complete album.
Step 1: Scout your location and find the best angle
The toughest part of an environmental portrait is composition, and it starts before you raise the camera. Put the camera down and physically walk the location. Look for the elements that will make the image work:
- Leading lines that draw the eye toward where your subject will stand
- Foreground elements that create depth and framing
- Interesting shapes — natural tunnels, archways, gaps in foliage
- Unique vantage points that aren’t immediately obvious — low to the ground, elevated, shooting through something
Environmental portraits reward photographers who get curious about angles. Squatting low to shoot through foreground vegetation, climbing to find a bird’s-eye view, or shooting from inside a natural tunnel all produce perspectives that feel considered rather than accidental. The images that stop people scrolling are usually ones where the viewer immediately asks “how did they get that shot?”
Also keep an eye out for spontaneous elements that add life — people in the background at the right scale, water movement, wildlife, natural light breaking through at an unexpected angle. Planning for a shot like this requires understanding the landscape, and sometimes the best elements are ones you couldn’t have staged.
Step 2: Dial in your ambient exposure
Once you’ve found your position and angle, dial in your ambient exposure before thinking about flash. The key decision at this stage is whether you’re after a natural look or a more dramatic one.
For a natural environmental portrait, expose the scene broadly — protect the shadows on your histogram so you’re not clipping detail you’ll want in post. The goal is an exposure that shows the environment beautifully, with the subject fitting naturally within it.
For a dramatic look, intentionally underexpose the ambient scene. This creates a darker background that makes flash-lit subjects pop more aggressively — an editorial, high-contrast feel that’s very different from the natural approach. Neither is better; they serve different creative goals.
In wide landscape setups, also decide at this stage whether you’ll need off-camera flash to make the subjects readable within the frame. When there’s a lot happening in the environment, subjects can get visually lost without additional light to separate them from the background. The flash decision here isn’t about adding drama — it’s about making the subjects the clear focal point of a busy frame.
Step 3: Use natural elements to frame your subjects
Natural framing — using elements in the environment to create a visual boundary around the subject — is one of the most effective techniques in environmental portraiture. Trees, cactus, rock formations, archways, tree tunnels, windows, and gaps in foliage all work as natural frames. The element doesn’t need to be sharp; a softly out-of-focus foreground frame can be more effective than a crisp one that competes for attention.

In the example above, shooting low to the ground and looking for a clean opening between cactus leaves created a natural frame that surrounds the couple without obscuring them. Getting low changed the entire character of the shot — from a standing-height snapshot of the location to a composed image where the foreground cactus creates depth and context.

For this type of wide, foreground-heavy composition, a wide angle lens is essential — in this case a Canon RF 28-70mm f/2L at its widest. You want to be close enough to the framing element for it to occupy the edges of the frame while still showing the full environment behind the subjects.
Step 4: Add off-camera flash to separate your subjects

Off-camera flash in environmental portraits serves a specific purpose: making the subjects visually dominant in a frame where the environment also demands attention. Without additional light, subjects can disappear into a busy landscape. A well-placed flash gives their faces and bodies the brightness edge needed to pull the eye immediately to them.

For the cactus composition shown here, the Profoto A10 was placed behind the couple to camera left, focused on the female subject to allow light to bounce between them and create a natural fill. The result is a subtle but effective accent that pulls Harrison and Taylor forward from the frame without the flash being identifiable as a separate light source.

With a busy frame and strong daylight, a higher-output flash like the Profoto B10 is recommended over a smaller speedlight — you need enough power to make an impact against bright ambient light without pushing into High Speed Sync territory, which reduces flash output.

Here are the final images from this setup, edited with Visual Flow Mood Presets:


Step 5: Direct your subjects and capture the shot
Once your position, exposure, and lighting are locked, the final variable is posing and directing your subjects. One important consideration specific to environmental portraits: be cautious about having subjects look directly at camera when you’re photographing them from a significant distance. A couple staring at a camera lens from 50 feet away can feel voyeuristic rather than intimate. Having them look at each other, engage with the environment, or look toward a natural point of interest in the scene usually reads better at this scale.
For wider shots where the subjects are relatively small in the frame, movement often reads better than static poses. Walking, an embrace, a turned head — any natural action that suggests the subjects are inhabiting the space rather than posing for a camera.
Step 6: Post-production for environmental portraits

When shooting environmental portraits with off-camera flash and an assistant holding the light, the assistant and stand will almost always appear in the frame at wide angles. This requires a compositing step in post — shooting a plate shot of the scene without the assistant present, then using a Layer Mask in Photoshop to remove the assistant from the lit frame. This is a standard workflow for this type of shooting and worth building into your session plan rather than treating as an afterthought.
For natural light environmental portraits, post-production is primarily about Lightroom adjustments — selective brightening of the subjects relative to the environment, a subtle vignette to draw the eye inward, and color grading that ties the subjects to the warmth or mood of the location. Using Lightroom’s AI Select Subject mask to slightly brighten the subjects relative to the background is one of the most effective and fastest ways to strengthen the subject-to-environment relationship after the fact.
Environmental portrait examples from working photographers
The following images were submitted by photographers in our community. Each represents a different approach to the balance between subject and environment — from intimate close portraits in dramatic settings to subjects nearly invisible in massive landscapes. The diversity of technique and location here is intentional: environmental portrait photography has no fixed formula, only a consistent intention to tell the story of both the subject and the place.
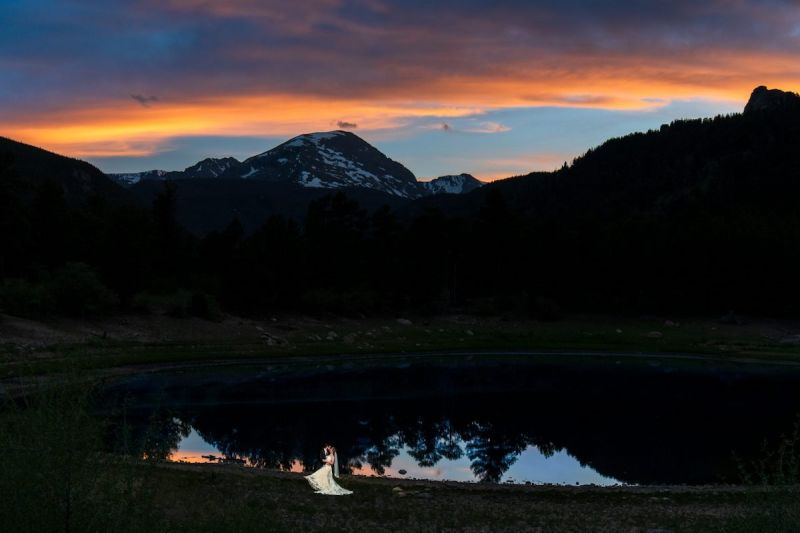

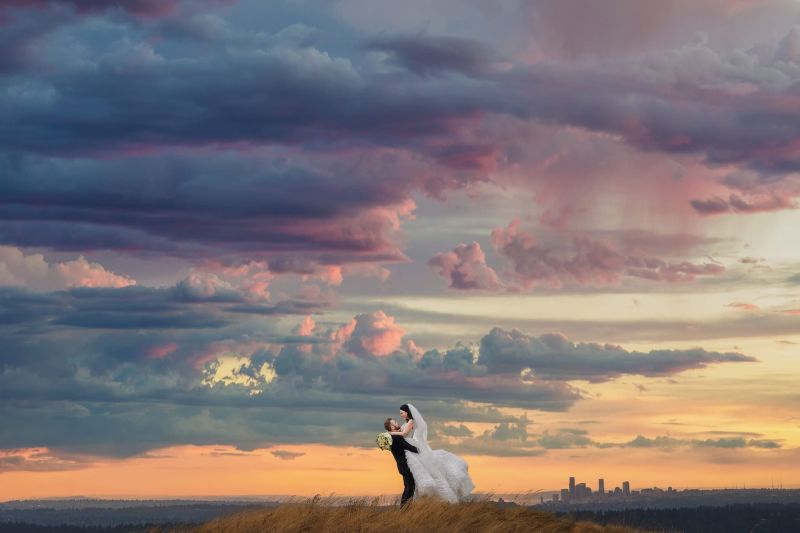


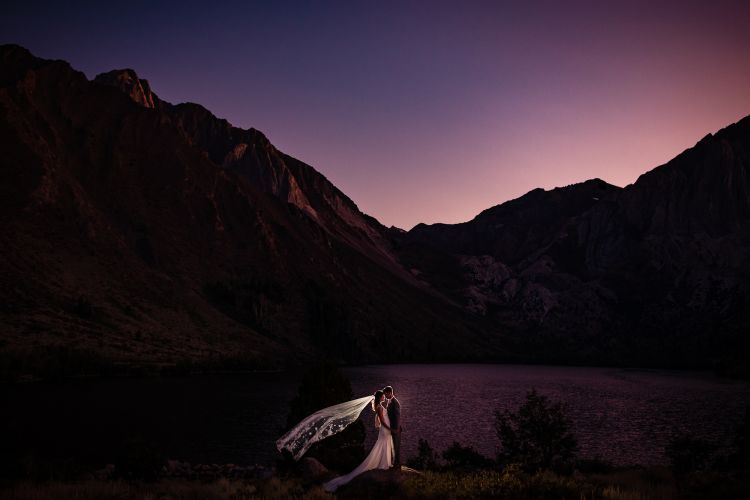
“I had a Profoto B10 with a 1/2 CTO and a 20-degree grid about 15 feet behind the couple and just below shoulder height. They are up on a rock so I had the light up at about ten feet high. Settings: 1/125, f/2, ISO 800. The bride’s sister helped finesse the flash and tossed the veil for me until we got it in the right spot.”


“This couple’s wedding was at a ranch and the longhorns are one of the signature features of the property. Most photographers avoid using flash here — a valid concern — but I knew I had to use it to get the sky to look the way I wanted. We pulled it off in about 30 seconds. Sony A9, Sony 16-35 f/4 @ 1/200, f/5.6, ISO 50. Light camera left: MagBox with FocusDiffuser + 1/4 CTO with 2x Godox AD200.”


“Environmental portraits are my favorite — embracing the elements, location and light to show off the subject. My husband always laughs at me every time we’re in a beautiful scenic location and I say ‘you know what this needs?’ and he replies ‘a couple?'”
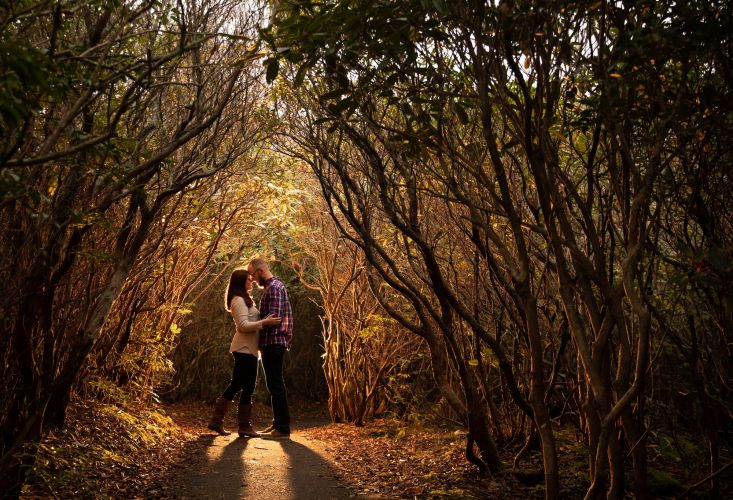
“We had already shot some natural light shots in the tree tunnel for the leading line effect. As we approached this spot, we saw sunlight peeking through subtly. We wanted to enhance it so we added a half CTO gel and backlighted the couple for a warm highlight. We use a MagSphere on a Godox AD200 at 1/8 power, about 4–5 feet behind the couple, waist level, with a slight tilt up.”

“Erika and I love pulling back to reveal the scale and enormity of the bigger scene, to remind our human audience about their fundamental connection to nature, and to place the viewer’s mind on the surface of our awesome planet.”


“Hawaii is basically Neverland. My absolute favorite thing in the whole world is sharing this place with my friends, family, and clients.”


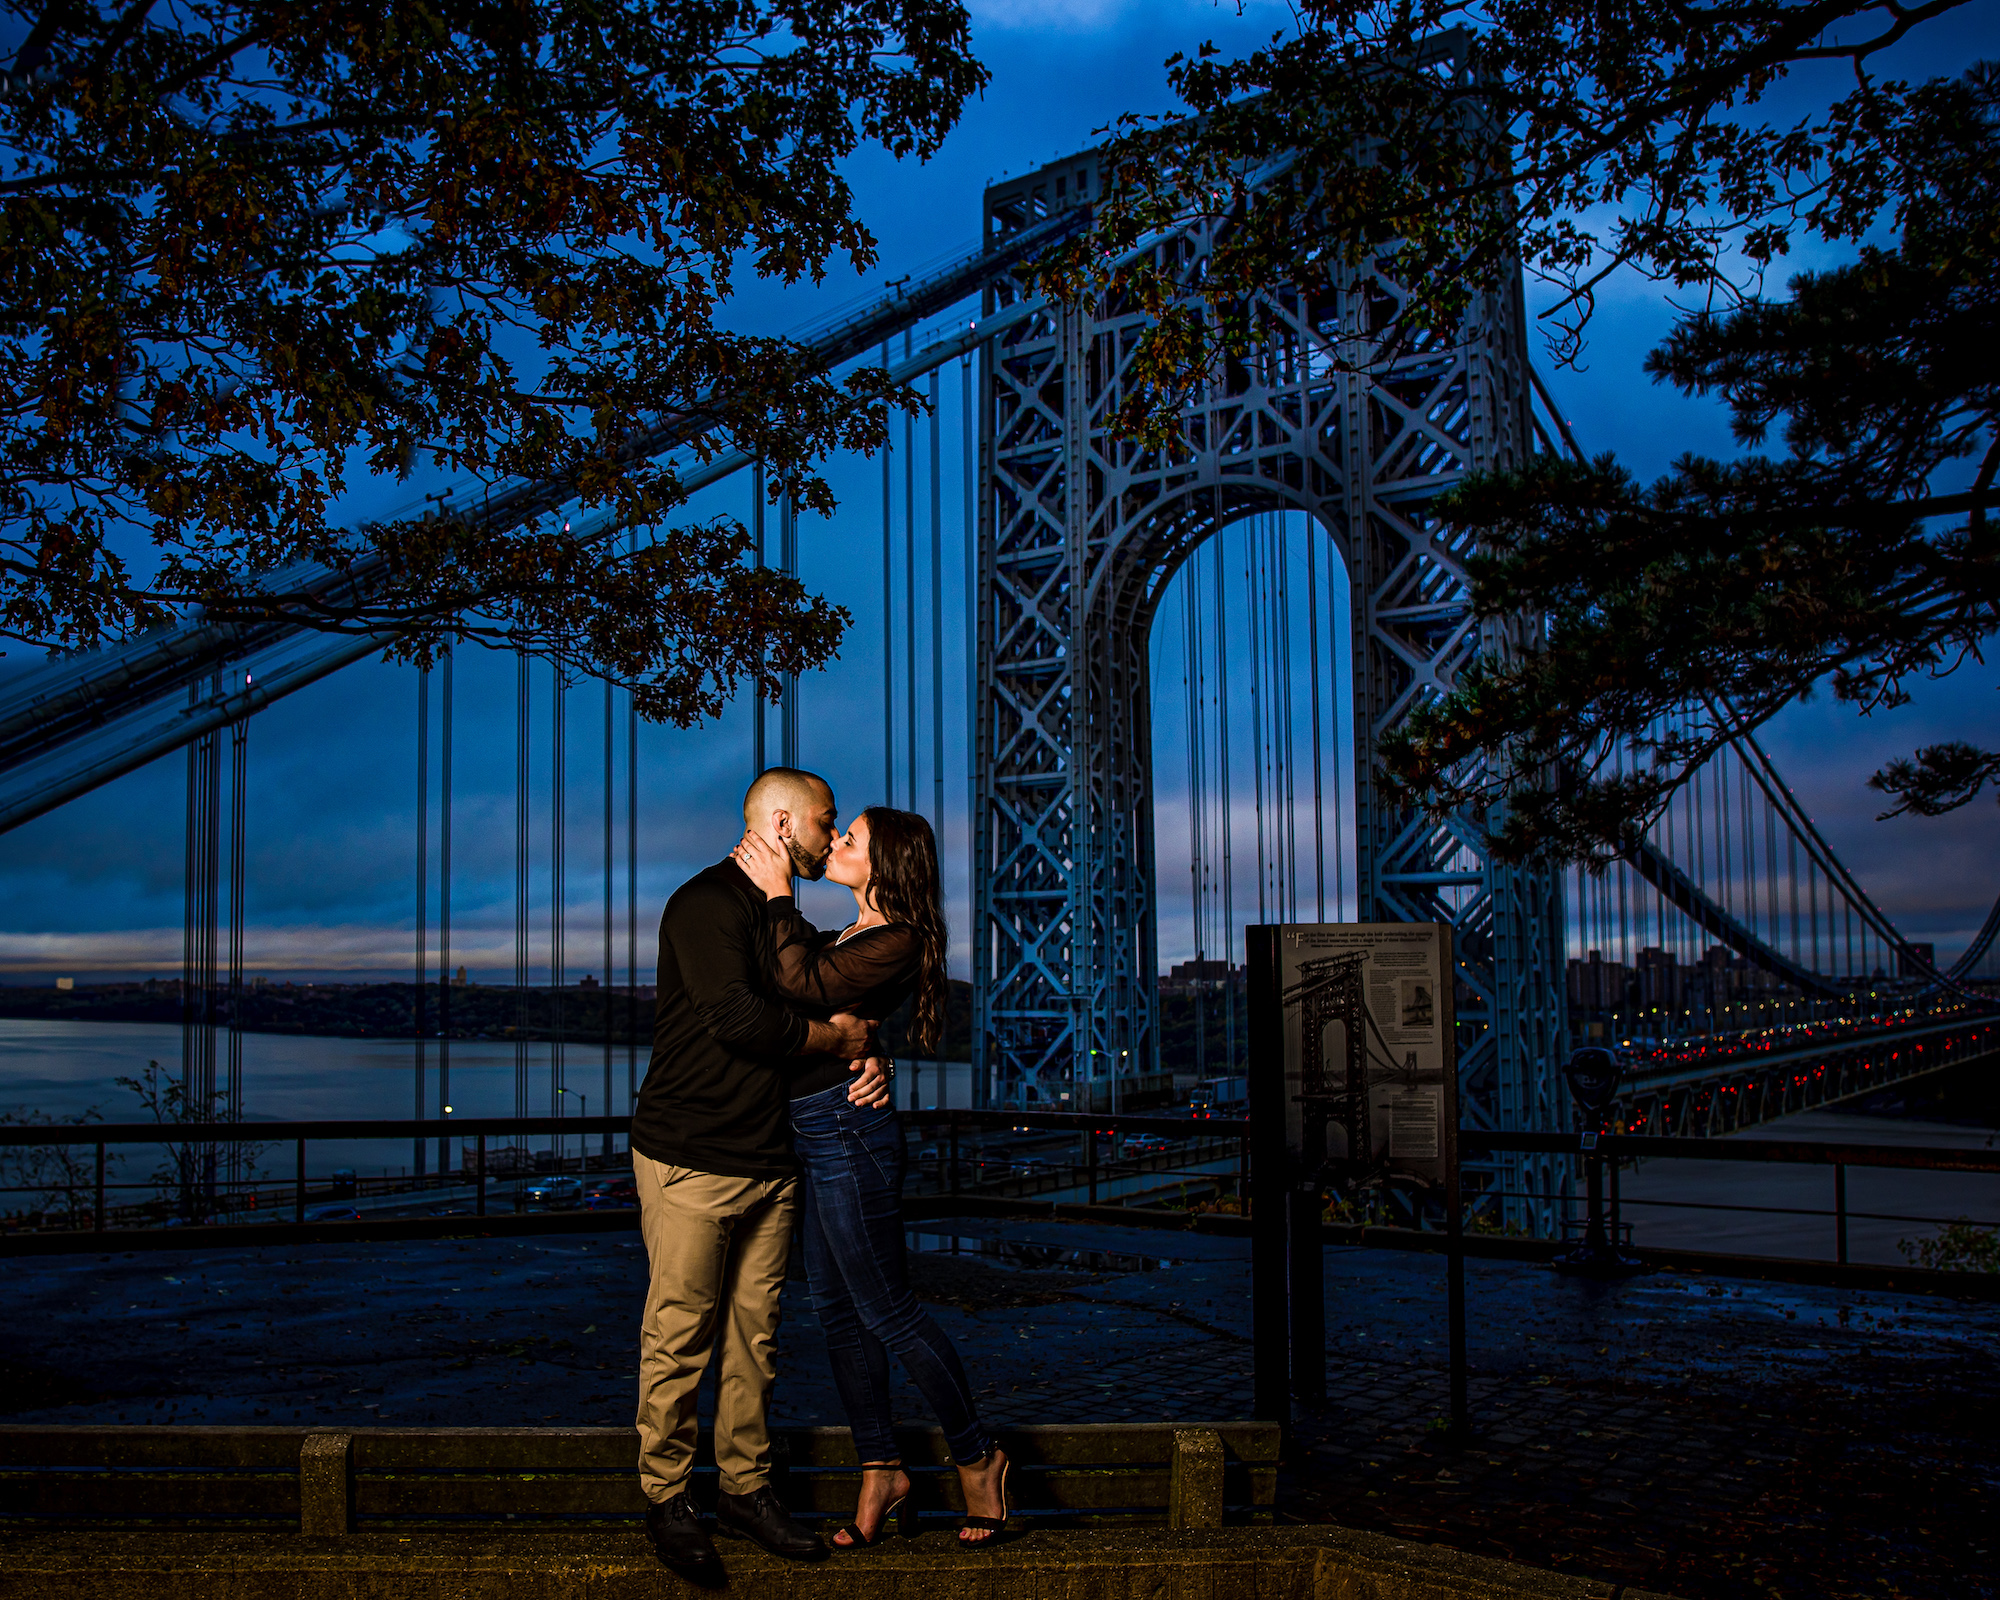
“I believe you can still show off the environment and tell the story, even if the couple is closer and larger in the frame. This was taken before sunset on a cloudy day. I killed most of the ambient light and used a MagBox to make the couple stand out.”

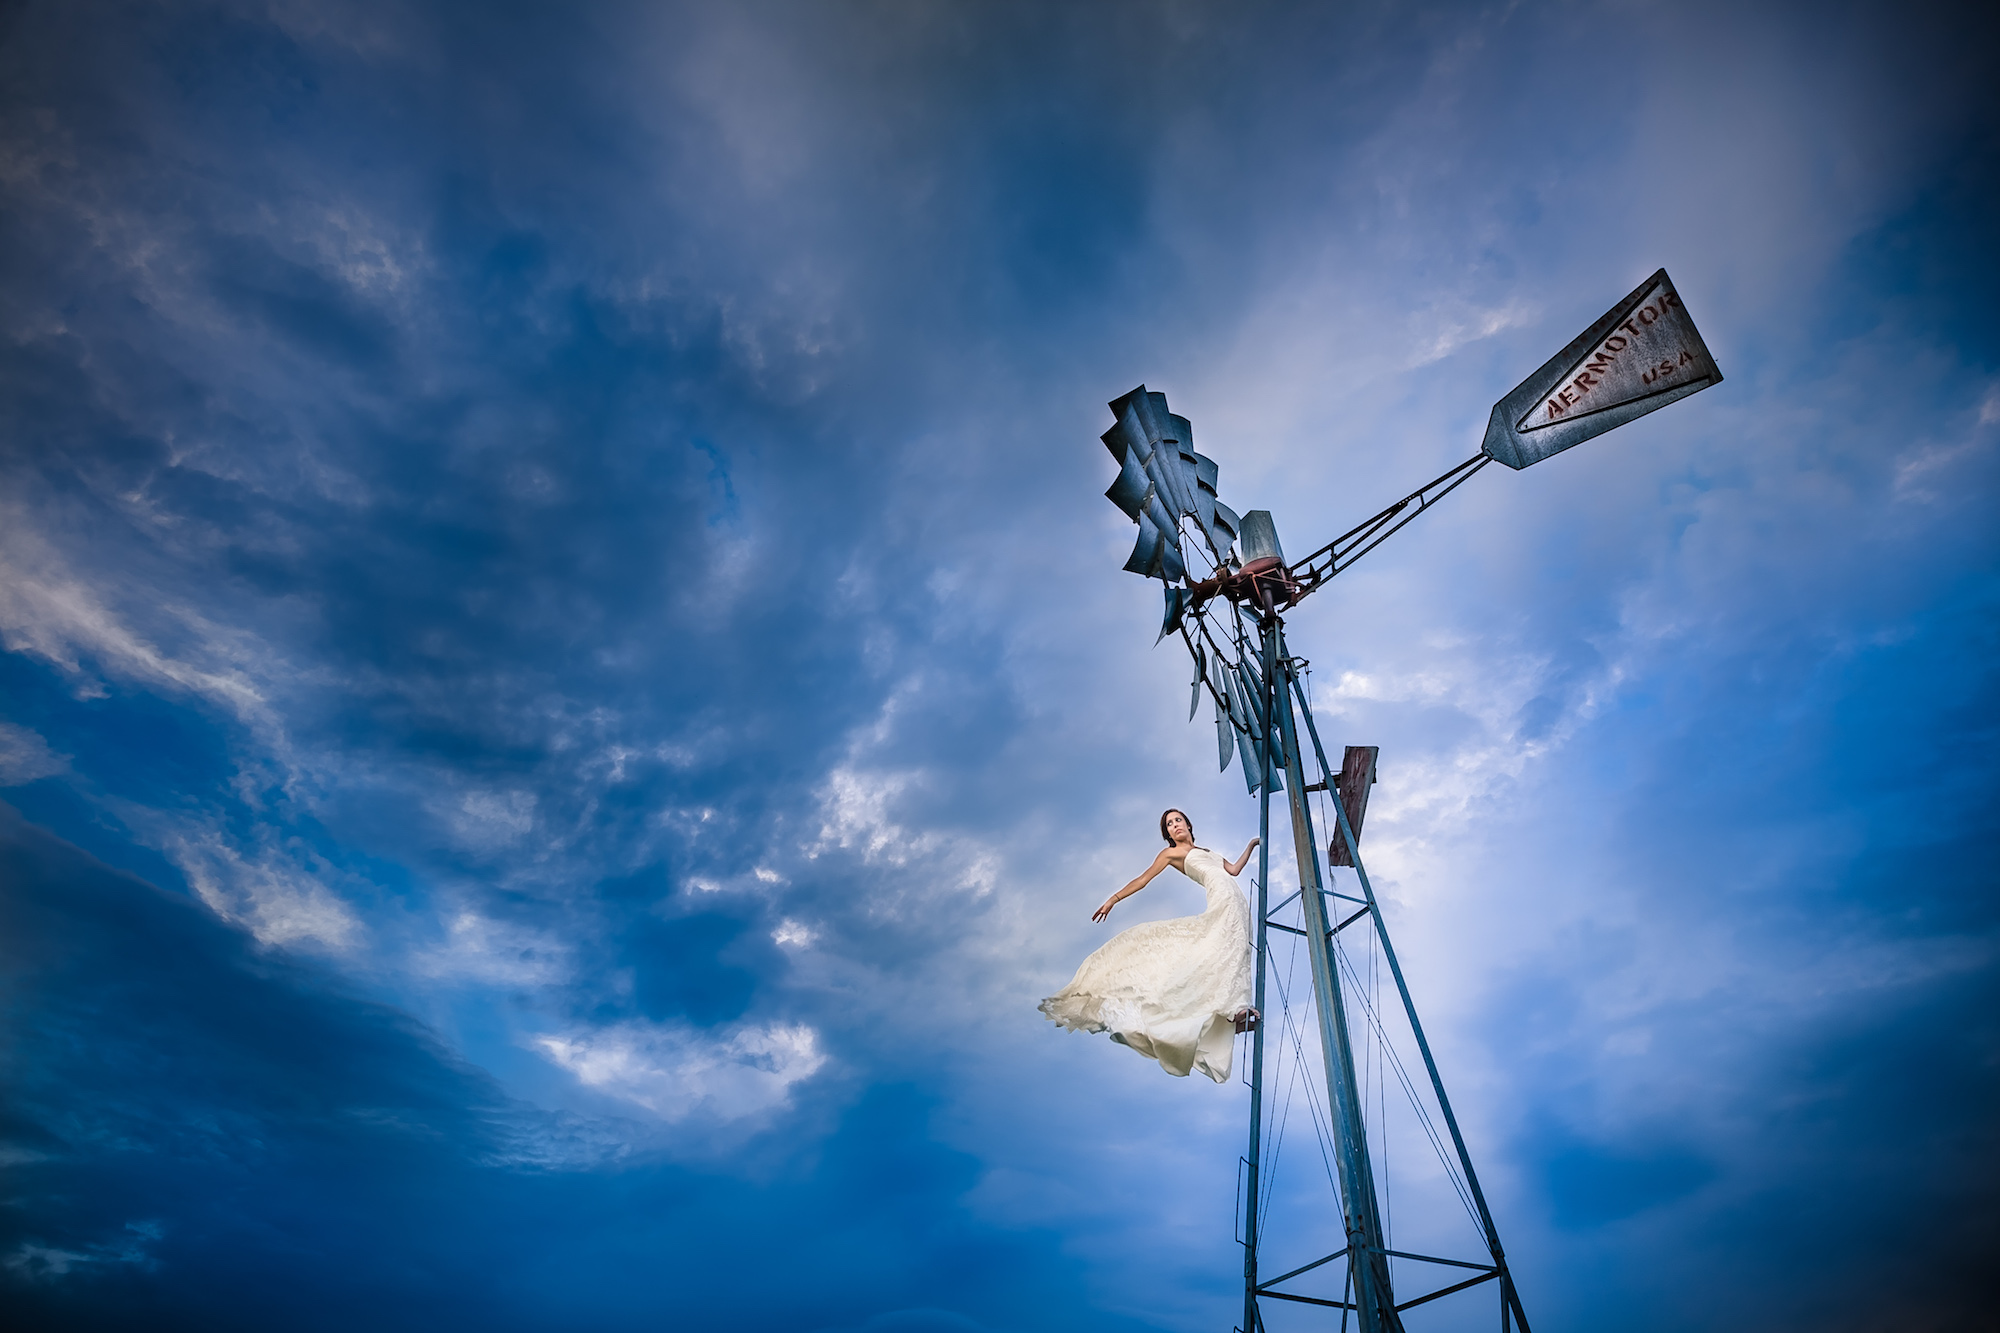
“She grew up at the vineyard we were shooting in and this was the windmill she used to climb as a child. She always got in trouble for being up there, so it was the number one shot on my list for the day.”

Frequently asked questions about environmental portrait photography
What lens is best for environmental portraits?
Wide angle lenses in the 16–35mm range are most commonly used for environmental portraits because they allow you to include a large portion of the surrounding scene while staying close to your subjects. A 24–70mm zoom covers both wide environmental shots and moderate portrait distances, making it a versatile single-lens option for sessions that mix environmental and tight portrait work. Avoid going too wide — below 24mm on full frame — for frames where the subject is close to the edges of the image, as distortion becomes unflattering. For compressed environmental shots where you want to show the landscape while keeping the subjects larger in the frame, an 85–135mm lens creates beautiful subject-to-environment relationships with natural background compression.
Do I need off-camera flash for environmental portraits?
Not always, but it helps significantly in many situations. When the environment is busy or complex, subjects can get visually lost without additional light to separate them. When the ambient light is flat or directional in a way that doesn’t favor the subject’s position, flash compensates. For silhouette environmental portraits or images shot in perfect golden hour backlight, natural light alone often produces the strongest results. The decision comes down to whether the subjects are clearly the focal point of the frame without flash, or whether they need the brightness advantage flash provides to compete visually with a rich environment.
How small is too small for the subject in an environmental portrait?
There’s no fixed rule, but the practical threshold is recognizability and emotional connection. If the viewer can’t identify the subject as a person — or can’t see enough of their form to feel a connection — the image has tipped from environmental portrait into pure landscape. Some photographers deliberately push subjects very small in the frame for specific artistic effect, but it works best when the image has strong visual elements to compensate: dramatic light, powerful natural geometry, or an immediately legible story about scale and place. When in doubt, vary your distance throughout a session — some frames very wide, some closer — and let the editing process determine which ratio worked best for each moment.
How do I remove my flash assistant from environmental portrait frames?
The standard approach is compositing in Photoshop. Shoot a clean plate of the scene without the assistant present — either before the session starts or after the subject steps aside for a moment. Then in Photoshop, use a Layer Mask to paint out the assistant from the lit frame using the clean background plate beneath. This is a routine post-production step for environmental portrait photography with off-camera flash and worth building into your workflow. Shooting from a tripod for these setups ensures the plate and the hero frame align perfectly, making the mask work faster and cleaner.