
As photographers, we rely on several different pieces of gear to practice our trade. Some, like zoom lenses or 5-in-1 reflectors are versatile by their very nature, while others seem limited in their functionality. It’s always great when we can find ways to make our gear more useful, which gives us more value for the product and lightens our footprint in terms of gear we need to keep on hand, especially when shooting on location. One piece of gear that we can use effectively across multiple genres actually has nothing to do with camera bodies, lenses, or even lighting equipment. I’m actually talking about small to medium-sized photography surface boards, a great go-to for controlling your background. In this article, we’ll discuss ways to use photography surface boards to capture better portraits in at least five different genres.
Let’s get started!
How to Use Photography Surface Boards
- Food Photography Backdrop
- Product Photography Backdrop
- Wedding Photography Backdrop
- Newborn Photography Backdrop
- Headshot Photography Backdrop
Tip 1: Food Photography Backdrop
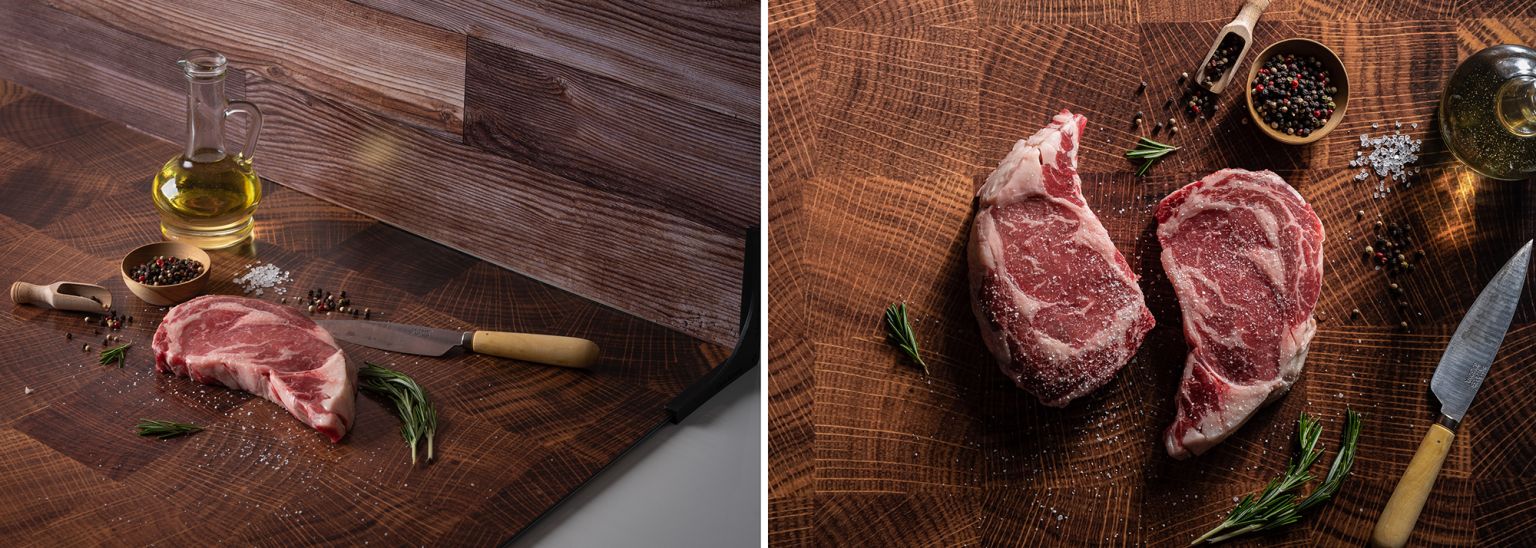
No matter how tantalizing you make the meal look in and of itself, a great food photo needs two key ingredients: stellar lighting and an appetizing backdrop. The lighting you can achieve with a decent window and scrim (or flash if you need or have it), but a beautiful backdrop might be harder to find, unless of course you bring your own.
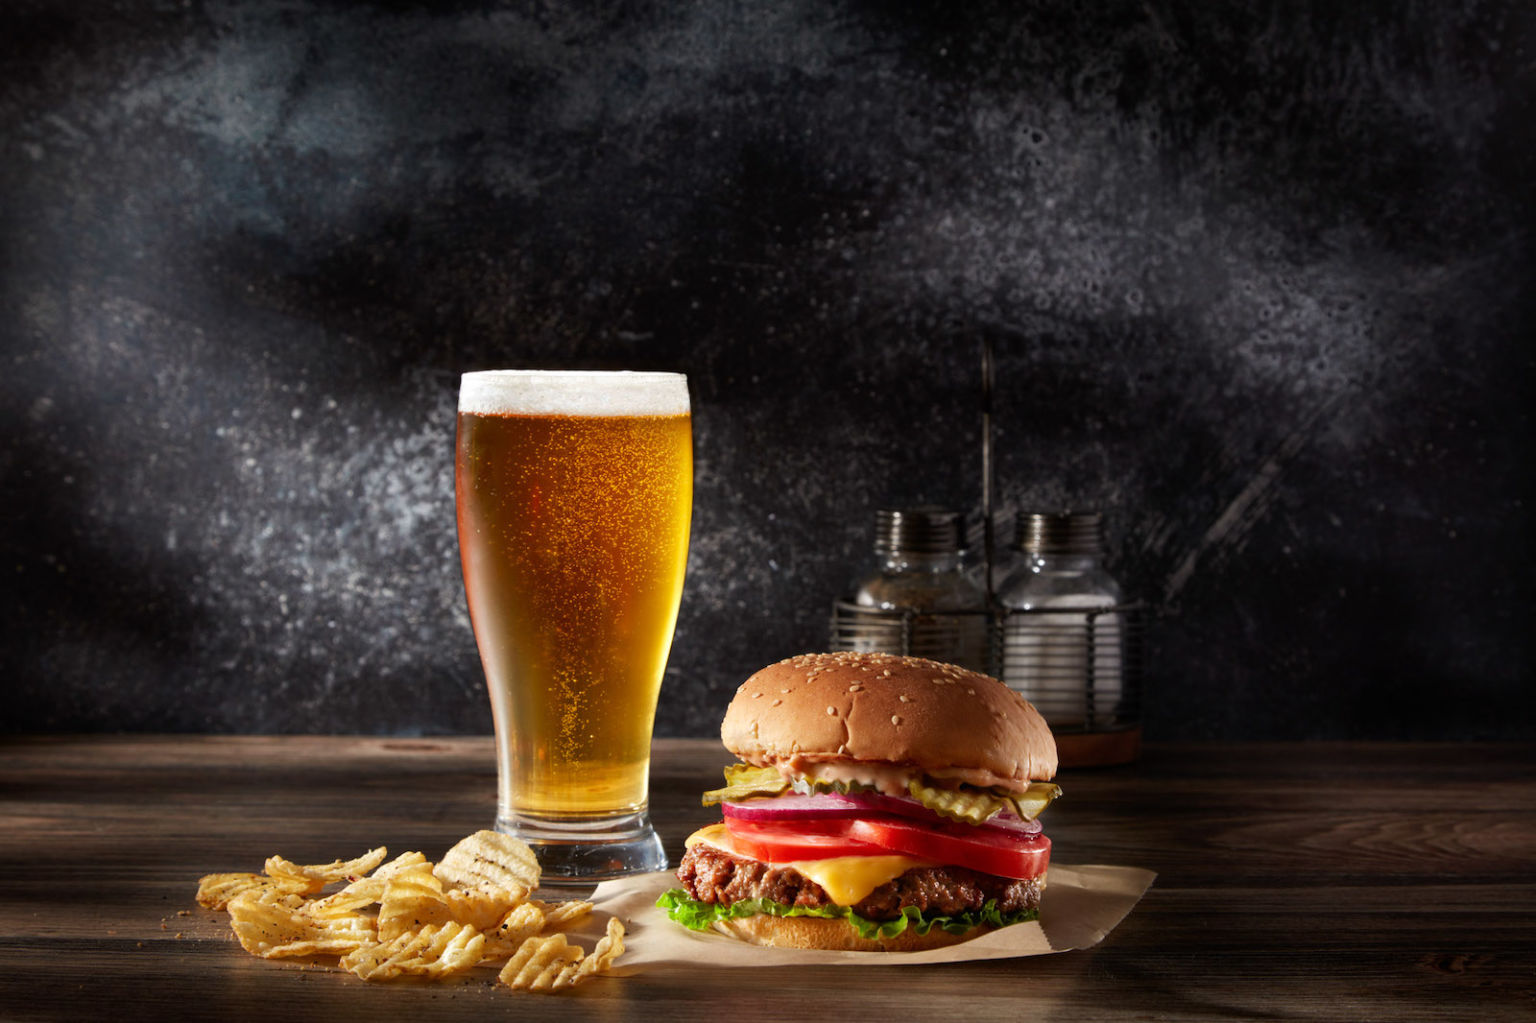
With a hyper realistic yet portable option like V-Flat World’s Duo Boards, you can bring a collection of textures and colors with you to any food photography location. Available in two sizes (24×24” or 30×40”), with two different prints on each board (you can choose from subway tiles to concrete, marble, wood grain, and several others), they’re easy to set up and they work equally well for top-down or side angle shots. For the money, priced from $75-$120, these photography surface boards provide an affordable means of taking pro-level studio backdrops to go.
[Related Reading: Food Photography Backdrops | Which One Is Best for Your Shoot?]
Tip 2: Photography Surface Boards in Product Photography

Product photos carry a lot of weight. Oftentimes, they represent the only interaction customers will have with a product before they purchase it, especially for e-commerce stores. Your particular needs may vary, depending on the size of the products you’re photographing, but for most small to medium-sized objects, including everything from jewelry to teapots, a couple small photo boards should get the job done, and well.
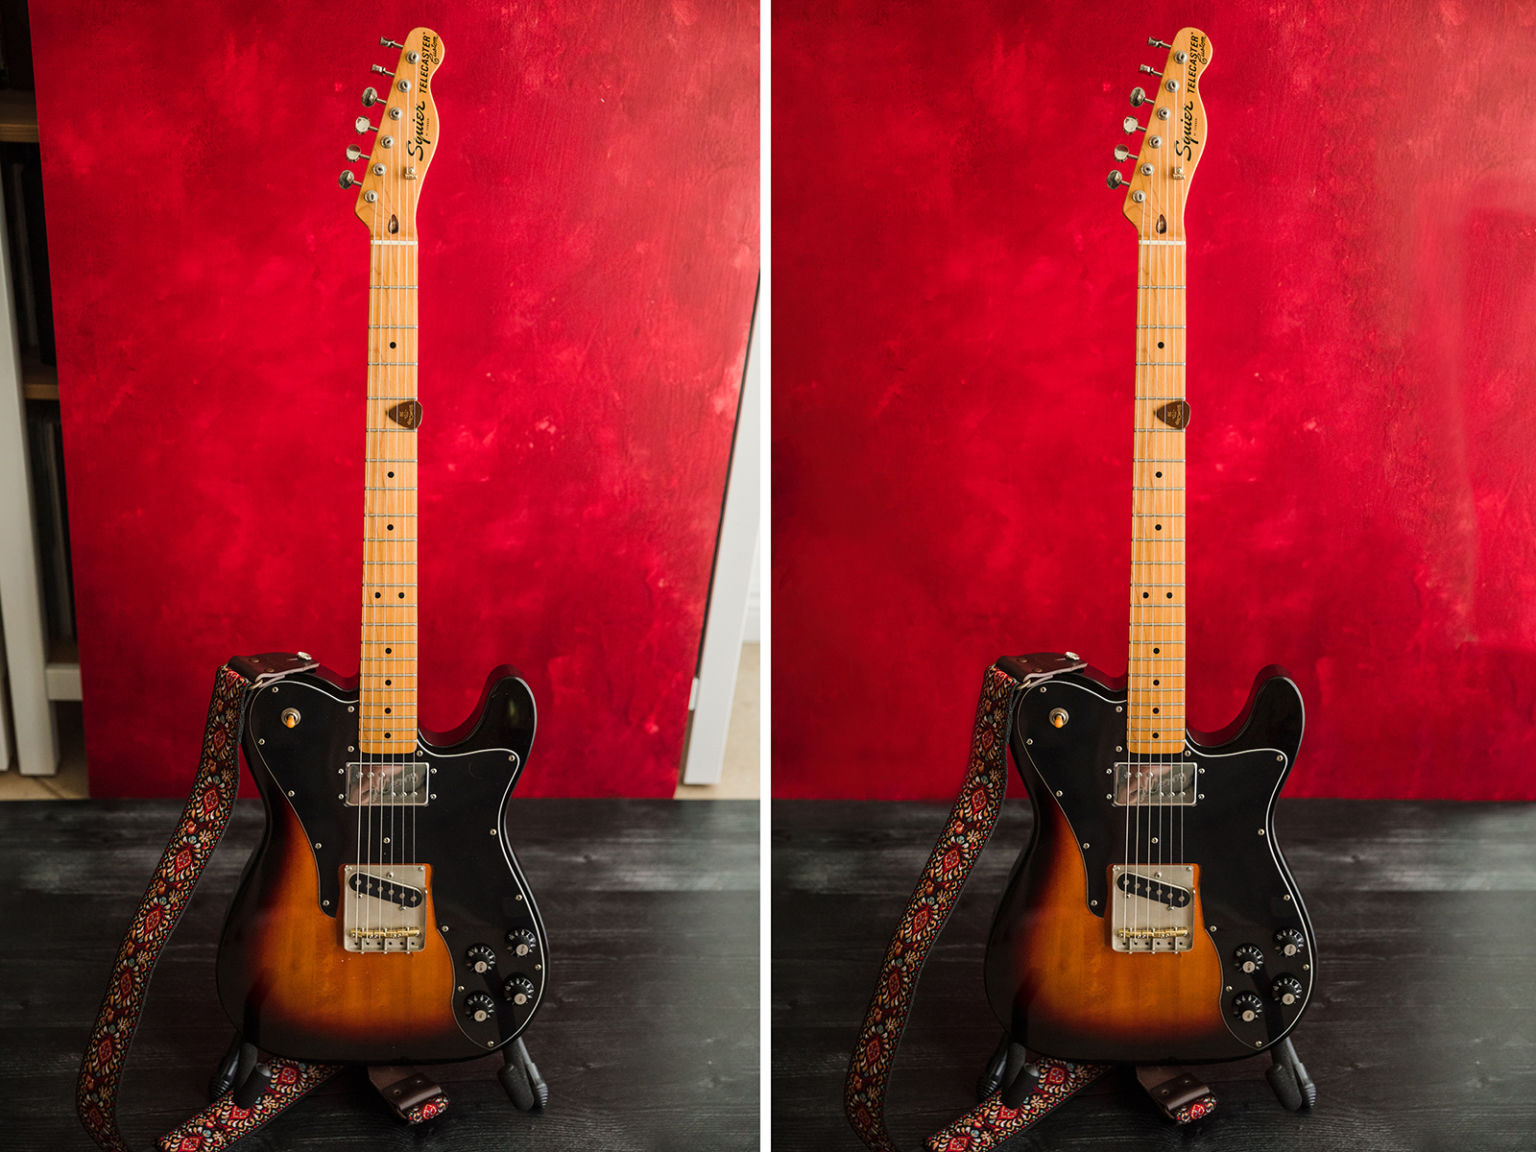
I even made it work with a full guitar before. I just needed to do a little content-aware magic in post to flesh out the edges.
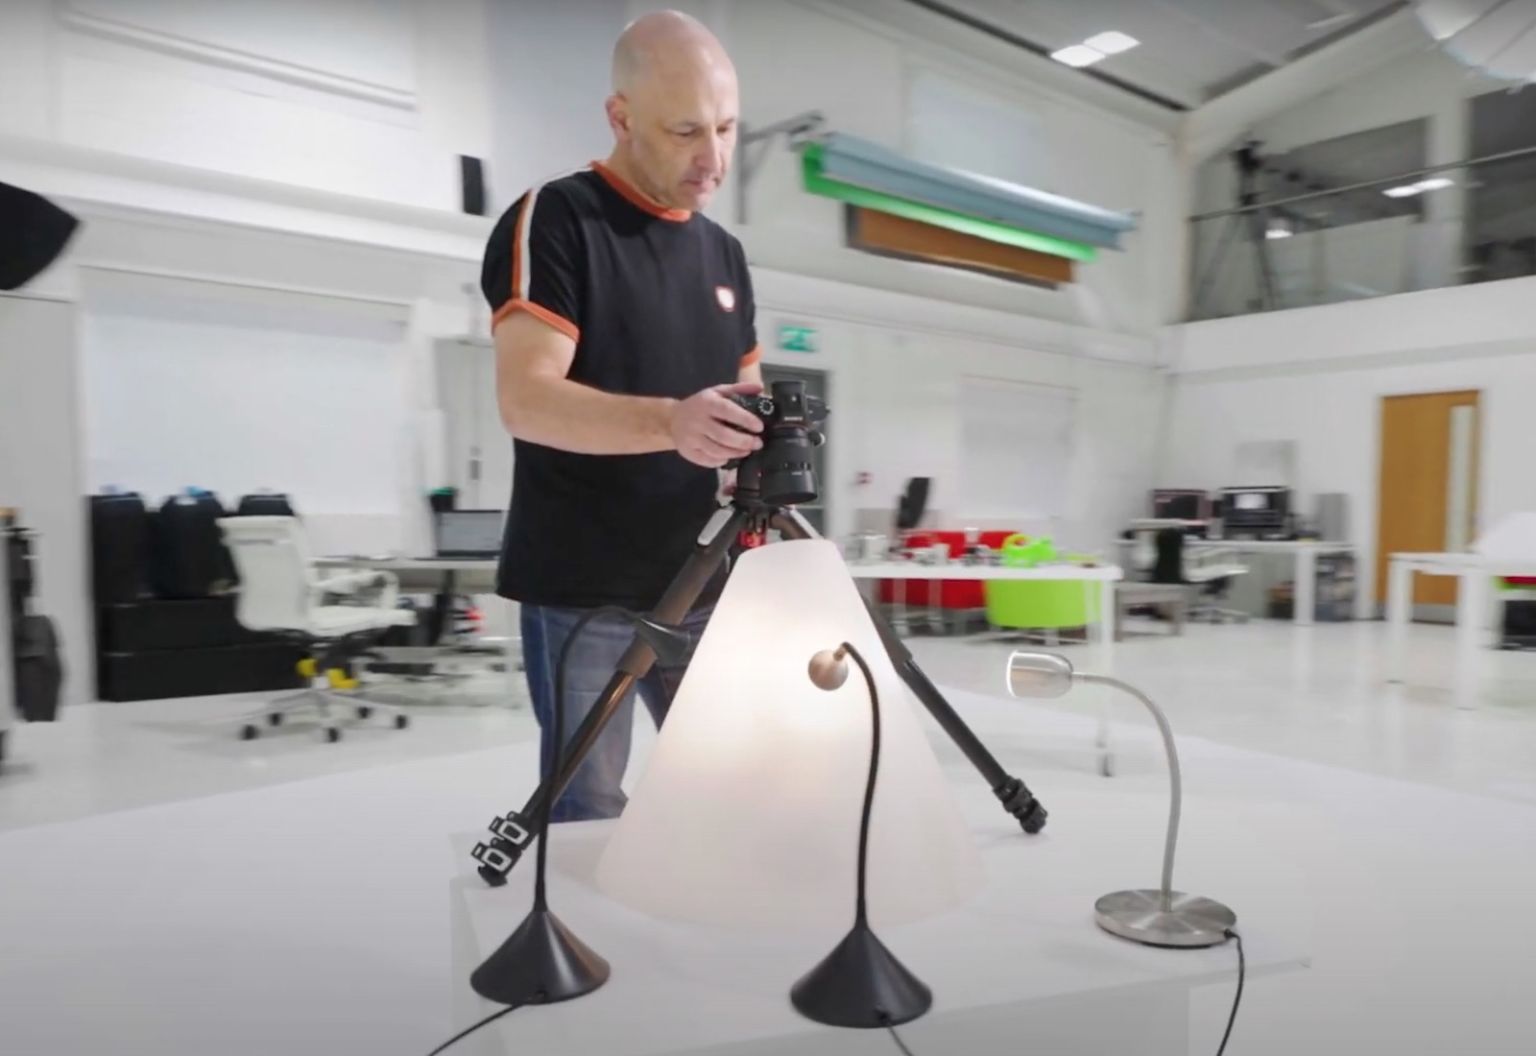
For those photographing objects within this size range, I also highly recommend checking out the new Light Cone from Karl Taylor and V-Flat World. We previously announced the launch of this amazingly portable light modifier on our site. It’s definitely worth checking out if you do any kind of product photography.
[Related Reading: The Best Product Photography Backdrops and How to Use Them]
Tip 3: Wedding Photography
This tip serves as sort of an extension of the previous one. If you’ve ever shot a wedding, you know that weddings require photographers to work across a variety of genres within a single event. Included in this lineup you’ll find portraiture for individuals, couples, and groups, as well as photojournalism for candid shots, real estate/architecture for venue and decor photos, and last but not least, product photography for details like wedding invites, rings, shoes, and so on. It’s this last bit that can benefit from the use of quality photography surface boards.
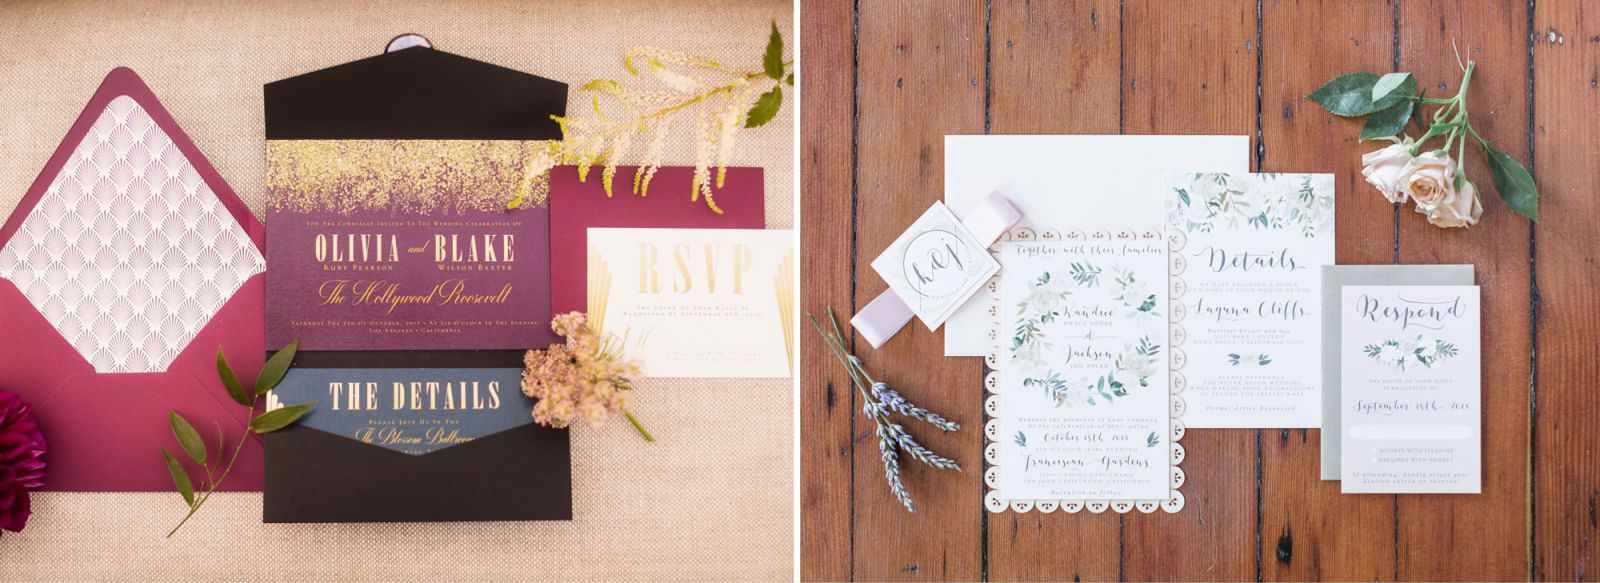
Portable photography surface boards can come in handy for wedding details because you’re often at the mercy of the location to find a decent spot for setting up detail shots. This can sometimes prove tricky, especially when you’re under serious time constraints. Some places have incredible natural backdrops ready for use in your photos, but others…not so much. You can always use lighting, lens compression, shallow depth of field, and other tricks or effects to minimize distractions in the background for detail photos, but having a dependable, good looking surface board with you will give you a backdrop you can depend on time and again, regardless of the circumstances.
Tip 4: Photography Surface Boards in Newborn Photography
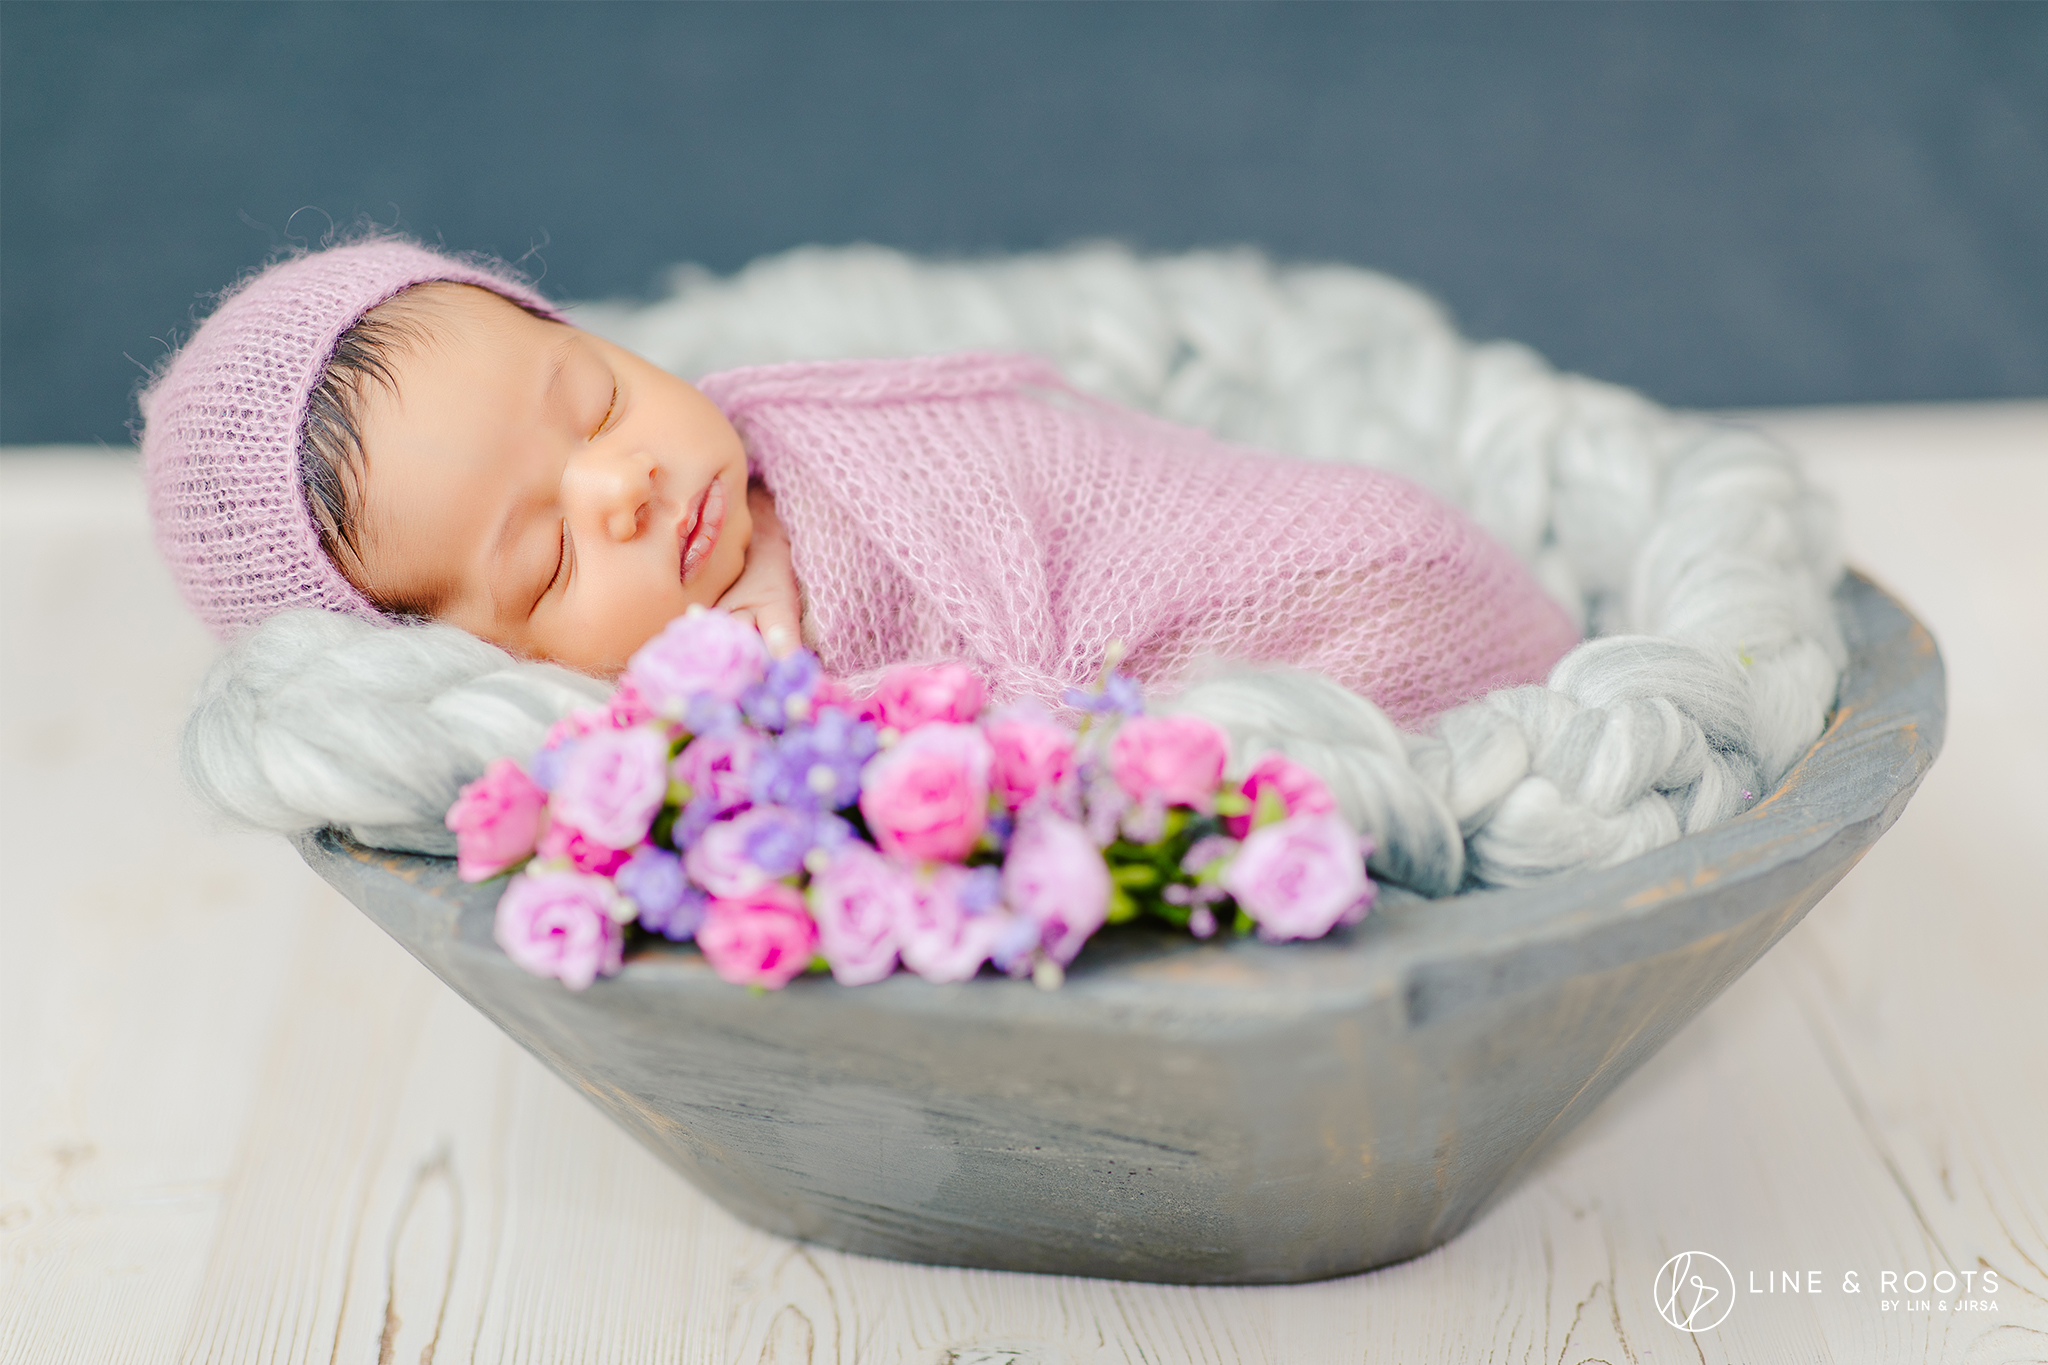
Newborn photography sessions often include a number of “looks” in terms of switching up outfits, props, and backgrounds. For close up and overhead shots, decent-sized photography surface boards (30×40” or bigger) will elevate your newborn shots and they’re easy to set up. They also come in a variety of finishes so that you can match them with the rest of the props.
Whether you use natural light or gentle flash or constant light, you can place these boards just about anywhere. The important thing to remember is to ensure you choose a safe location so as not to put the newborn at any risk.
[Related Reading: Newborn Photography Tips for Great Baby Photos]
Tip 5: Headshot Photography
When capturing headshots, we basically have two common options for backdrops: natural environment (for “lifestyle” headshots) or portrait style backdrops, which come in a variety of sizes, colors, textures, and so on. Portrait style backdrops tend to be large, which is a must for full body shots, but we don’t need as much for a quick headshot. This is where, in a pinch, we bring in the photography surface board.
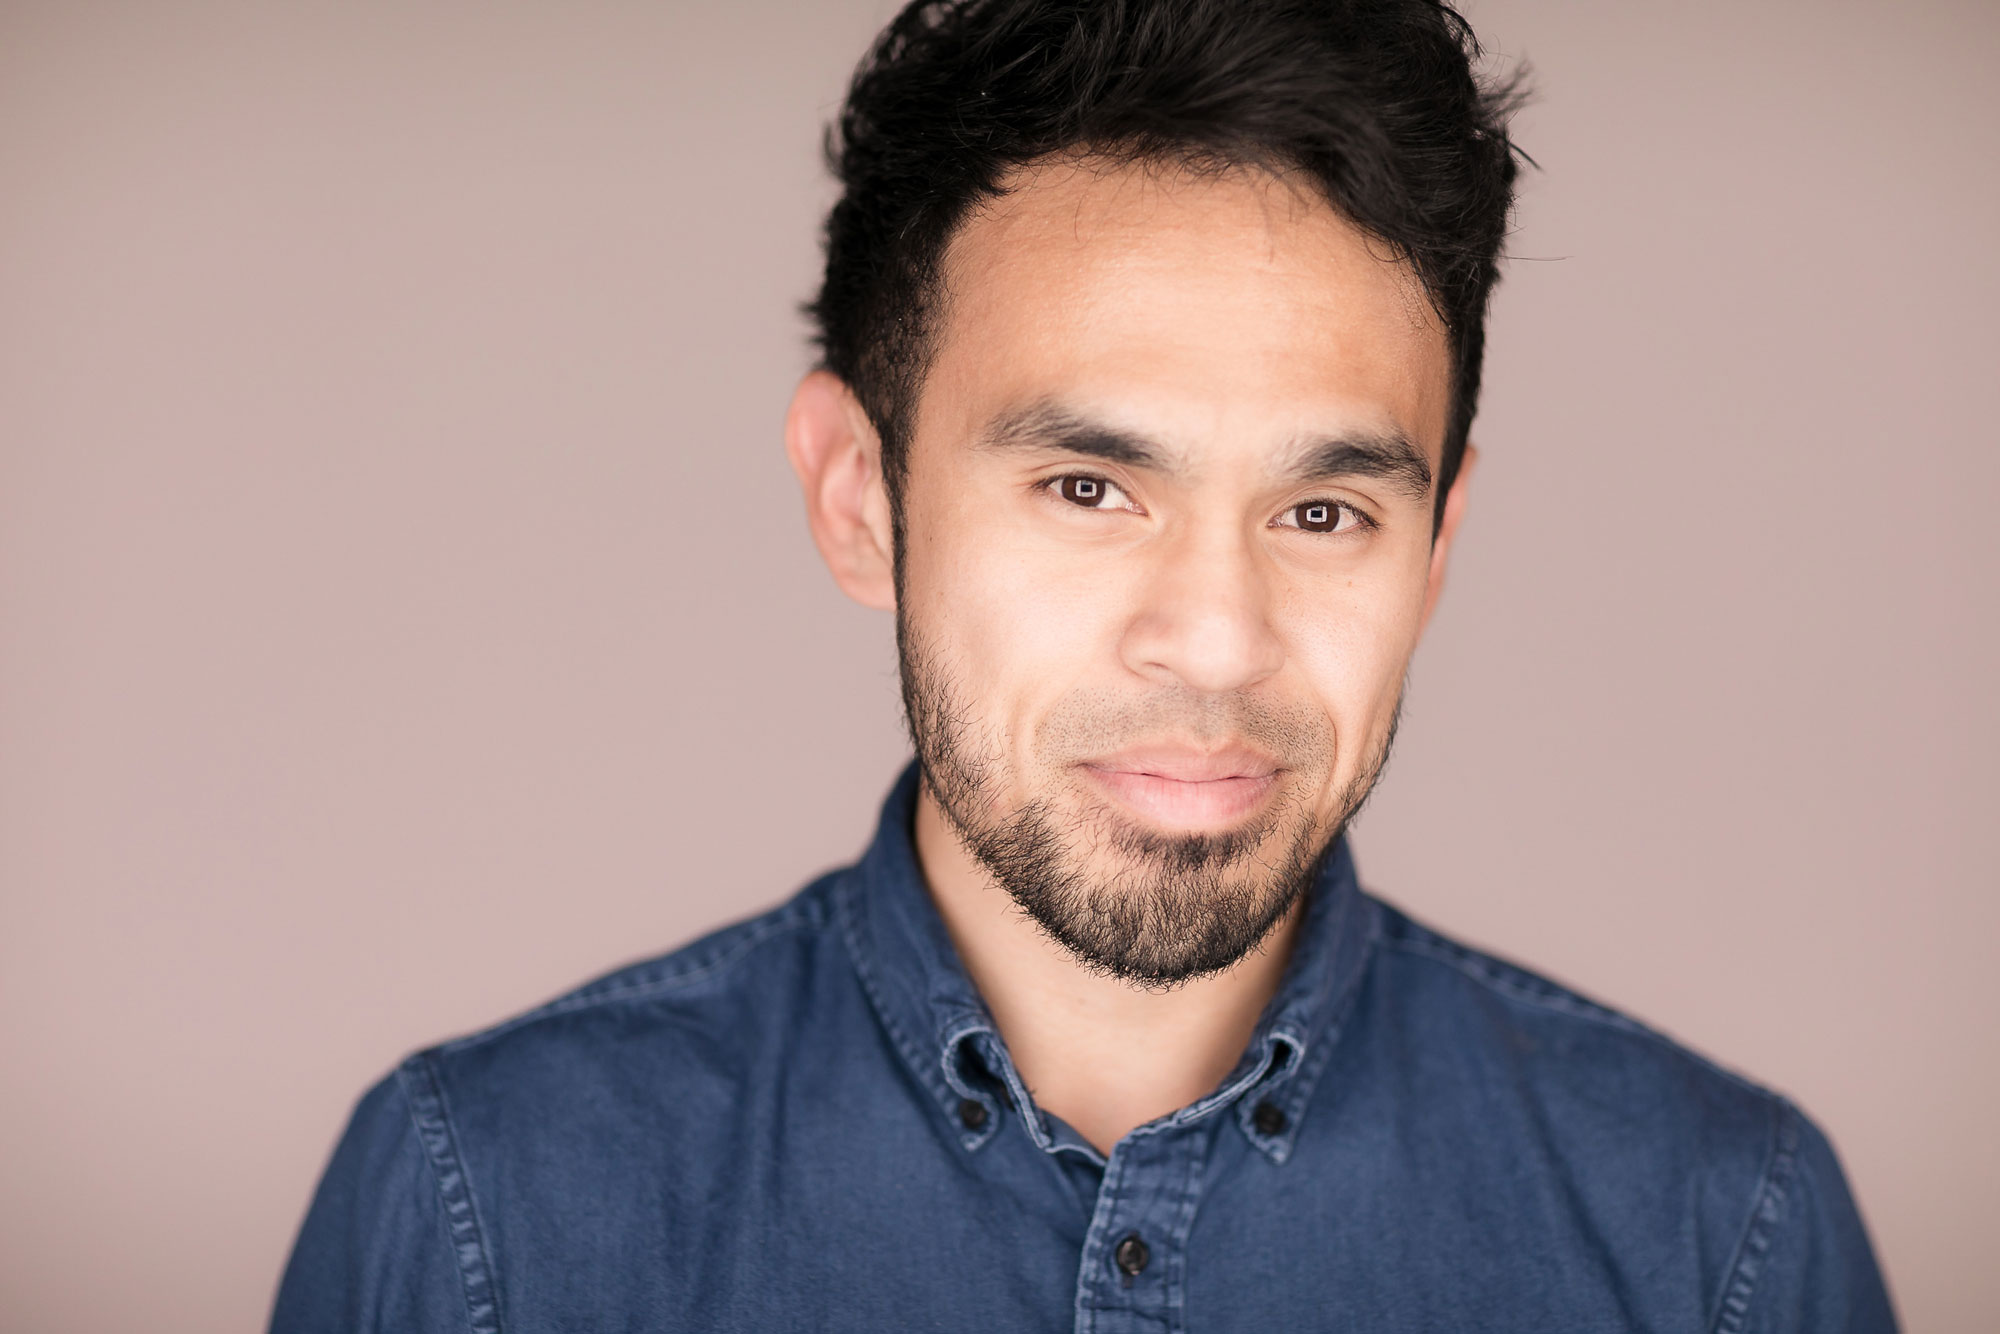
Because the surface board is limited in size, we’ll need to take advantage of lens compression (85mm and longer) to max the size of our backdrop in relation to our subject. Adjust the orientation of the photo board to match how you’re framing and cropping the shot in-camera. All that’s left is to adjust the distance between the subject and the board, as well as between the camera and your subject, and you should be good to go. Of course, don’t forget to add flattering light. You can find some tips on how to do that here.
Conclusion
I hope you found this article on how to use photography surface boards helpful. There are clearly plenty of ways to use these super versatile, often overlooked tools. Some are easier to use and transport than others, so keep that in mind when choosing photography surface boards for your own collection. The Duo Boards from V-Flat World have proven super effective in my experience, so I offer those up as a great option, whether you’re working in-studio (or at-home) or on location. Once you’re ready with the boards, all that’s left is to put ‘em to use, and that’s the fun part.


