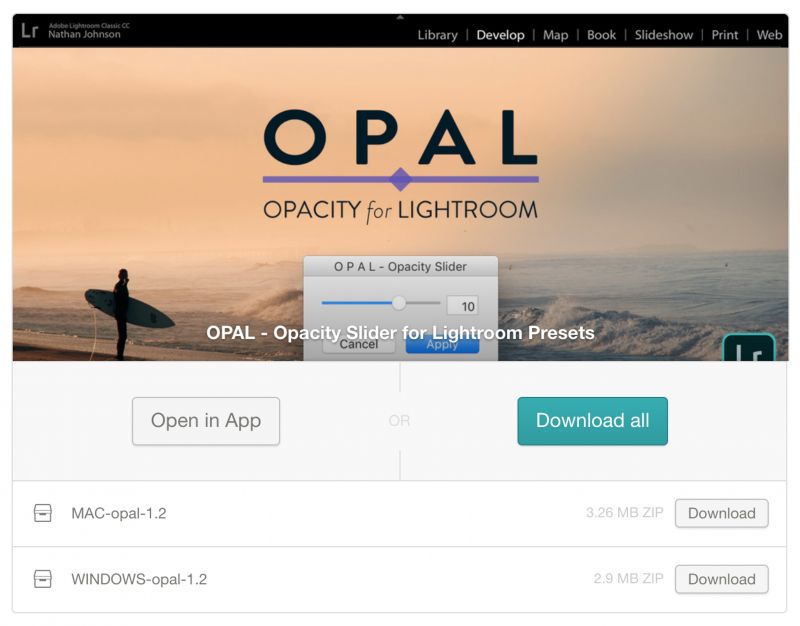
If there’s one thing I know about human nature is that we are inclined to take the path of least resistance, but we are also demanding. It is, however, that desire to have all we want in the easiest fashion that seems a catalyst to innovation and refinement – we like things easy. And in that vein, there’s Opal, which at minimum is an opacity slider for Lightroom presets, but more completely a tool that lets us easily achieve the looks we want from Lightroom with the least amount of effort.
Before we go any further it warrants saying there exists a tool for Lightroom that’s meant for a similar purpose, called ‘The Fader’, but Opal is, simply, a better more complete way of doing things. They are not equals.

OPAL – by Nate Photographic
I currently use and own our own SLR Lounge Preset System (free with SLR Lounge Premium) , those of Mastin Labs, and some VSCO. But, and it’s a big one, I find using VSCO presets on my iPhone to be my favorite way to use presets simply because I can tone down the level of the preset in its entirety, essentially allowing me to apply the preset as I would opacity in Photoshop, or as is now possible to do in Capture One.
In Lightroom you have to go into potentially 10s of individual sliders and curves and adjust each, and sometimes I just want a preset but instead of at a 10, I want it at a 2. That’s precisely what Opal exists to do. Yes, it’s what Fader is meant to do also, but we’ll get into the differences in a bit, because they are numerous and critical.
But that’s really all Opal is, a slider that lets you either tone down the strength of expression of a preset to neutral, or up it by 50%. There is a version for both Mac and Windows (you get both with purchase, I believe), and installing it is the same as for all LR plugins – that is to say, simple.
How It Works & How It’s Different
The workflow for Opal is simple and a step above Fader, a fact that will likely make it tremendously more useful and used than the other.
With Fader you must go into a menu and find it and it’s, frankly, a bit annoying. Enough so that you’d not always use it. By comparison, with Opal, you apply a preset to your image, hit the UP arrow (or assigned hot key) and up pops the diminutive Opal dialogue box. From there you drag left from 10 to 0, or up to 15, with each whole number representing a 10% change. That’s it. And you can also go ahead and make any alterations to the image after you’ve applied the preset before using Opal and it will work just as well.
You do also have other options when it comes to controlling how you change the slider in Opal, so those of us who like to use the keyboard as much as possible as we churn out a session can rest assured this isn’t a mouse-only endeavor. Using the keyboard you can type in the specific strength you want and hit enter to apply it once you’re pleased with the preview, but you can also use the up and down arrow keys to incrementally adjust the slider, either by .1 increments or by whole number increments by holding the shift button with your arrow strokes.


Incidentally, that dialogue box isn’t as intrusive, and you can decide whereupon it opens each time as to not interfere with your image, and it does this simply by reopening the dialogue box in the very last place it was previously dragged.
For more control, Opal has an advanced setting that expands the dialogue box which lets you select or deselect specific parameters of what the slider will affect, like Tones, Cast, Colour, Details. Brining the mouse cursor to each box will bring up a list of all the specific things that box will affect, like grain, shadows, highlights, split tones, et cetera. This brings a whole new level of control.
Speaking of control, one of the glaring omissions with Fader (and it took a while to figure out what was going on here) is that Fader doesn’t play nicely with the the Camera Profile as assigned by presets, nor completely flawlessly with the SLR Lounge Preset system given the stepped progression method that it uses. For those looking to have congruency and to avoid having to carefully match other sliders for isolated control, this is an issue, but an issue Opal does not have.
Conclusion
It’s $15, and if you’ve got other presets you’ve bought this is a purchase that’s going to help you extract more utility out of those presets, and likely save you time and have you using presets more, and with more finesse. There’s not much to say other than that. It’s a well thought-out plug-in that will now be one of the recommended plugins for Lightroom, alongside JPEGMini.
[RELATED: Camera Calibration Lightroom Panel | Tips For Perfecting Skin Tones, Color Grading & Profile Correction]
Get Opal here.
**Opal has been further updated lately, and one key update is the following:
B+W Detection.
In Advanced Mode, Opal will detect if photo is in color or black and white mode. For color photos, they will see a “color” checkbox item. For b+w photos, they will see a “bw mix” item


Get Connected!