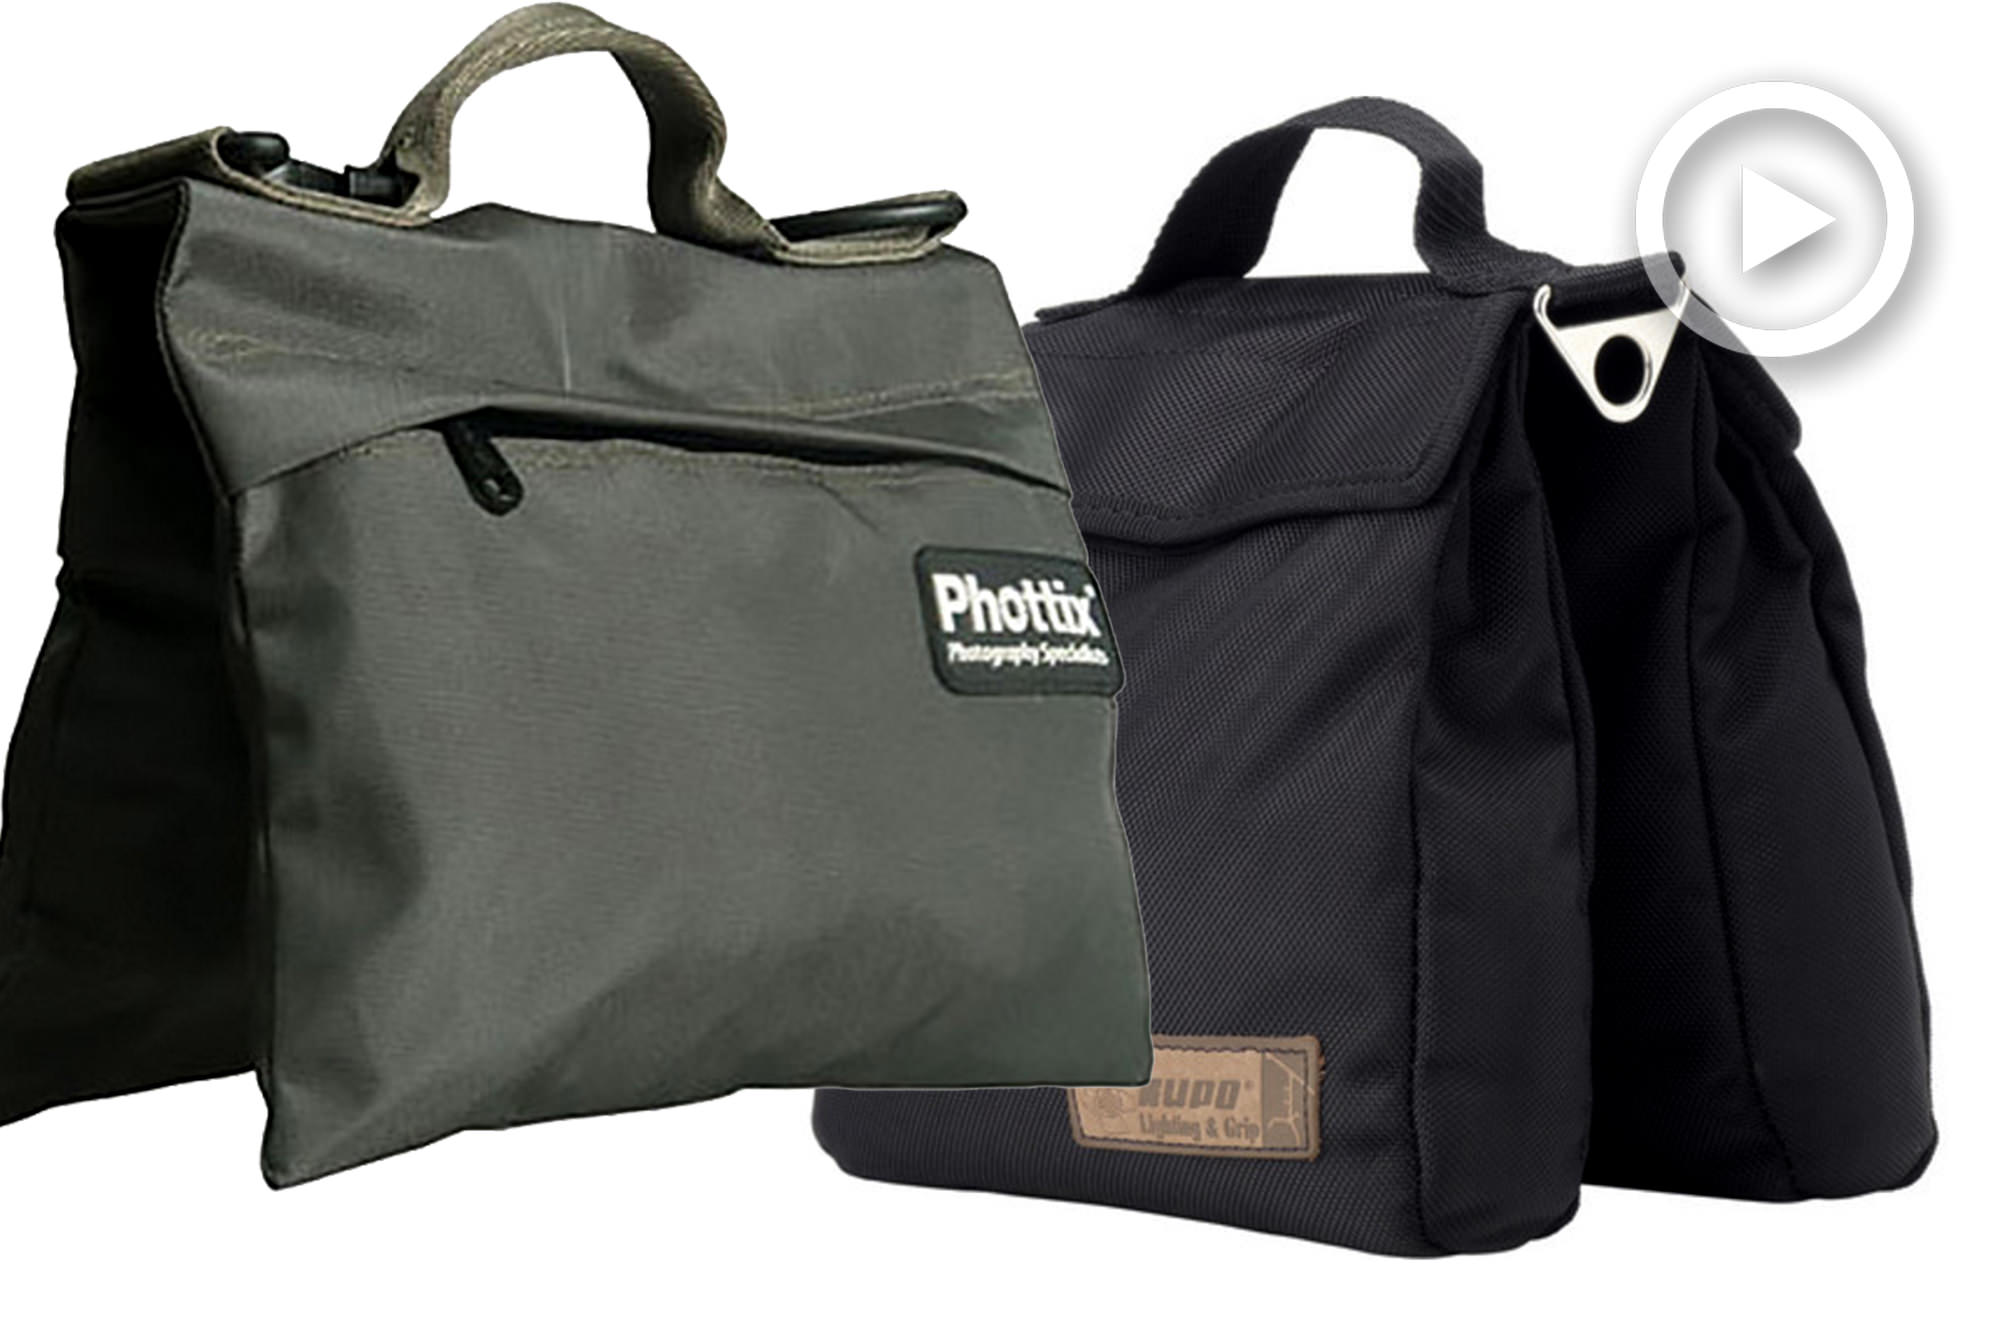
Sandbags or ‘shot bags’ are one of those necessary purchases you investigate once your photography or videography advances to a higher level. It may seem like your accessory expenses are constantly multiplying but, if you’re using heavier gear or if you’re out shooting on location, it’s a worthwhile investment. You can cut corners but, the cost of replacing a lens, a light, or camera is far greater than this relatively minor sacrifice. Let’s look as some sandbag options and how to use them from J.P. Morgan and the people over at The Slanted Lens.
Handlebags
Handlebags are exactly what their name suggests but, they come in two styles. One option has the handle fastened over the top of the bag and the other has the handle fastened to the each end of the bag. Mr. Morgan prefers the later because it is easier to move when necessary. With that handle fastened over the top, it causes the weights to clamp down on the stand when you try to pick it up.
[REWIND:Cheap Light Stands | What’s The Best And Are They Worth It Anyway?]
Shot Bags
Shot bags are filled with small round balls that can provide more weight in a much smaller bag. This makes mounting them up tripods or light stands much easier.
How To Properly Use Sandbags
Light stands are often pretty light and its best to mount the bag near the center of the stand. Otherwise, you aren’t taking advantage of the bag’s weight and the stand can still tip over.
With C-Stands, J.P. prefers to use the sandbag as a counter weight; with the sandbag resting on the opposite side of what is mounted on top of the C-stand.
[REWIND:What’s New With SLR Lounge | Changelog]
You can affordable sandbags or shots bags on B&H or Amazon, and here are some options below.
Sandbags


Get Connected!