So I’d say any really good landscape shot is 30% what you had in mind and planned for and 70% what the situation provided you that you couldn’t have planned for.
Weather is a huge factor in the quality of light and accessibility of locations to get the shot you want. So often for these kinds of shots, I am dealing with whether or not in the last few hours there has been wind or turbulent waters, which would make the water muddy rather than clear. These are the types of elements that I can only moderately plan for. It’s sort of like planning for Karl the Fog at the Golden Gate Bridge; it may be more often than not, but you can’t fully know when they will line up how you want.
[REWIND: Camera Calibration Lightroom Panel | Tips For Perfecting Skin Tones, Color Grading & Profile Correction]
Sunrise
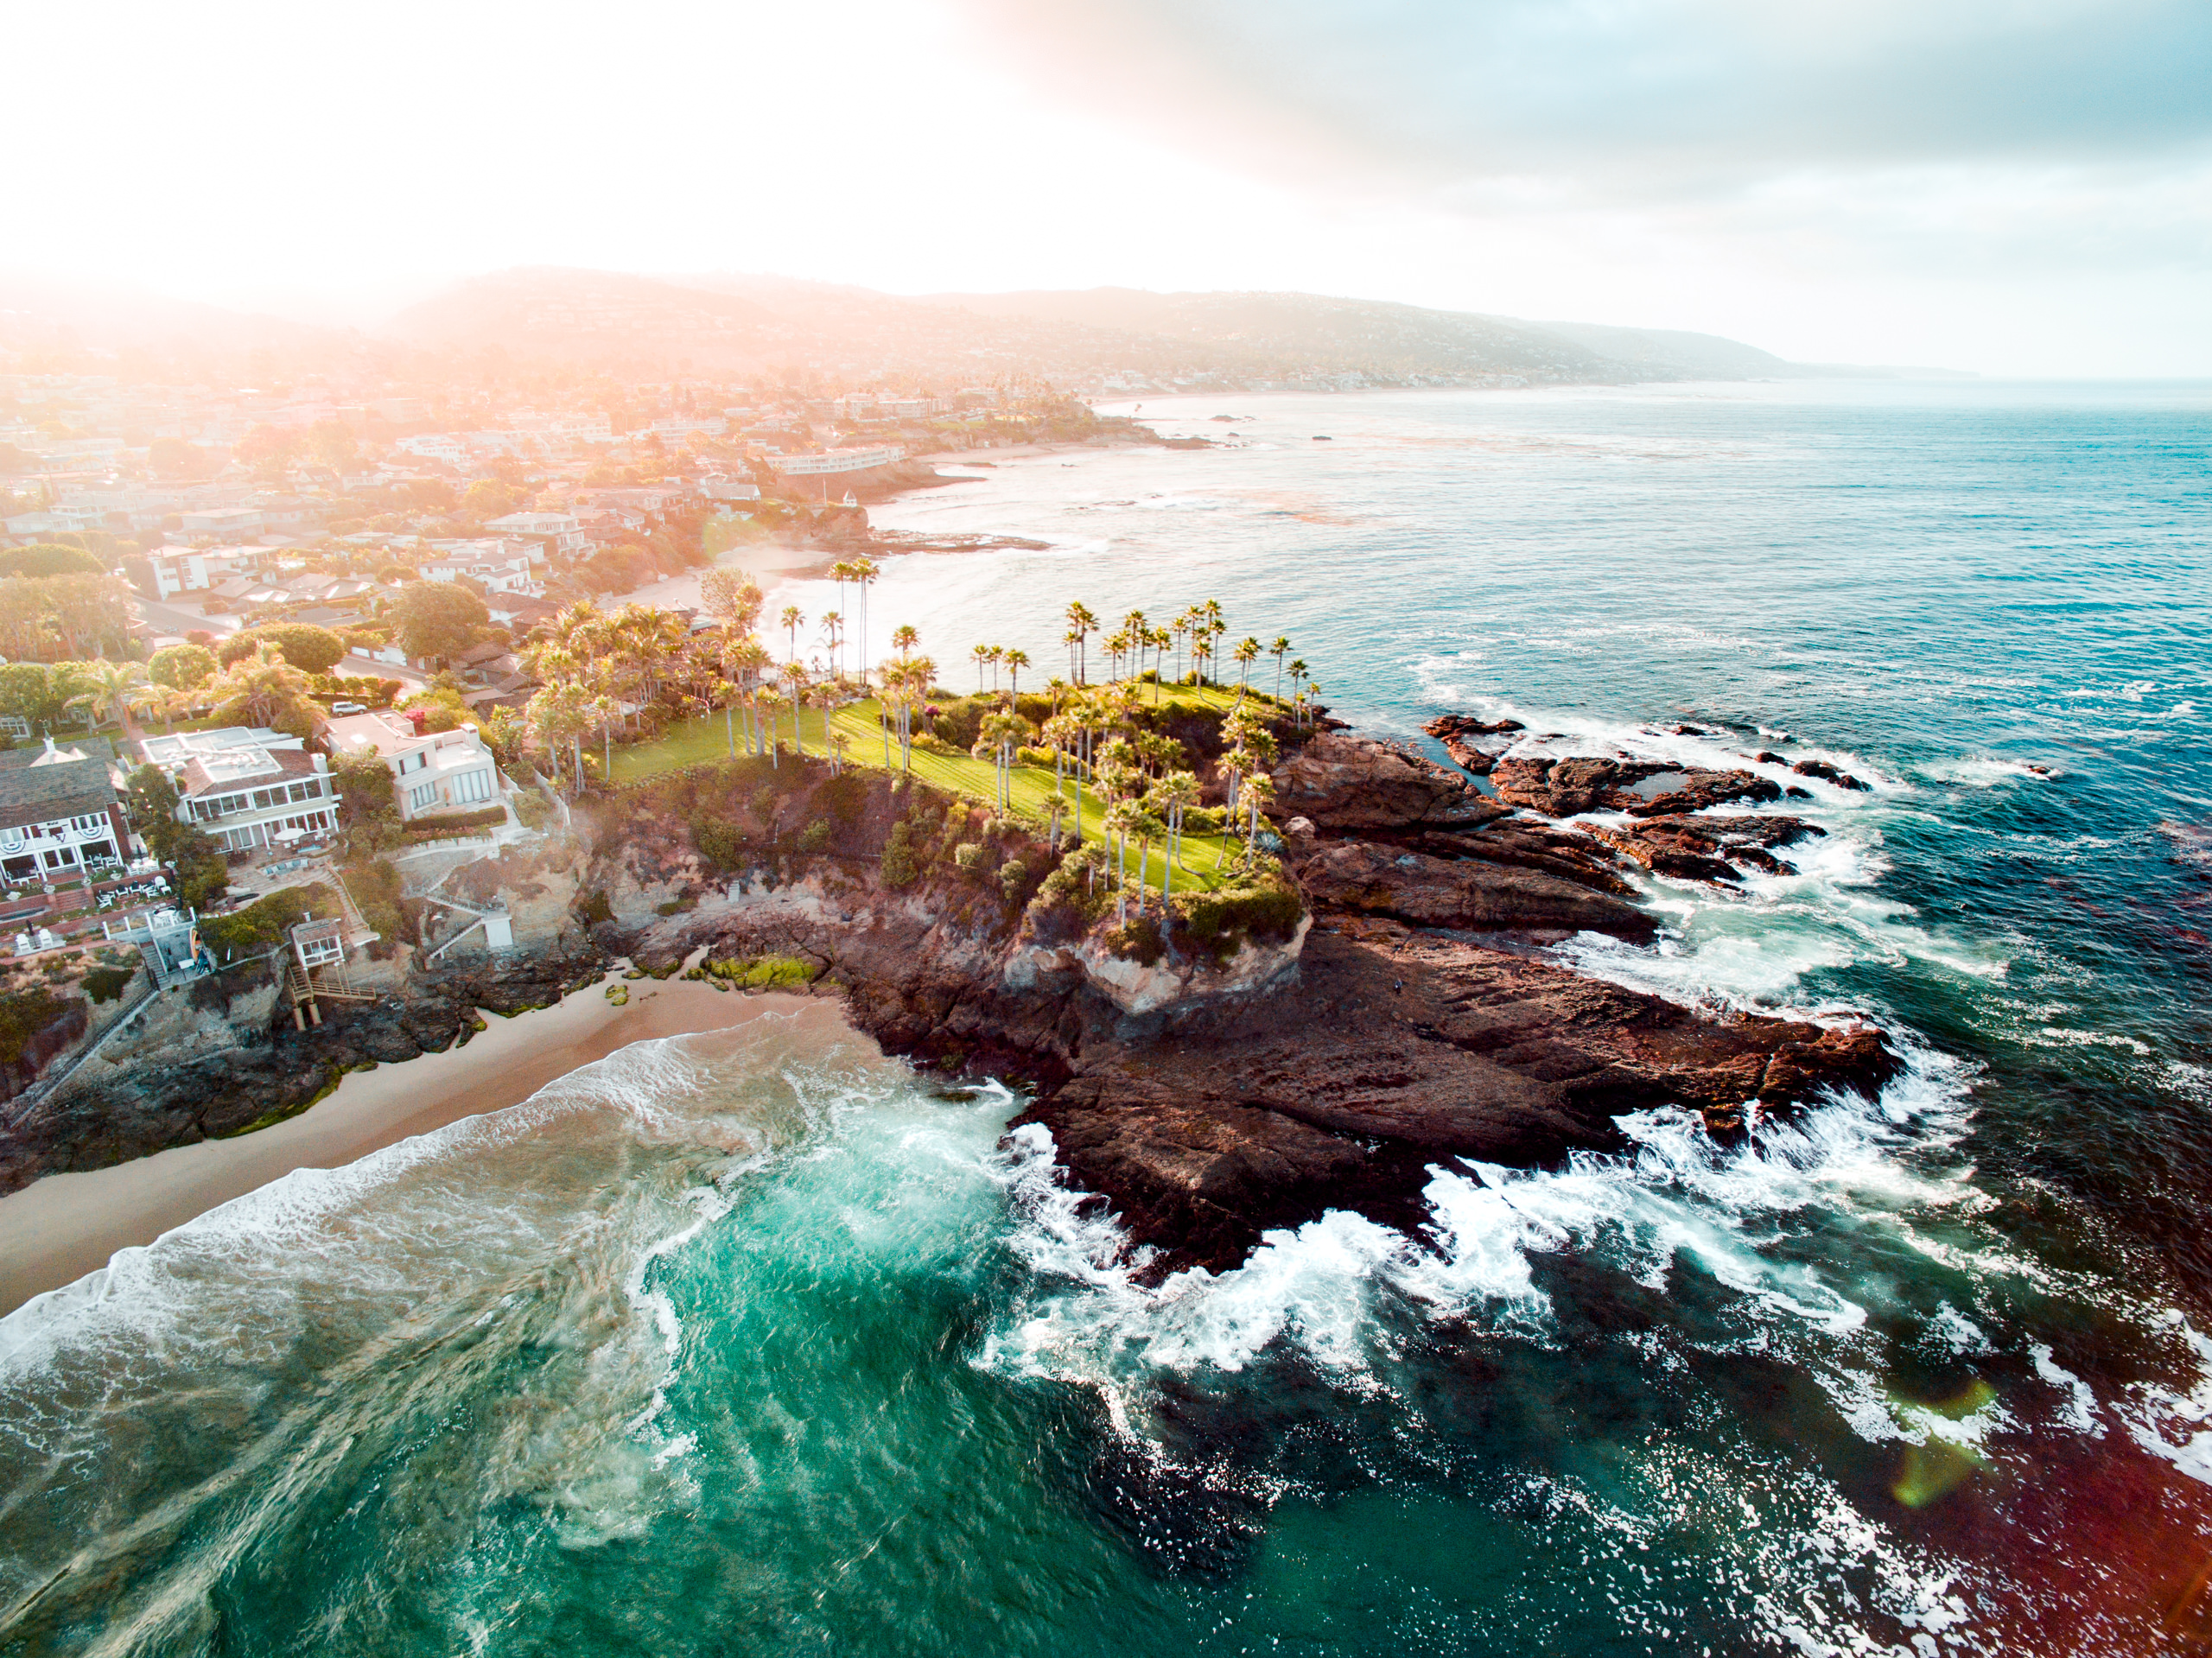
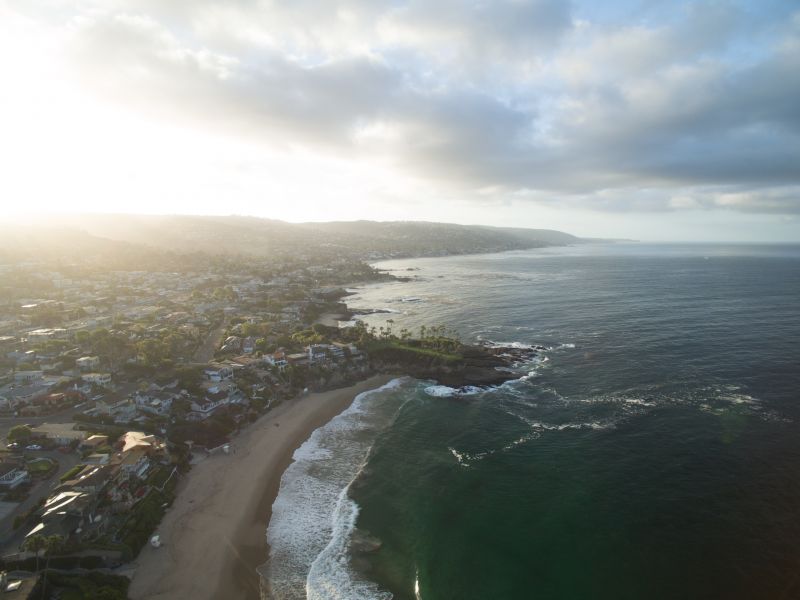
So, with this shot I had to anticipate where the sun was going to come up over the Laguna Hills. I was able to see the general area but I knew I would only have a moment or two of that usable flare. If I’m shooting with my DSLR I can use the SunSeeker app to know exactly where and when the sun will rise or set at any exact location, but when you’re up in the air you can fly higher for a moment to see where the sun is rising from and then back down to the elevation you want for your shot. Anticipate flying your drone up about 15-20 minutes before the sunrise at your location on the ground.
Composition
I wanted to make sure to get some of that golden, early morning sun flare, but with enough of a top down angle to get some of the color variety that comes when shooting clear water with a circular polarizer filter. I also wanted to make sure the palm trees would still show off their height, avoiding a flat horizontal shot. I opted for about a 40° downward angle with a swooping shoreline from the top right ¼ to the bottom left ¼ of the frame.
Color
I shoot with the same color philosophy with my DJI drone as I do my DSLR: shoot with as neutral an image as possible. There are color profiles that further flatten an image which is useful for things like color grading in video, but I haven’t had good results with those files in processing images. In my drone photography, I choose ‘none’ in color profiles and always make sure to shoot in DNG. The colors come across in the DNG files as very flat but are still totally usable and adjustable in post.
The color in the bright and dark areas are harder to recover than modern dslr sensors so if that’s what you’re used to just anticipate shooting a much more ‘center of the histogram’ type of exposure. I also have a circular polarizer on which cuts light reflections in the ocean and allow for much clearer colors. Shooting at morning and afternoon allow more light to be cut because of the angle of the light hitting the water, it’s a whole scientific thing, check it out.
Once you have a well-exposed and well-composed image the rest will take place in Lightroom for me.
[RELATED: Camera Drones | All You Want, Should, & Need To Know To Start Flying]
Post
Without going into all of the fine details about this image I’ll give some basic edits I have used on my drone images.
- Start your color editing at the very bottom at the camera calibration by adjusting those sliders to see if you can come up with a more pleasant mix, before you start messing with HSL slider. Check this article to learn how awesome the Camera Calibration Panel is.
- Dehaze, don’t go too crazy with this though, it can really get out of hand.
- Tone curve with the J-key trick
- Then even out exposure in highlights and shadows and exposure
- Then go into your HSL and find your two most dominant color tones (in almost all my shots it’s yellow/amber and teal/blue and make adjustments either to consistency to your work or if you are still searching for that/happy being experimental then to preference)
- Lastly, you can make final contrast slider adjustments, sharpening, clarity, etc… these should be subtle.
For Fun
After you have an image that can stand then you can go ahead and add some things for fun.
You can easily add a nice flare using Radial Adjustment tool in Lightroom. You could also take the image into Photoshop and clone stamp or heal out distracting parts of your image to make it easier to look at. There is also a powerful color adjustment panel in Photoshop called selective color that can really customize your color palette.
Export
One really easy way to maintain the quality of your work is to really research your export settings for print, then one for Facebook, then one for Instagram, and maybe one for your website. Create export presets and so long as these platforms remain the same then just keep the same export settings and quickly export.
That’s pretty much it. Laguna Beach is also pretty consistent in having amazing light and color, so there really was no reinventing the wheel on this one, just go out and watch for the good light.


Get Connected!