Whether it be for businesses, sports teams, weddings or family reunions, opportunities abound for photographing large groups. Successfully handling and photographing large groups can prove tricky, and it requires a variety of skill sets from communication and posing, to lighting and problem solving. The larger the group the more challenging the shoot. To help, here are 10 group posing tips for photographing large groups.
11 Group Posing Tips for Photographing Large Groups
- Put Down the Camera
- Start with a Standard Symmetrical Pose
- Overlap Subjects in Group Posing
- Create Connections Between Subjects
- Build Layers
- Evenly Light the Group
- Watch Shadows in Group Posing
- Get Elevated for Better Angles
- Capture Multiple Expressions in One Scene
- Vary Poses and Style for an Editorial Look
- Start from the Center and Build Out
The following information is from our Complete Posing Workshop and our Wedding Workshop. Both are available in SLR Lounge Premium.
Tip #1: Put Down the Camera

In many ways, handling large groups while taking group portraits closely resembles public speaking. You are trying in equal parts to entertain the group and get them into a pose, and because of this, we recommend putting down the camera and stepping into the role of a director when the time comes. Be sure to engage with each subject until he or she is in place, and maintain a happy vibe to create a positive experience.
Tip #2: Start with a Standard Symmetrical Pose

The usual go-to for group posing involves standard symmetry. Photographers usually pose large groups in standard symmetrical poses because they are simple, quick, and safe; unfortunately, they can also look quite boring.
If you are posing a large group during a wedding for a formal family portrait, imagine the bride and groom are your centerpiece and build the pose out from there. For a standard symmetrical group pose, you’ll want to make sure that the centerpiece couple is in the v-up pose (refer to Foundation Posing Framework), and the remaining subjects point their toes and bodies toward the bride and groom. Watch for height and symmetry across the group.
How to set up standard symmetrical poses:
- Centerpiece (V-up)
- Build out
- Chest towards centerpiece
- Slight overlap
- Create touchpoints (important for creating literal and figurative connections)
- Watch heights/symmetry
When shooting a particularly large group, use chairs to create rows and limit the width of the overall group. Using this set up, you can potentially (and quickly) create four rows: ground sitting (usually for children), chair sitting, and two standing rows with the tallest people in the back row.
Tip #3: Overlap Subjects in Group Posing

For most large group portraits, each person in the group should only slightly overlap the person next to him or her, covering no more than 20-30% of the person’s body. Direct your subjects to stand in a straight line so that they remain in the same focal plane.
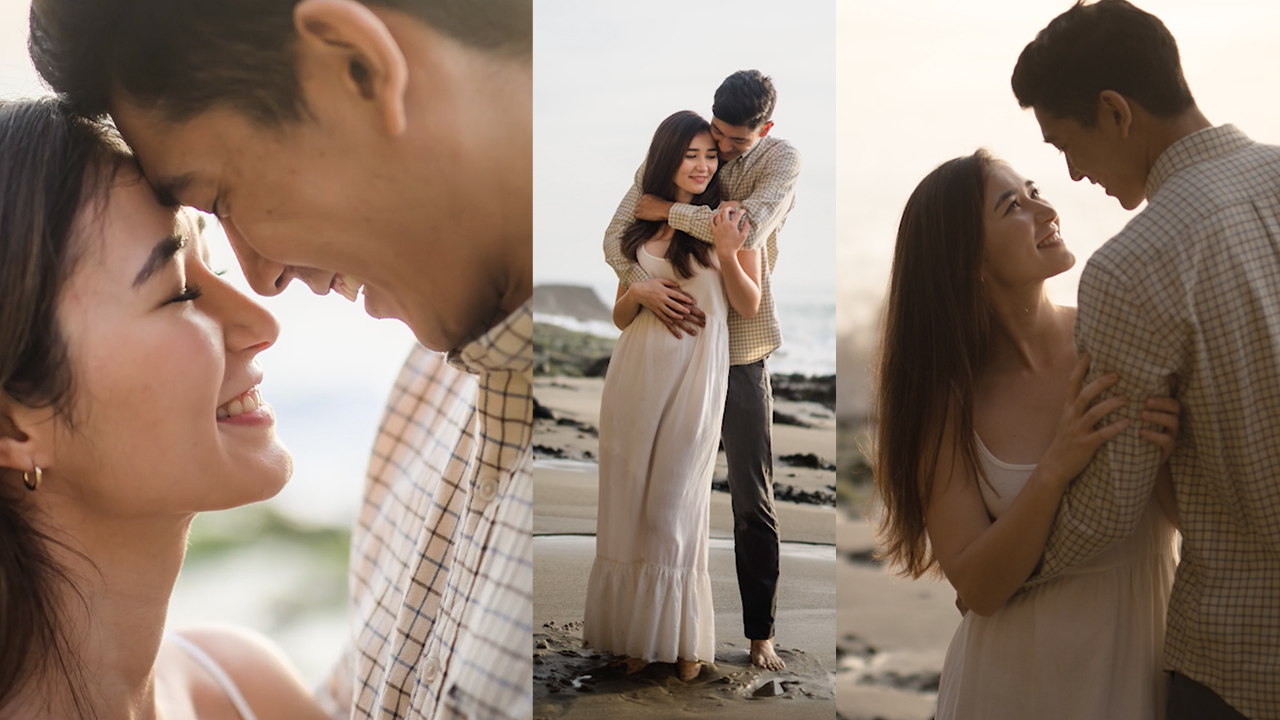
Tip #4: Create Connections Between Subjects

Touchpoints are important for creating literal and figurative connections between subjects in large groups. While overlapping creates a level of connectedness, we suggest specifically placing hands on shoulders or weaving them through arms to convey a sense of familiarity and to establish relationships between the people in the image. More touchpoints between subjects implies more intimacy.
Tip #5: Build Layers

When photographing a particularly large group, use chairs to create rows and limit the width of the overall group. Using this setup, you can quickly create multiple rows, including a floor-seating row (usually for children), a second row for sitting on chairs, and additional standing rows with the tallest people in the back. Remember to adjust your aperture accordingly to keep all subjects in focus.
Tip #6: Evenly Light the Group
There are multiple ways to light large groups, but simplicity and efficiency is key. Whether shooting indoors or outside, lighting needs will change based on available light conditions and the size of the group. See our article on Lighting Large Groups for three handy lighting options that will help you evenly light the group, no matter the circumstances.
Here are our favorite lighting tools, modifiers, and stands that help us create dynamic and unforgettable imagery. We’ve listed several options so choose what works for your budget and style.
- Flash: Canon Speedlite 600EX-RT, Profoto B2, Flashpoint XPLOR 600
- Diffusion/Modifier: Westcott 43” Optical White Satin, Profoto OCF Beauty Dish
- CTO Gel (for Indoor Scenes Only): Mag Gel Holder, Mag Gel Standard Set
- Light Stand: Manfrotto 5001B Nano Stand
Tip #7: Watch for Shadows in Group Posing

In case anyone shifts from their position after you have posed the group, watch for shadows falling across faces or bodies. If several people shift after posing or if you are getting too many shadows, it is usually easier to reposition the lights rather than move the subjects. Raising the lights so that they hit the group from a higher angle will also minimize the shadows they cast.
Tip #8: Get Elevated for Better Angles
For the best wedding group or large group photos, use a ladder or chair to elevate yourself above the crowd. Getting higher up will allow you to create favorable angles and limit how much the bodies of the subjects in the back rows will be blocked.
Tip #9: Capture Multiple Expressions in One Scene

Get a greater payout for the time and effort put into setting up group portraits by capturing multiple expressions for each set up. For example, after capturing a standard portrait in which all of the subjects are looking into the camera, ask them to lean into one another, go in for hugs, or make each other laugh. In short, get a variety of actions and reactions all in one scene.
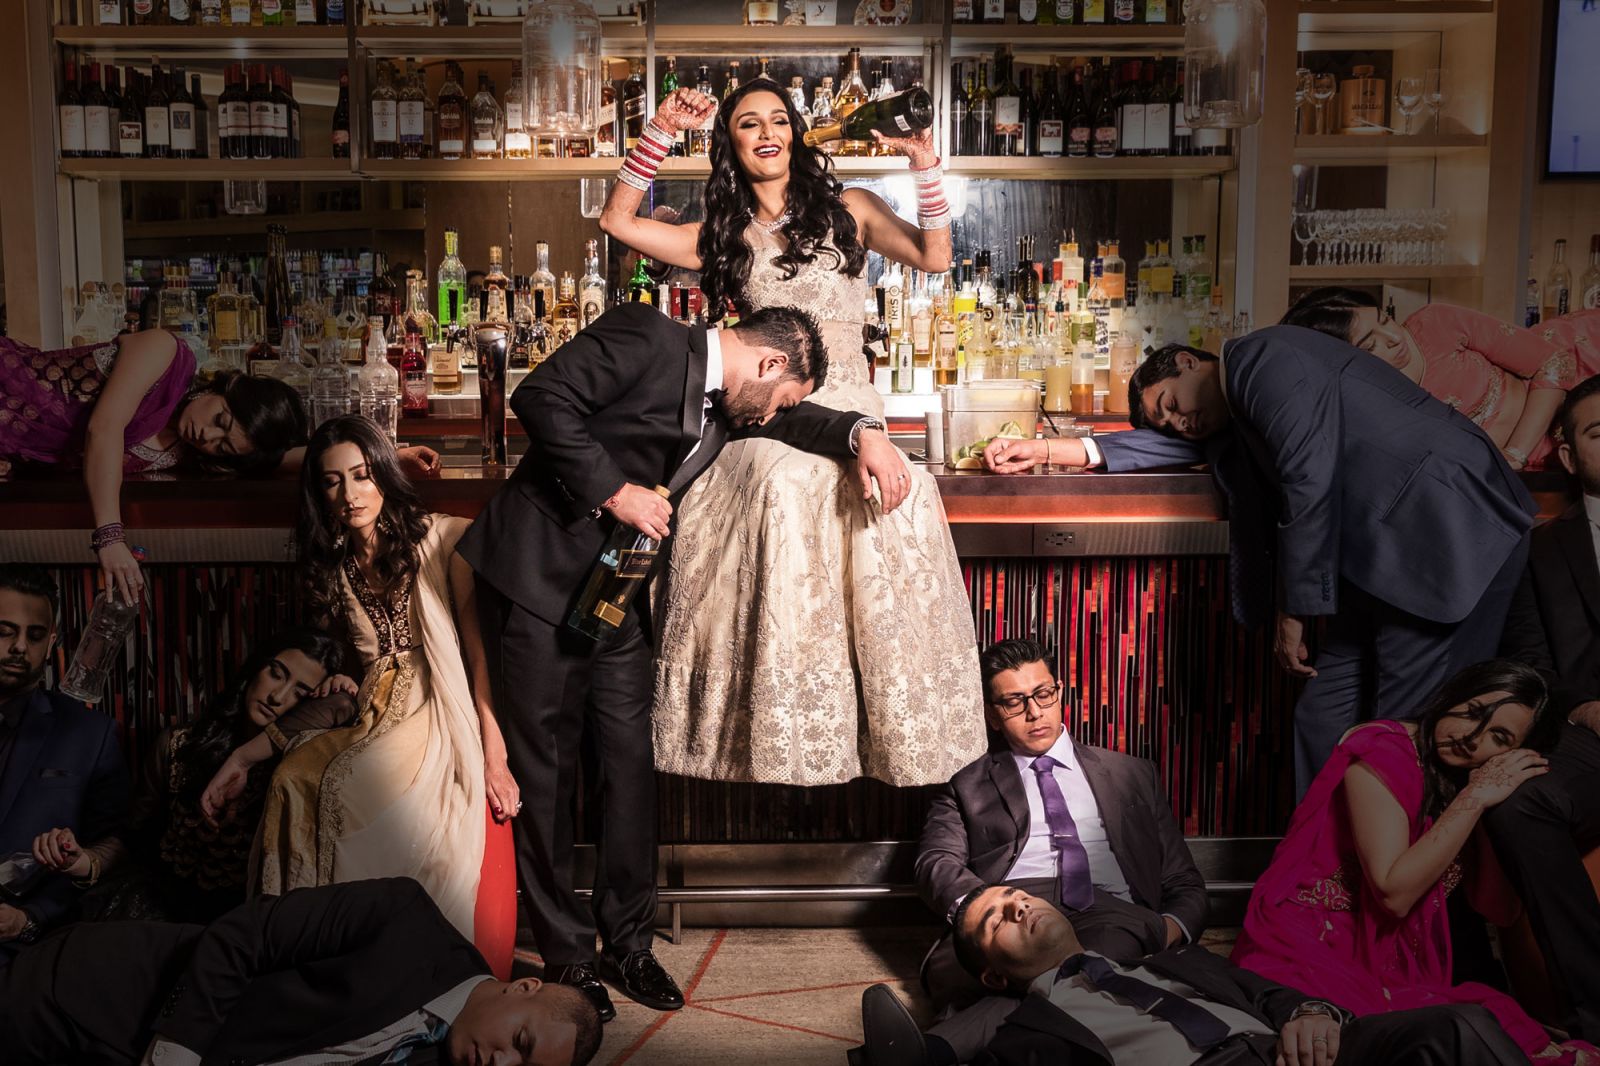
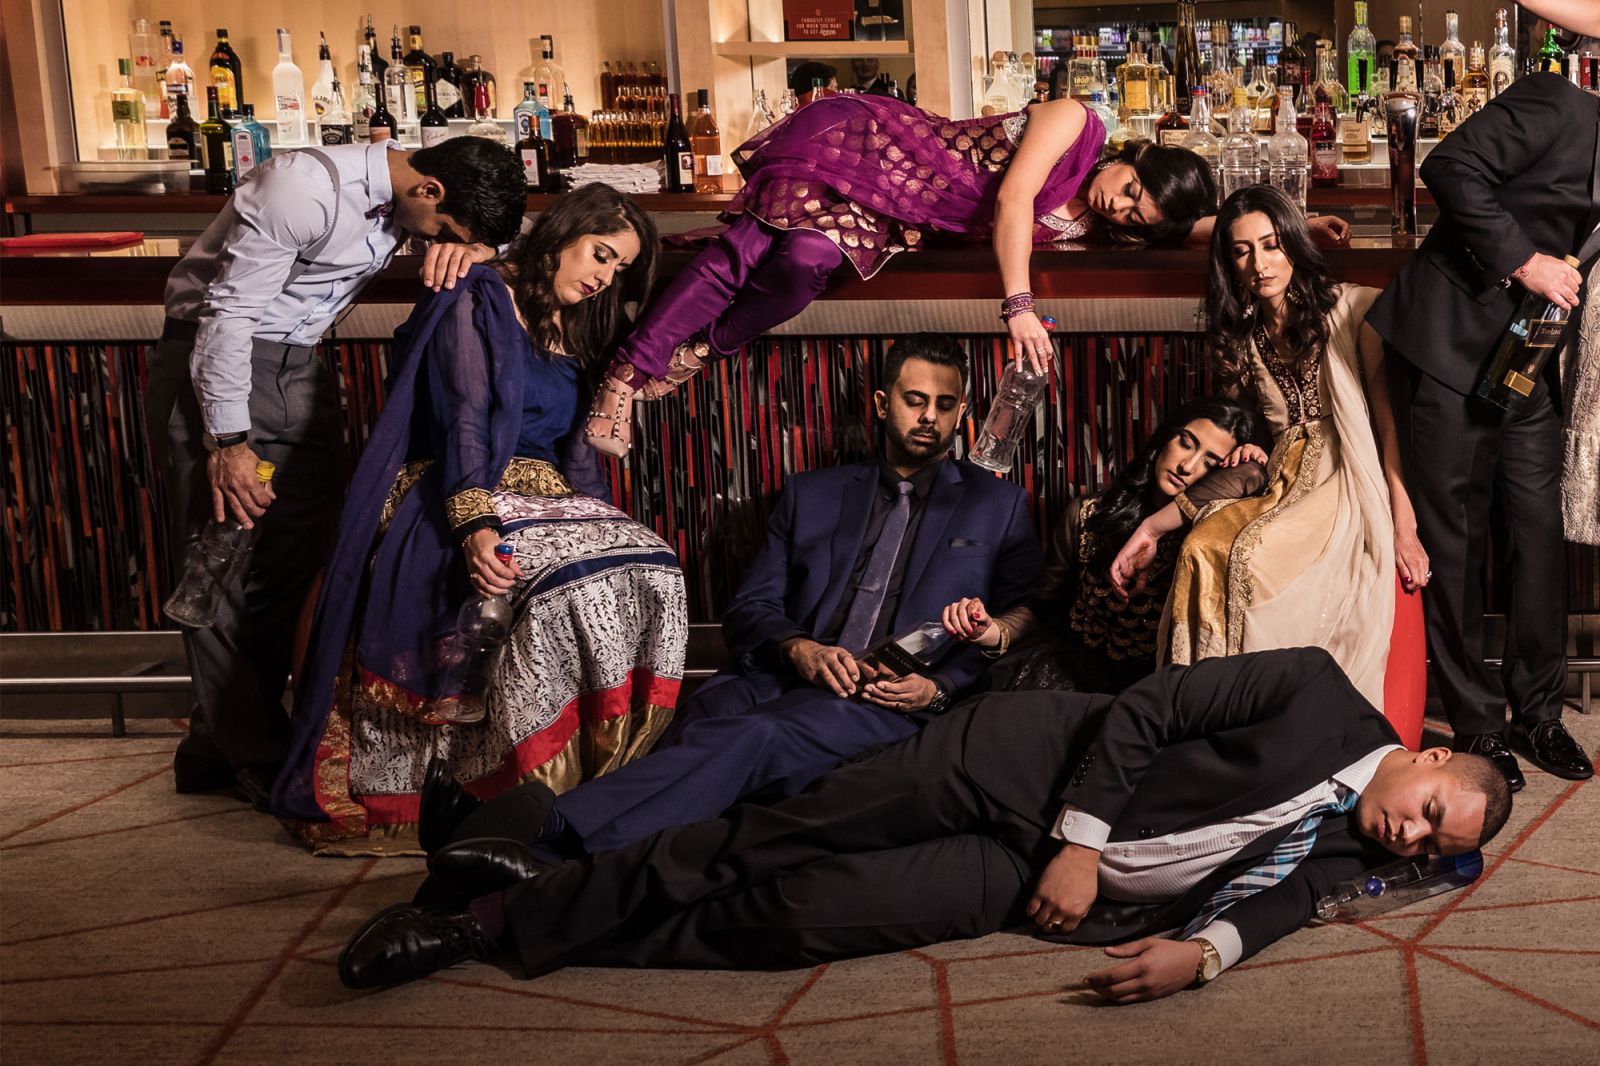
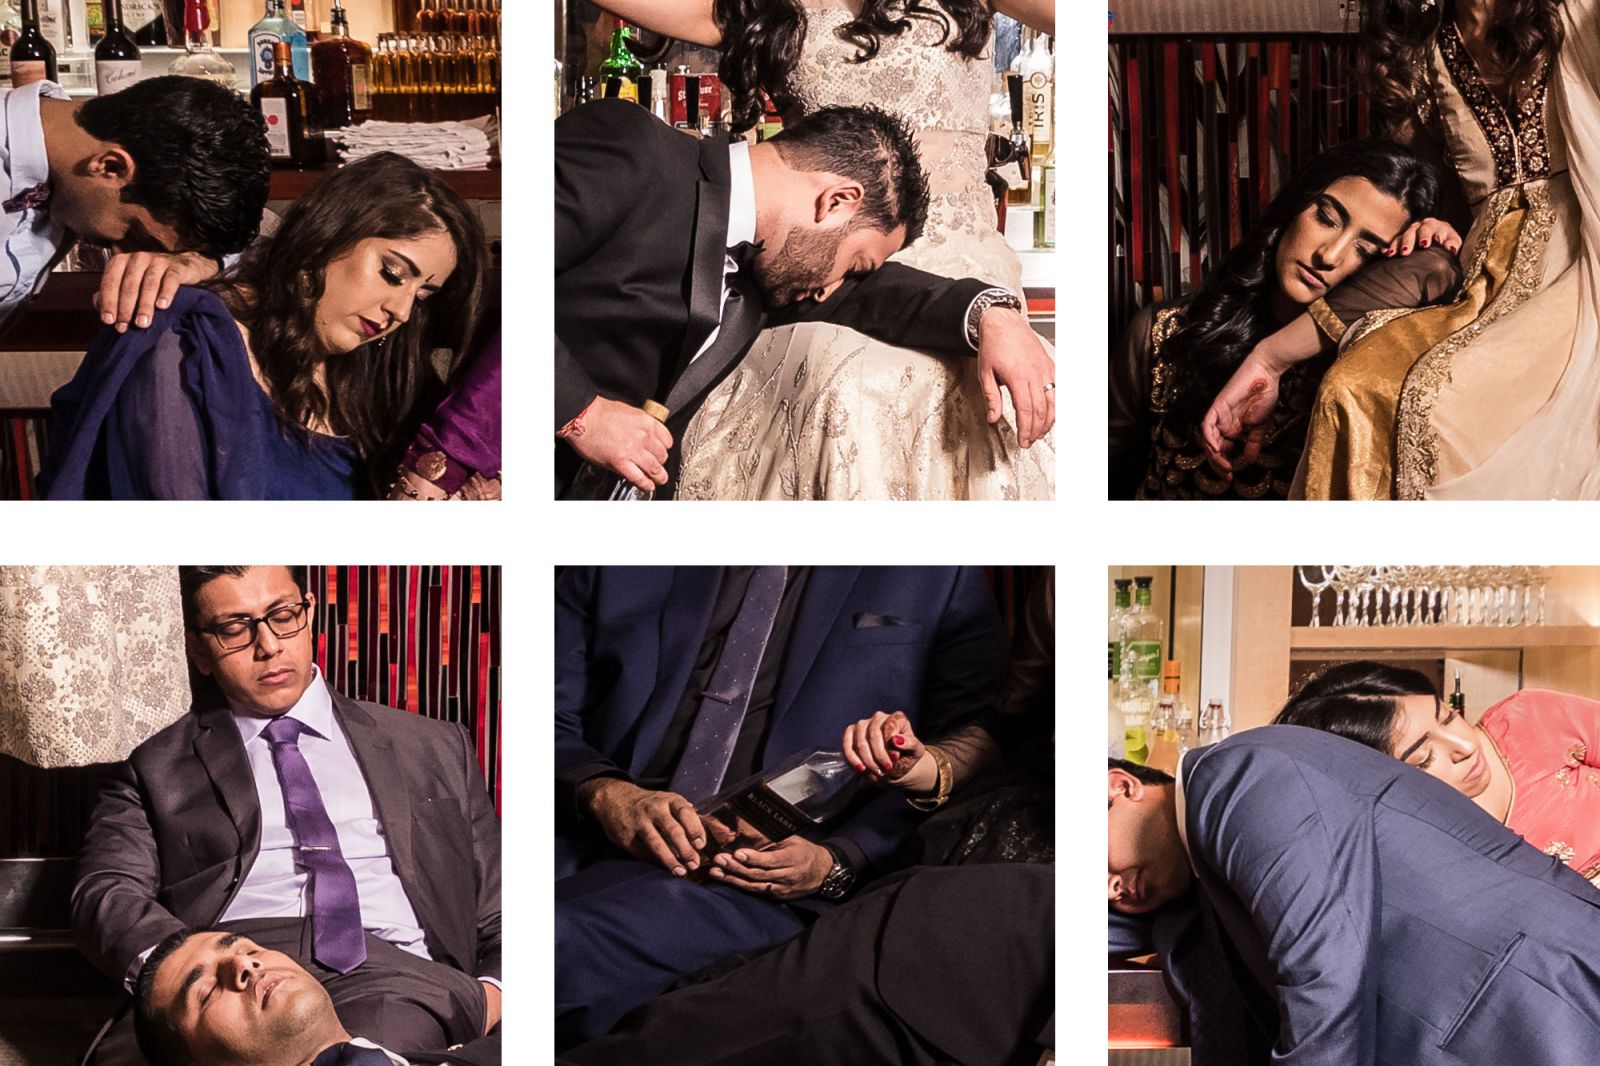
Tip #10: Vary Poses and Style for an Editorial Look

To create a more dynamic group portrait, introduce editorial balancing. Fewer photographers take this route because it is complex, time-consuming, and risky. The payoff? This style of group portraiture can be more interesting and powerful. Instead of taking the traditional route, don’t be afraid to try asymmetrical placement and direct your subjects to give serious expressions.
How to set up editorial balanced poses:
- Centerpiece
- Add chairs/posing aids
- Build out
- Vary poses
- Vary placement
- Overlap or touchpoints
- Analyze balance
Don’t worry too much about the chairs or other posing aids used when taking this style of portrait. The nicer the chairs or objects, the more you can space out the subjects to showcase or highlight the objects. If the chairs or objects are not visually appealing, close the gaps between the subjects to conceal the objects.


Editorial balanced portraits can be difficult to execute, but the payoff for well executed portraits in this style is worth the time and effort.
Tip #11: Start in the Middle and Build Out
Begin a group portrait by posing the centerpiece, which in wedding photography, will most often be the bride and groom. Then, build out from the center.
Many photographers choose to use standard symmetrical posing for large group portraits because they’re safer and quicker to set up than editorial portraits, but the latter makes for more dynamic images, which are often more interesting and powerful.
Using touchpoints like holding hands or overlapping subjects helps create literal and figurative connections between subjects in large groups.
While overlapping creates a sense of connection, placing hands on shoulders or weaving them through arms tends to convey a sense of familiarity and to establish relationships between the people in the image. More touchpoints between subjects implies more intimacy.
Conclusion
Group posing uses the same concepts learned in foundation posing, but with one key adjustment: We’re adding more people! In our study of posing groups, we further explore the impact of touchpoints and overlapping, we examine symmetrical and balanced posing, and we discuss how to handle large groups.
Here is a summary of important points to remember for group posing:
- All prior rules apply
- Proximity = intimacy
- Overlap/touchpoints = intimacy
- Even spacing is key
- Avoid too much overlap
If you would like more information on posing men, women, couples, and large groups, be sure to check out our Complete Posing Workshop, available in SLR Lounge Premium!