The new Rotolight AEOS II LED lights pack a punch and opens up a ton of creative possibilities with its features. In this video, I’ll be walking through a creative constant light studio portrait setup while showing off some of the great features this light has to offer.
Video: Creative Studio Portrait Setup with Rotolight AEOS II LED Lights
The Rotolight AEOS II

The Rotolight AEOS II is an intuitive and powerful light for its size. It features an LED light panel that produces both flash and constant light. For today’s studio portrait setup, we’ll be using its constant light, but let me show you its capabilities, all controllable by the back panel, or through your phone.

From the menu, you can control its wide range of white balance from deep tungsten all the way to a super cool 10K color temperature.

The Rotolight also offers a wide range of filters and gel emulations, accessible on the app or the back panel.

You can then customize the color and brightness to get the exact look, providing so much more control over your colors than traditional gels.
On top of its seemingly limitless color selection, it offers fun special effects which can be perfect for in-camera video effects. From lighting and strobes to police lights and fireplaces.
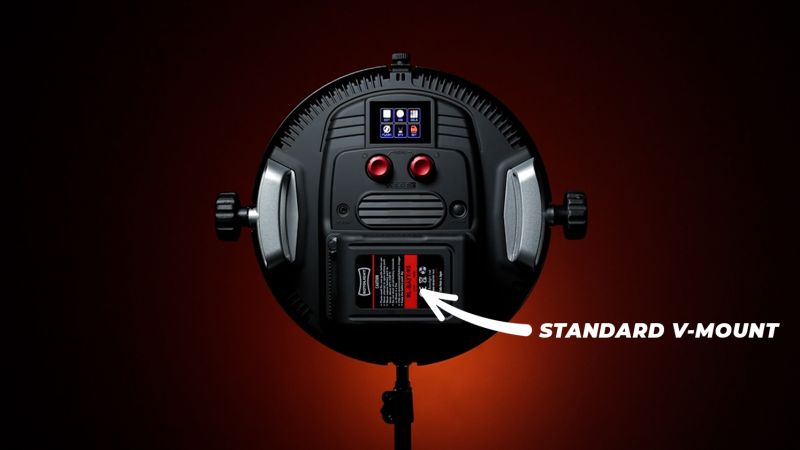
The Rotolight AEOS II runs entirely on simple v-mount batteries which makes it the ultimate portable constant light to meet your on-location creative demands.
Let’s dive into our studio portrait setup. We have Kiara with us in studio today and I’ll be using the Canon EOS R5 with the RF 28-70mm f/2L lens.
Composition

Starting with our composition, I placed Kiara in front of the white wall to contrast her black jumpsuit. Our intent is to add color into the background so a neutral background is preferred.
Ambient Light
We want the Rotolights to provide the main constant light. To do this, let’s cut the room lighting. We’ll set our exposure to 1/200 sec, f/2, ISO 800.
Modify/Add Light

Controlling the Rotolight from my phone, I set it to a nice blue color and raised it centered above Kiara.
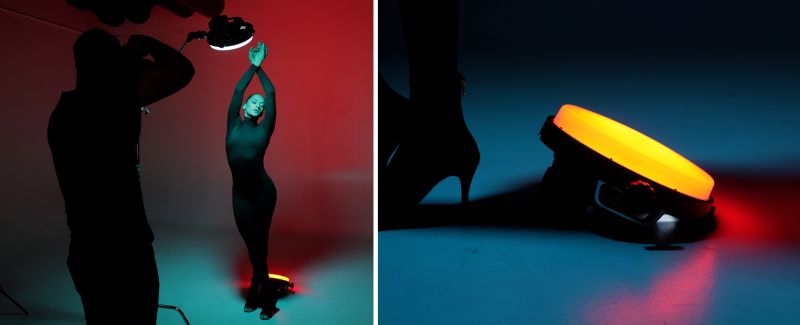
Let’s add in our second light. I set the color to a deep red to complement the blue from the key light. I placed the light on the ground behind Kiara and aimed it up at the background. This beautifully lights up the background in red.
Photograph
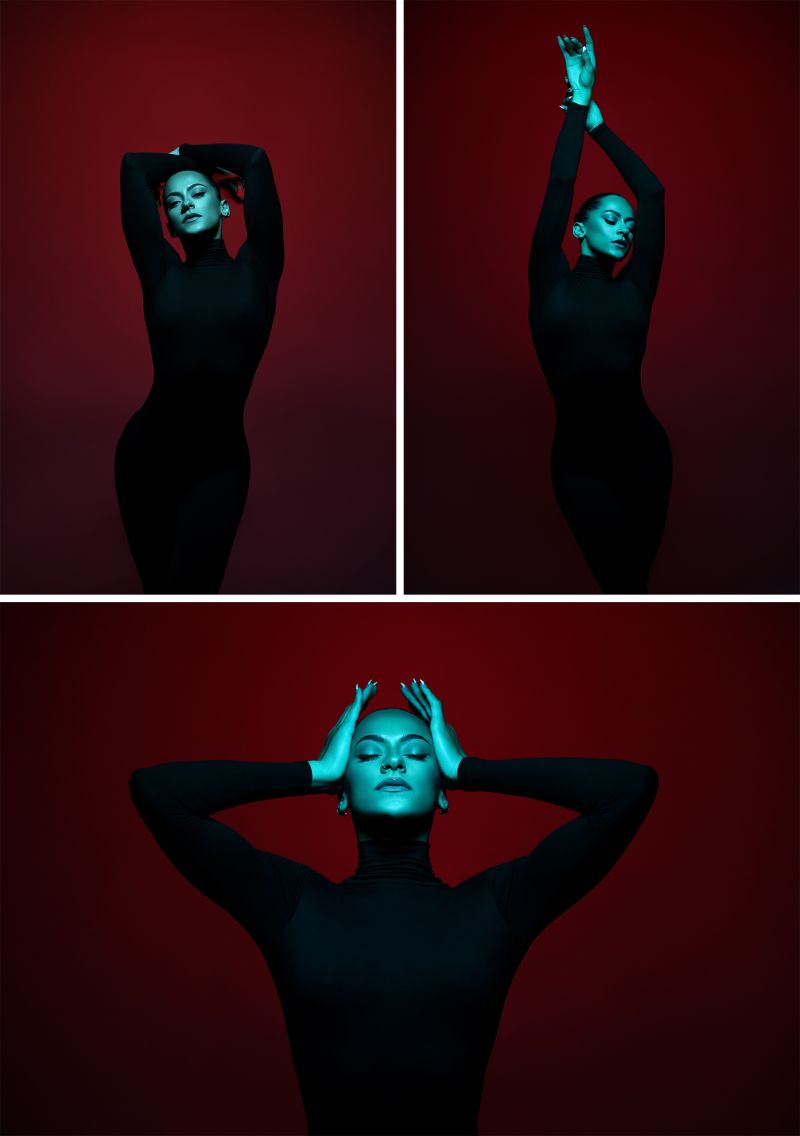
Now that we have our studio portrait setup, let’s start photographing!
Conclusion
All the color options, effects, and mobile interface makes the Rotolight AEOS II not only a blast to work with but super easy and efficient to use. It opens up endless creative potential to create incredible images without the hassle of gels.
I hope you enjoyed this article/video! Be sure to visit SLR Lounge Premium for an entire library of courses designed to help you create your dream photography business. There, you can master Lightroom Editing, learn all about the Business of Photography, and more. You can also visit Visual Flow for a ton of intuitive Lightroom presets and retouching tools to make the most of your editing workflow.
Thanks for watching! See you next time.


Get Connected!