We recently launched an update to our industry-standard ACR Presets. A lot of photographers, some who already use Adobe Lightroom or Adobe Bridge, often ask about Camera Raw VS Lightroom.
Believe it or not, whether you use Bridge, Photoshop, or Lightroom, you are still using Camera Raw!

What Is Adobe Camera Raw?
Adobe Camera Raw is the “engine under the hood” that does raw image editing for all Adobe applications that are able to read raw files. (A raw file such as Nikon’s .NEF, Canon’s .CR2, or Sony’s .ARW.) Mainly, this is Adobe Photoshop and Adobe Bridge which usually comes with Photoshop.
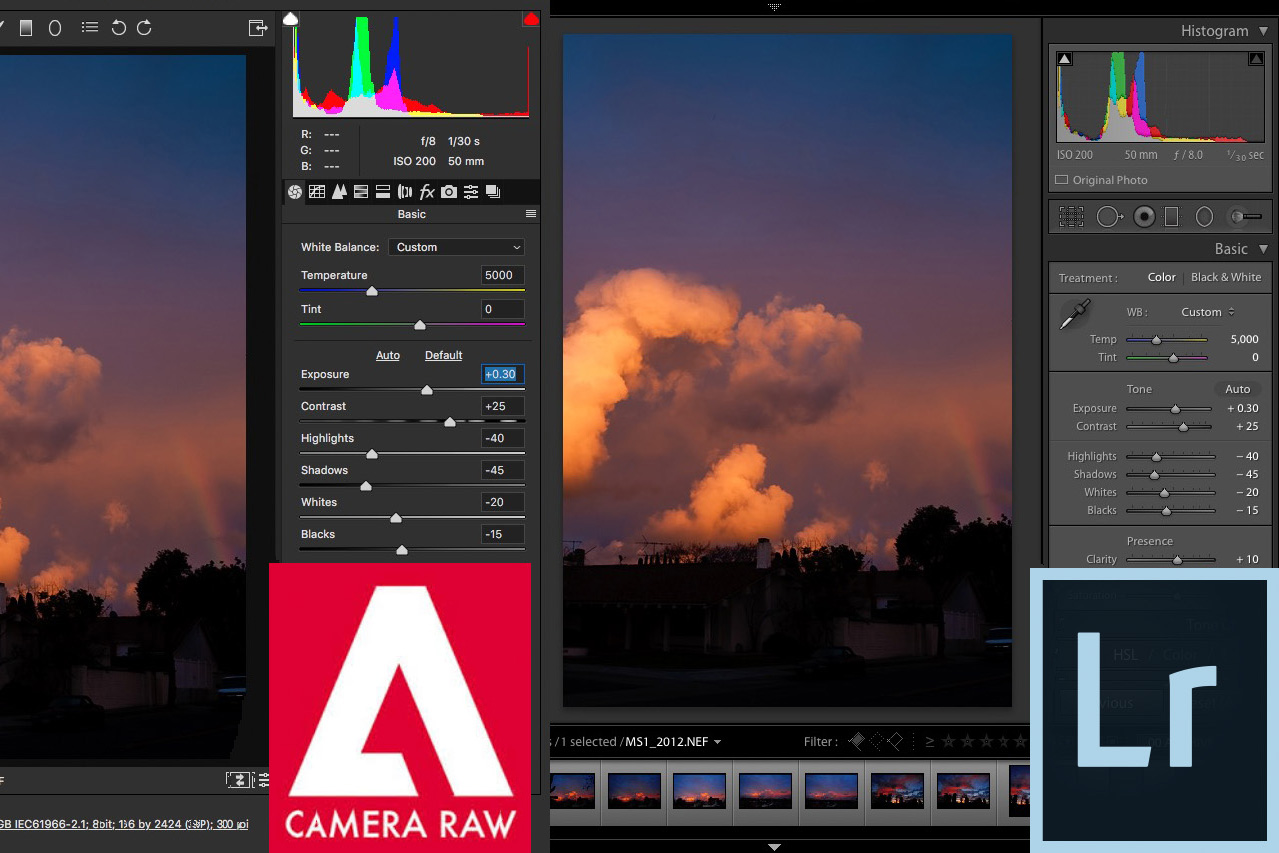
This means that whether you edit a raw photo in Lightroom, Bridge, or Photoshop, the editing parameters (sliders) such as exposure, contrast, highlights, shadows etc. are going to all be literally identical, and so will the way your image looks when processed with those sliders.
(Unless you’re using an extremely old version of Adobe Camera Raw. See “Adobe Process Version” for more information!)
Lightroom VS Bridge?
If you open Adobe Bridge and Adobe Lightroom and compare their basic interface, they can actually look pretty similar. Is there any real difference between Camera Raw VS Lightroom, then, if Camera Raw editing itself is the same between them?

Camera Raw VS Lightroom: Browser VS Catalog
The main difference between Lightroom and Bridge, or any application that gives you access to Camera Raw outside of Lightroom, is the way they allow you to view your images: Bridge is basically just Adobe’s version of a file browser, with Camera Raw built-in. Lightroom, on the other hand, is a catalog system that requires every raw (also JPG, TIF, PSD) photo to be imported before it can be viewed or edited with the Camera Raw engine.
In Bridge, you are simply browsing your entire hard drive like any other file browser application. (Apple’s Finder, Windows Explorer, and others) When you double-click on a raw photo in Bridge, it brings up the Adobe Camera Raw interface.
QUICK TIP: Both Adobe Bridge and Photoshop have the Camera Raw interface built-in, so you can actually edit raw photos entirely from Bridge if you don’t need Photoshop for a certain image, thus avoiding “bogging down” your computer by having both applications open at once. (Or, you can use both Bridge and Photoshop to open two windows of ACR at once if you ever need to!)
To set this up, simply go into Bridge’s main preferences area, (Not the Camera Raw Preferences, which affect both Bridge and Photoshop) …and check the box titled “Double-Click Edits Camera Raw Settings in Bridge“

Alternately, you can simply right-click any raw, TIF, or JPG photo in Bridge (and Photoshop), and select “Open in Camera Raw”.
QUICK TIP: If you don’t see the “Open in Camera Raw” option when right-clicking a JPG or TIF file, JPG or TIF support may be disabled. To enable, go into the Camera Raw preferences panel, (which will affect both Bridge and Photoshop!) …and towards the bottom set your desired preference:

Different Ways To Access The Camera Raw Interface
Unlike Bridge and Photoshop, Lightroom does not always simply “browse your hard drive”. To view or edit images in Lightroom, you must first import them into a Lightroom catalog.
As you import photos, you can either tell Lightroom to actually move the raw files to a new folder on your hard drive, or you can leave the raw files where they are, and Lightroom will simply “reference” them at their current location. More on that later.

advantages of Creating a Lightroom Catalog
Of course, you’re wondering if it’s all the same Camera Raw editing, should I just pick one program and never worry about the other?
Personally, I access the Camera Raw interface through Photoshop, Bridge, and Lightroom.
One main advantage is that the catalog file you create is a single file, which will store all of your edits, (the hours, days, weeks, months, even years of hard work!) …all in one place. So as long as you don’t delete that catalog file, you have quick access to at least a preview of that image, and all the hard work you put into it.
And you can easily copy the LRCAT file to create a backup of your hard work, of course!
Lightroom’s newer versions also offer a feature that provides even more versatility: if you render “Smart Previews”, you can actually make Camera Raw adjustments to images that aren’t even on your computer anymore! For example if you are traveling for an extended period and have to back up your raw images directly to external hard drives, yet you’d still like to be able to edit the raw photos while traveling, (and not have to worry about leaving an external drive plugged in at all times) …just render Smart Previews, and voila!
Of course, the LRCAT file itself needs to be on the laptop, and the raw photos need to be manually downloaded to the external hard drive, then added to the Lightroom Catalog using the “Add” option, not “Copy “or “Move”.

Oppositely, with Bridge and ACR, your editing is stored (by default) as XMP sidecar files. If you accidentally delete or move the .XMP file, your image will appear un-edited the next time you open it in Camera Raw.
What does it all boil down to? This: Adobe Bridge is built for versatility and universal access, while Lightroom is built as a long-term workflow tool for both editing, cataloging, and archiving lots of photos all in the same place.
drawbacks of a Lightroom catalog
Unfortunately, the catalog concept can also be a drawback. If a raw file is ever deleted or moved in another application such as Windows Explorer or Apple Finder, Lightroom will panic and display an error message saying it has lost track of the image(s).
Of course, Lightroom makes it easy for you to “hunt down” any missing files or folders, and re-synchronize them with the Lightroom Catalog File, so this is less of a problem for folks who manage their files from within Lightroom anyways. (If you move a folder or image within Lightroom, it will actually move it, and continue to remember where it is.)
However, what if your Lightroom LRCAT file is accidentally deleted, or becomes corrupted? All of your hard work is lost, even though your raw photos may not be. This might mean re-doing just a couple hours of color-correction, or it might mean the total loss of all your camera raw adjustments from the last month, year, or more! For this reason, Lightroom does make it easy to backup the LRCAT file. I have Lightroom set to ask me if I want to backup the LRCAT file every single time I close Lightroom. Furthermore, I back up those LRCAT files to Dropbox every now and then.

Oppositely, the advantage of Bridge is that you can do whatever you want to your folders, in whatever program you want, and Bridge doesn’t care. Just browse your hard drive in Bridge, and find the folder you want!
Also, the edits that you make in Camera Raw will be saved in .XMP files that stay with your .NEF or .ARW etc. files, so it won’t matter if you double-click on a raw photo in Adobe Bridge, double-click on it in Explorer / Finder, or open it manually through Photoshop directly: You’ll always have your edits associated with that file. This can offer a huge advantage for larger teams that use multiple computers and have multiple people working, all needing to access the same files or simply wanting to transfer files through various stages of a complex workflow. In fact, you can drag-and-drop from Bridge to other applications, such as web-based drag-and-drop upload tools.
Camera Raw Presets and Lightroom Presets
One question that also gets asked often is, what about using presets in Camera Raw VS Lightroom?
Since almost the entire editing interface is identical between Lightroom and Camera Raw, technically a preset could also be identical. A Lightroom Preset and a Camera Raw preset that perform the same adjustments, (+100 contrast, for example) would have the same effect on an image.
Unfortunately, however, Lightroom and Camera Raw store presets in a completely different way. Camera Raw stores preset as standard XMP files, whereas Lightroom stores presets as its own proprietary file, .LRTEMPLATE. For this reason, converting” presets between one application and the other is an extremely tedious, time-consuming process that involves copying each preset setting by setting. (And there are 80-100 different sliders / adjustments available in Camera Raw!)
[Recommended Purchase: SLR Lounge Lightroom Preset System, SLR Lounge Camera Raw Preset System]
ACR Editing of Raw Files Even When They Are In a PSD
One great feature of Photoshop (recent versions, at least) is the ability to keep a raw file raw, even when it becomes a part of a multi-layer PSD or TIF file. Yes, that’s right, you can still go back and change your edits, at the Camera Raw level, even after you’ve gone into Photoshop!
The secret to this trick is to open the raw files from Lightroom or Camera Raw as a Smart Object, and then ensure they stay as a smart object throughout the rest of the editing process. Unfortunately, that means no warping or cloning etc. of the layer as well as a few other things. However, for simple layer masking and other basic Photoshop edits, this is still a very useful trick.

In Camera Raw, hold down the “Shift” key and the “Open Image” button turns into “Open Object”

In Lightroom, right-click an image and select “Edit In > Open as Smart Object in Photoshop”.
camera raw vs lightroom | batch Raw Exporting
Both Camera Raw and Lightroom allow you to crank the ACR processing engine into full gear, and perform numerous image exports at once. Simply edit all the raw images for your recent job or adventure, and then open the respective export/batch edit interfaces. Set your output settings, and let ACR / Lightroom go to work!
QUICK TIP: Bridge is so user-friendly, it will display a warning if Bridge is closed while an export is still active; if you want to it can leave this window open until the export is complete:
Either way, whether you’re working in Bridge or Lightroom, the bottom line is that if you have thousands of photos to edit, you want to be working in the Camera Raw environment one way or another, instead of opening every single photo in Photoshop. For basic color correction, Camera Raw is where most photographers want to be doing the vast majority of their work.

The most important thing is that Camera Raw edits in any application are always non-destructive, and backing up all your hard work can be both effortless, and detached from the backing up of your entire folder of raw photos. With most Camera Raw workflows, you need only back up your actual raw images twice; once when you first download them, (but to two or three different backups, not just one!) …and once again after you’ve exported the raw photos.
The rest of the time, simply make sure to back up your Lightroom Catalog periodically, and you should be fine! In conclusion, having a solid understanding of the similarities and differences between the Camera Raw and Bridge interfaces and the Lightroom environment, especially the “Develop” interface, is extremely useful for any photographer looking to get the most out of their raw photos in Adobe.
Purchase our ACR Presets


