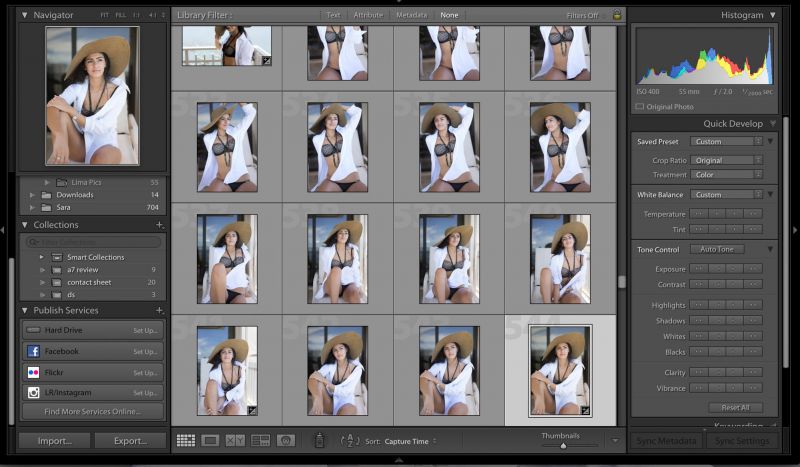
Adobe has a web series of short Lightroom tutorials pieces called Lightroom Coffee Break, and we’ve featured a number of them here, and today’s is certainly worth a look as it deals with something so fundamental an integral to your Lightroom experience you should know about it. It’s simply explaining in less than a minute, 7 ways to move sliders in Lightroom.
Basic? Maybe, but I’m rather savvy when it comes to LR and there was even a method here I didn’t know about. It’s always fascinating to see people use Lightroom for years and then not quite realize the software’s depths or miss some basic function or trick, only to be shown and see their eyes light up. Lightroom, for all it’s wonders and faults, is a complex piece of editing and organizing software, and it’s totally understandable that there are going to be things you miss and learn years on if you don’t have a rubric of instruction.
At SLRL we have posted a lot of Lightroom tips that cover everything from file management, to speed hacks, to efficiency, and of course, for those looking for a rubric of comprehensive instruction we have our full-blown Lightroom tutorials or the heavy Lightroom Crash Course to bring you up to speed in a flash.
Anyway, take a look at the video below, and just above that we’ve listed out the ways for you.
7 Ways To Move Sliders In Lightroom
- Use The mouse to click on the slider handle and drag
- Click on the slider ramp and the handle will jump to the spot clicked on
- Click on the text-entry field and enter a value
- Click and drag within the text-entry field
- Click and drag on the histogram itself, or the tone curve
- Use the targeted adjustment tool to click within the image and drag to adjust that hue
- Hover the cursor over the text-entry field or slider handle and use the up and down arrow keys or plus and minus keys. (I wasn’t aware of this one)
Check out the articles below for some more Lightroom tips.
- Speed Up Lightroom | Important LR Performance News Flew Under Radar Amidst The Lightroom & Apple TV Fuss
- Upload To Instagram Directly From Lightroom | Dead Easy, Dead Cheap
- Lightroom’s Dark Knight |The Alt/Opt Key Transforms Lightroom In Ways You Likely Don’t Know [Part 1]
- Soft Proofing In Lightroom | Friend Not Foe
- Presets & This Tool Are What Allow Me to Retouch With Ease & Accuracy In Lightroom
- Lightroom’s Quick Develop Panel Could Transform Your Lightroom Workflow


Get Connected!