As the years have gone by, Adobe has consistently improved upon the speed & performance of Lightroom, but somehow, over time, we still find Lightroom running SLOW again especially if your working with PC or Intel chipsets. So to help, we’ve gathered 10 tips to help you speed up your Lightroom performance and increase efficiency while editing.
Note: Before you start changing anything, make sure you have updated to the latest version of Lightroom.
These first four tips are things you should always be doing in Lightroom and will immediately increase your efficiency while editing.
Is Lightroom Slow For You? Don’t Upgrade Your Computer Just Yet!
Before we begin, let’s make sure you pump the brakes on spending thousands of dollars on a new computer just yet. These tips are almost all NOT about upgrading your hardware! That being said, I will say this…
We’ve always struggled to keep Lightroom Classic running efficiently on both Mac and PC. That is, until Apple launched their M-Series chips. For some reason, Lightroom Classic plays very nicely with Apple silicon. So much so that a lot of our speed issues are completely resolved when working on Apple laptops/desktops.
That being said, I’m not here to try to convince to switch to Apple. I’m here simply to give you some guidance as to HOW you can get Lighroom Classic running faster. But I would be amiss if I didn’t mention this recent discovery.
With that being said, let’s dive into these tips…
Tip #1: Enable Custom GPU Based Acceleration (ALWAYS)
Head to your Preferences (CTRL+,/CMD+,) and from the General tab switch over to the Performance tab. Select the drop-down menu next to ‘Use Graphics Processor’ and switch it to Custom from Auto. For some reason, Lightroom sometimes turns this off by default. From there, toggle the box that states ‘Use GPU for image processing’ which should bring up a small alert below that states ‘Full graphics acceleration is enabled’.
To make sure your Graphics Card is supported, you can click the Learn More button and double-check.
- Use Graphics Processor (Auto/Enabled)
- Camera Raw Cache (50GB same drive)
- Enable hover preview of presets (OFF)
- Use Smart Previews instead of Originals for editing (ON)
Note: Before enabling, we’d highly recommend first updating your graphics drivers.
Tip #2: Store Catalogs & Work From Your Fastest Internal Drive (ALWAYS)
For performance reasons, you want Lightroom Classic’s catalog to live on the SAME drive as the images within the catalog. You’ll also want that drive to be the fastest drive possible. If you have an SSD or MVME drive, you are on the right track. For those using an external SSD, make sure it’s connected through your fastest USB-C port. This is the first and most critical bottleneck that is going to slow LRC’s performance and this tip alone might solve most issues for those working off slow drives or NAS (Network Attached Storage).

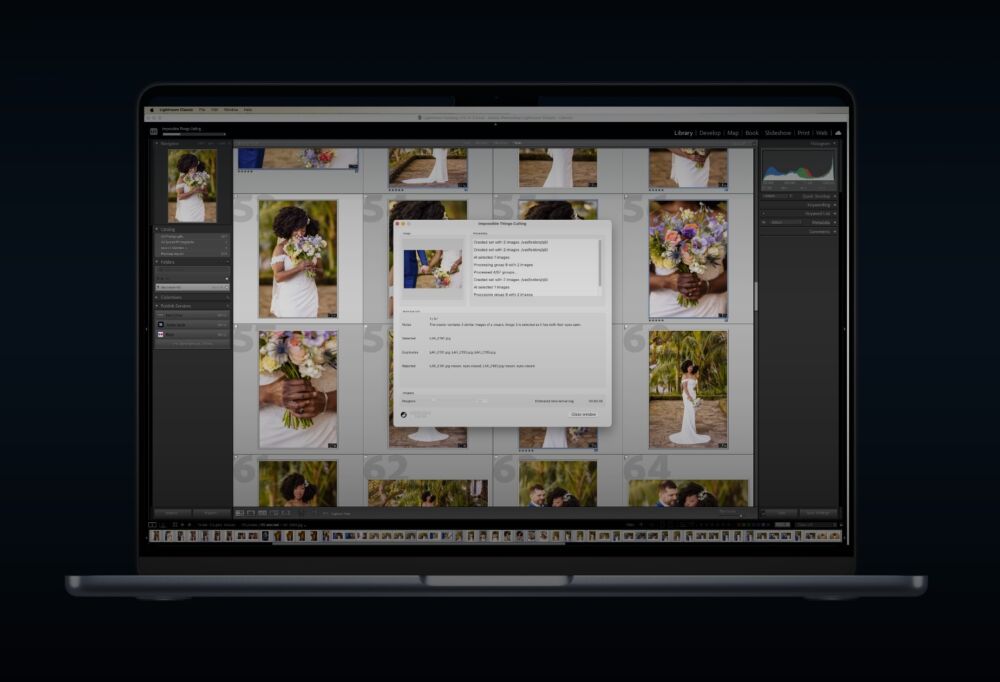
Personally, I work off of a 2 TB SSD where I store all of my current work and Lightroom catalogs. In addition, to make archiving and transferring jobs easier, I prefer creating a separate folder for each client shoot. As shown in the image above, both the catalog and the original images are stored within each client’s named folder.
Tip #3: Update the Max Size For Your Raw Cache (ALWAYS)

For the Raw Cache folder, make sure you choose the fastest internal drive, and it can be the same place you’re storing your catalogs. Now, update the Maximum Size to 100 GB. We do this to ensure that the Raw Cache folder has enough space to accommodate all of the different previews and cache files it’s going to be saving. I set it to 100 GB just to be safe, but this number may be different for your depending on your typical file sizes.
Tip #4: RENDER Previews BEFORE Culling/Editing (ALWAYS)

Always render previews before culling or editing. You can render previews during the import process however 1:1 previews can require a significant amount of time. So keep in mind that you can always import, then render 1:1 and Smart Previews from the Library > Previews menu.
Tip #5: Use Smart Previews While Editing (OPTIONAL)
If you’ve done all of the above and notice that Lightroom Classic is still slow while editing, go ahead and turn on “Use Smart Previews instead of Originals for image editing.” Because Smart Previews are far smaller in size/resolution, this can often dramatically improve image-to-image editing.
In the same Performance tab, head down to the Develop section and toggle the box that says ‘Use Smart Previews instead of Originals for image editing’. This will benefit you most while editing in the Develop Module because it will load Smart Previews when processing images instead of the original image files. If you notice there is a slight decline in overall quality when you are viewing the images in the Develop module, but when you export the images will be completely fine.
Tip #6: Reduce Standard Preview Size Resolution (OPTIONAL)
I say this is optional, but really it’s something I highly recommend. By default, LRC will often set a preview resolution size that’s beyond what you actually need (based on your monitor resolution). Reducing the Standard Preview size to exactly what you need will dramatically speed up performance.
Pull up your Catalog Settings (Alt + CTRL + , | Opt + CMD + , ) and select the File Handling tab. These are Catalog specific settings whereas the general Preferences apply to all of the Lightroom catalogs, so any alterations you make in this dialogue box would need to be made for each catalog you open. A way to speed up Lightroom is to reduce the Standard Preview Size resolution per catalog from your default setting to 1680 pixels.
Tip #7: Do Not Write Automatically Write Changes Into XMP (ALWAYS)

Unless you have a specific need for XMPs, turn this option OFF! When this is toggled on, Lightroom is going to create an extra sidecar file every time you make an image adjustment. Not only will it write the adjustment into the catalog, but also into a sidecar file which doubles the read/write load on your drive.
In Catalog Settings, switch over to the Metadata tab and de-select ‘Automatically write changes into XMP’. There are benefits to keeping XMPs, for example, if the catalog goes corrupt you have a second set of file settings as a backup, but it turning it off will speed up your Lightroom performance. On top of that, rather than using XMPs you can instead just backup your Lightroom Catalog regularly. So again, unless you have a specific need for XMPs, keep this option turned off.
Tip #8: Turn off Automatic Face Detection (OPTIONAL)
In the same Metadata tab, you’ll see Face Detection towards the bottom of the dialogue box. This uses quite a bit of CPU power because Lightroom uses AI to jump through all of the images to try and detect faces. For me, I always keep face detection turned off. Remember, you can always turn it on for specific times/moments where you need it.
Tip #9: Separate Your Shoots by Catalog (OPTIONAL)
For portrait, event, and wedding photographers that are working with large catalogs filled with different client images, I suggest separating your shoots into individual catalogs to avoid confusion and to improve Lightroom speed & performance. Despite what you’ve read online or what Adobe claims, Lightroom will slow down if you overload your General catalog. While later versions of Lightrooms are doing far better in this area, prior versions can see significant slow-downs when you are working with 20,000+ images in one catalog, so do yourself a favor and separate them out.
I’ll also say, this is another area where we notice a substantial difference between Mac vs PC systems. For some reason, LR Catalogs on our Apple machines can get FAR larger without encountering significant slow downs compared to that of our Windows machines.
That being said though, there are several other (perhaps larger) benefits for separating catalogs…
For studios that shoot a significant volume of images, smaller catalogs stored in the same folder as the original images make it easier to archive or transfer images through the network. In addition, having these catalogs separated out allows for multiple editors to work on different shoots simultaneously. For us, it just makes sense, but for you, this is one of those “see if it fits” type workflow decisions.
Tip #10: Focus On CPU, Hard Drive, GPU for Better Hardware Performance (LAST RESORT)
We’ve mostly discussed how to speed up Lightroom within the settings and preferences in the software, but what if, even after doing all of these things, you are still faced with sluggish performance or excessive lagging? This is when you can look into making alterations to your hardware to see improvements in Lightroom’s efficiency.
CPU
If you’re looking at a new computer, when it comes to the CPU, higher clock speed is going to give you better Lightroom performance than more cores. Lightroom isn’t designed to utilize that many cores, so fewer cores, and higher clock speed is going to make a bigger difference.
NOTE: Again if it’s in the cards, I would highly recommend Apple silicon for the best overall experience when editing with LRC.
Lightroom Classic is highly dependent on your CPU, ideally work from:
- Apple Silicon (M1/M2/M3+) – PYE’S RECOMMENDATION
- 64-bit, 6+ Cores (minimum)
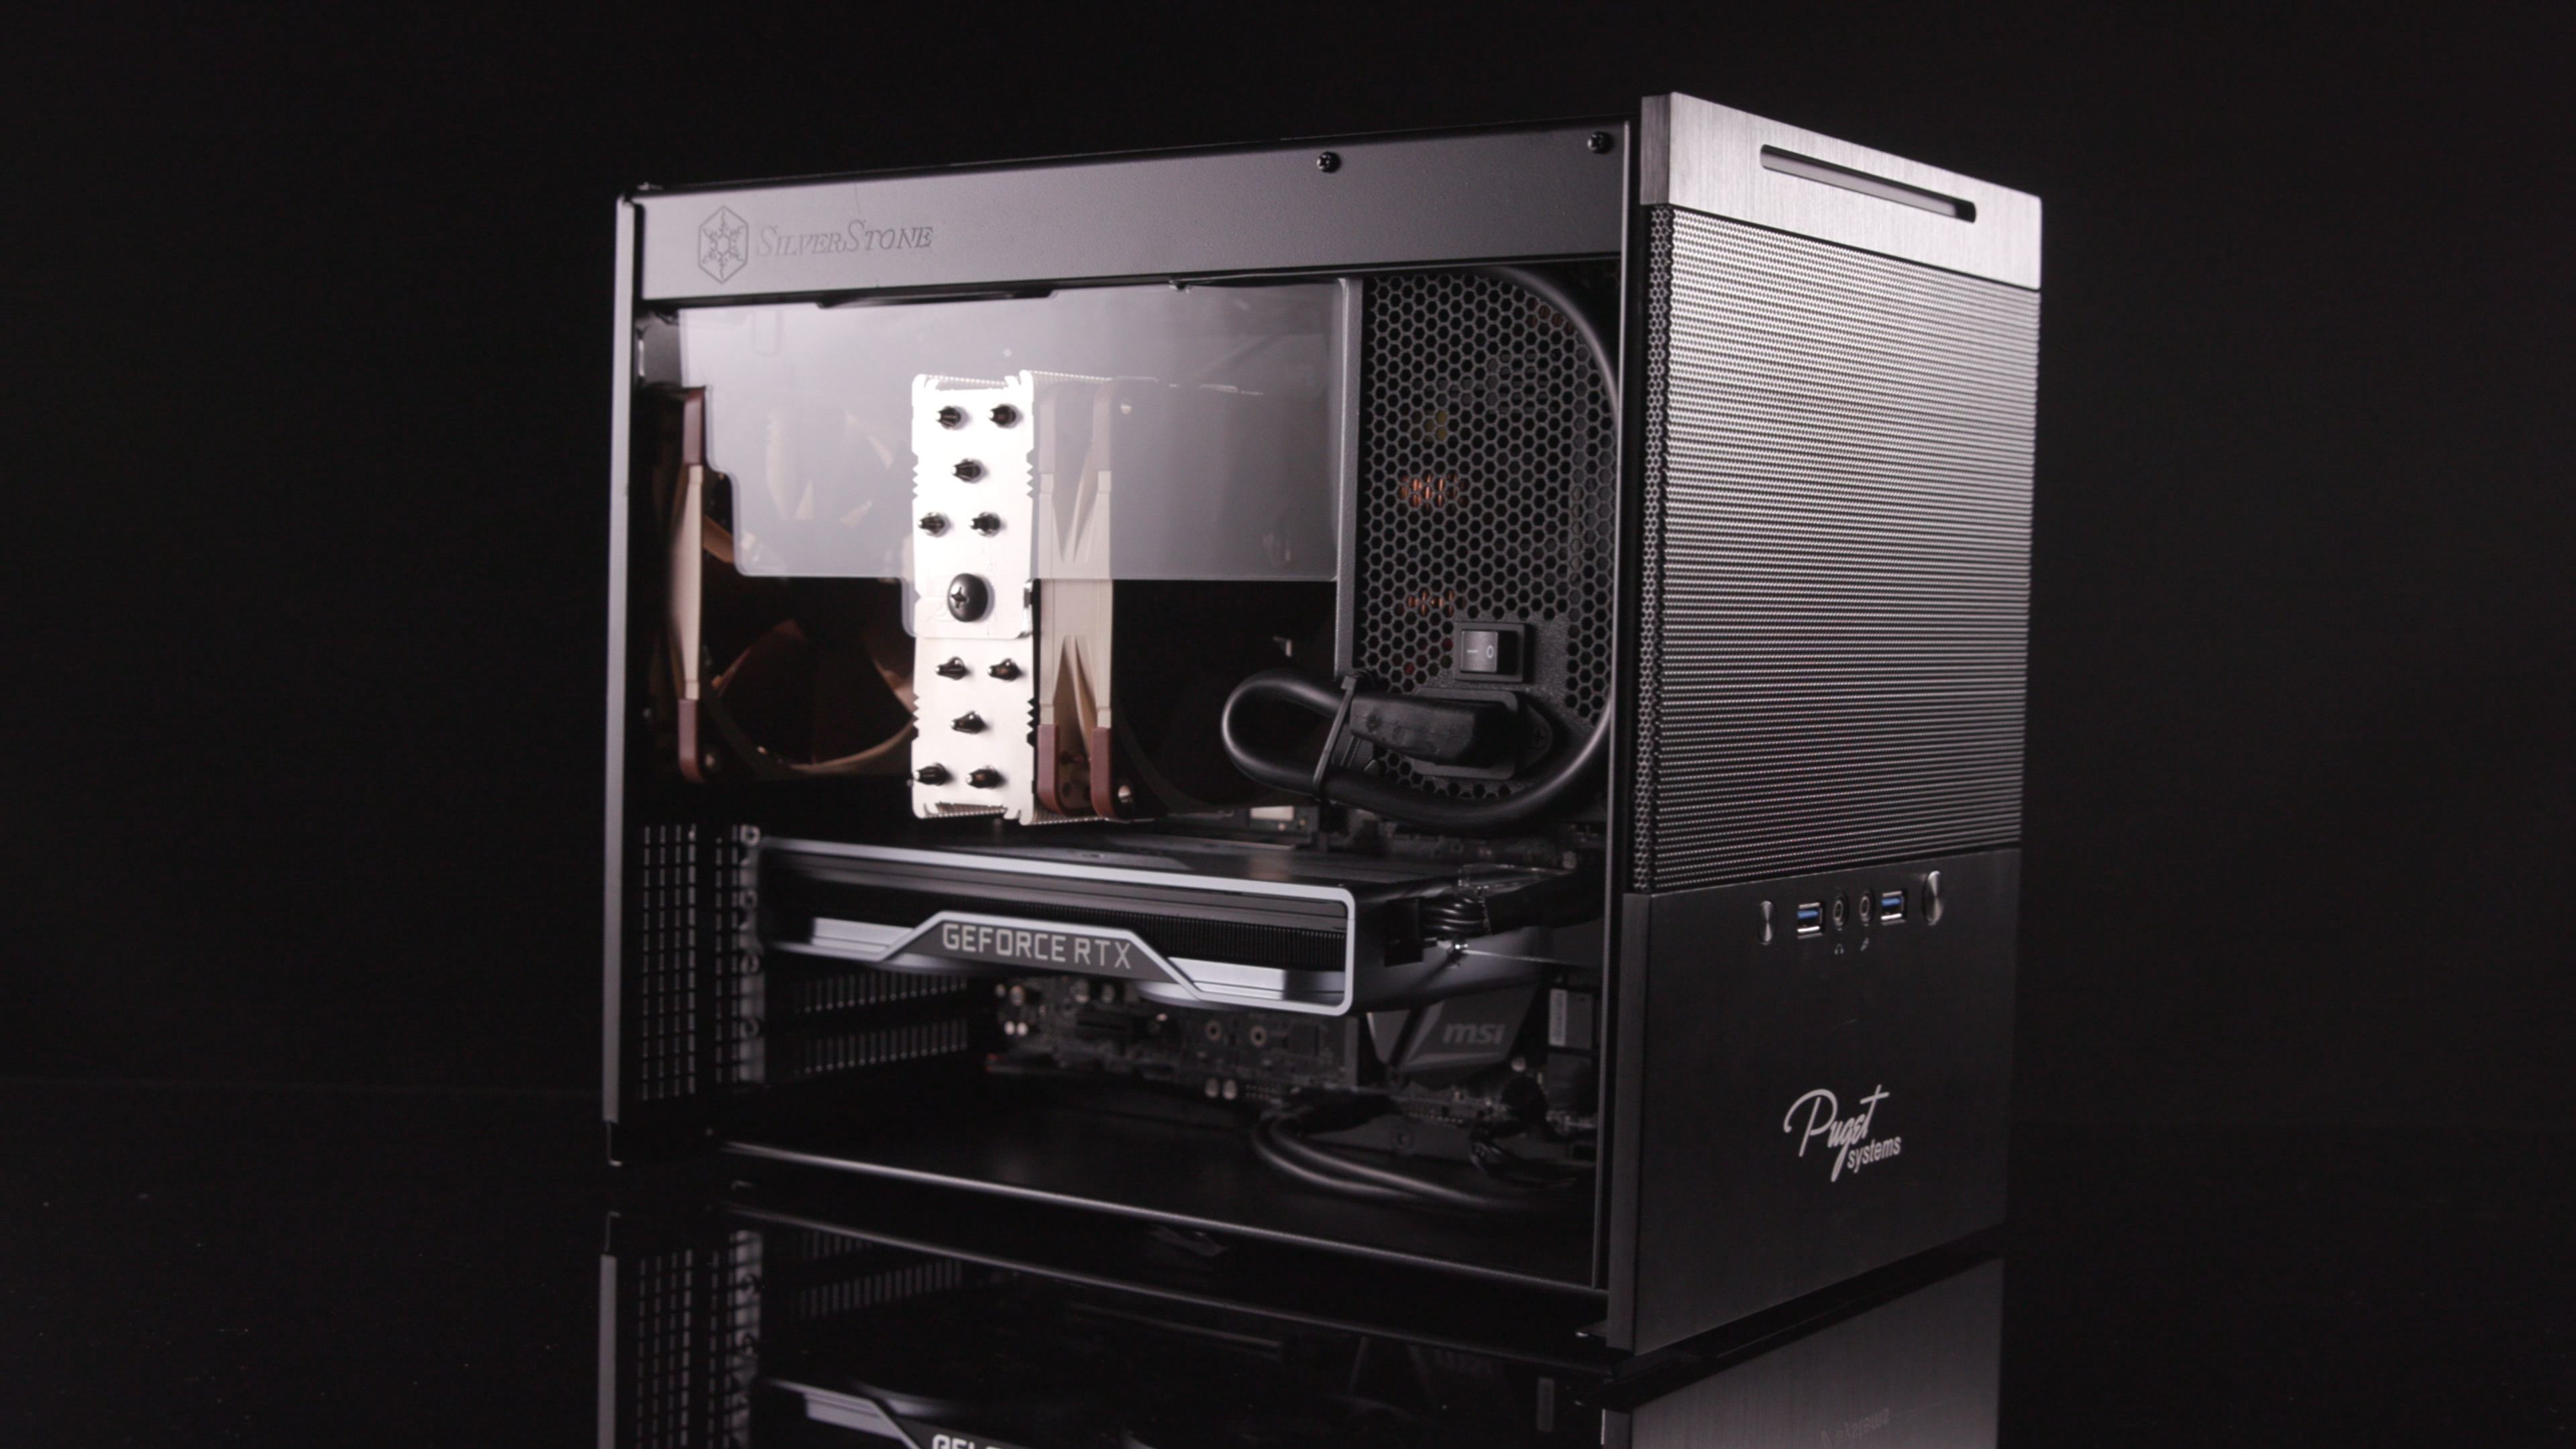
- For Windows/Intel, check Puget System Designs
- Currently Intel Core i9 14900K
Hard Drive
Use the fastest possible storage drive for the location of your catalogs. Ideally set up an internal SSD or an MVME drive for fast read and write times which will enable Lightroom to quickly access those files and write cache and preview information. Remember, external USB drives will dramatically slow down Lightroom performance.
- Internal SSD Ideal (Same as OS)
- High-Speed External SSD
- Preserve free space (50%)
- Catalog/images on same drive
- 32GB RAM ideal
- Update graphics driver regularly
- 4K displays will slow LRC (I’ll provide a work around)
GPU
Select a GPU that offers full acceleration when image processing. If you are looking to tweak and modify to create your own PC powerhouse, we recommend checking out Puget Systems. If you want something that is ready-to-go and you are familiar and comfortable with the Mac OS, then we recommend opting for an iMac Pro.
Where to Find More Info
Try these out and see if this speeds up your Lightroom workflow! If you found these tips insightful, make sure you sign up here to get early access to the Lightroom Fundamentals Course coming soon to SLR Lounge Premium! This is an A-Z guide to get you to RAW processing mastery within Lightroom. Despite the name, this course, we’ll teach you things you never realized you could even attempt or accomplish using Lightroom.