Photographers get caught up with the idea that the trick to creating incredible imagery is with top level gear because it is easy to think that your quality of work is determined by the tools you have at hand. If you’ve seen our Photography 101 course you’ll know we debunk this notion entirely.
Jay P. Morgan starts off his new series ‘Laws of Light‘ with a simple concept: “The camera is simply the object that records the light you place in front of it,” for without light your camera is inoperable. This series will delve into the nuances of lighting, by studying light quality, dimension, and power in great detail, and here is the first.

The Sphere
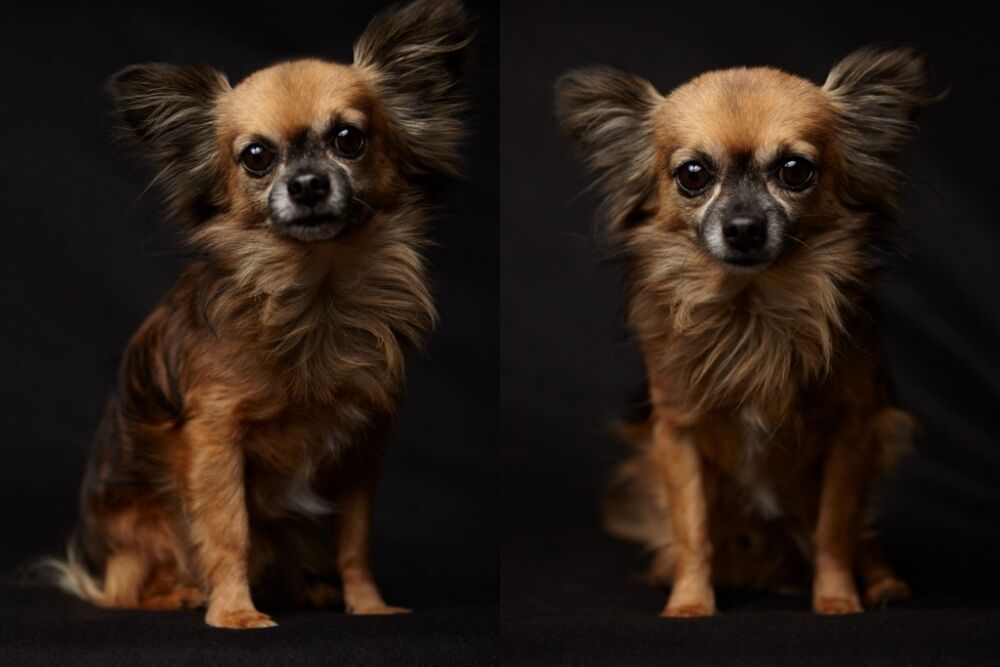
Morgan breaks down lighting in relation to specific objects, and his first topic of discussion is spheres. For those of us that work with people more than products, feel free to replace the spherical object with a subject’s head, but anyone who has ever taken a high school or university art class knows the sphere is the gold standard tool to understand shadow play and reflective surfaces. Jay P. stresses that the placement of your light helps define highlights and shadows, and that every time you turn on a light five things happen:

- 1. Highlight: the area that is lit by our light.
- 2. Incident Highlight: the angle of our light off the subject and the incident angle to the camera.
- 3. Core: light’s transition from bright to dark, or highlight to shadow, right where the transition starts to happen.
- 4. Shadow: the area right after the transition has completed itself, a.k.a the dark side.
- 5. Drop Shadow: the shadow that drops onto the surface around the object.
Always think of lighting your object/subject in these dimensional terms to avoid flat light and over time it will become second nature to find solutions to small lighting inconsistencies.
The Characteristics of light
Quality
In Lighting 101, we discuss the importance of determining whether you want your light quality to be hard or diffused, each having distinct properties especially when it comes to highlights and shadow cast. The stronger and more pinpointed your light source is, the quicker it will fall off to shadow because of its directionality, but with diffused light however, the distinguishable difference lies in the core, “as that highlight wraps around into the shadow side it’s very soft”.
Creating Separation with Light

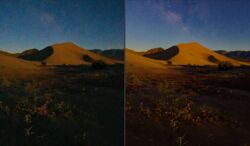
Simply by angling your light you can alter the dimensionality of your subject. Direct light creates a flat look that doesn’t provide any interesting shadows, however, once you give your light more directionality, there is a separation created from the background that takes it from a one-dimensional flat object to a two-dimensional object, or from a two to a three-dimensional object. Separation can also be acheived with a back-light or rim light as seen in the example above.
The Ratio between light to shadow

The easiest way for us to fill in the shadow side of our subject matter is with bounce fill. This trick comes in handy when you feel as though the shadow side is too harsh in relation to the highlighted side. Simply bring in a reflector or v-flat to add in light to the shadow side of your object/subject.
And there you have it, a visual analysis of the characteristics of light in relation to a spherical object. Subscribe to the Slanted Lens on YouTube for more ‘Laws of Light’.
Source: The Slanted Lens