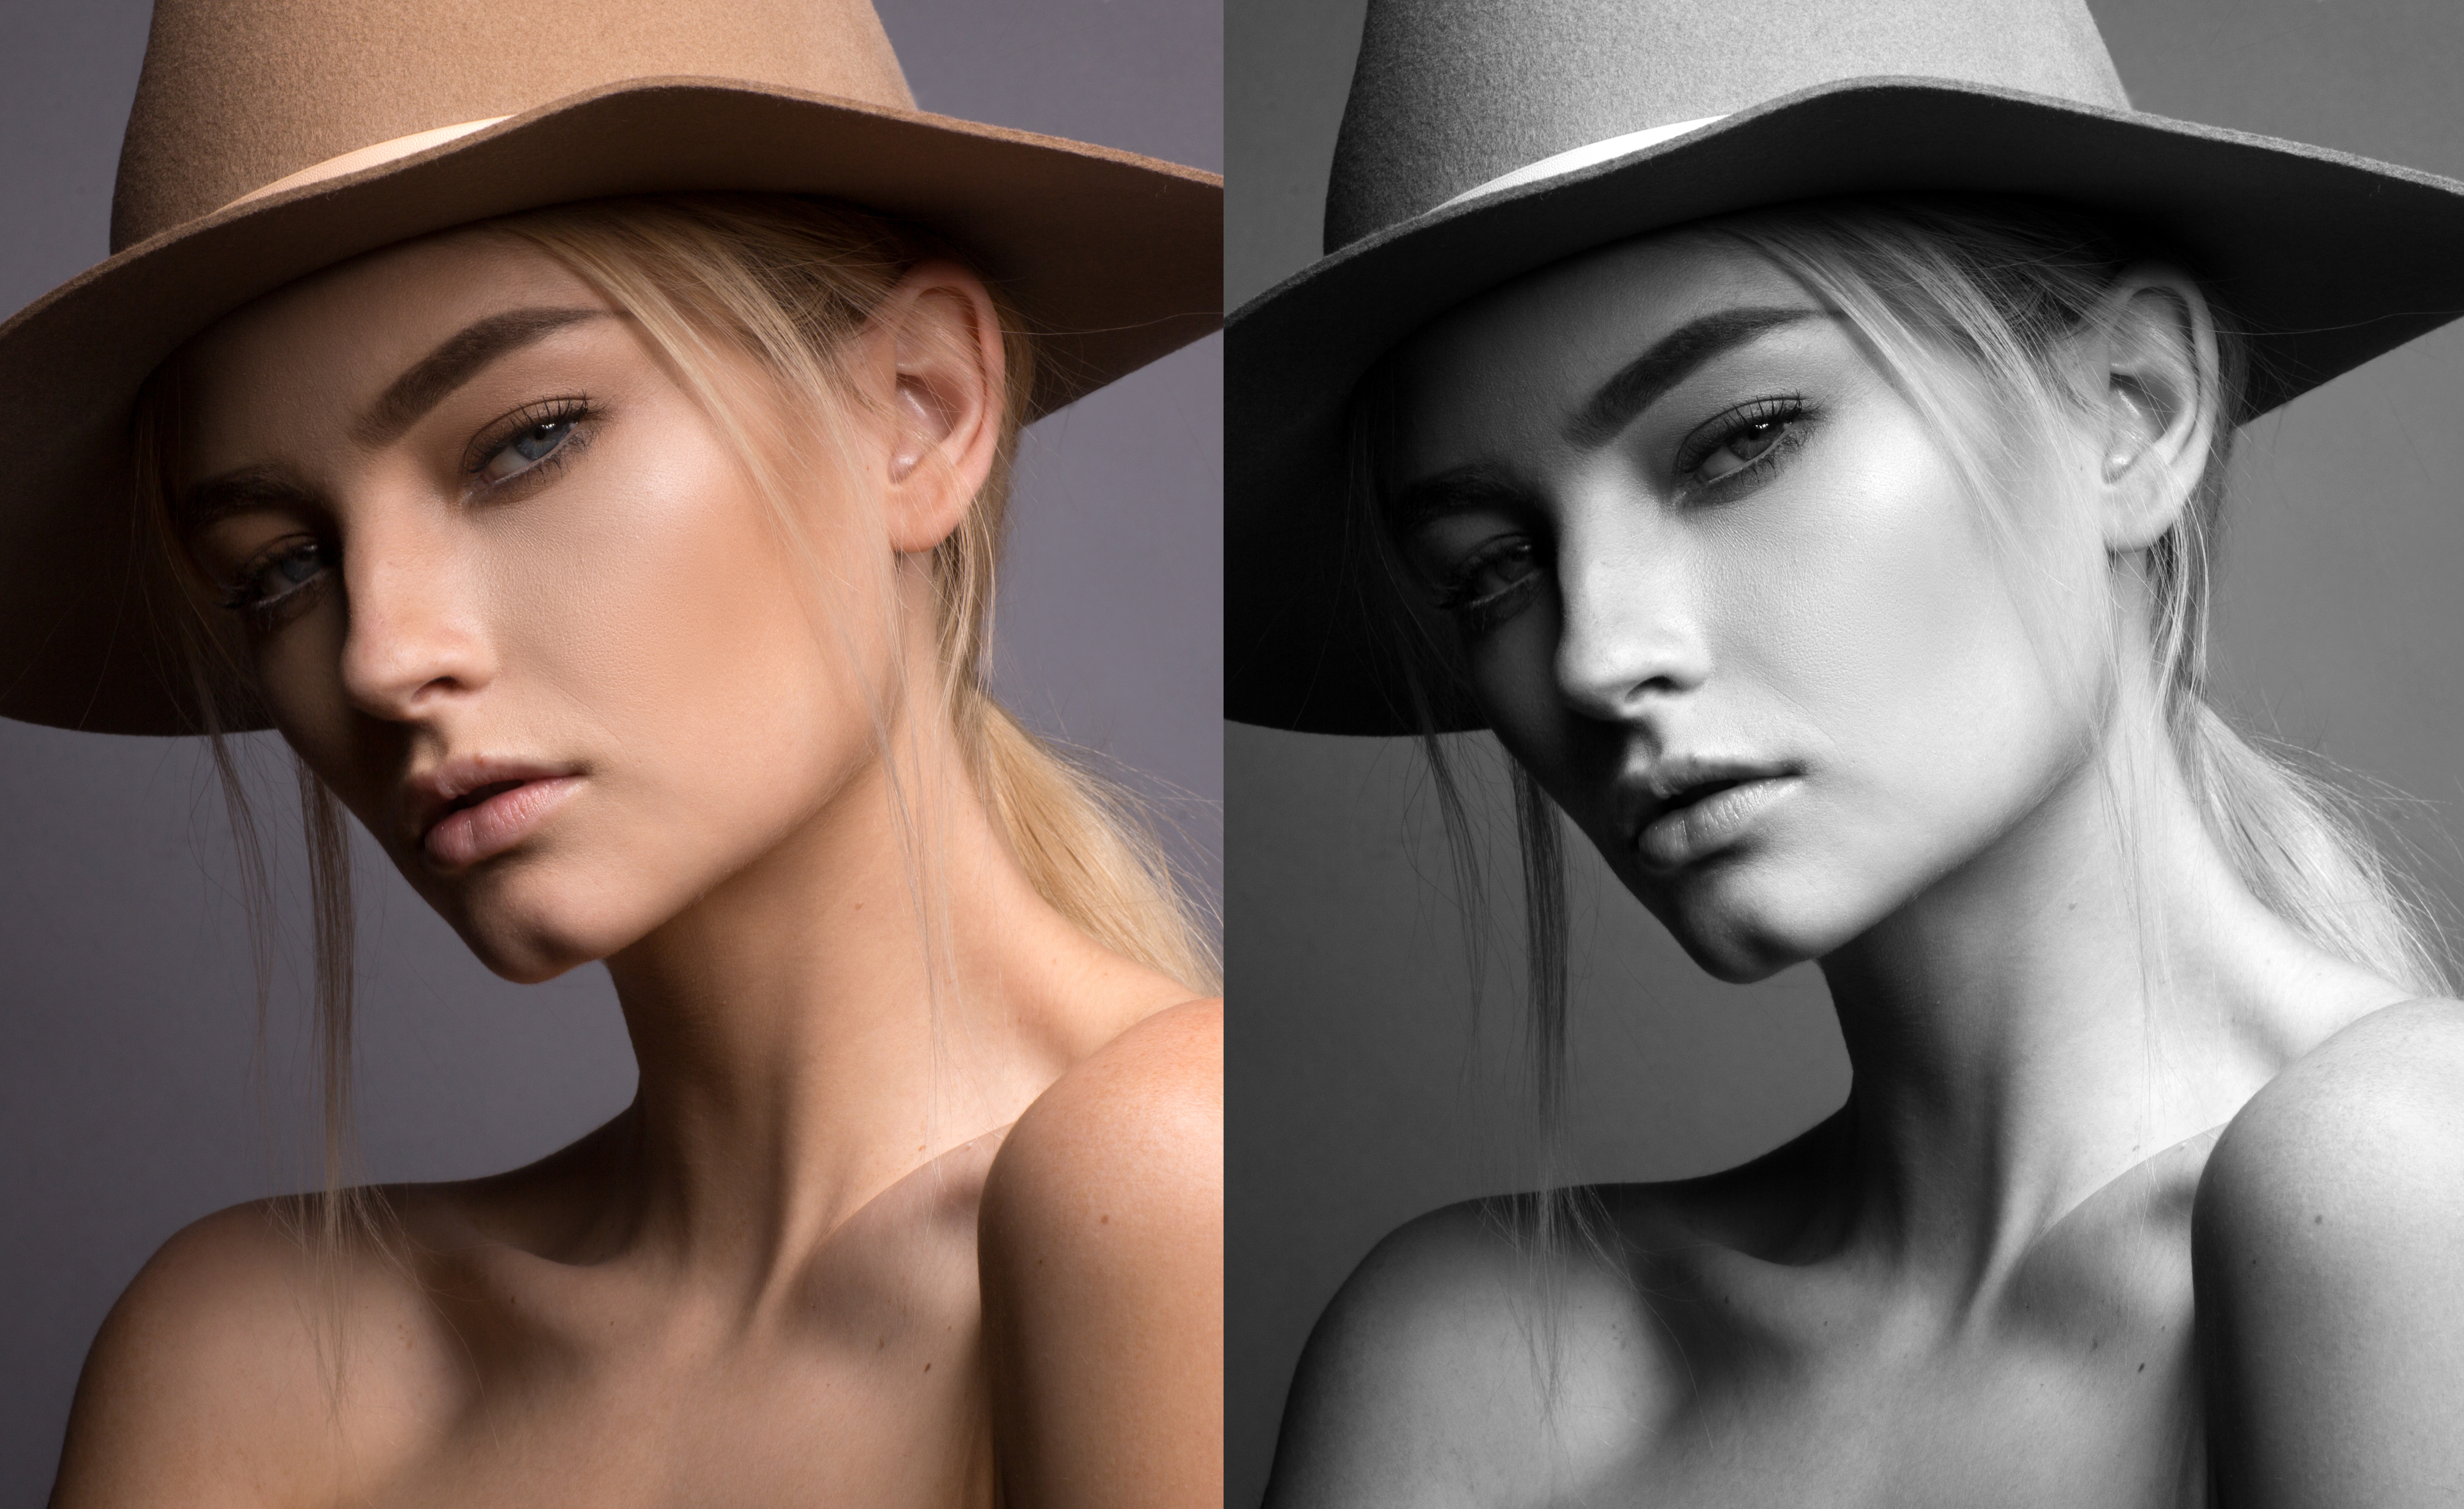
What is it about a good black and white? Similar to a waltz, monochromes are timeless and beautiful while maintaining a magical aesthetic. Waltzes, like black and white images, are deceptive in nature as they look effortless, however, they take a lot of discipline and training to achieve. A good black and white will captivate its audience.
[REWIND: SLR Lounge’s Top Lenses | Why You Need An 85mm In Your Camera Bag]
There are an infinite number of black and white conversions, and the amount of time it takes to put a personal stamp on it can take valuable time. What if there was a really simple way to add a slight punch of contrast that didn’t take more than a few minutes? Using a gradient map is a quick and effective way to do just that. Here’s how:
A post shared by Brittany Smith (@brittanysmithphoto) on
Model Rachelle Kathleen
Gear: Canon 5D Mark III, Canon 85mm 1.2L lens, Broncolor Scoro E 1600 WiFi RFS 2, Broncolor G2 Puslo 1600W head, Broncolor Para 88 Reflector w/Focusing Rod.
Tech Specs: ISO 250, f/16, 1/200th of a second.
How To Make A Great Black & White Using A Gradient Map

It is important to begin with a really good color photograph with proper editing and contrast.
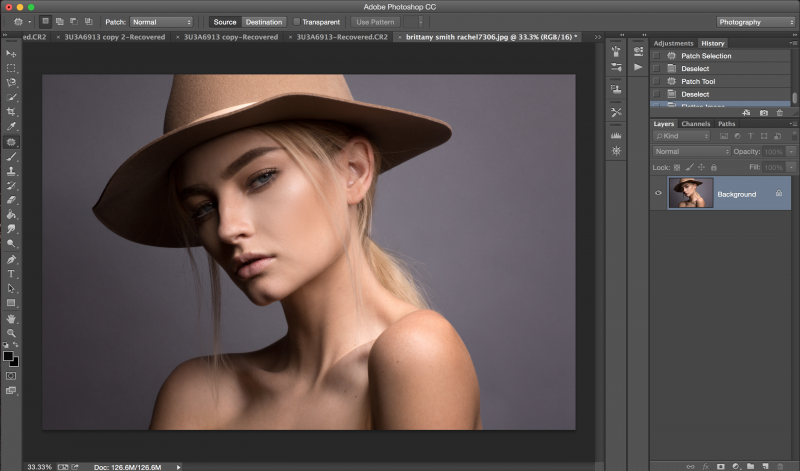
Create a new “Black and White” adjustment layer to discard the color information. Then, create a “Gradient Map” adjustment layer. Select the “Black, White” option which is the third option from the left on the top row.
As you will see, this drastically increases the amount of contrast which can be reduced by simply lowering the overall opacity of the entire image. Using a low opacity black brush, the effect can also be slowly painted off in the desired areas to gain the desired result. The latter is often preferred because it allows more precision.

Another way to fine tune this is by using the the “Blend If” mode by holding down the Option button (Alt: PC) and double clicking the gradient icon. Then hold the Option button (Alt: PC) down and move the shadows and highlight sliders down until it is to your liking. Depending on personal style, this may be just enough to provide that added contrast to give the image a little extra.
If after flattening the image it may still require a little finessing. A great way is to work with Smart Filters and the Camera Raw Filter. Begin by clicking CMD + J (CTRL + J : PC) to duplicate the background layer. Click “Filter” and choose “Convert for Smart Filters.”
Once that is completed, click “Filter” and choose “Camera Raw Filter.” This is a non destructive way to make final adjustments to the overall image.


The exposure and contrast can be increased or decreased slightly, depending on personal preference. Once it is satisfactory click “ok”.
If you only want it to take effect on certain parts of the image, create a white layer mask and use a low opacity black brush to paint in the areas where it isn’t wanted. It may be faster to invert it to a black layer mask and only paint in the areas where it is wanted with a low opacity white brush.

[REWIND: How I Shot It | A One Light Beauty Setup In A DIY Studio]
Gradient maps and smart filters are a quick way to add subtle touches to the final image. Layer masks offer a way of fine tuning an image with precision and control. This process goes especially quick if you have a great image to begin with. Try it out, and you may find it has a place in your editing process.


Get Connected!