Photoshop is its own kind of environment. When you’re a new user, everything is overwhelming and daunting, but when you start to devote more of your time to retouching, you will get a sense that you’ve ‘moved in,’ in a way. Photoshop is like a home, but a home where there will always be something new to discover. As you ‘move in,’ you’ll want to set things up to your personal liking and make changes that suit your workflow and add to speed and efficiency.
One way to go about this is to customize your brushes, and another is to use a graphics tablet, like a Wacom Intuos Pro. These tips will help you get started with both.
[REWIND: How To Set-Up Your Wacom Intuos Pen Tablet For Lightroom]
As you begin to understand all the brush settings in Photoshop, you will find yourself using different brush settings for different purposes. You can save yourself some time by creating your own brushes. Similar to Lightroom presets, if you find yourself using particular brush settings over and over, you can save your brush settings to a named configuration.
UNDERSTAND OPACITY AND FLOW
Opacity and flow are two very important brush settings that are often ignored by new Photoshop users, and they can be a little confusing at first. An easy analogy to help make sense of them is this: think of your document like a swimming pool. Opacity is the depth of the pool – how much water it can hold. Flow is the rate that your hose can fill the pool. Your opacity setting controls how much virtual ‘ink’ can be deposited on canvas, period, while the flow determines the intensity of the ‘ink’ deposited with each stroke.
ADJUST TO TABLET USE

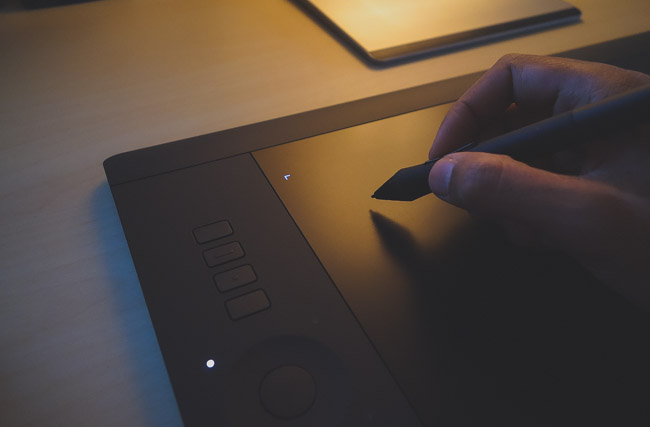
Graphics tablets are flat devices that plug into your computer and act as a sort of pressure-sensitive trackpad which can be drawn on with a compatible pen stylus. While they can’t quite be called ‘mandatory’ for retouching as no one can force you to use one, they can make a world of difference in your retouching workflow.
They have some notoriety but much more reverence among photographers. There is a learning curve, and they can feel awkward at first, but photographers who tough out the initial ‘getting used to it’ period are rewarded with a new level of precision in their work. Tablets can feel unnatural and confusing at first, but if you stick it out until using the tablet is second-nature, you’ll wonder how you ever retouched with a mouse or laptop trackpad.
If you’re having trouble adjusting, try putting your mouse away and using only your tablet for a while. It’s sink or swim, and you’ll probably learn to swim faster than you think.
The pressure sensitivity alone will make a notable difference in what you can accomplish and how you work in Photoshop.
CUSTOMIZE YOUR TABLET’S PERFORMANCE

Your tablet has a customizable properties settings menu where some useful options live. Those who work with more than one monitor will definitely want to visit this area to map their tablet’s drawing area to the monitor that will be used for retouching. You can also change the pressure-sensitivity and overall feel and behavior of your tablet in this settings menu.
UTILIZE TABLET-SPECIFIC BRUSH SETTINGS
There are some brush options that are only available when using a tablet, and some practices that only make sense when using a tablet. Both opacity and flow can be set to be pressure-sensitive. This means that the opacity and flow can vary based on the amount of pressure applied to the tablet with the pen. Brush size is also pressure-sensitive, and as such it makes sense to use a larger brush size for the brushes you create when working with a tablet. This increases the versatility of the brush without having to actually change the size while you work.
For more educational content on retouching, including specific brush ‘recipes’ and how to work with them, check out our Premium workshop,‘Fitness Editing And Retouching.’ If you’re not the ala carte type and love a bargain, we recommend becoming an SLR Lounge Premium subscriber. Subscribing to Premium grants you access to all of SLR Lounge’s Premium content – present and future – plus it includes our oh-so-useful SLR Lounge Preset System for Lightroom and Adobe Camera Raw.