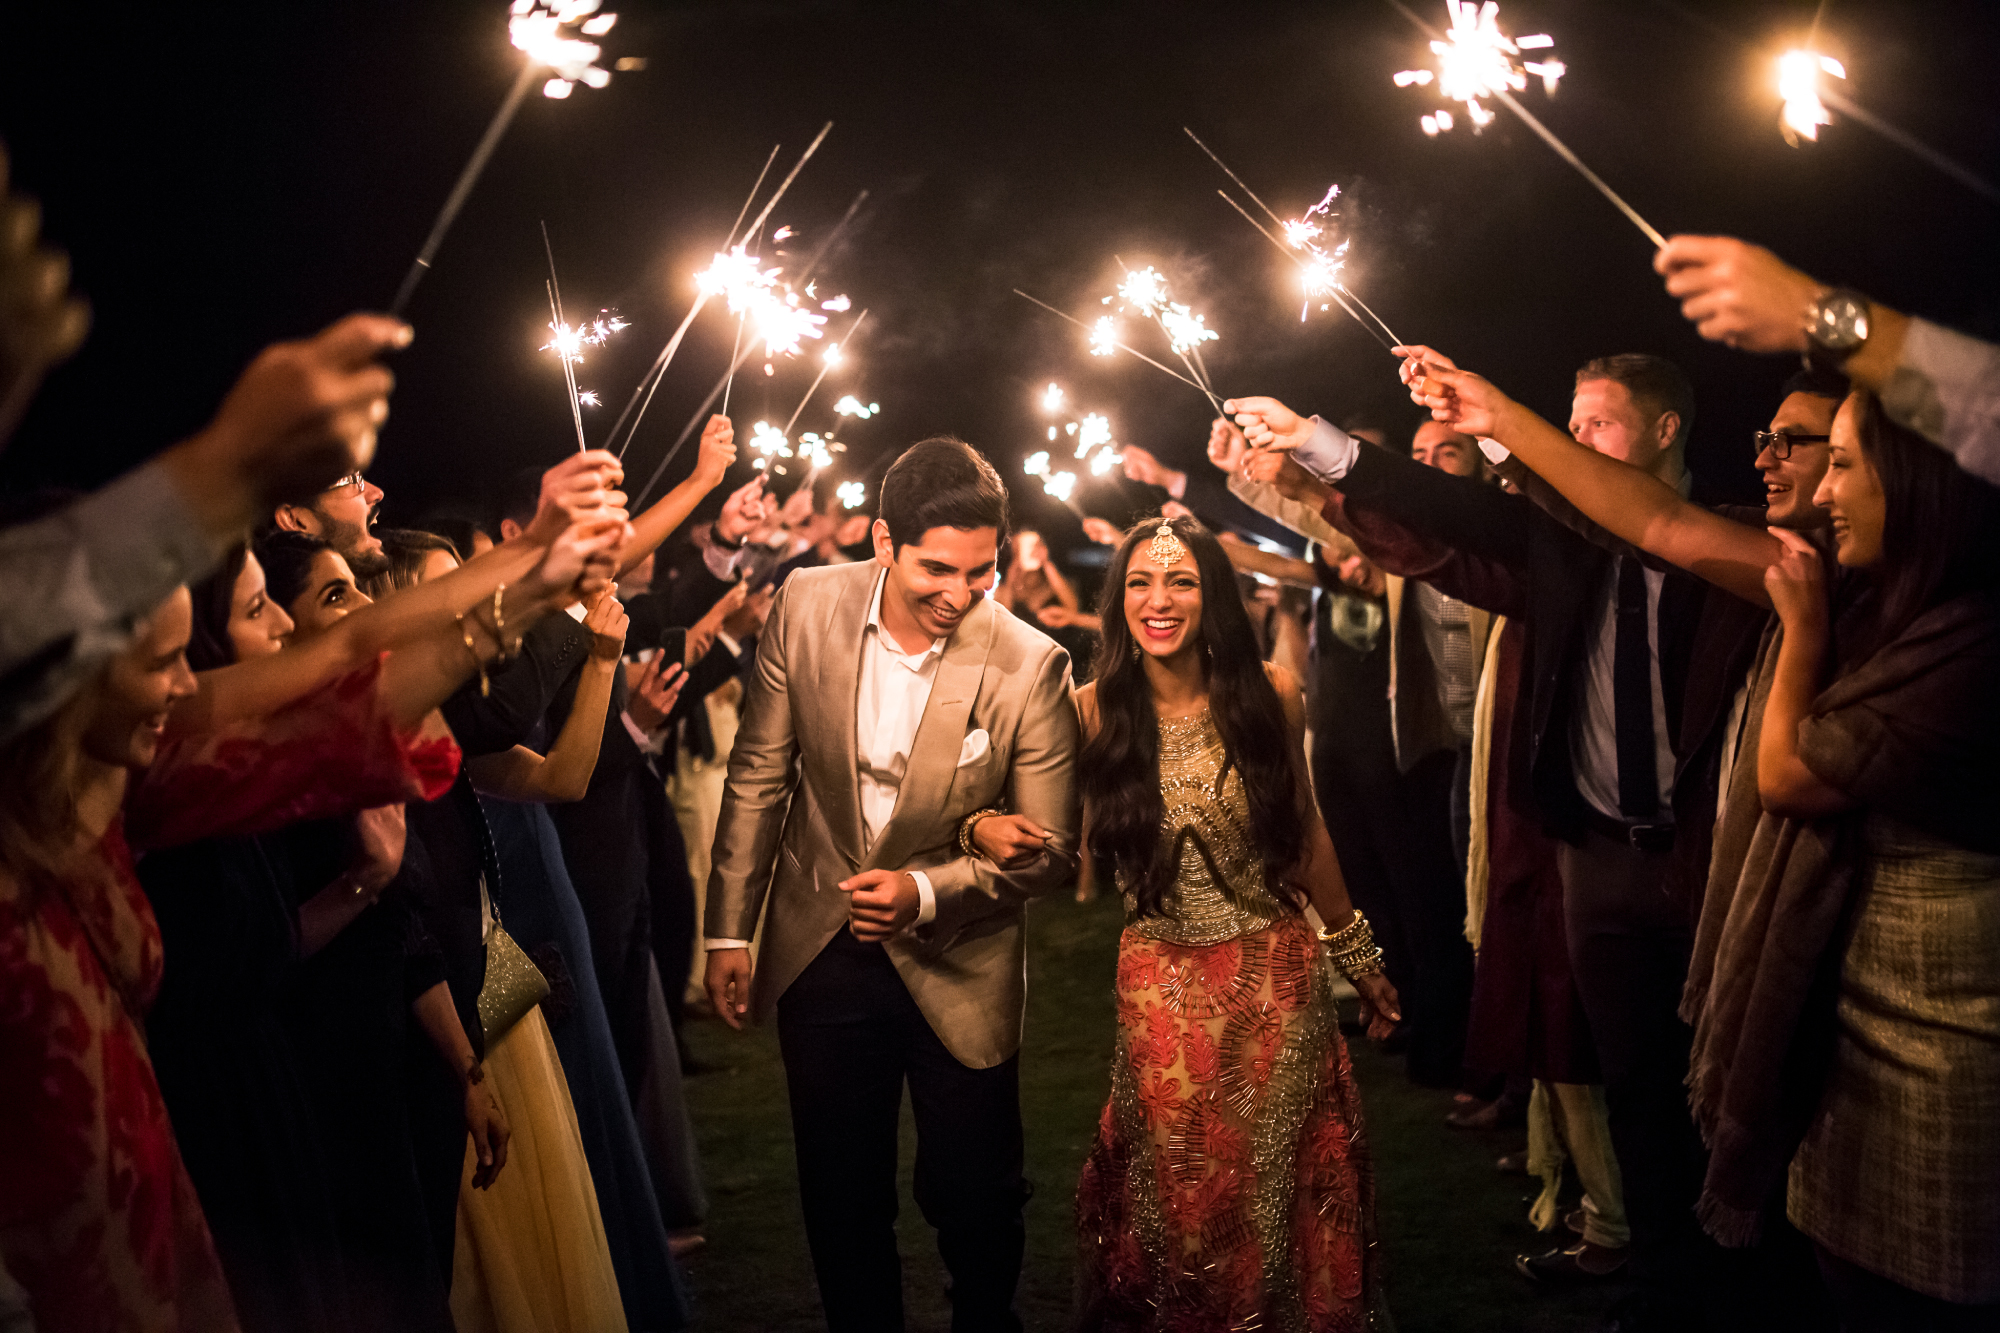
Whether used to create epic entrances or send newlyweds off with a grand goodbye, few things can literally light up a celebration like sparklers. A wedding photography staple, sparklers are as fun as they are beautiful, immersing guests into the overall experience. However, including multiple people makes it that much more important to actually know how to take sparkler photos. Depending on the number of guests involved, the logistics of sparkler photography requires a bit more planning than an average night shot. Adequate preparation can mean the difference between creating a magical moment or fizzling out with a disappointing finale.
Here are some important factors to consider before setting out to capture your first wedding sparkler photos.
1. Ensure You’re Using the “Big” Sparklers
There are two distinctly different types of sparklers. The larger, longer lasting 36-inch sparklers will give you much better sparkler photography results than the shorter 10-inch sparklers. For group activities like wedding sparkler exits, the longer sparklers give everyone participating enough time to get into position and light their sparklers.

Also, for static sparkler art (see the image above), also known as shutter drags, the longer sparklers give photographers enough time to get multiple long exposures for just the right effect. This technique complements both wedding and engagement portraits.
In case you’re interested, you can purchase a variety of sparklers here.
2. Understand Sparkler Safety
The main ingredient that makes sparkler photos great — the one that creates a twinkling catchlight in everyone’s eye — also poses the biggest threat: fire. Before the guests ignite their sparkly sticks, be sure to take the following safety precautions:
2a. Keep a Bucket of Water Nearby

When the fun is done and the sparklers have served their purpose, you’ll need a safe place to put them. That is, at least until the fire’s out and they’re no longer hot. The solution is simple — keep a bucket of water nearby (see the image above).
Although a variety of buckets will work, they should be tall enough so that the 36-inch sparklers don’t fall out. You can find buckets similar to the one in the image above here. The buckets (without water) can also be used to hold the sparklers until they’re handed out to the guests.
2b. Remind Guests To Keep Their Distance with Photos of Sparkler
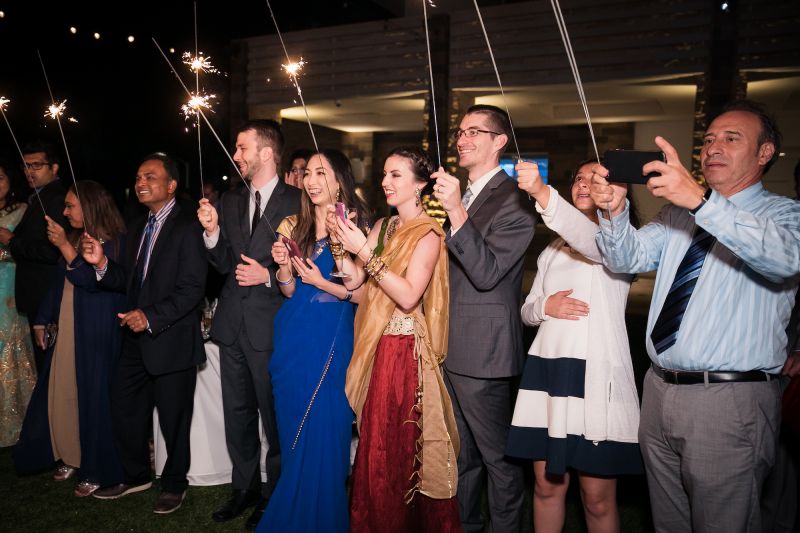
It might be tempting to ask the guests to crowd in and create a wall of light around the couple, but you (and the guests) should exercise caution. To help avoid any potential injuries in your sparkler photography, remind the guests to hold the sparklers a safe distance from the couple, as well as everyone else. More often than not, brides tend to wear a fair share of hairspray on their wedding day, and mixing hairspray and fire will not end well.
3. Crank Up The ISO And Use Wide-Open Apertures
Whether your subjects are moving or static will play a significant role in determining your exposure, especially in low light. Regardless, it’s safe to assume that you’re going to need to bump up your ISO and set your aperture to wide-open.

For moving subjects, your camera settings will likely be as follows: ISO 3200, Aperture: F2.8, Shutter Speed: 1/125. If you have access to a wider aperture lens, such as F1.4, you can increase your shutter speed to 1/200 to better freeze the action.

If your subjects are static, however, you have much more freedom, especially if you’re using a tripod. You can drop your shutter speeds lower and adjust your other settings accordingly to get the look you’re after.
4. Lighting for Sparkler Photos
There are some basic guidelines when it comes to lighting couples that will almost always be applicable, even when it comes to lighting sparkler exits. For instance, when adding light to the couple, light into the bride’s side so that the bride’s face is better lit for a more flattering look. Ideally, both subjects will bask in flattering light, but priority pretty much always goes to the bride.
4a. Natural Light Sparkler Exits

On their own, sparklers do not produce much light. To capture sparkler photos with natural light, you will need a fast prime lens with a wide aperture (F1.4) to let in more light. A camera with great low-light focusing abilities and facial tracking will also help when trying to capture an image like this as nailing the focus is one of the hardest aspects.
We discuss this in more detail in Wedding Workshop Eight – Photographing the Reception.
4b. Constant Light (If Needed) for Sparkler Photos

As an alternative to using flash for taking sparkler pictures, you might want to consider using a constant light. There are several options available across a wide range of budgets, from Yongnuo’s Light Wand to Westcott’s Ice Light (among others). The benefits of using a constant light include instantly seeing your actual exposure in the viewfinder as well as never missing a moment because the flash didn’t fire.
4c. Snoots or Grids For Flash (if needed)

When you want to shift the focus solely to your couple, use a snoot or grid on your flash to isolate your subjects and make them stand out in a crowd. These tools make it easy to shape and direct light in a very specific way.
4d. Backlighting for Sparkler Photography

In addition to the flickering light of the sparklers, backlights work well to help carve your couple out of a dark environment. Simply place a flash on a light stand approximately 10-20 feet behind the couple, zoom the flash to 200mm, and aim it directly at the top half of the couple. You can also use a grid (see the previous tip above) for a more focused backlight.
4e. Multiple lighting Setups for Two Photographers

One of the benefits of having multiple photographers capture sparkler photos includes having the ability to simultaneously capture images using different lighting setups. In the images above, two shooters captured a kiss under the sparkler tunnel. One used natural light and the other used a flash.
5. Try And Try Again in Sparkler Photography
Sparkler exits seem to end almost as quickly as they begin. In order to make the most of the brief period of time you have while taking sparkler photos, always capture multiple images. If you only click the shutter a couple times and capture one or two images of the sparkler exit, you may have to deliver a less-than-stellar image. Instead, challenge yourself to capture multiple keepers. And if you don’t get the shot you want, don’t be afraid to ask the couple to go back one more time.

Pro Tip: When using a flash to light your subjects, it is imperative that you adjust your settings to keep the flash power and the recycle time low so that you can capture multiple images. For pocket strobes with 50-60ws (watt seconds) of power, keep the flash power at 1/16th to 1/32nd for a single flash or even lower power settings when using multiple flash units. External battery packs can also help minimize your recycle time.
6. Direct the Couple to Vary Their Poses

Once you’ve dialed in your settings and captured the standard shot of your subjects walking through a tunnel of sparklers, you can make micro-adjustments to make the most of the light show. One of the easiest adjustments to make is directing your couple to lean in for a kiss or go for the classic dip. If possible, discuss some of these variations with the couple before photographing sparklers for the exit. Letting them know what to expect in advance will improve your chances of capturing multiple poses in less time.
7. Consider Creating Composites in Photoshop

After the sparkler photography exit (or during an engagement session), grab an assistant and an extra sparkler or two and capture a long exposure image that you can use to create a composite in Photoshop. You can learn more about how to create a shutter drag composite image in the Lighting 101 workshop.
8. Add Some Sparkle with Photoshop Overlays When Necessary

Occasionally, venues prohibit the use of sparklers on their grounds, despite the couple’s desire to capture a sparkler picture. If you’re unable to change locations in time to capture the sparklers yourself, don’t worry; you still have options. You can always purchase a set of overlays and add the sparklers to the images in Photoshop during post-production. Overlays work better for couples portraits than grand entrances or exits.
Sparkler Photos | Conclusion
Although it’s the couple and their guests who bask in the dancing light during sparkler entrances or exits, these pictures truly give photographers a chance to shine. With a minimal investment of time spent learning how to take sparkler photos, you will be able to capture and deliver a unique set of images that your clients will treasure… and hopefully share in their social networks.
You can find additional information on this topic in Photographing the Reception, a comprehensive course in our wedding photography education series that covers everything you need to know about covering wedding receptions inside of SLR Lounge Premium.


Get Connected!