
Even before the pandemic, home photography studios were on the rise, but they make more sense now than ever before. While we generally think of the shooting space when it comes to home studios, with backdrops, props and lighting gear scattered about, there’s another important piece to the studio puzzle that is responsible for as much (if not more) of your potential income; I’m referring, of course, to your gallery wall and the images you feature to persuade prospective clients to book your services and then purchase prints.
Gallery walls in a home studio not only transform the walls in your house but also serve as a significant centerpiece for your office space. Showcasing your images in print will help communicate the value and impact of your work. Hopefully, the images will be so good that visiting friends and family won’t notice that it’s not your family in the photos.
If you’re on the fence about whether or not to commit a space to the cause, we’re hoping the following points will add clarity to what it takes to get it done. Here’s how to set up a gallery wall in your home studio in 7 steps:
Choose a Location
1. Determine your purpose and choose a location
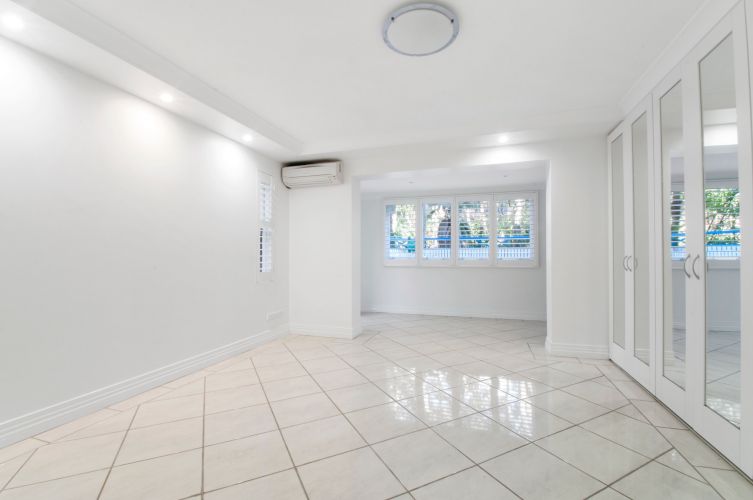
Even if you’ve already made a decision and plan to move full steam ahead into setting up your studio, the actual physical act of getting started can feel overwhelming. A great place to start is to determine your purpose (in-person meetings vs. virtual/Zoom meetings vs. a space that will work for both) and choose a location for your gallery wall.
Gallery size will vary depending on purpose and available space. If you intend to use the gallery space for virtual/zoom meetings, the gallery could simply serve as backdrop. If you plan to host in-person sales meetings, however, the placement of the prints becomes more about available wall space and not where you alone plan to sit and host meetings. Either way, once you’ve picked a spot, measure out your space so that you can get a good idea of how many frames (and at what size) you can comfortably fit into the available wall space.
Choose Your Images
2. Create a centerpiece with an Epic Print

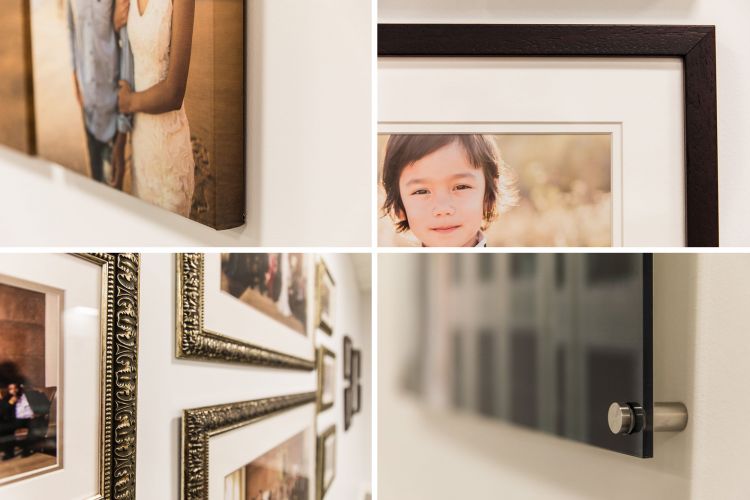
Once you’ve designated a space for your gallery wall, the next (and probably most important) step is choosing your images. The images you choose should serve a variety of purposes, such as showcasing a large, epic print as well as a collage of sorts to highlight your abilities as a visual storyteller. We suggest starting with an epic print as a centerpiece. The reason for this is two-fold. Epic prints carry an inherent wow factor. You want your clients to see that you can capture magic behind the lens. That said, it’s important that your epic print feature an equally epic moment with a clear wow-factor photo. Size alone won’t get the job done, but when you go big with an inspiring photo, you will elicit a positive reaction from your clients.
3. Showcase Storytelling with a Collage

Whereas an epic print highlights a single moment from a shoot, you can use a collage to highlight different angles/moments from a scene, such as an engagement session on the beach. Another way to use a collage is to feature a collection of moments from one part of a larger event, such as the first look from a wedding. Collages will allow you to showcase more of your photography AND sell more prints.
Highlight Your Product Selection
4. Highlight Different Print & Frame Options
Because the gallery wall in your home studio will serve as inspiration for sales while it also boosts the visual appeal of your home, choose a variety of frames & canvases to give your prospective clients more choices and increase the chances that they’ll see something that they will want to purchase. They may even mimic your mixed style and hang a variety of frames and canvases for their own wall gallery. You don’t have to go overboard, but presenting at least a few options will serve you well.
In a previous article, we took a close look at eight types of prints to help your clients choose the right print for their photos, presented in a variety of classic and modern formats. These prints range from framed and matted photo prints to metal and acrylic prints and come in a large variety of sizes.
[Related Reading: A Photographer’s Guide to Photo Prints: How to Choose the Right Wall Display for Your Images]
Put the Prints on the Wall
The entire project will move in phases, but you should expect to spend at least a couple hours on the project once the prints arrive.
5. Design the Layout

When it comes to displaying your prints, you’ll need to consider the layout and hanging options. First, you’ll need to measure your prints and design a grid that looks great in your available space. Consider whether you want the prints to line up using a midline (sketch on the right in the image above) so that the center of the frames line up horizontally, or would you prefer the top or bottom of the frames line up horizontally (see the bottom-aligned layout in the sketch on the left in the image above). It might help to sketch it out first or even do a test run on the floor in a wide open space to see which pieces fit best where. Don’t be afraid to try a couple different arrangements before settling on your final layout. If you find you’re having a difficult time trying to design a layout, a quick search online for “wall gallery layouts” should render some ideal results.

If you have access to software like photo album and wall art design software, you can upload an image of your actual wall space and then create mock-ups using your actual image files to see what it might look like before you ever place a single nail. One of the benefits of using this software is that it allows you to put in the measurements of the wall space; that way, when you start to layout your images, you can input the size of the frame and you’ll get an accurate mockup. There’s nothing quite like seeing it this way as it basically replicates what you’ll see once you hang the actual photos.
6. Hang the Prints

There are a multitude of ways to hang prints. Some unique prints, like the CollageWall photo displays from Bay Photo Lab, come with very specific hanging systems for easy installation, while others are delivered ready-to-hang, but the arrangement will be left for you to figure out. Either way, it’s important to precisely measure out the spaces between the hooks/hangers on each frame as well as from frame to frame. If it helps, sketch out a map and write in the distances on your map so that you can easily recreate it on the wall.

Light It Up
7. Lighting
Quality lighting for your images is essential. Light the prints to look good for both virtual and in-person meetings. How you light the prints will vary depending on the type of print, such as the way fluorescent lights hit metal prints. Some prints that are rich in detail will benefit from more intense lighting as it will bring out the details in the photo, while other prints that feature dramatic shadows might look better under more diffused lighting.
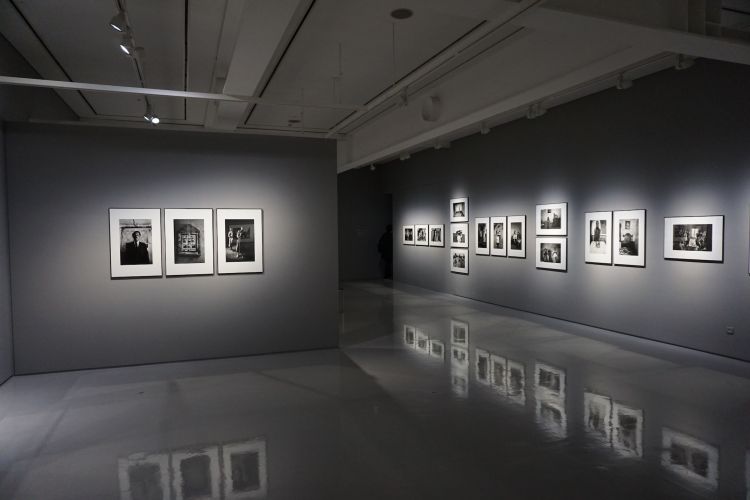
Another important point to consider is the ratio of ambient light in gallery space vs. the lighting on the photos. The ambient light should be slightly dimmer than the light that is illuminating your prints. You can find some great tips here for expanding on lighting setups for galleries, including fixtures vs. bulbs, on-ceiling track lighting vs. recessed can-like lighting, and so on.
Pro Tip: Using light bulbs with a CRI of 90 or higher will help you see consistent results, especially when comparing different types of prints.
[Related Reading: 7 Ways to Sell More Wall Art and Photo Albums]
Conclusion
We hope you enjoyed these tips for setting up a home studio photo gallery. Setting up your own gallery for professional use will require a bit of research and an initial investment, but you can write off the costs for tax purposes and soon enough the long term benefits (saving money on a space and increasing revenue through print sales, not to mention the convenience of working from home) will become apparent.
If you’re interested in diving deeper into the business aspect of running a photography business, be sure to check out our Photography Business Training System, where you can find strategies, templates, and workflows that have been used to build seven-figure studios from the ground up.


Get Connected!