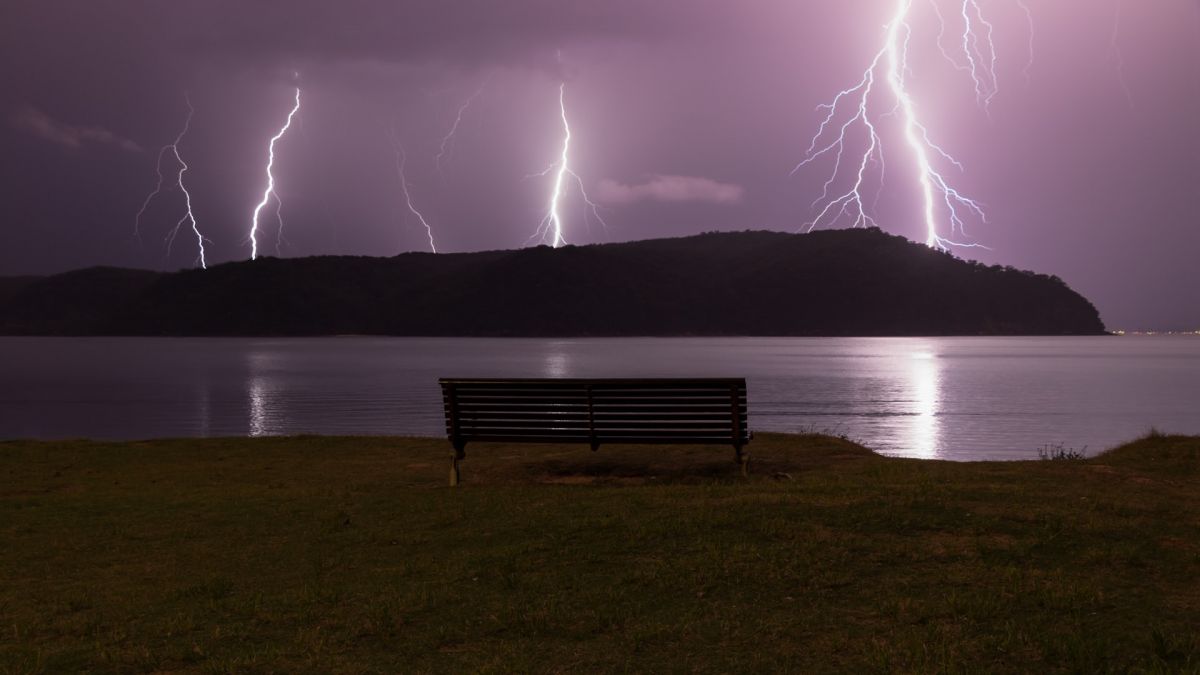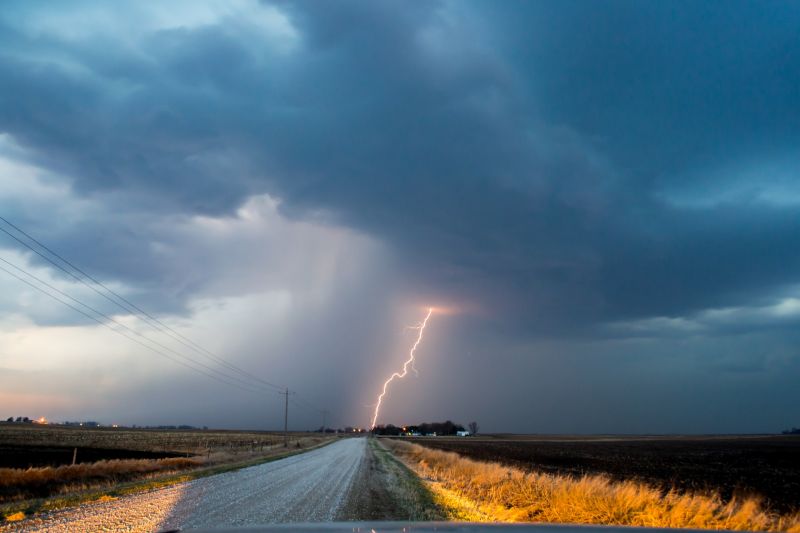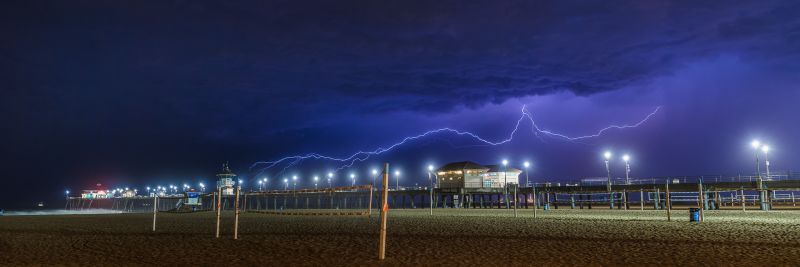
Trying to photograph lightning can be a challenge, but the images you get will be very rewarding. No two lightning patterns are ever exactly the same, so you’ll always have unique images. If you’re not sure where to get started with lightning photography, we’ve put together this guide to help you along. We’ll look at the gear you’ll need, camera settings, composition, and how to stay safe while capturing those amazing lightning images.
The article will cover the following aspects of lighting photography:
- Gear
- Safety
- Settings
- Location Scouting
- Lighting Photography at Night
- Daytime Lighting Photography
- Composition Tips
1: Things You Need to Photograph Lightning Successfully

There are a few items that will help you capture the best lightning shots. The good news is that as a photographer, you probably already have them.
- DSLR or mirrorless camera – you’ll need to use manual controls for shutter speed, aperture, etc, and it’s best to shoot in RAW format.
- Tripod – while some folk get lucky with hand-holding their cameras for lightning, using a good tripod will make it so much easier because you’ll likely be using long shutter speeds.
- Lenses – any lens will work for capturing lightning, but if you want to capture lightning as part of a big scene then a wide-angle lens is best. Zoom lenses will also give you more flexibility for shooting lighting at different distances.
- Weather-proofing – As lightning often appears as part of a storm, you should expect to get wet! If your camera and lenses aren’t weather-sealed, then you’ll have to protect them from the rain. You should also think about waterproof clothing for yourself – being wet and cold is no fun. Take several lens cloths with you too, so you can safely clean any raindrops off the front of your lens.
- Remote control or cable release – this isn’t essential but does make it much easier to take sharp photos because you’re not physically pressing the shutter and introducing camera shake.
- MIOPS Trigger (Optional Accessory) – FLEX detects lightning strikes and automatically captures the image. This will allow you to focus more on the creative aspects including exposure, composition, etc.

A stitched together photo, combining three frames into a single image, as seen in the MIOPS FLEX Kickstarter Video
That’s really all the equipment you need to shoot lightning. However, if you are seriously into lightning photography then you may want to buy some specialized gear, like a lightning camera trigger. This takes a lot of guesswork out of shooting, because this trigger sends a signal to your camera the instant a lightning bolt begins, and it automatically takes photos of it.
2: Think Safety

Lightning is beautiful, but don’t forget how deadly it can be. If you can, it’s best to be inside a building or car so that you are protected from being struck. It’s really not wise to photograph lightning in an open space, especially if there are trees, water, or tall structures nearby. Don’t be fooled by how far away the lightning looks – if you can see it, it’s close enough to strike you.
3: Camera Settings

When you get to your chosen location, set your camera up on the tripod and set your lens to manual focus. Focus to the distant horizon (infinity), and check it’s sharp by taking a test shot and checking it. Manual focus is best for shooting lightning because if it’s too dark the AF system can have trouble focusing.

The settings below are just a rough guide, but you can use them as a starting point and adjust as necessary..
Use Manual Exposure Mode

Set your camera to manual mode (usually ‘M’) on your mode dial. Auto modes tend to give the wrong exposure when it comes to lighting photography.
ISO
Set the ISO to the lowest value your camera has. You should only raise your ISO to capture very faint, distant lightning strikes as part of a much darker, starry nightscape image.
Shutter Speed
Setting the shutter speed for a longer time gives a better chance of getting the lightning. Try and set it for between 5 and 30 seconds to start with. This will brighten up the ambient exposure, of course, but as long as you capture lightning during the exposure, your shutter speed will not actually affect the brightness of a single strike, just like how a strobe flash works!
If you’re looking for a dramatic, dark foreground shot, or if lightning is striking so frequently that your exposures are getting blown out, then you might want to try a shorter shutter speed of around 1-3 seconds, and just capture back-to-back exposures!
Aperture
A medium aperture of f/4 or /5.6 is a good starting point, if there’s nothing in the foreground of your composition. You may find your images look overexposed at this setting, so try at f/8 instead, or adjust your shutter speed to be faster, if you’re trying to catch faint lightning strikes that might “disappear” as you stop down your aperture.
If there’s a foreground subject in your composition, then you may want to use a small aperture (bigger f/stop) to get more depth-of-field. If you find yourself needing to use f/11 or f/16 to achieve good depth of field in your scene, you might have to raise your ISO a little bit in order to catch those faint lightning strikes.
4: Finding Great Locations

This may be easier for those who live where there are lots of storms! However, it’s not just about capturing lightning bolts in any old scene – the trick is to find an interesting foreground.
This means you may well have to plan ahead. It’s dangerous and pointless to wait until you’re in a storm to find good backdrops for your lightning photographs. Think of some places local to you that you could get to quickly when a storm is brewing, and preferably, shoot safely during the storm. Lightning shots look best when there’s a lot of sky, but also some details in the foreground, such as buildings or hills.
TIP: Here’s how you can tell how far away lightning is from your current location: count the seconds between the flash of light and the boom of the thunder Every five seconds equals one mile. So, if you count ten seconds, you are a lot safer, but if you count just one or two seconds, you could be in extreme danger!
We recommend finding somewhere indoors, for maximum safety if you know a storm is going to pass right over you. If you’re outdoors and a storm is heading towards you, you need to leave the area, of course!
5: How to Photograph Lightning at Night

Shooting lighting at night gives you some really dramatic images, but there’s no one-size-fits-all solution to the settings you should use. There’s a lot of variables to consider that may make a difference to the settings you use. Once you have set up your camera and manually focused to infinity, ask yourself these questions:
- Is the lighting fairly close? If it’s not a long way away and is striking several times, then it’s best to close down your aperture (higher f/stop) and keep your ISO low. This will help to prevent overexposure.
- Is there a lot of ambient light in the scene? If you are shooting lightning over a cityscape, for instance, you will need a faster shutter speed and a low ISO.
- How fast are the storm clouds moving? If the storm is moving fast and there is a lot of flashing lightning, try using a faster shutter speed to avoid ghosting in the clouds. This is where the same shape is caught in your image as it moves while your camera is taking the photo. This means slower shutter speeds will show more ghosting because the shutter is open for longer while the clouds are moving across the sky.
- Too many strikes in quick succession will also just blow out your long exposures, of course!
Take some test shots with lightning in the exposure, and check to see that you’re happy with the focus and settings you’ve chosen. If not, adjust the focus, shutter speed, or ISO accordingly.
6: How to Photograph Lightning During the Day
- While shooting lightning during the day can be a challenge, there are a few tricks you can try to get great shots. Set your camera up and manually focus to infinity. Take a test shot to make sure the foreground has enough detail. You may need to go down to f/16 or even more. Set the ISO to the lowest setting, and choose a slow shutter speed.
- You may find it easier to shoot lightning during the day if you use a lightning trigger. This little device will attach to your camera and set the shutter off when a flash of light is caught by the sensor. There’s a big choice of lightning triggers on the market, from budget to professional ones.
- If you don’t have a lightning trigger then another option for photographing lightning during the day is to set your aperture to f/22 or more. Use the lowest ISO, and set your shutter speed as slow as you can. All you have to do then is shoot continuously. Hopefully, you will capture some good lightning strikes, although, with such a dark aperture and ISO, you may not see faint strikes that just aren’t very bright. (Remember, lightning behaves just like the pop of a strobe flash, in terms of setting your exposure; aperture and ISO will make lightning brighter or darker, but shutter speed will not!)
- Take plenty of spare memory cards if you go the route of “spray and pray”, as your card will fill up quickly with all the images. If your camera has it, use a compressed RAW mode so that your camera’s buffer stays ample, too.
7: Composition Tips for Photographing Lightning

Shooting successful lightning photos requires a slightly different composition than you may be used to. For instance, you need to cover more sky than your foreground or background. This might not look right at first, but once the lightning strikes it will become the main focal point of the image.
Because lightning appears in different places, you never know where it’s going to show up in your photo. This is why it pays to use a wider-angle lens than usual so that you can crop to a good composition later if you need to.
Alternately, if you’re feeling really ambitious, and if you have an old beginner SLR lying around, consider setting up two cameras and finding two different compositions of two different parts of the sky!
Final Thoughts

Patience is a virtue when it comes to photographing lightning! It’s unpredictable, and you’ll find that you take many, many shots without getting anything good. You may also find that your just have to LEAVE an area, for your own safety, especially if a storm is approaching, and not moving away from your position.
[REMEMBER: For every five seconds between the lightning flash and the thunder’s boom, that is only ONE mile between you and the strike. That’s only ~5,000 feet away! Now might be a good time to also remind you that a lightning strike is around 300 million volts and 30,000 Amps. For reference, just a fraction of one Amp, or just 50-100 Volts, can be lethal, depending on the combination of the two. Feeling a little more cautious now? Good.]

Eventually, everything will come together just right and you’ll feel a huge sense of satisfaction at having safely captured the perfect lightning shot!
Hopefully, our tips have given you a bit more understanding of how to photograph lightning. We also hope they inspire you to get out there and have a go. Have fun, and don’t forget to stay safe while shooting!


Get Connected!