Unlike photographing a landscape, a nightscape, or many other outdoor photography subjects, a lunar eclipse only comes around once in a while. Aside from traveling all around the world, most people will have just one or two good opportunities per year to see a total lunar eclipse. Of course, this makes it extremely difficult to learn how to photograph a lunar eclipse.
Not only is it rare, it’s also a relatively fleeting moment fraught with technical challenges. In this article, however, we’ll give you a crash course that will leave you fully prepared.
Before any eclipse, check the exact timing and visibility for your location. A lunar eclipse unfolds over multiple phases, and the moon’s position can change significantly during the event, so knowing where it will be during partial eclipse and totality can make the difference between simply documenting the moon and creating a photograph with a strong composition.
Part of the Learn Photography Guide
Plan your lunar eclipse photograph before it starts
If your goal is simply a tight photograph of the moon, planning is relatively easy. Find a location with a clear view of the sky, check the eclipse timing, and arrive early enough to set up. If you want the moon near a mountain, building, coastline, or other foreground subject, however, you’ll want to know both its direction and altitude during the part of the eclipse you intend to photograph.
Apps such as PhotoPills and The Photographer’s Ephemeris can help visualize where the moon will appear from a specific shooting position. We’ve also collected several useful tools in our guide to apps and websites for nightscape photography. For the eclipse itself, check an astronomy source for the exact local timing of the penumbral phase, partial eclipse, totality, and maximum eclipse.
Arriving 30-60 minutes early is also useful for a much simpler reason: you can focus while the moon is still bright, frame the shot carefully, and solve any tripod or camera problems before the exposure becomes difficult.
The best lens for photographing a lunar eclipse
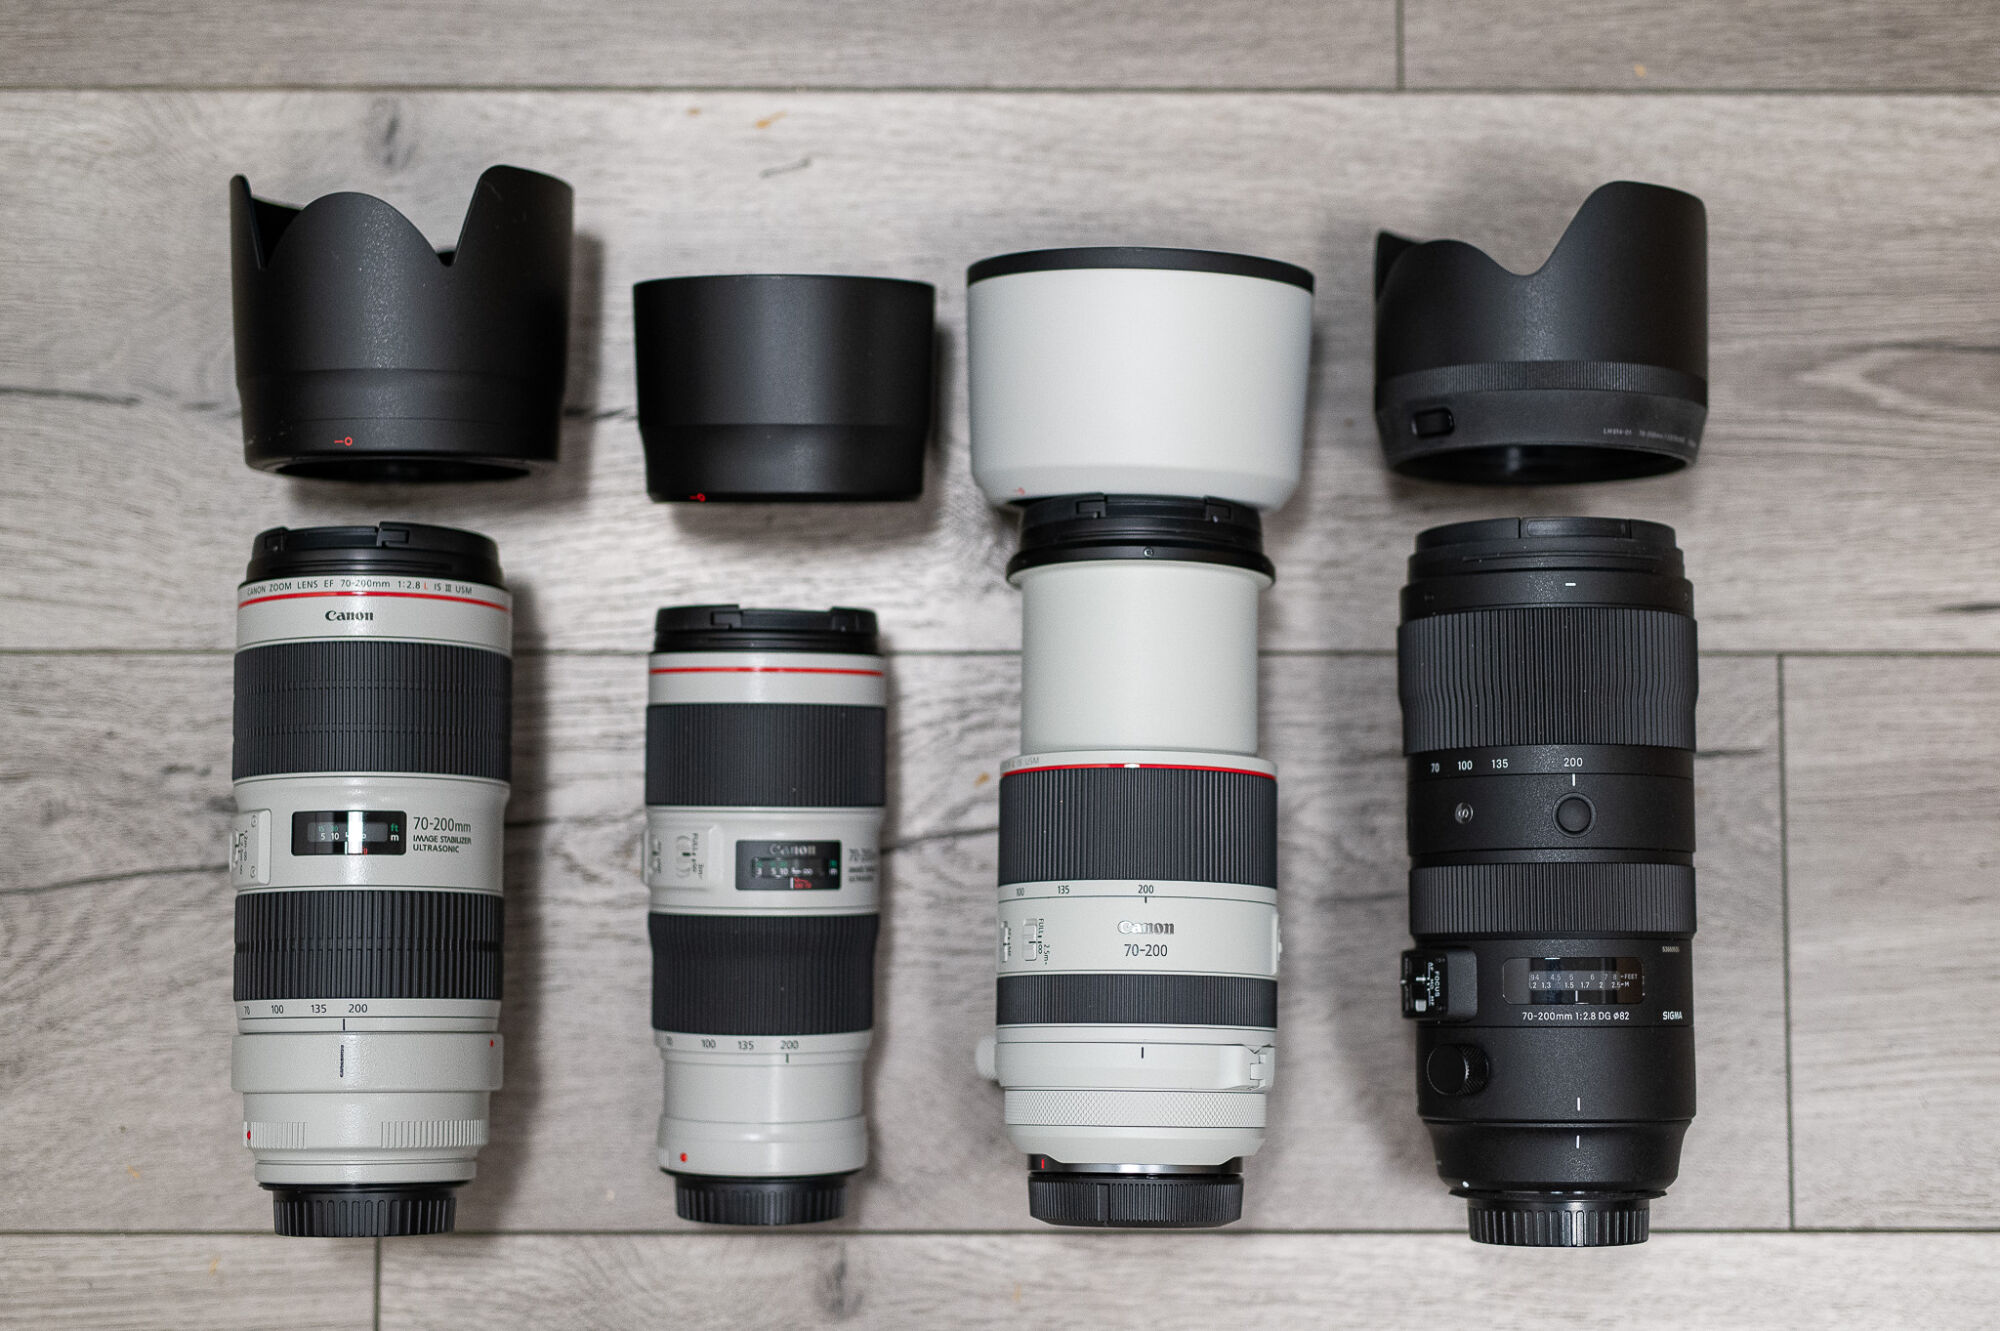
You might think you either need a telescope or an expensive telephoto lens to adequately capture a lunar eclipse. Honestly? Neither is necessary, thanks to modern camera and lens technology. Almost any telephoto lens will do, and we’ll talk about cameras in a minute, but the answer will be similar.
[RELATED: Tips & Ideas For The Best Moonrise/Moonset Photos]
Maybe you already have a 70-200mm lens, either f/2.8 or f/4. Those are fantastic. You might end up cropping in a little bit, but with the megapixel counts these days on most cameras, it’s fine.
Alternatively, if you have a 70-300mm, 100-400mm, or any similar lens, that can work as well. However, your lens’ aperture will probably be limited to f/5.6 or f/8 by the time you get to the telephoto end, and this can cause some technical struggles. We’ll talk about those later.
Personally? I’ve captured one 200-300mm photo once, and to be honest I feel like once is enough. At that focal length, lunar eclipses mostly all look the same. That is, unless they’re happening closer to the horizon.
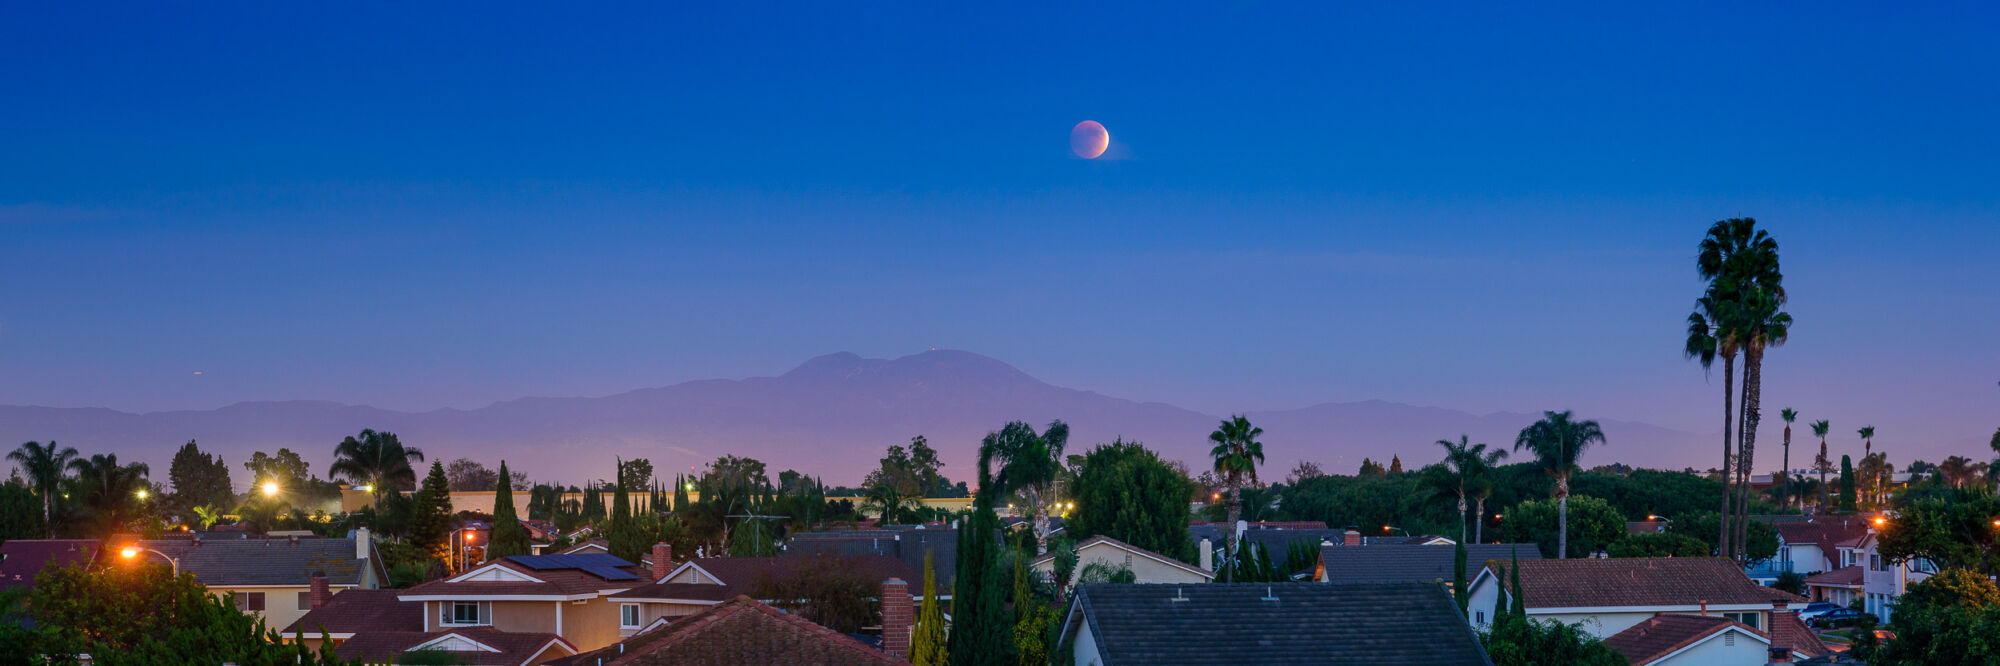
Capturing a lunar eclipse when it’s happening at or near the horizon can present a unique challenge. With practice, it can produce truly beautiful imagery, and I consider it a lifelong pursuit of mine. If you do get the opportunity to witness (and capture) a lunar eclipse near the horizon, you’ll probably find that you tend to zoom out and capture more scenery. 100-200mm is more than enough.
It has also been a personal project of mine to capture ultra-wide imagery of lunar eclipses, and for that matter solar eclipses too. Of course for such wide-angle photos to work, you’ll need to have a really eye-catching, frame-filling composition, and a strong understanding of camera settings and how to correctly bracket high-contrast nightscape exposures.
In short, the best lens for a lunar eclipse is almost any lens that can reach about 200mm or 300mm. However, once you capture “that one shot,” you’ll quickly find yourself wanting to think more creatively and use all sorts of other focal lengths.
The best camera for photographing a lunar eclipse
Thankfully, while you do need to have the right focal length for your creative vision, the camera body you mount your lens on doesn’t need to be exotic at all. Why? Because sensor technology these days is incredible, and even the most affordable ones are adequate.
For starters, you don’t need lots of FPS (frames per second), nor do you need incredible autofocus power. Also, having a smaller, “cropped” sensor can be an advantage, since your subject is very distant, and depth of field is irrelevant.
Yes, you might need to bump your ISO up a little bit (we’ll talk about camera settings later), but honestly, it doesn’t need to go very high for much of the eclipse. Again, almost any modern digital camera is good enough to photograph a lunar eclipse.
This means that a Sony A6700 or ZV-E10 II is going to be almost as adequate as a Sony A7 IV or Sony A7R V. A Nikon Z50 II is more than adequate; you don’t need a Nikon Z6 III. A Canon EOS R50 or EOS R10 is more than enough; you don’t need an EOS R6 II or R5 II. Of course, this also means that any Fujifilm APS-C or Olympus/Panasonic Micro Four Thirds camera is a great choice, as long as you have the right lens for your creative vision.
One setting does matter: shoot RAW. The brightness and color of the moon change substantially as an eclipse progresses, and RAW files give you much more flexibility to adjust exposure, white balance, and shadow detail afterward. Manual exposure is also preferable because automatic metering can react unpredictably as a small bright moon becomes surrounded by a mostly black frame.
The best tripod for photographing a lunar eclipse

A quick word on tripods, before we get to the best, most challenging part. Camera settings, of course.
As with all types of photography at night, the bigger and stronger your tripod, the better. Flimsy little “travel” tripods will only frustrate you; they’re wobbly, they’re almost never tall enough, and they’re imprecise when framing a telephoto shot. Get yourself something big and heavy.
Especially if you’re going for an image frame equivalent to 200mm or longer, camera shake will be a huge issue. You can only get away with a lightweight tripod if you use your camera’s self timer or a remote release, and if there’s no wind.
A two-second self timer, cable release, wireless remote, or intervalometer is useful even on a sturdy tripod because touching the shutter button can cause visible vibration at 300mm or 400mm. If you’re planning a sequence of the eclipse, an intervalometer also lets you capture frames at consistent intervals without touching the camera every few minutes.
As a landscape and nightscape photographer and videographer, I just got used to the fact that I was going to own 2+ tripods. I have some ultralight travel tripods that I take when I go hiking or backpacking, and I have some big, sturdy tripods that I bring out when I’m not going too far from a parking lot. My favorites are the Slik AMT 700DX and the Robus RC-8880. For more tips on what to look for in a heavy-duty tripod, check out our article about The Best Heavy Duty Tripods.
One more tip that can help if your tripod isn’t that strong or tall is this: just sit down. Grab a little camp chair, and set your tripod relatively low. This will significantly increase the stability of your images if the tripod is thin/lightweight. Also, for a longer ~60 minute eclipse, your back will thank you for not hunching over a tripod that isn’t tall enough to work from eye level.
Exposure settings for lunar eclipse photography
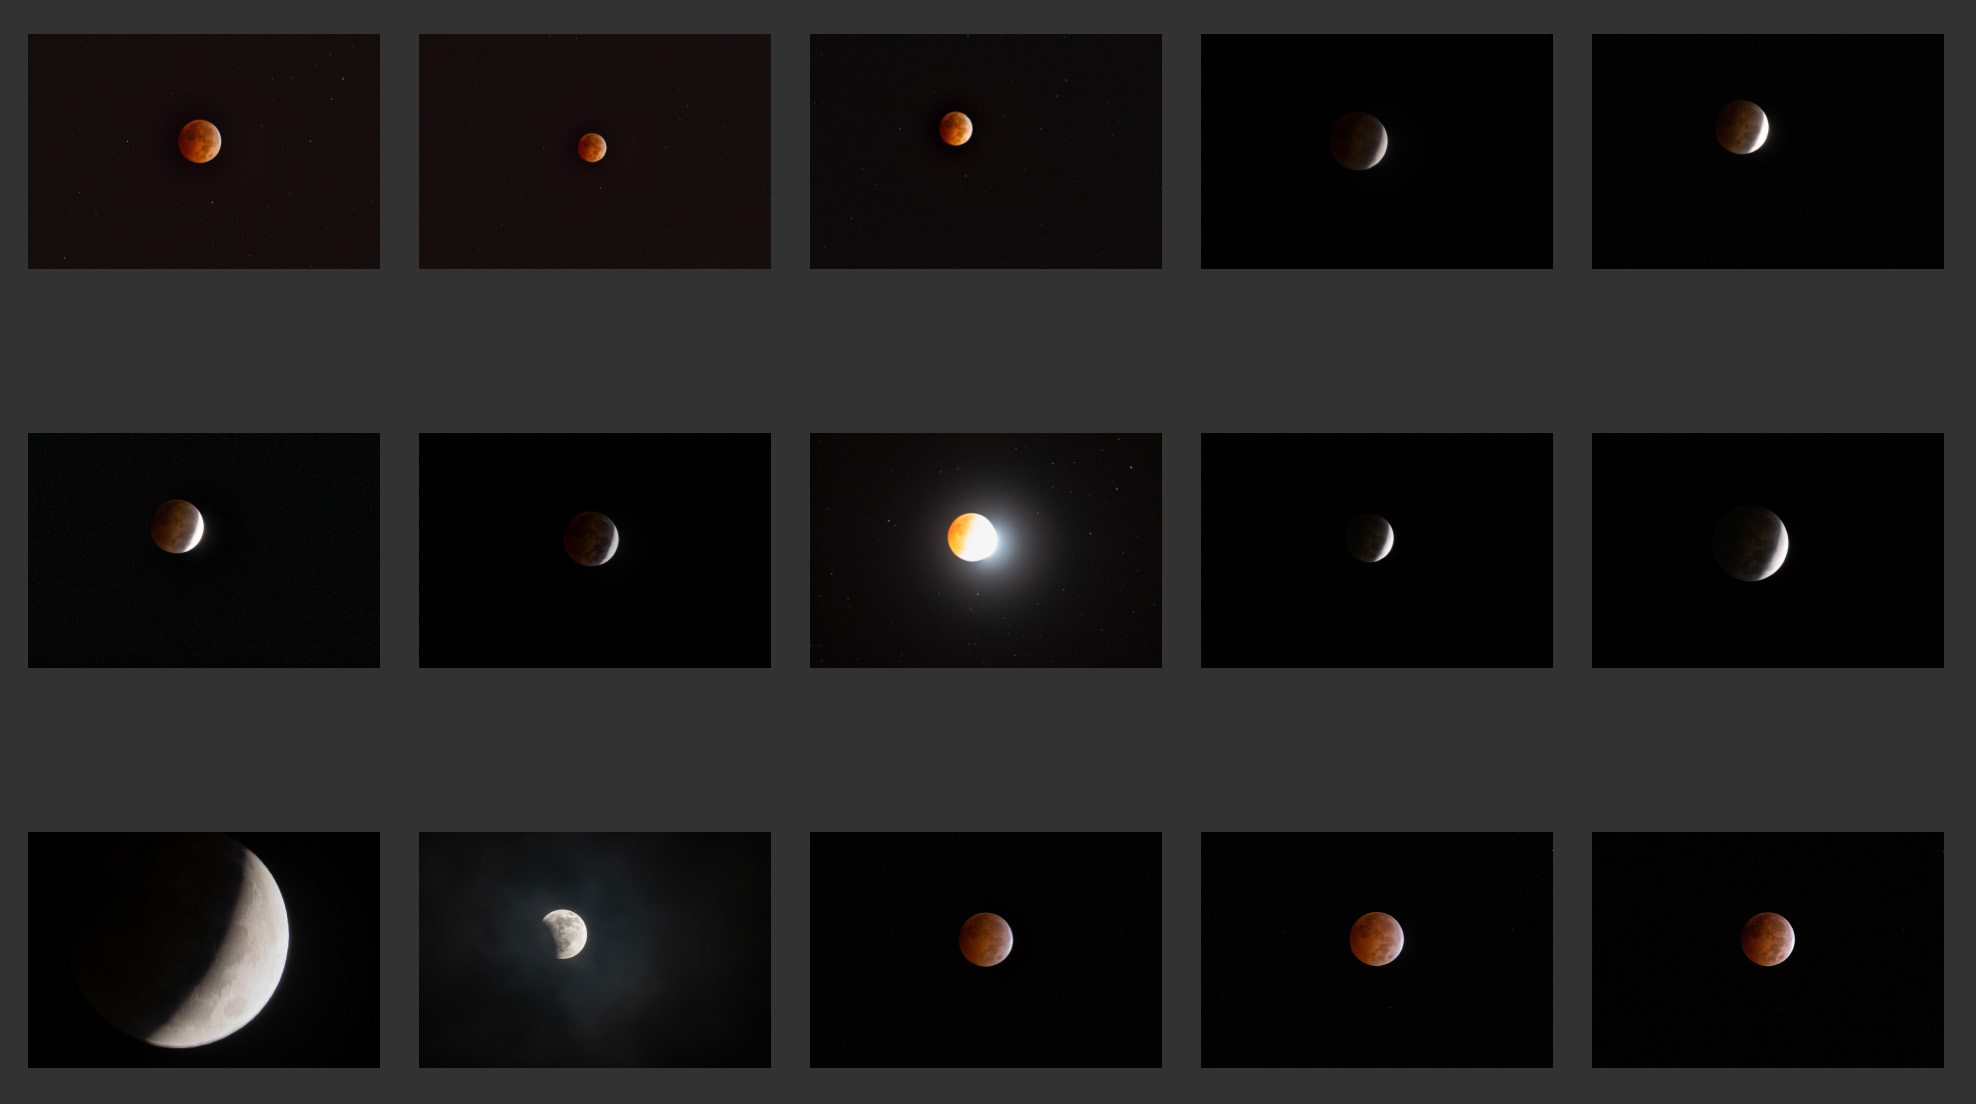
Okay so, you’ve collected your gear, and you’re ready to go. Now comes the most challenging part: figuring out your exposure, and setting focus.
Thankfully, the right exposure settings for lunar eclipse photography are actually straightforward, if you take the time to go over them and understand everything before the eclipse happens.
See, here’s the deal. The moon is usually extremely bright. In fact, it’s bright enough to be considered a daytime exposure. A full moon, without an eclipse, can be correctly exposed at ISO 100, f/5.6, and 1/100 sec, more or less.
NOTE: I’ll continue giving examples with an aperture of f/5.6, in case folks have a lens that is limited at the telephoto end. But if you have f/4 or f/2.8, use it.
ALSO: This is the best time to set focus. A full moon can easily be autofocused on by modern cameras, and then you can switch to manual focus. However, it’s a good idea to get familiar with how to manually focus on the moon with whatever telephoto lens you’re using, because there’s always a chance you bump focus in the middle of the eclipse. Also, some cameras can “reset” focus if you turn the camera off to swap batteries or memory cards.
For the most precise manual focus, magnify live view or the electronic viewfinder and look at a high-contrast edge of the moon or visible crater detail. Don’t simply rotate the lens to the infinity mark and assume it’s correct. Once focus is locked, check it periodically throughout the eclipse, especially after moving the camera or changing a battery.
The minute the lunar eclipse starts, of course, the moon will darken. Even before the eclipse starts to be obvious to the naked eye (when the earth’s shadow becomes visible on the moon), the moon’s brightness will gradually darken due to what’s known as the penumbral eclipse.
When the penumbral lunar eclipse starts, you’ll want to start by gradually raising your ISO first. Leave your shutter speed alone, for now, because at telephoto focal lengths, slower shutter speeds will quickly introduce motion blur.
Then as the partial eclipse begins, the earth’s well-defined shadow starts passing over the moon. Even at this point, you should still be able to get away with an exposure of around f/5.6, 1/100 sec, and ISO 800 or so. However, as the lunar eclipse totality approaches, you’ll probably have to drop your shutter speed down a bit.
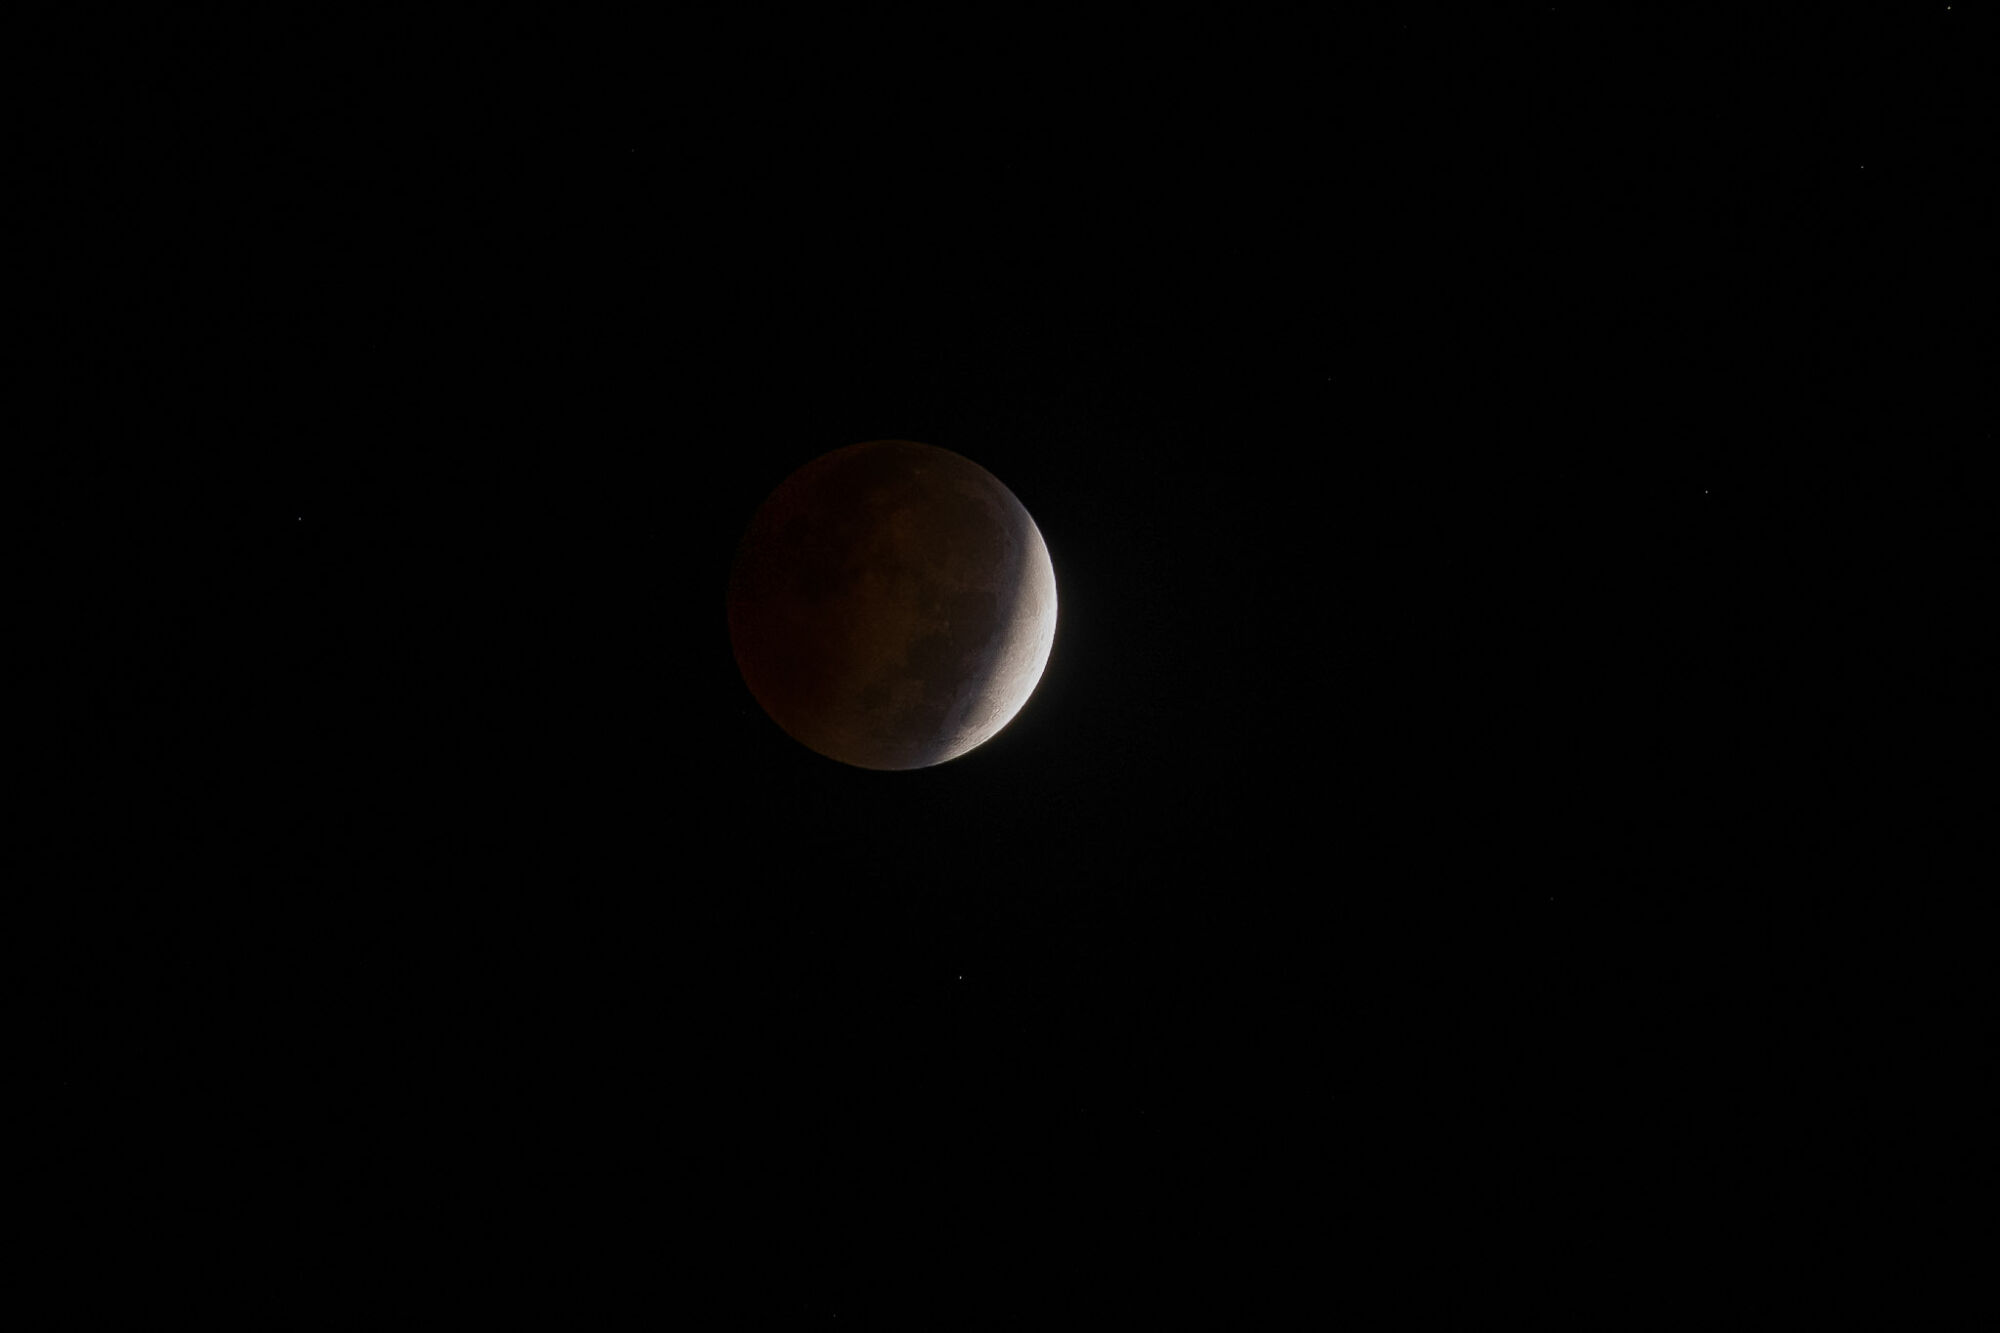
The total lunar eclipse is when your exposure is the greatest challenge. It’s easy enough to get well-exposed, in-focus images, of course. However, at 200-300mm, the apparent movement of the moon through the sky becomes noticeable quite rapidly. So, unless you have an astronomy/astrophotography tracker, you’re going to have to limit how slow your shutter speed goes.
NOTE: Do you need an astro-tracker? No, in my opinion, it’s not necessary. However, if you’re really into astronomy and astrophotography, it’s certainly an investment that I strongly recommend.
So, let’s break it down: whatever lens you have, you’ll be at the fastest, widest aperture, such as f/2.8, f/4, or f/5.6.
Whatever your sensor’s highest usable ISO is, you’ll probably be there too. Usually, ISO 800 or ISO 1600 is a good starting point, although a darker totality or slower lens may push you considerably higher.
Last but not least, you’ll go with the slowest shutter speed that is required to correctly expose the moon, while being mindful that any shutter speed approaching 1-2 seconds at longer focal lengths should be checked carefully for subject motion.
The thing most reviewers miss about lunar eclipse settings is that there isn’t one “correct” exposure for totality. One eclipse can be noticeably darker or redder than another, and conditions can change even during totality. Bracket your important frames by a stop or two, and check both the histogram and actual sharpness at 100% instead of relying solely on how bright the rear LCD looks in the dark.
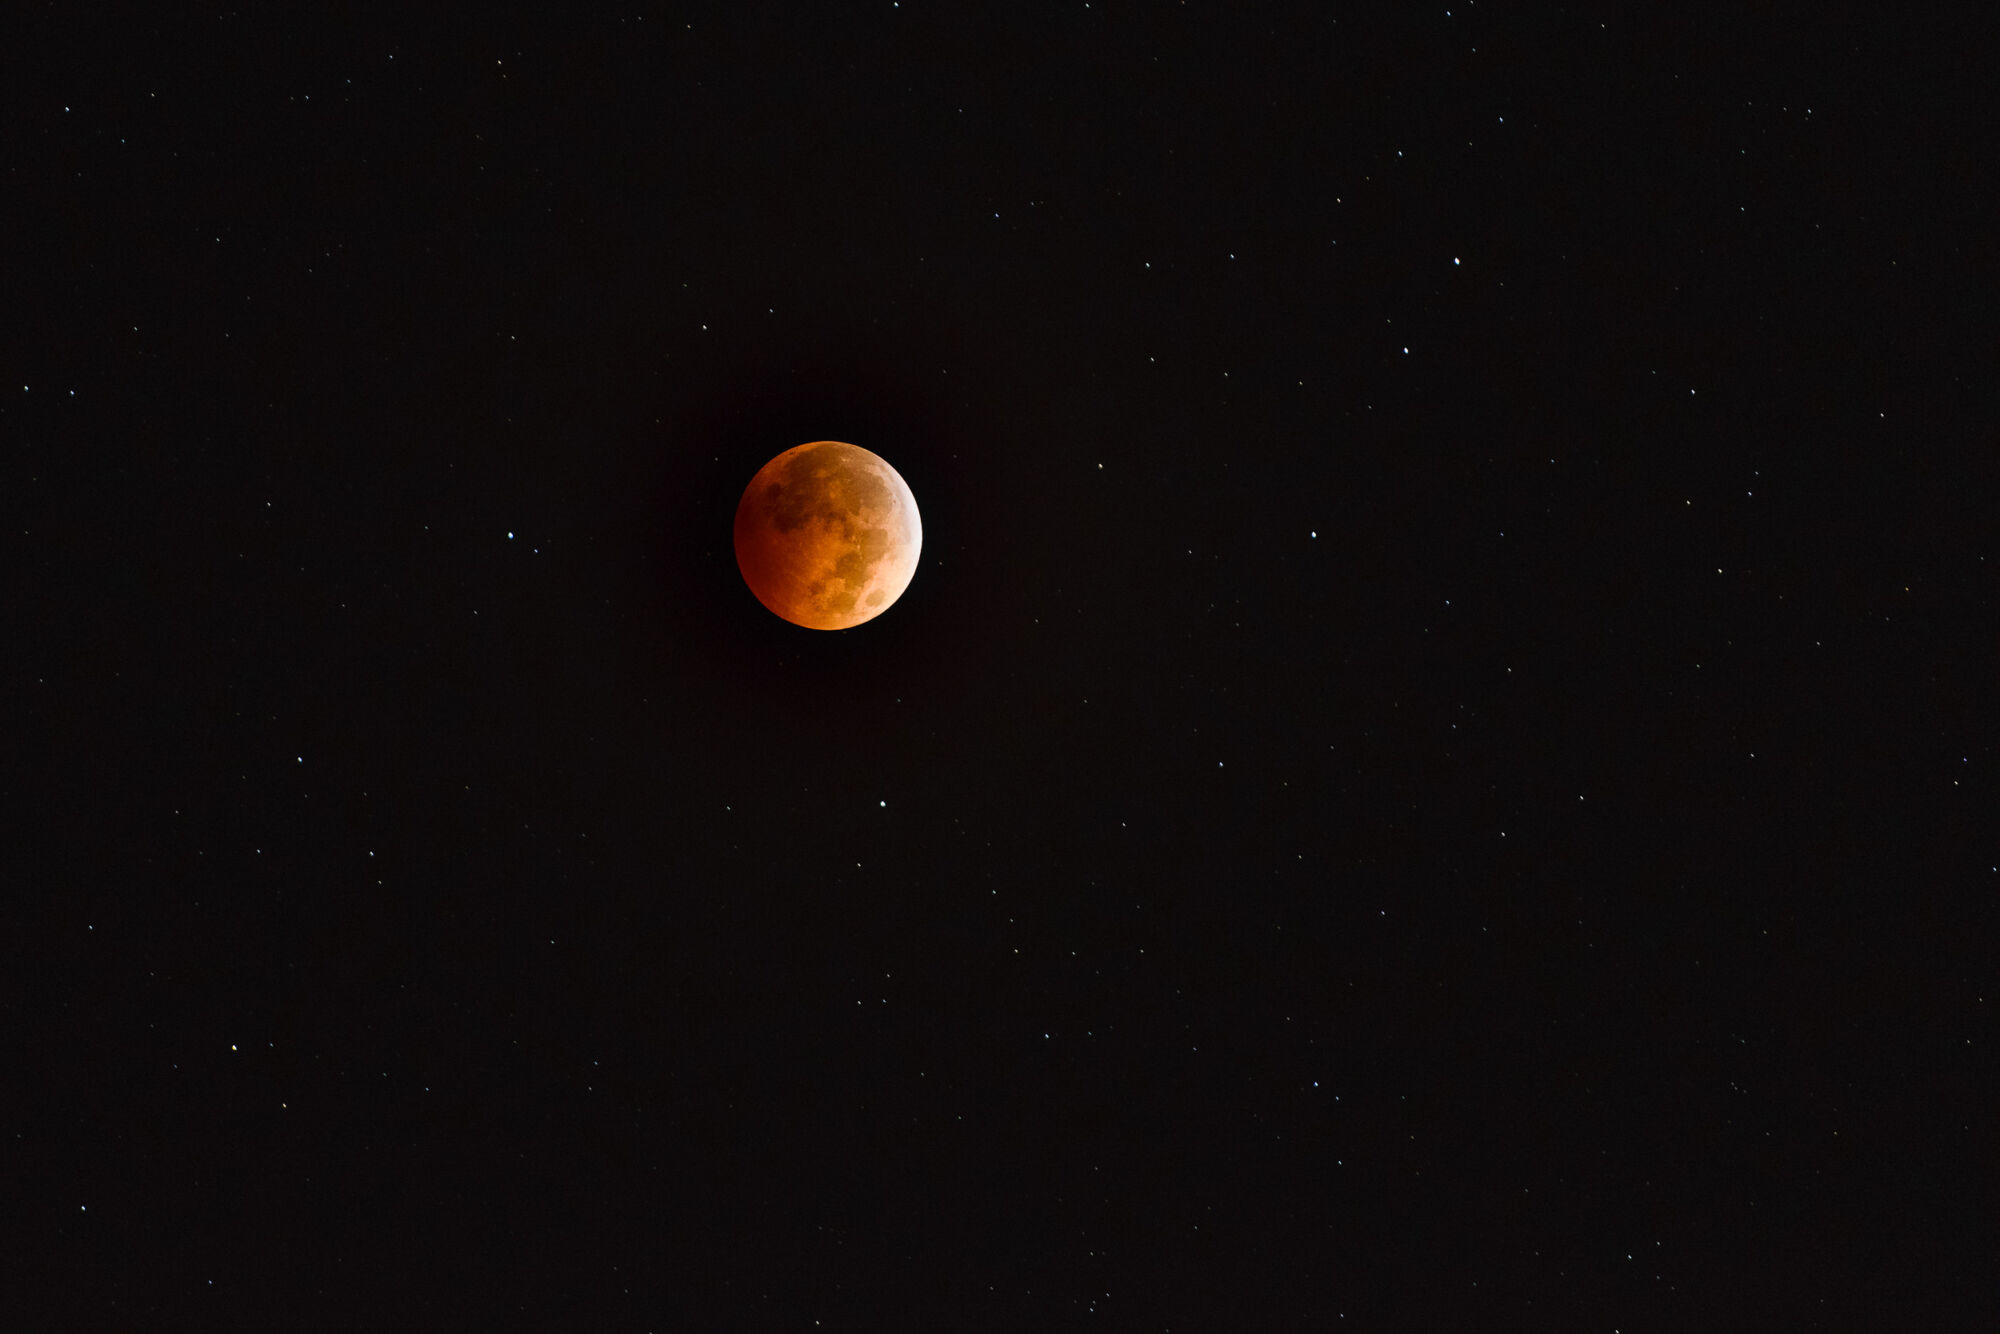
I’m very confident that whatever your camera and lens combination is, you’ll be able to correctly expose a total lunar eclipse. You’ll be cutting it pretty close, especially if your lens is “stuck” at f/5.6 and if your sensor needs to stay at around ISO 800 or so. However, the images will still wow your viewers.
There is one final touch you might be able to add, but only if you work quickly and if you have both a fast aperture and a sensor that can work well at ISO 3200 or 6400. That is, you can crank up your exposure even higher, and capture a second exposure to add more stars surrounding the eclipsed moon. This will require the careful layering and masking of the two different exposures later in Photoshop, but there are tons of tutorials out there on how to perform this simple process.
Of course, if you’re capturing wide-angle imagery of a lunar eclipse, and a nightscape scene in the frame, then your exposure is likely to be very different. However, the good news is that your shutter speed won’t be nearly as restricted, the more you zoom out.
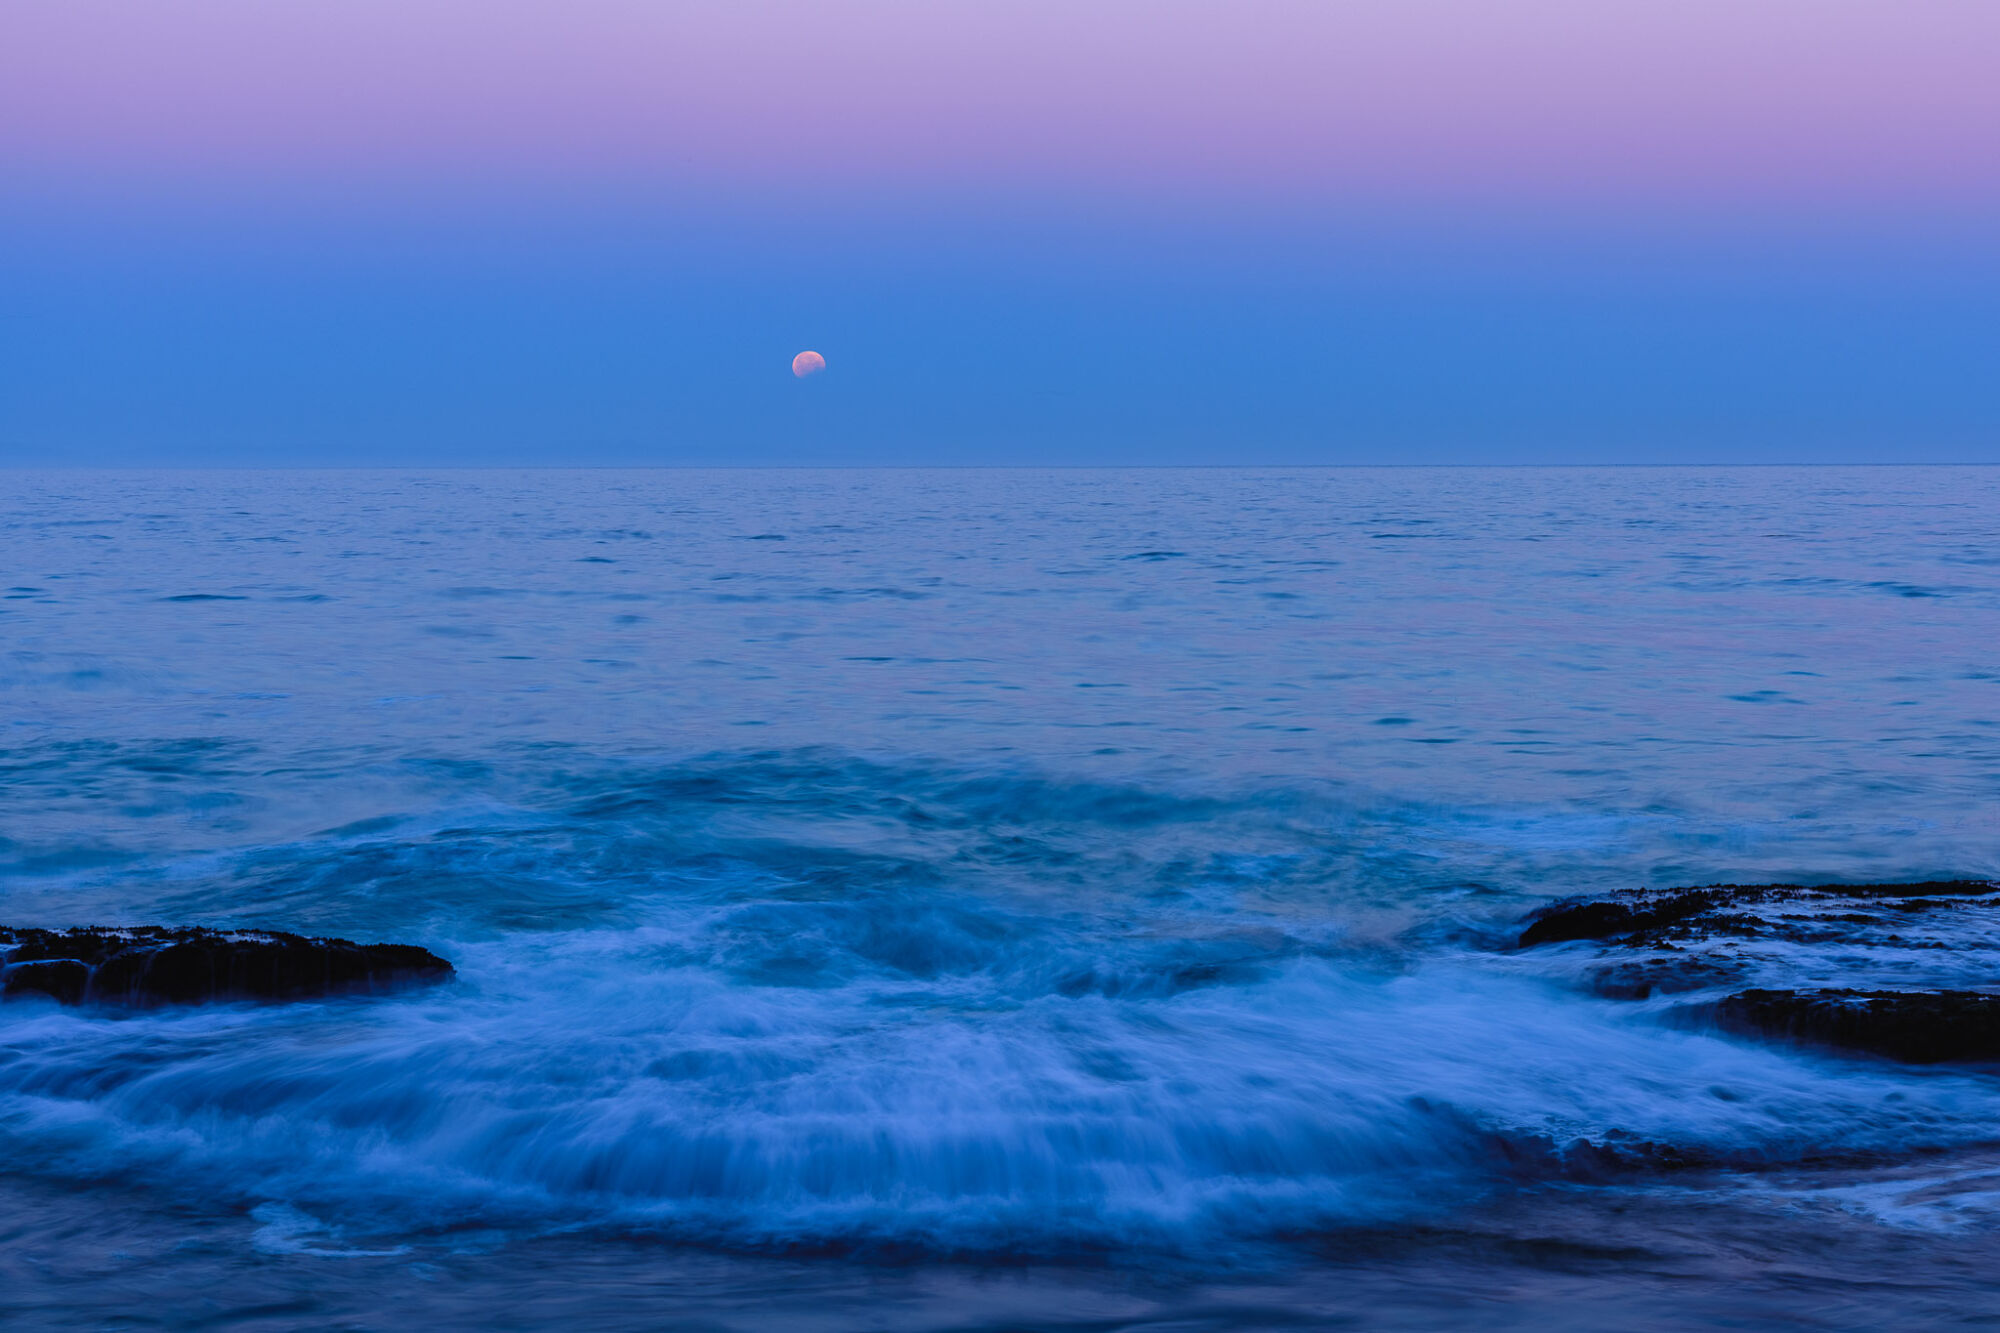
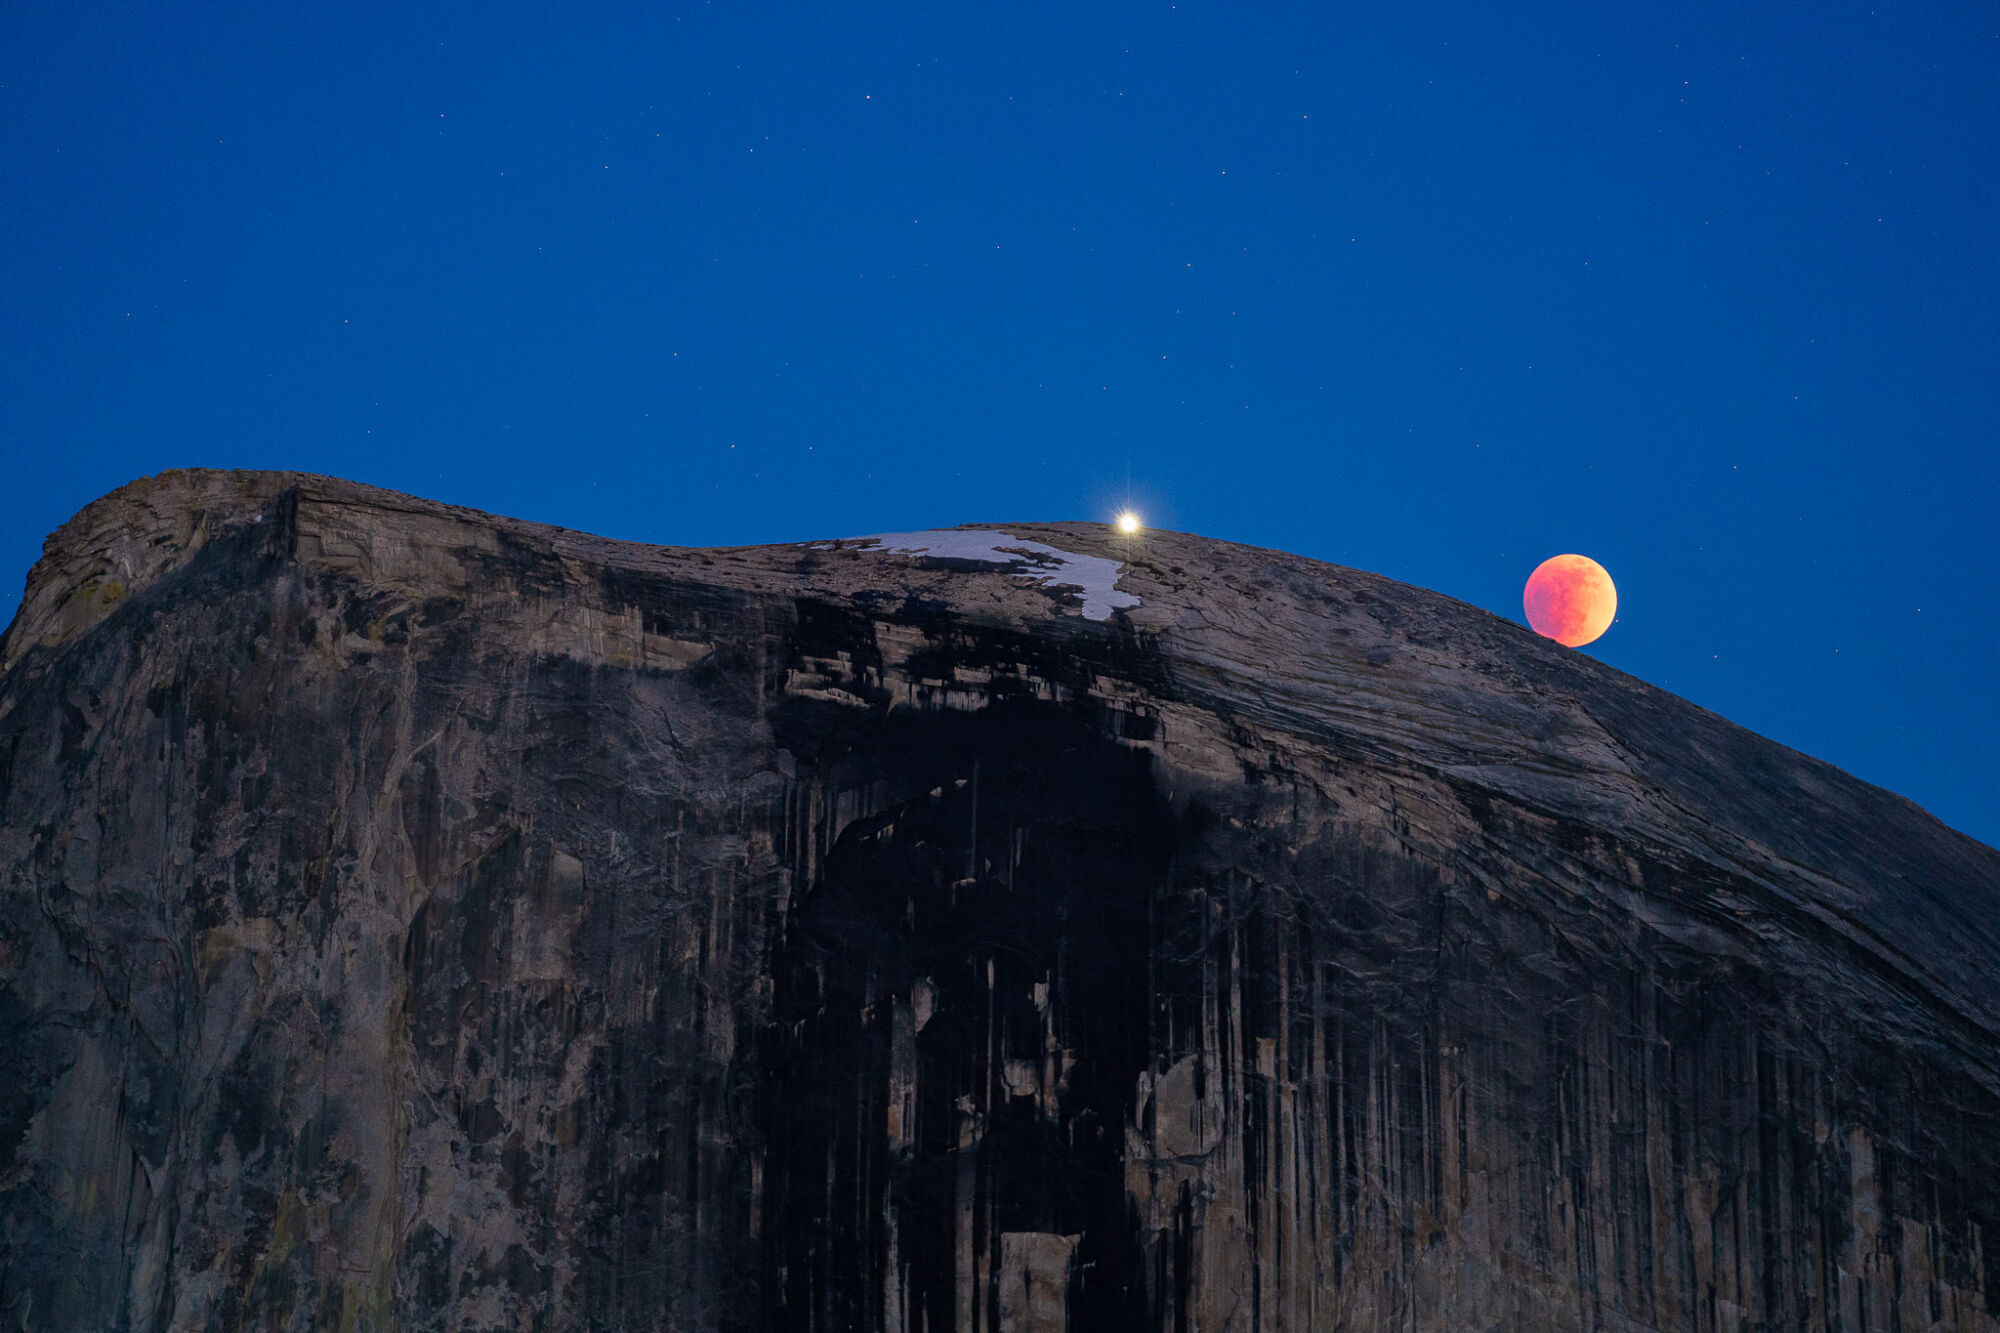
If you’re wondering, an “eclipse trail” photo is also relatively easy to create, but it’s a whole different process that deserves its own tutorial. For now, just know that the next two images were captured over the course of 2-3 hours total, using stacked multiple long exposures.
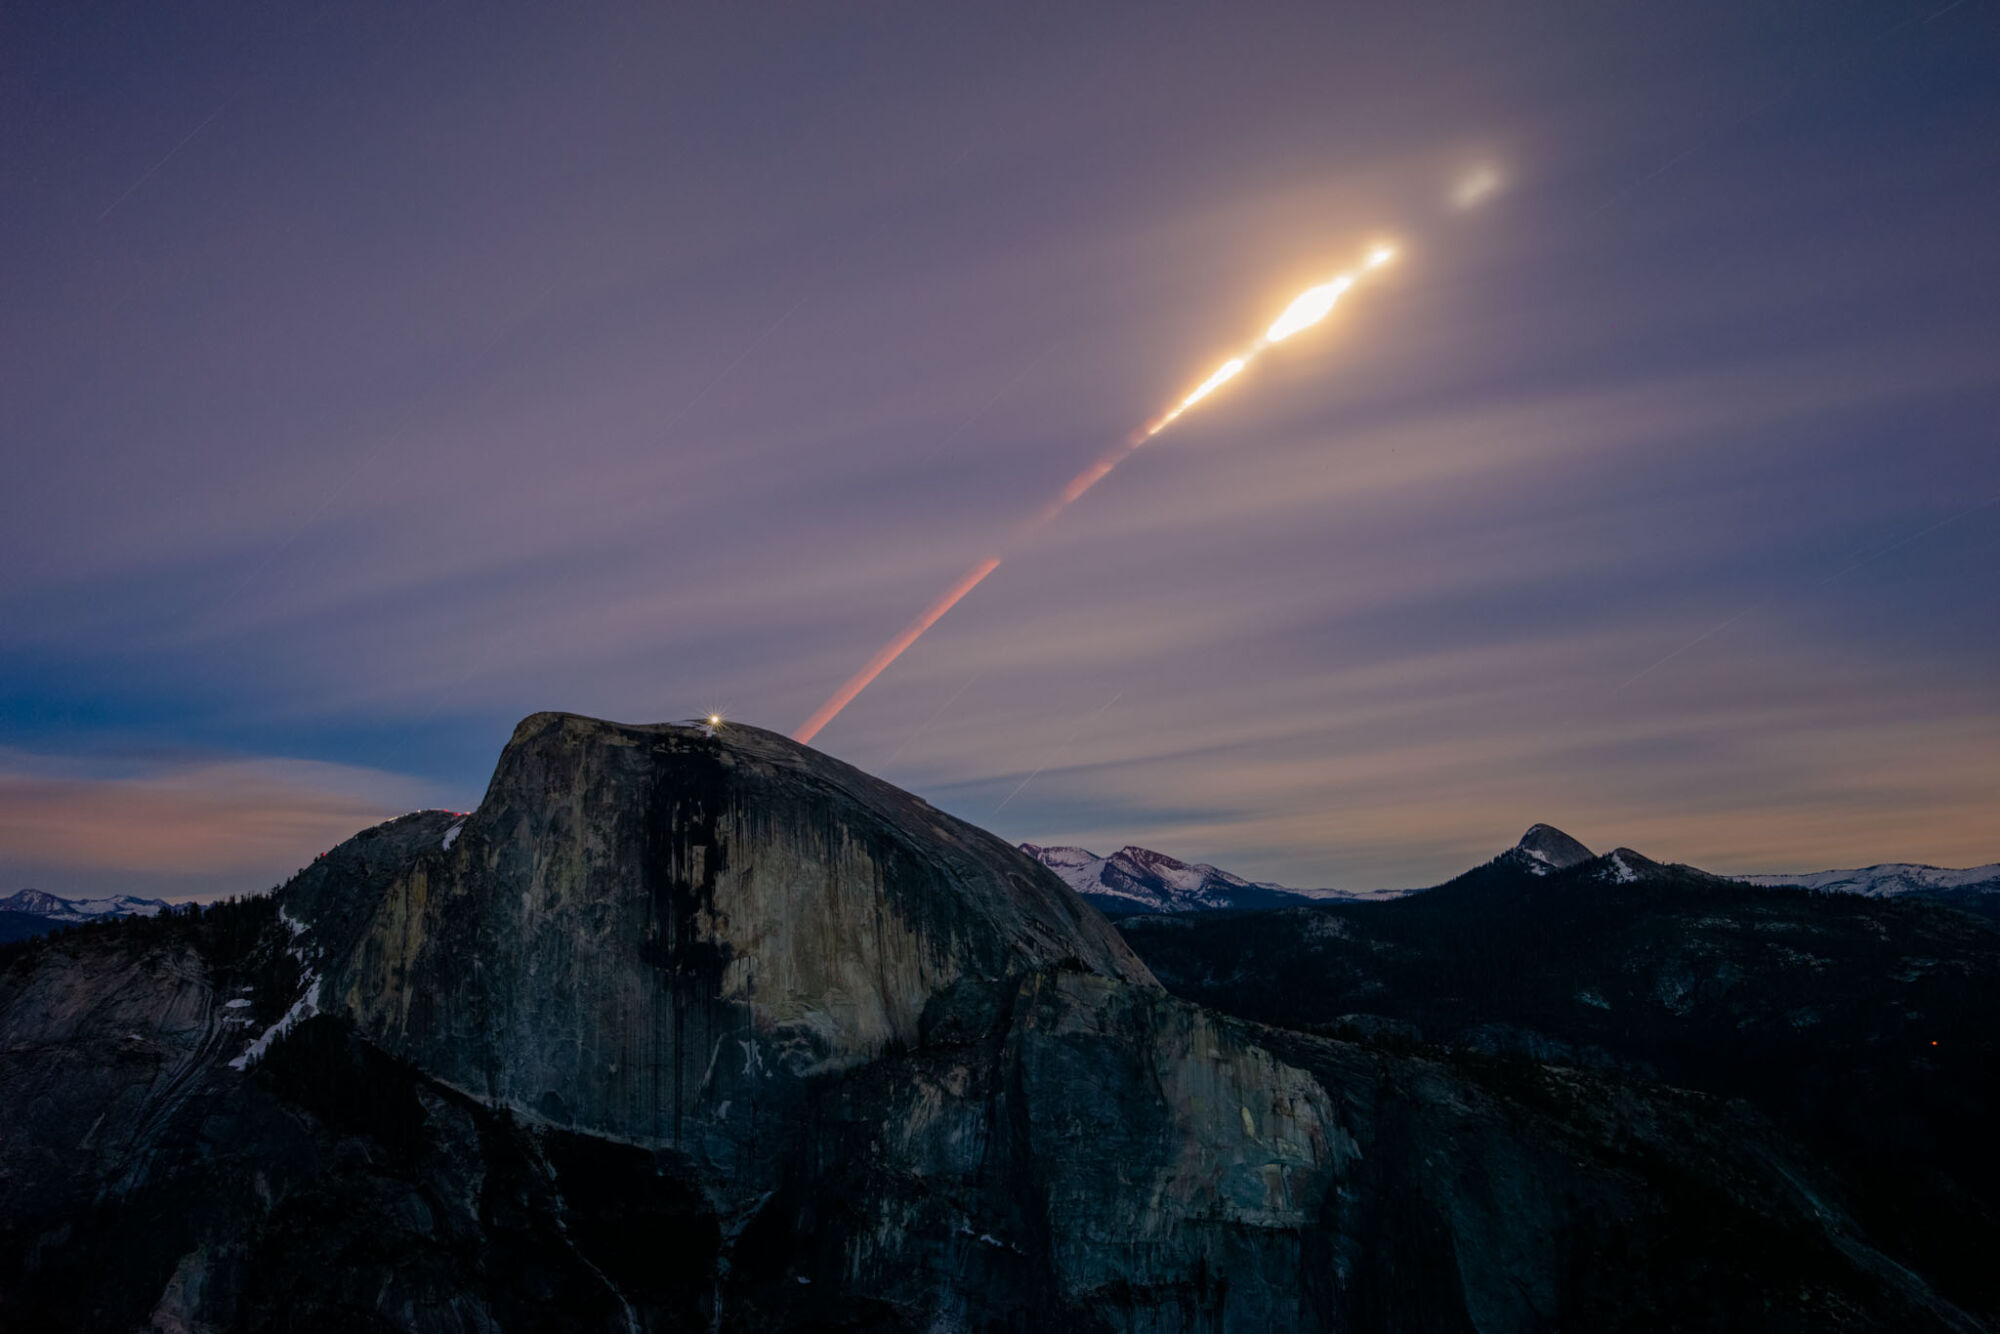
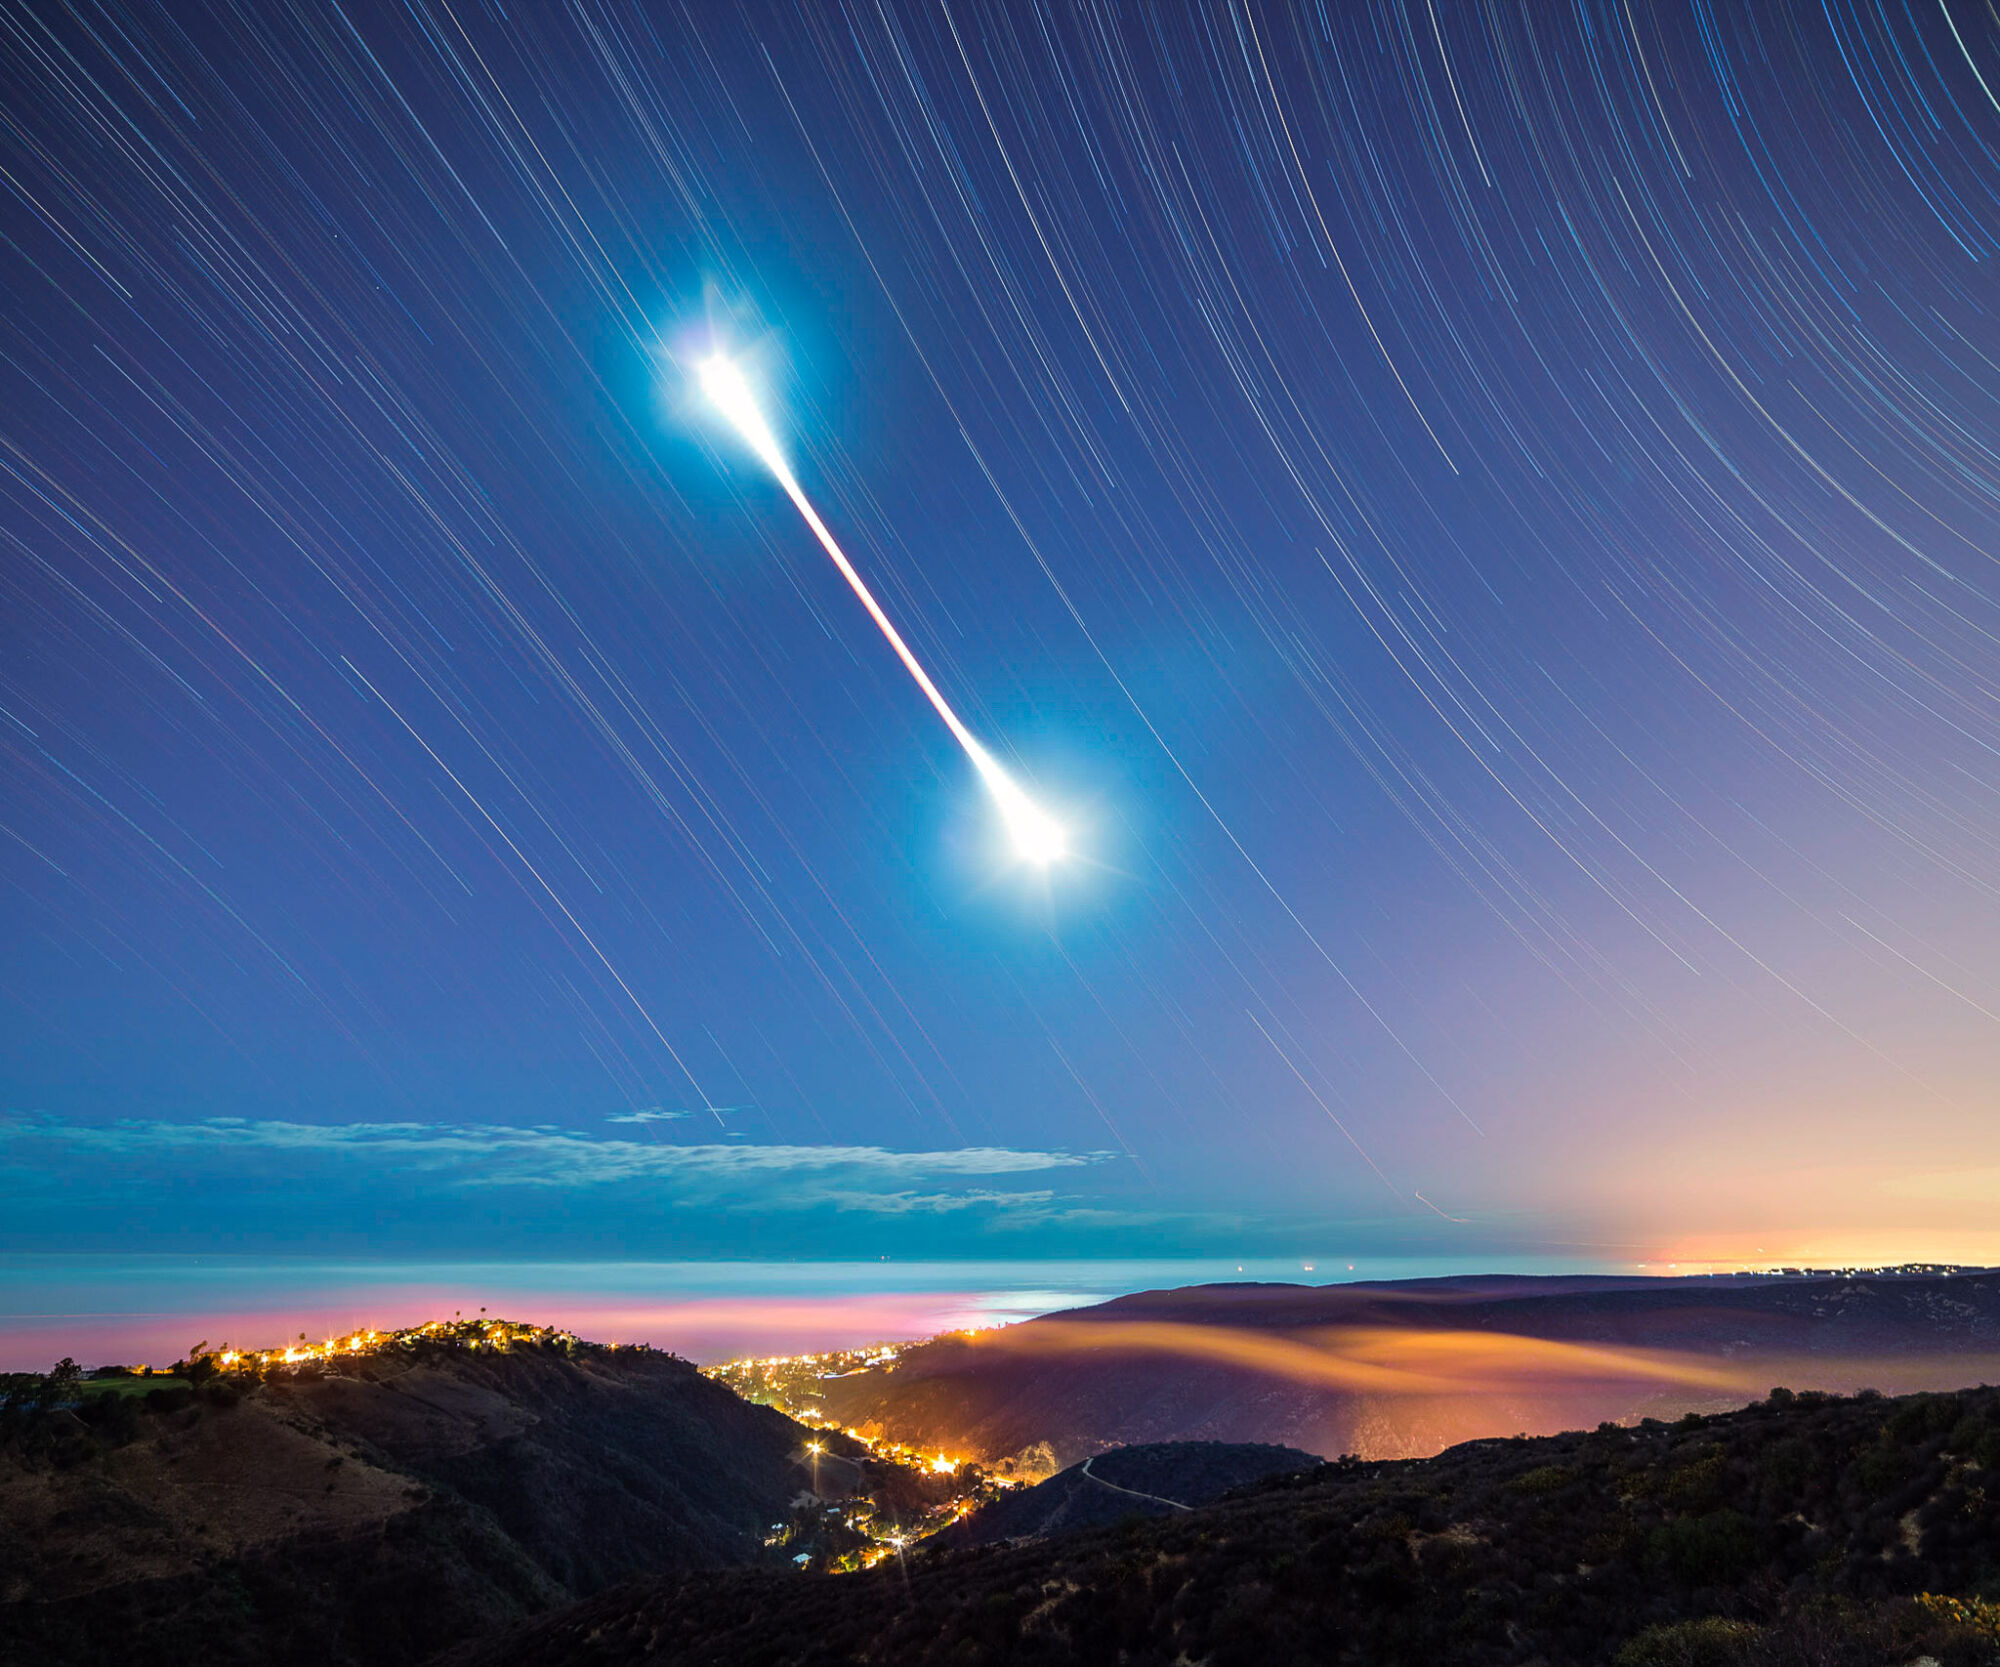
A sequence is another option that doesn’t require a tracker. Set an intervalometer to capture a frame every few minutes and leave enough empty space for the moon to move through the composition. Later, selected frames can be combined into a composite that shows the progression from the bright partial eclipse through totality and back again.
Five more tips for photographing a lunar eclipse
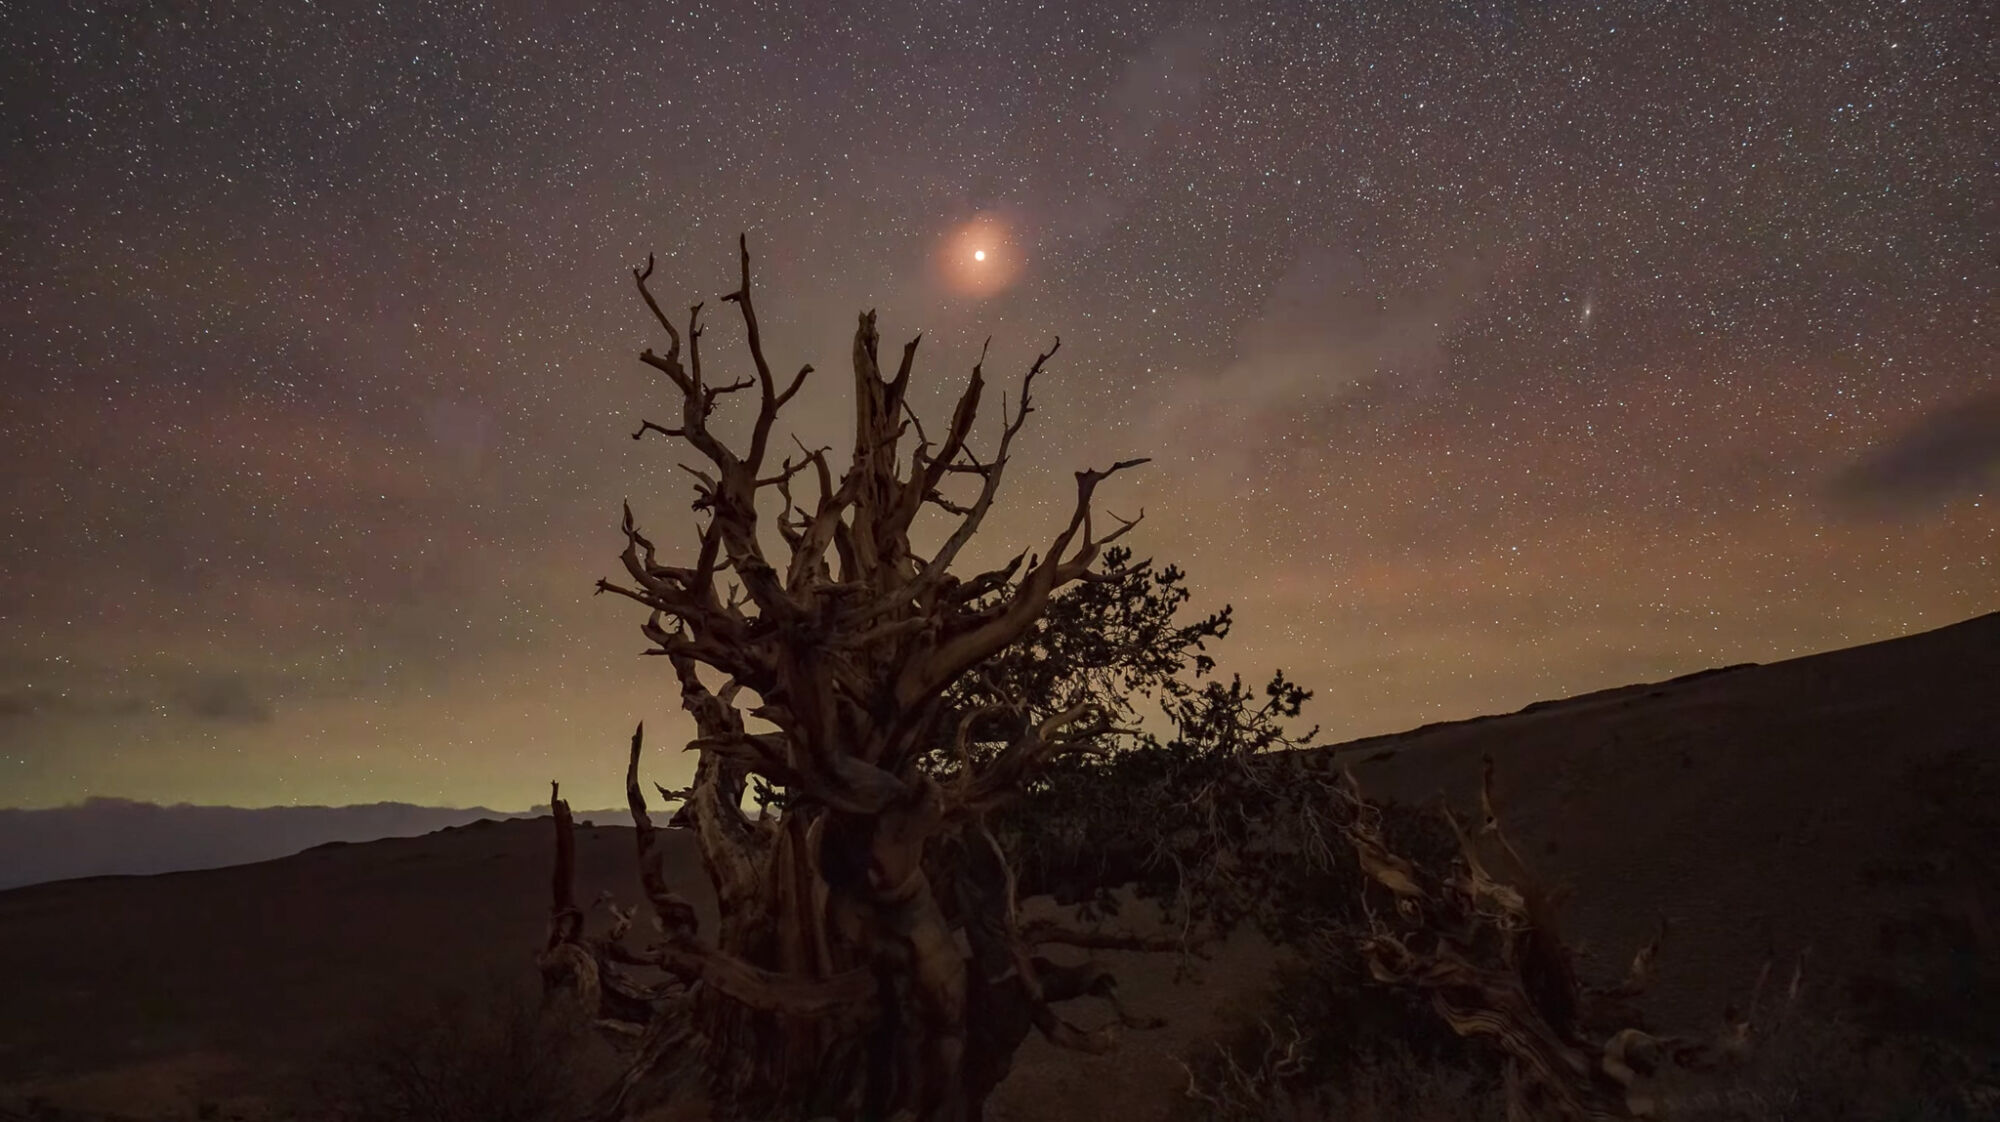
- Keep an eye on the weather; be ready to relocate (within reason) in case it’s overcast.
This is one of the biggest disappointments that any astrophotographer can have: cloudy skies. Always check the weather leading up to the night of an eclipse. If one area is likely to be overcast, you might get lucky by finding a different area that is a reasonable drive away. For example, coastal areas might be totally foggy, but just a few miles inland might be totally clear. Or, one area might have some low clouds, but an hour or two away, with just a few hills in between you and the cloudy area, you might get clear skies.
- Get there early to set up.
Always arrive far earlier than you think you need. You want your camera and everything to be set up and fully tested long before the eclipse starts. Check your battery power, make sure you have a fresh memory card, confirm focus, and take a few test frames. A spare battery is also a good idea, especially if you’ll be shooting continuously for 2-3 hours or working in cold weather.
- Sit back and just enjoy it (especially if the photography gets frustrating).
Especially if this is the first time you’re ever watching a total eclipse: when all else fails, just sit back and watch. Enjoy the darkness and the (hopefully) silence of nature. Relax, breathe, and know that you’ll have many more opportunities to try photographing a lunar eclipse. If you’re getting frustrated with your camera, the best thing you can do is make sure that you go home inspired by the wonder that you witnessed with your own two eyes, instead of having your face glued to a viewfinder or LCD the entire time, missing the reality of the moment.
- Shoot in RAW, shoot a LOT of frames.
If things are looking good, but you’re still not quite sure what you’re doing, just keep clicking. Try brightening/darkening the exposure by one or two shutter speed increments, and/or ISO increments, just to cover the bases. If the eclipse is low near the horizon, try re-framing the image just a little bit; see if another composition catches your eye, whether tighter, or wider.
- Get creative (after you get your one “safety” shot).
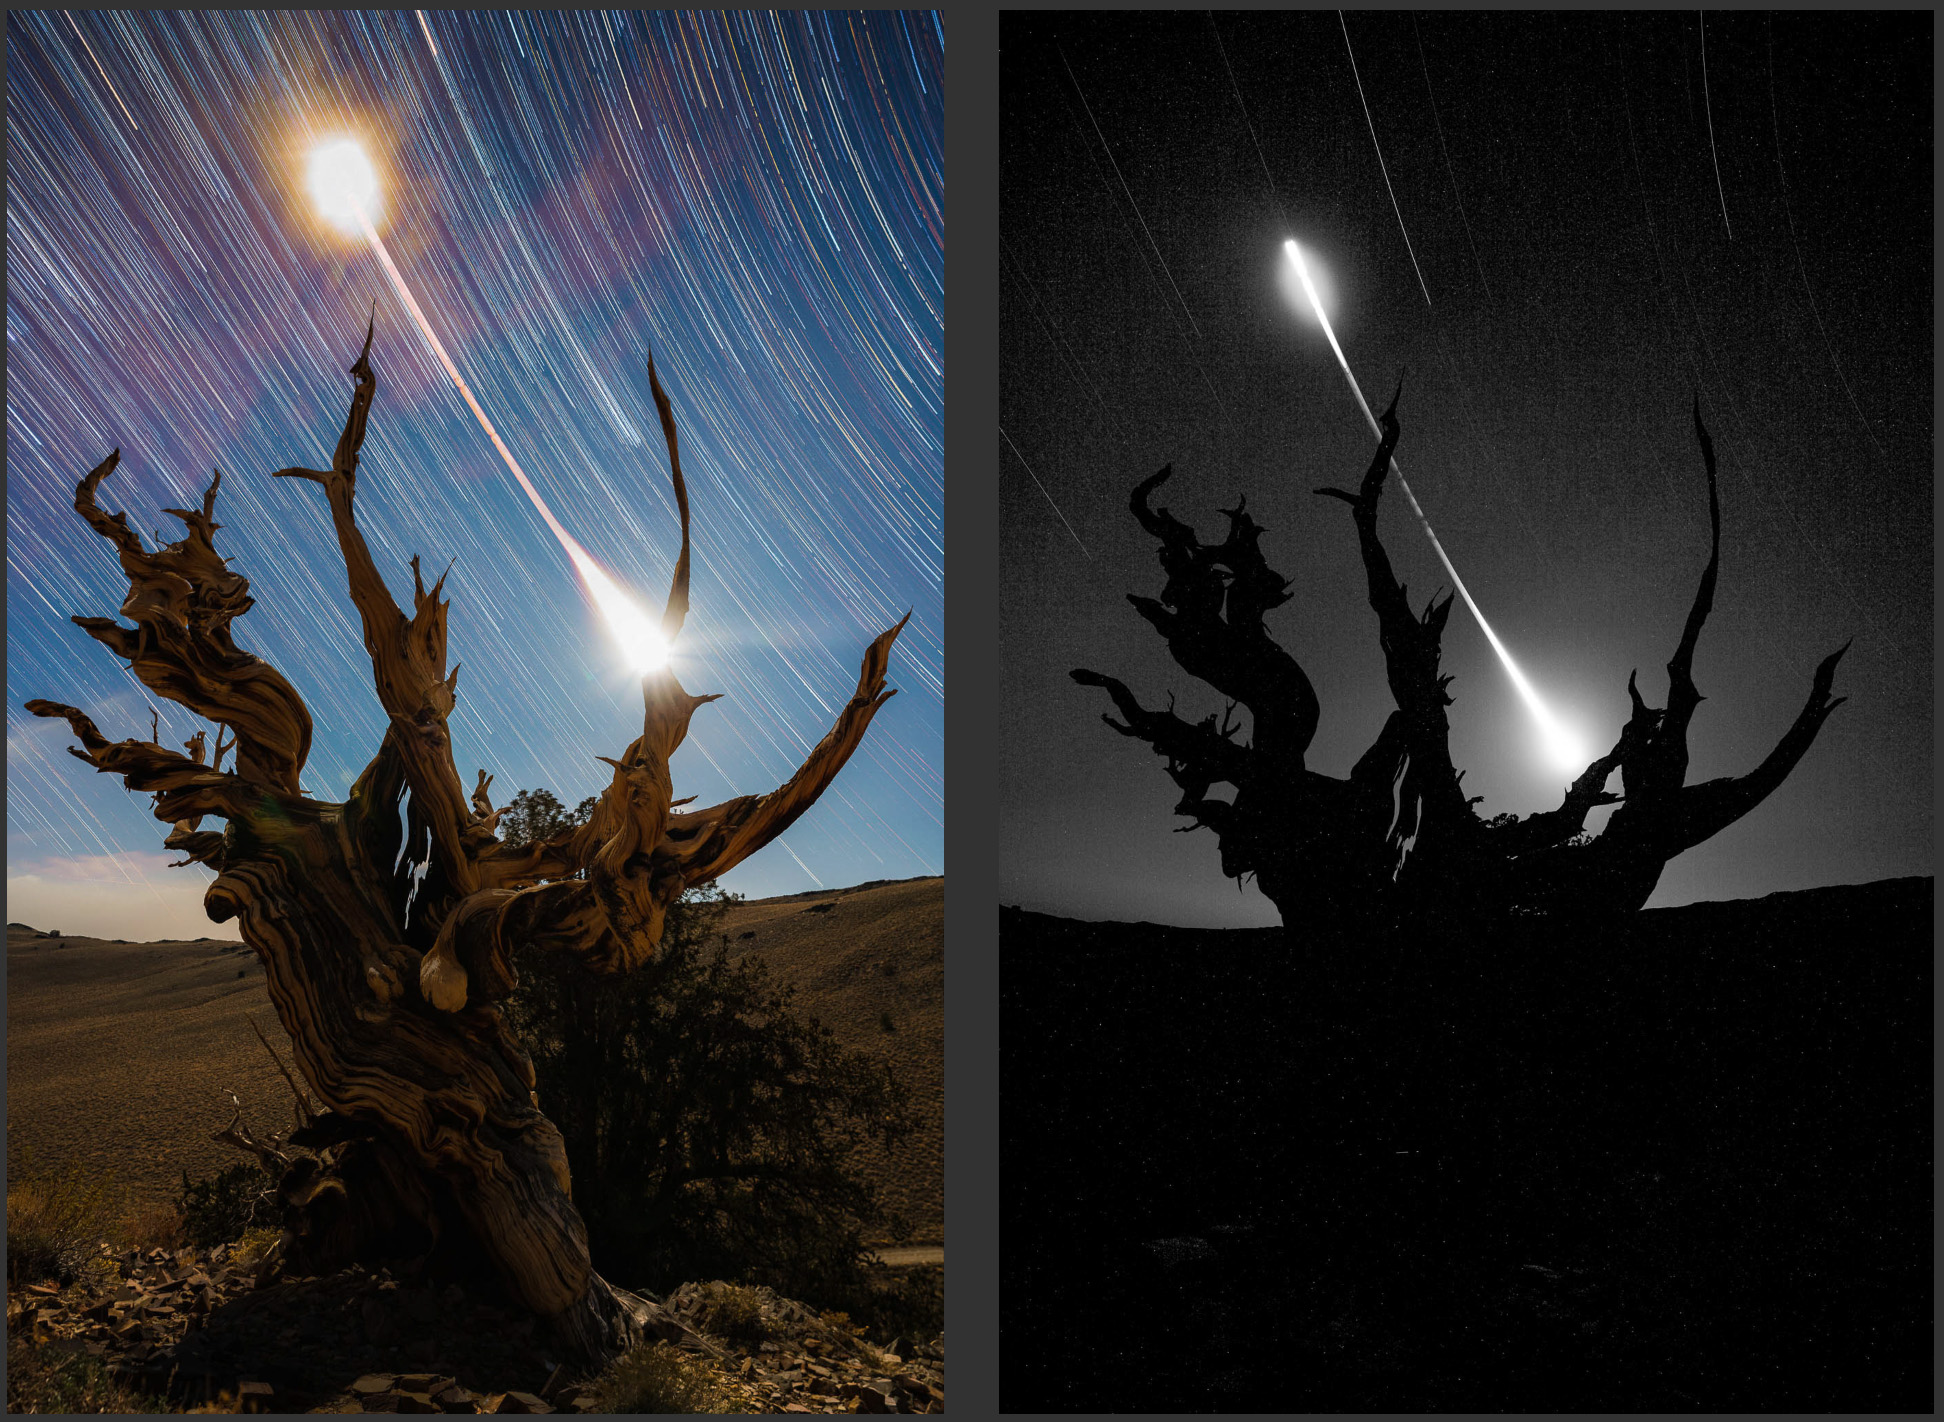
Last but not least, don’t forget to sit back and enjoy the moment with your own eyes. Especially with a longer lunar eclipse totality of around 60 minutes, you should NOT spend the entire time practicing how to photograph a lunar eclipse. Please, spend at least 10-15 minutes just sitting or laying there, and wonder in awe at the night sky. Hopefully you’re staying warm if it’s a winter eclipse.
Then, for those eclipses that are happening with any sort of additional subject that is in play, don’t forget to get creative. As I mentioned above, you might have conceptualized a scene, but then realize you ought to zoom in a little bit, or zoom out, and re-frame the shot. Also, in post-production, you can get creative with doing totally low-key imagery, or going way “off” with your white balance settings; one of my favorite things about lunar eclipses is, they’re such a unique experience that the visual itself is open to so much creative interpretation.
Even if you consider yourself a “purist” photographer, who doesn’t use AI for editing or doesn’t swap out skies, etc., a lunar eclipse is one of the most unique events in nature, and there’s a lifetime of creative potential. So, get out there, enjoy the marvel of our universe, and good luck!
If lunar eclipse photography has you wanting to spend more time under dark skies, the same focusing, exposure, and planning skills carry directly into Milky Way photography.
Our Photographing the Milky Way workshop goes deeper into night-sky exposure, focusing in darkness, planning compositions, and capturing detailed stars in real-world conditions.
Lunar eclipse photography FAQ
What camera settings should I use for a lunar eclipse?
Your settings will change throughout the eclipse. During the brighter partial phases, an exposure around f/5.6, ISO 800, and 1/100 sec can work well at 200mm. During a dark totality, you may need to open the aperture to f/2.8-f/5.6, raise ISO to 1600-6400, and use a shutter speed around 1/2 to 2 seconds depending on focal length and the brightness of that particular eclipse.
Should I use autofocus or manual focus for a lunar eclipse?
Use autofocus while the moon is still bright if your camera locks accurately, then switch to manual focus so the camera doesn’t hunt as the moon gets darker. Magnified live view is one of the easiest ways to confirm critical focus on the moon’s edge or visible crater detail.
Do I need a star tracker to photograph a lunar eclipse?
No. A solid tripod is enough for most lunar eclipse photography. A tracking mount can make longer telephoto exposures easier during totality, but raising ISO and keeping shutter speeds relatively short is usually the simpler approach unless you already shoot astrophotography regularly.
Do I need a special filter for a lunar eclipse?
No. Unlike a solar eclipse, a lunar eclipse doesn’t require a solar filter for your camera or special eye protection. You’re photographing the moon while it passes through Earth’s shadow, not pointing your lens directly at the sun.