
We’ve teamed up with Adorama to bring you a new series of photography tutorials called “Master Your Craft” to be featured on their YouTube Channel. Subscribe to see more of our videos on their channel throughout the next couple of months that will cover photography, lighting, posing, and editing education to help you hone your skills and master your craft.
In this episode, the first of a two-part series, we’re going to break down how we arrived at the final image by not only lighting the shot but also incorporating motion into a flash photography portrait. Stay tuned for the second part as well, in which we’ll share exercise files you can use to edit alongside us as we show you how to post-produce the image and create a simple yet dynamic composite in Photoshop.
Video Tutorial for How to Incorporate Motion into Flash Photography
We’re going to use the CAMP framework (Composition, Ambient Exposure, Modify or Add Light, Pose & Photograph) to outline the steps we took to compose, light, and capture the final image.
Step 1. Compose Your Shot
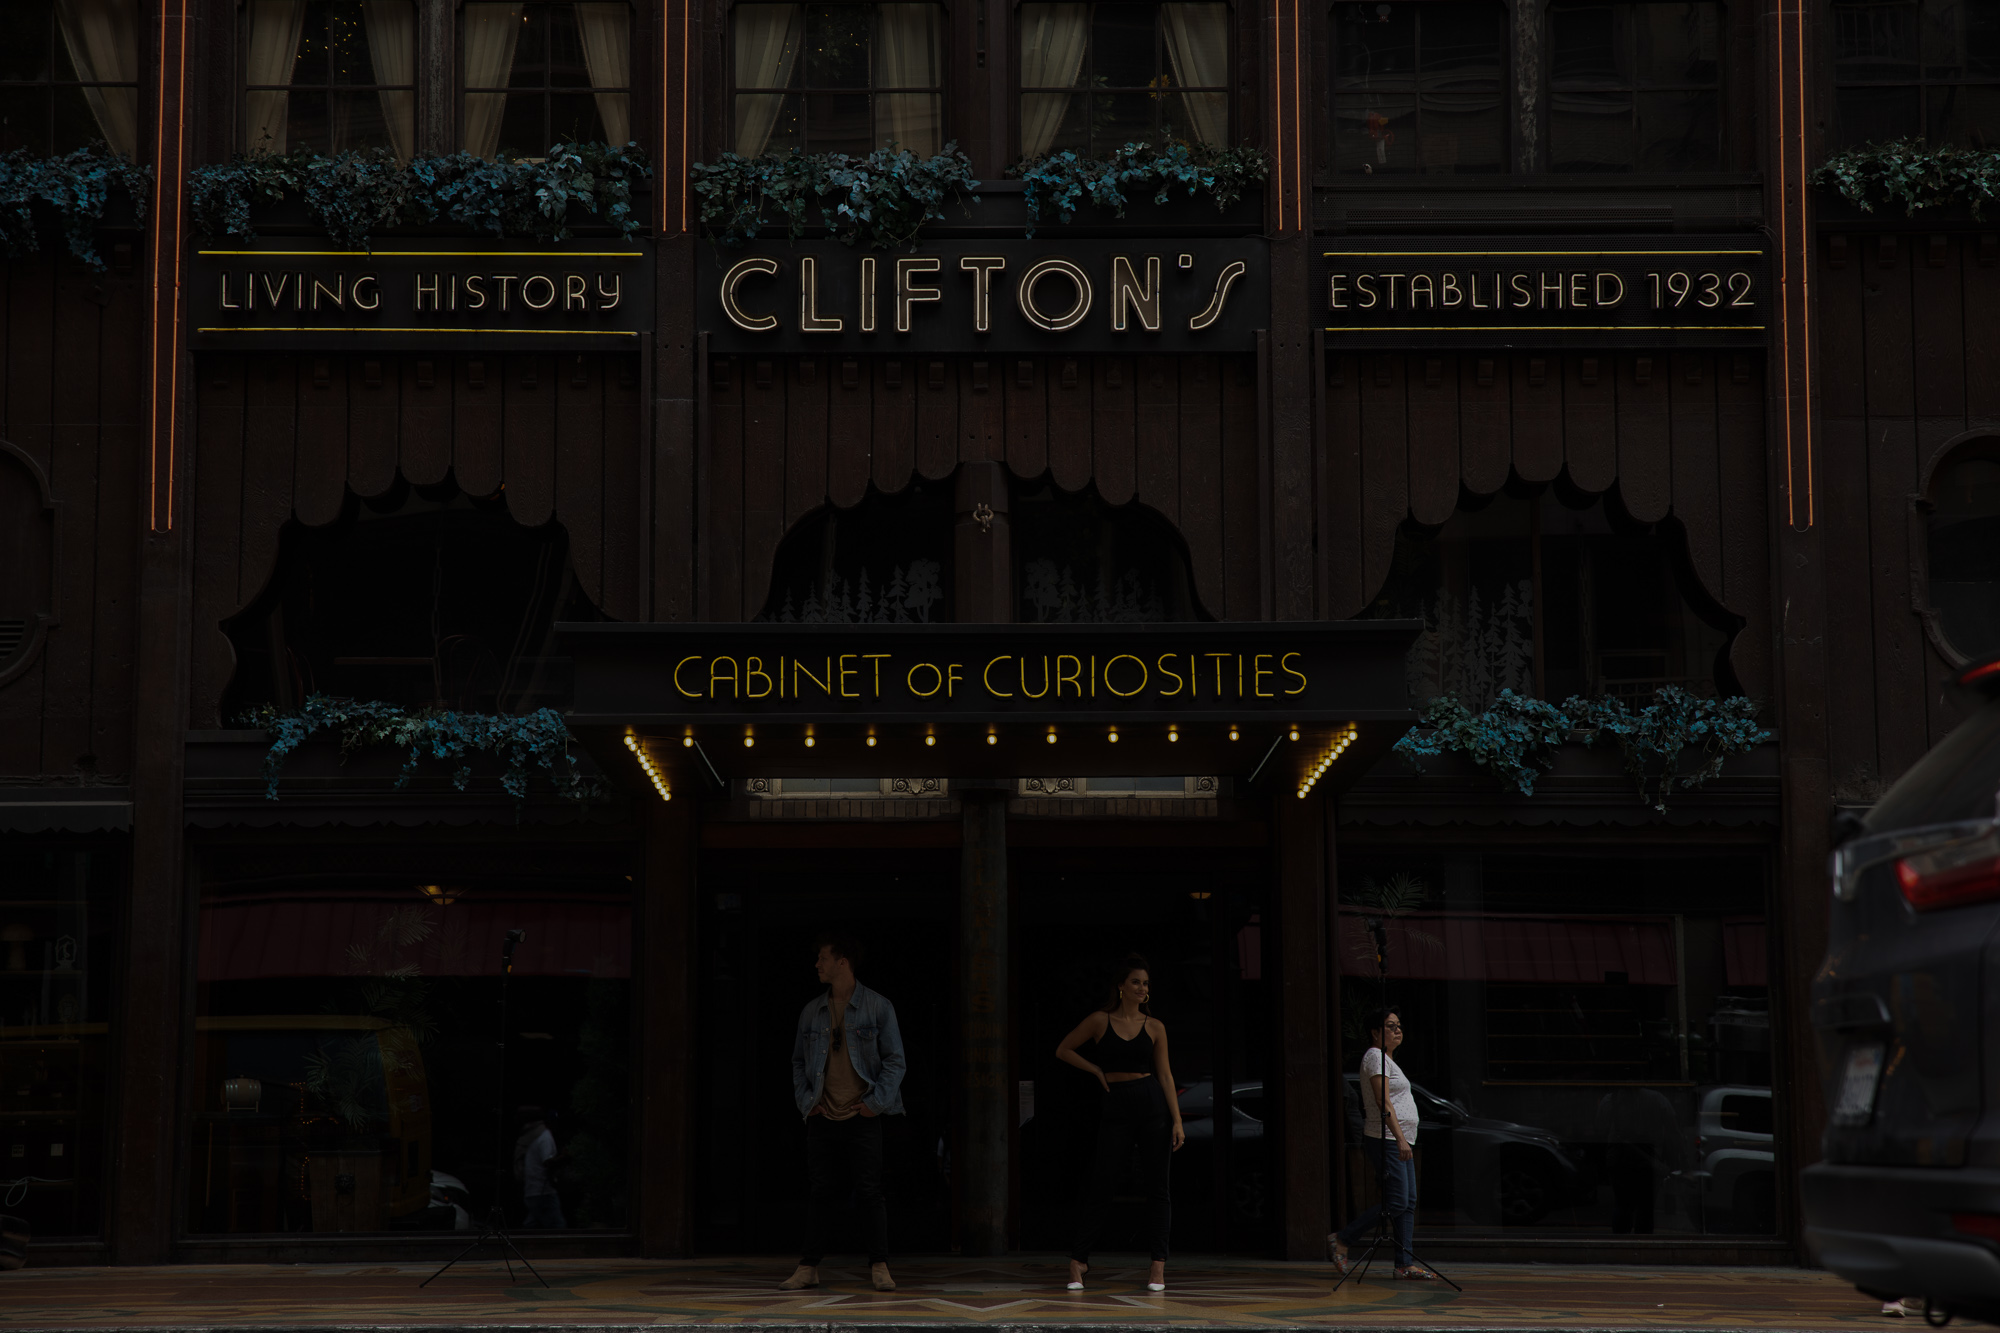
While Clifton’s Cabinet of Curiosities in Downtown Los Angeles offers a naturally stunning backdrop, the rules of composition we incorporated into this image can also be applied to other locations. The doorway created a perfect frame for our subjects and the balanced design of the storefront created a nice symmetrical backdrop, complete with neon lights and other elements that add to the overall visual impact of the image.

We set our tripod up directly across the street from Clifton’s and used the building to occupy most of our frame, placing the doors in the lower center of the frame.
Step 2. Dial In Your Ambient Exposure for Motion Blur

Looking at the ambient lighting as illustrated in the standard exposure above, it’s clear we’d have to adjust the exposure to reveal the rich tones and textures of the storefront. The first step in making the adjustment is to underexpose the image. In the image below, you can see we darkened down the image (settings included in the caption below) to a point where the neon lights stand out more and we start to notice the texture in the wood.
Although the settings for the image above worked well enough, the shutter speed for the final image wound up at 1/10th of a second to incorporate the motion of passing cars and pedestrians. Really, anywhere between 1/5th and 1/50th of a second for shutter speed should work for incorporating motion blur; it really comes down to how much motion you want to capture and how quickly the objects are moving across the frame.
Step 3. Add Flash to Make Your Subjects Pop
When modifying or adding light, you’ll need to place your subjects (or test subjects if available) into the shot so that you can get an accurate setting for flash power and placement. You should only add one light at a time until you arrive at the desired result.
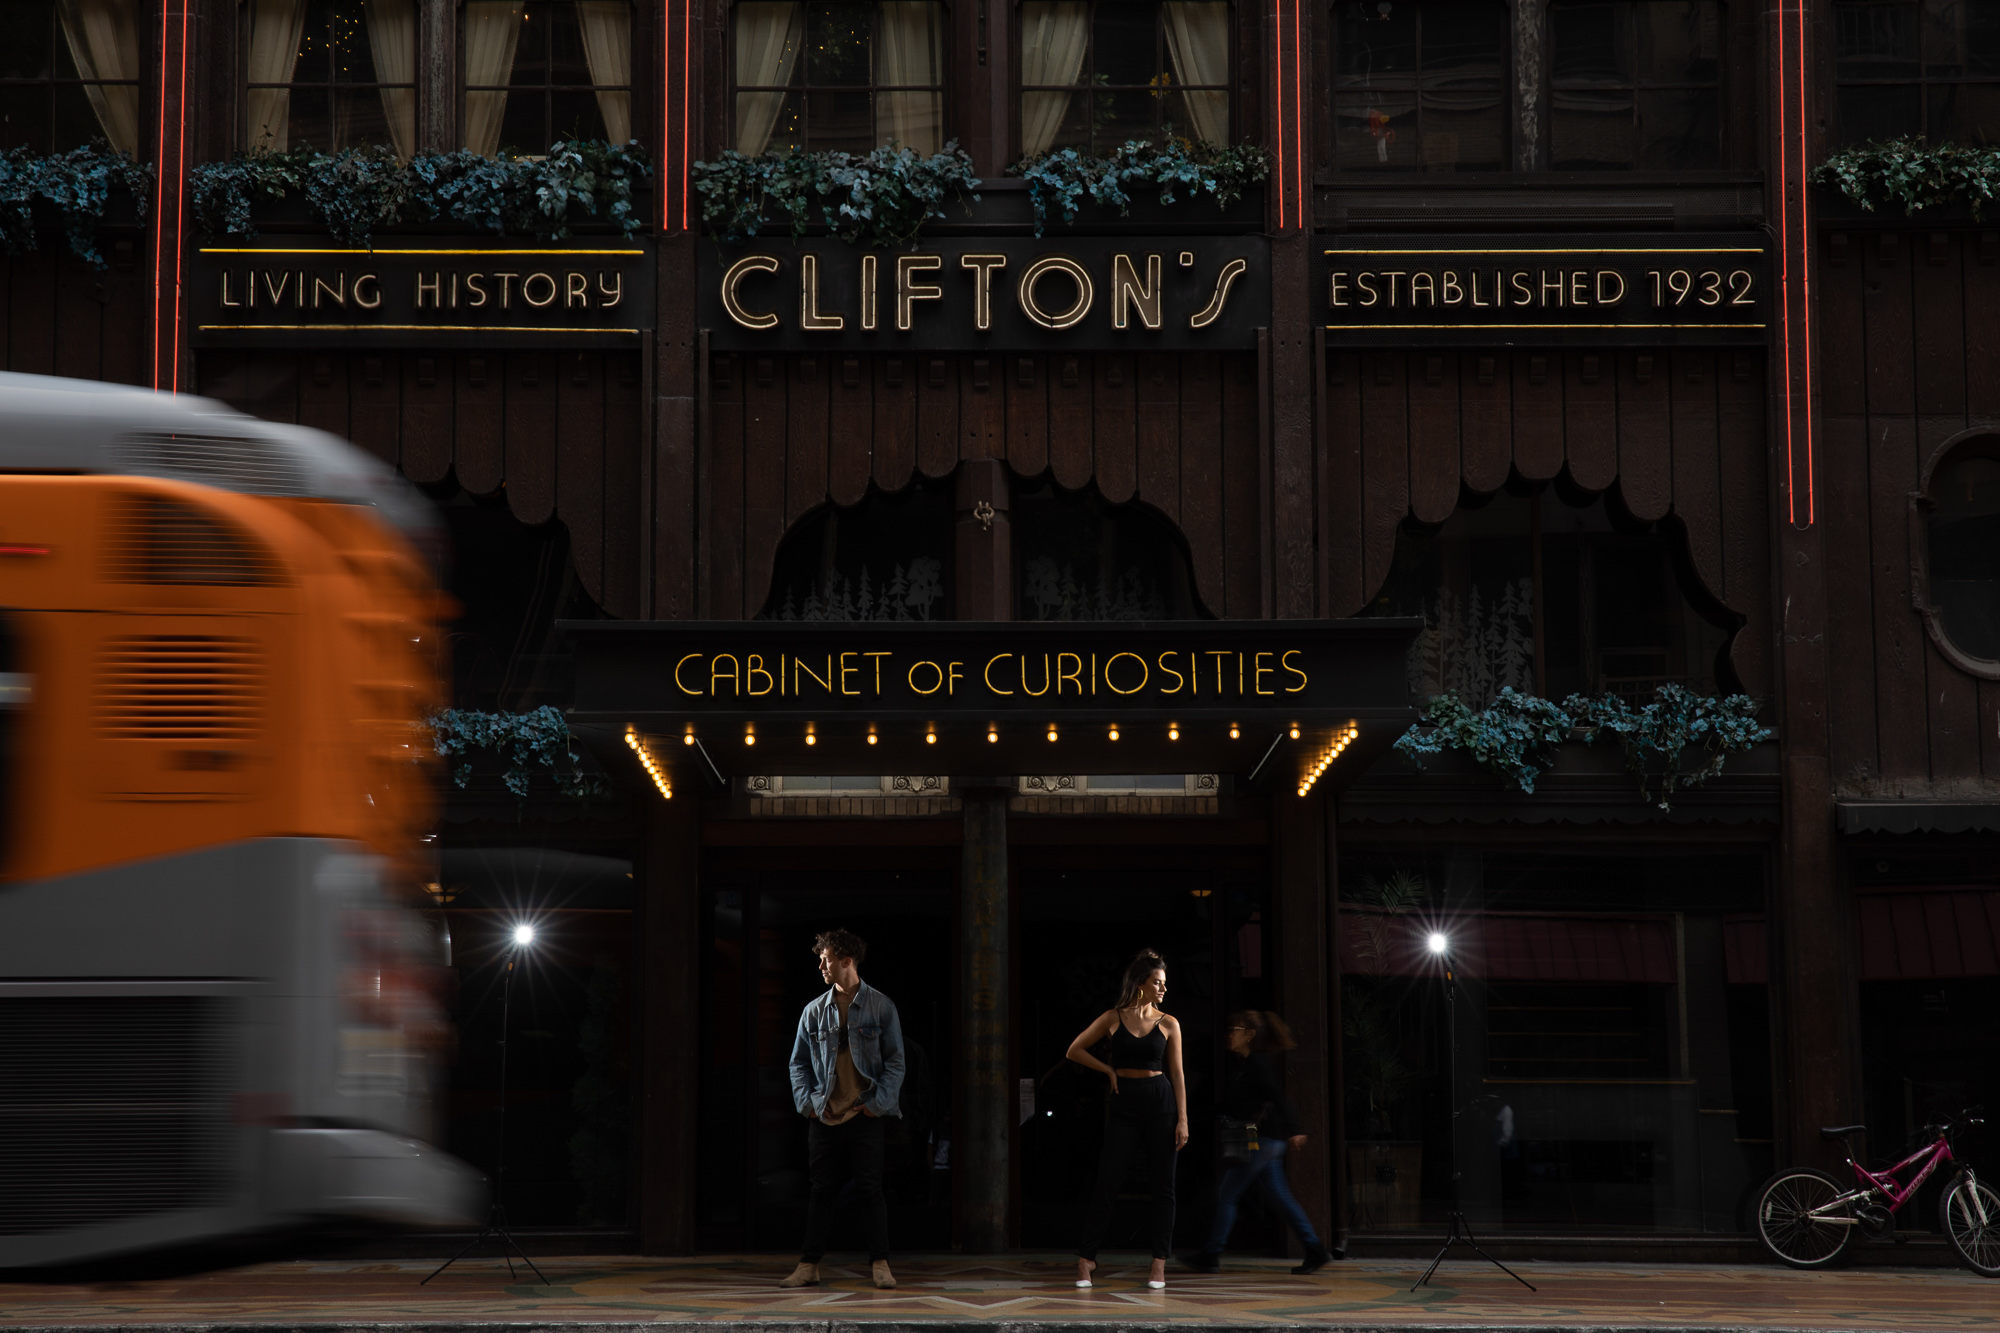
In this scene, we didn’t need to modify existing light. Instead, we just needed to pump a lot of light in to make our subjects pop out of the background. We placed two Profoto A1‘s with MagMod modifiers on to a couple of Manfrotto Nano Stands to the side and just behind our two subjects. You can see the flashes firing in the image above. Because of the somewhat extreme angle of the lights, we had our subjects turn their faces toward the direction of the flash on each of their respective sides.
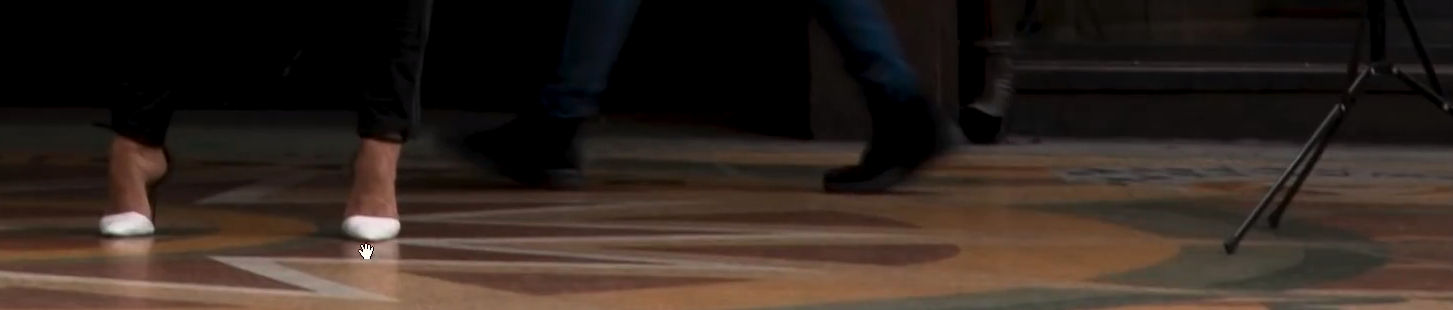
As you can see in the close-up above, we positioned the lights equidistant from the subjects in spot that would keep the subjects from casting a shadow on one another. From this distance, 1/2 to full power of a standard flash, or roughly 50-75 watt seconds of power, should work. Your main objective in a shot like this should be to make sure the light is even on both subjects.
Step 4. Capture Multiple Motion Blur Photos for the Final Composite
Prepare to capture several images for the final composite. Trying to capture motion blur and getting everything perfect in a single frame would require an enormous amount of luck (and time) or some choreographed motion, which just isn’t possible (or at least likely) when shooting on a busy city street. This is especially important when you’re photographing paying clients who likely want a full collection of images with a variety of looks. You won’t be able to get much variety if you spend the majority of your session trying to get this shot in a single frame.
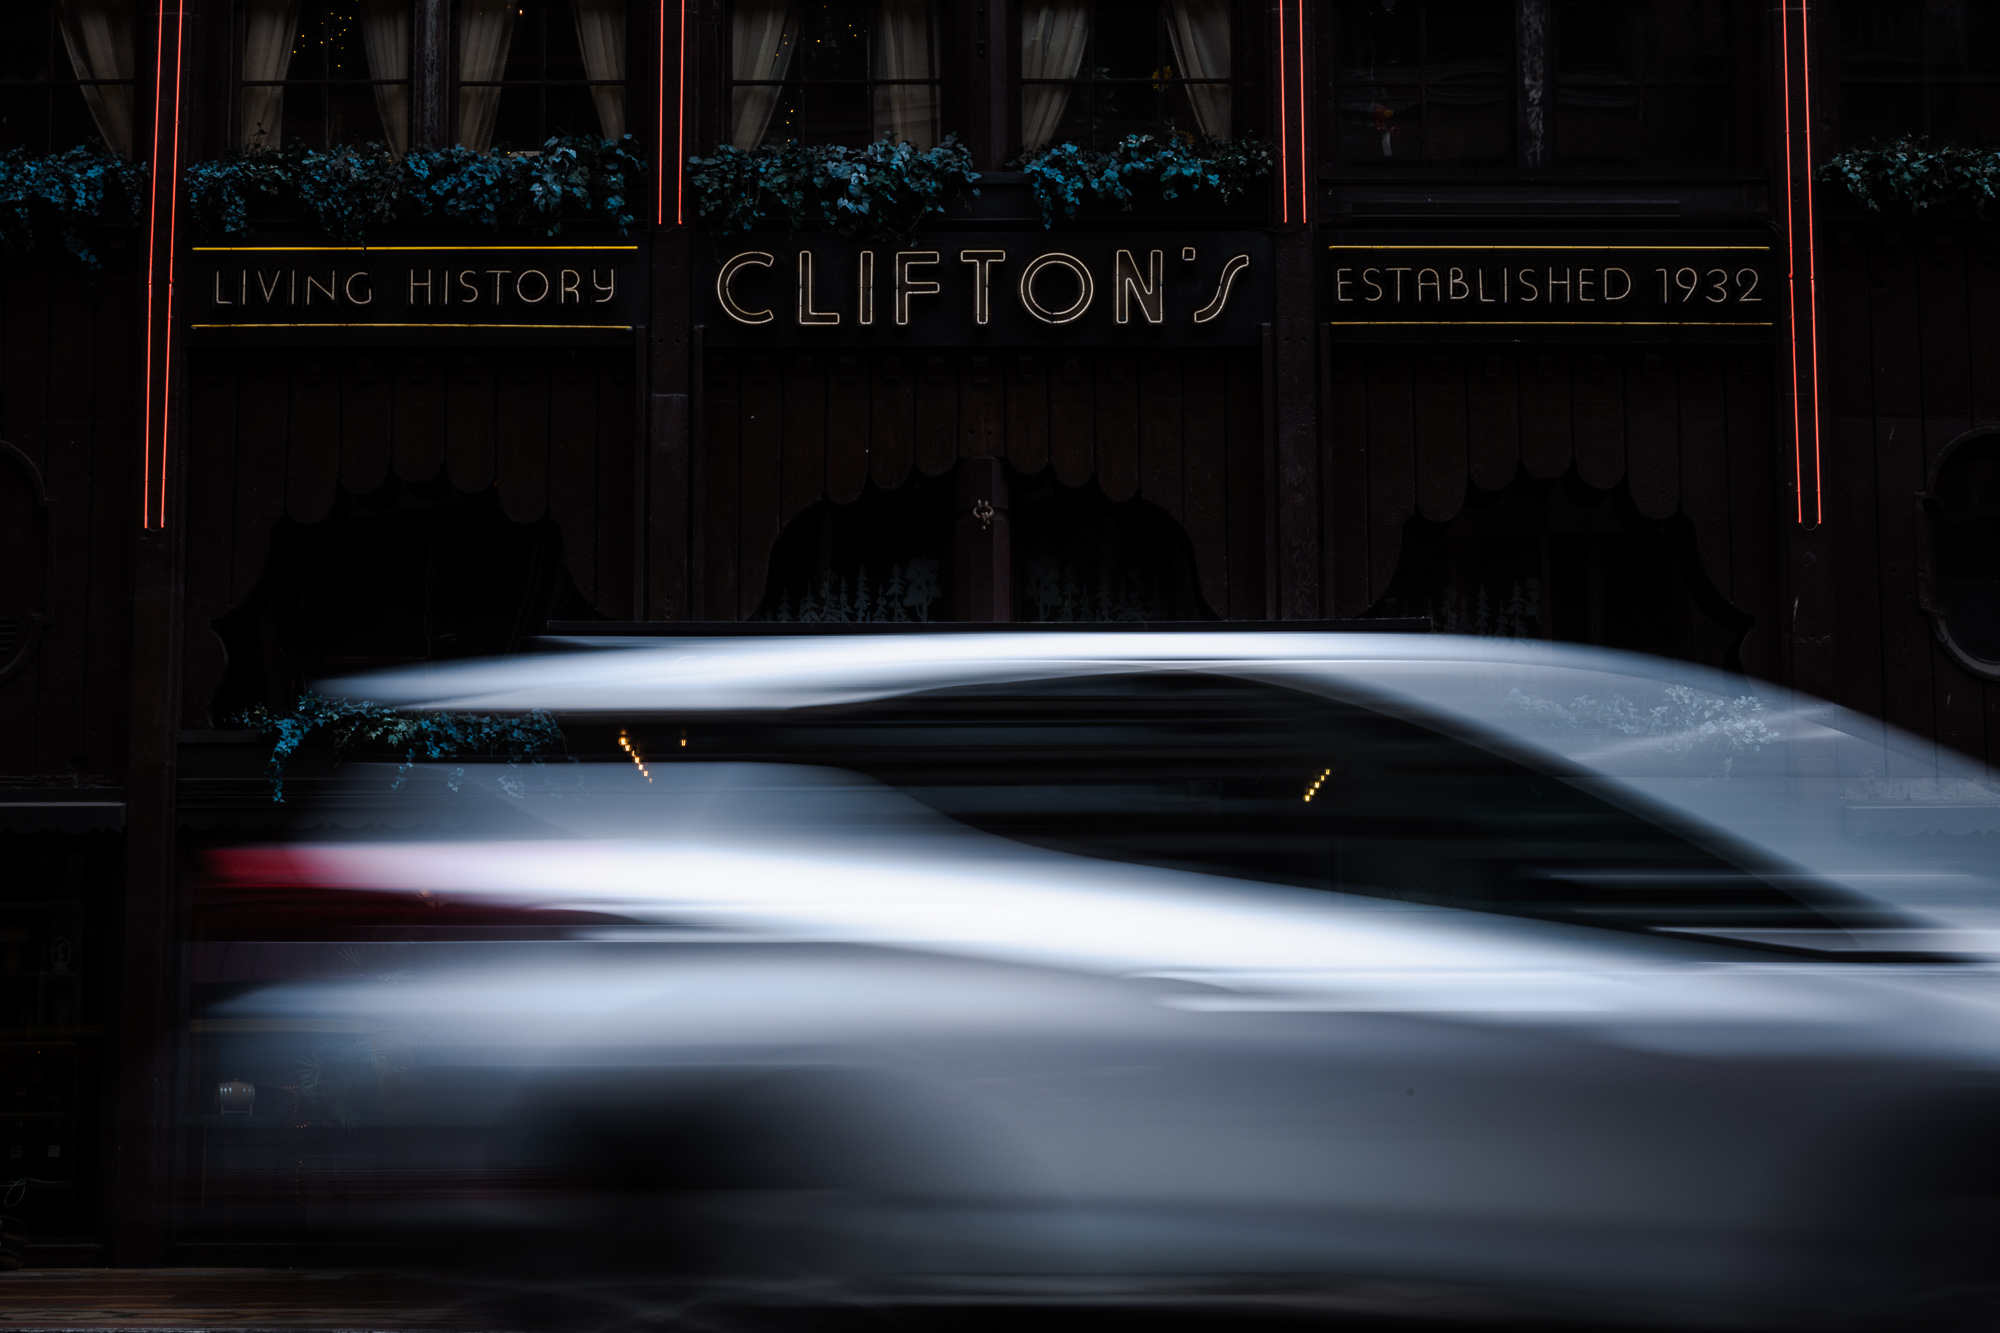
You should also know that capturing motion in the frame is likely going to require trial and error. When photographing passing cars, it can be tricky to get them in just the right area of the frame. Sometimes, as you can see in the image above, you might capture a car as it completely covers your subjects. It happens! Just know that it may take a few tries to get a solid collection of motion blur images for your final composite.
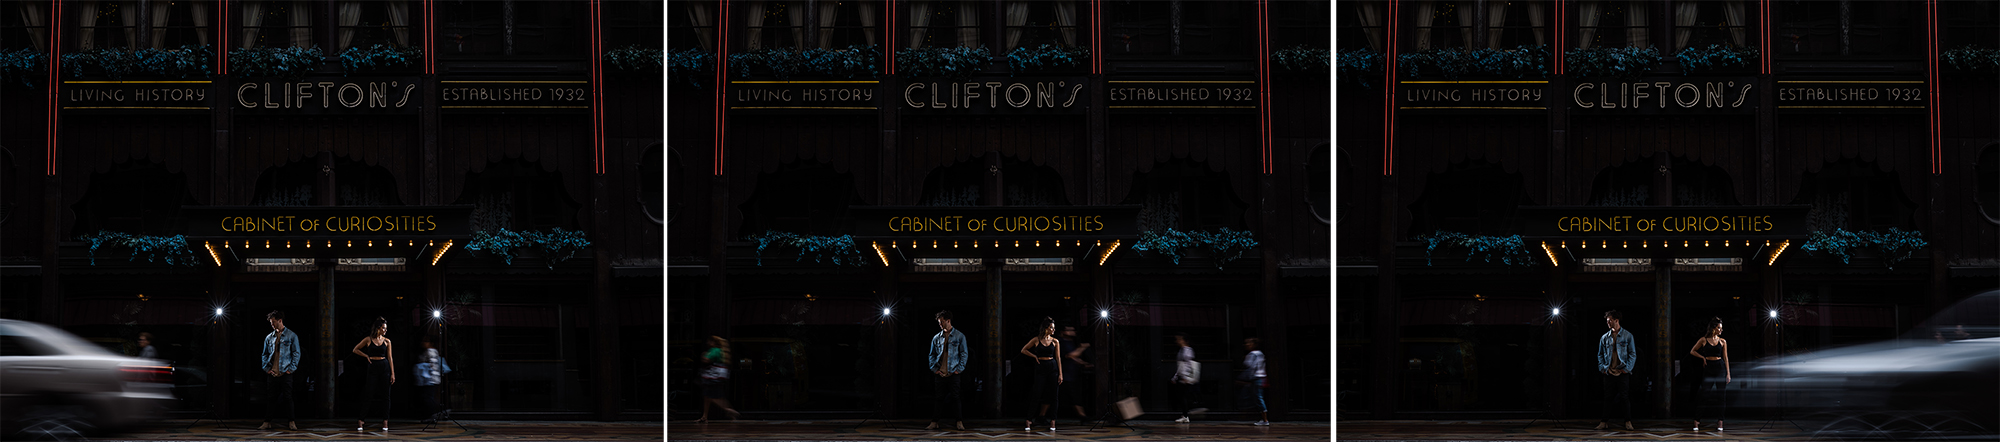
Try to capture images of cars as they pass on the right and left sides of the frame (as illustrated above), and be sure to use a tripod to keep the framing consistent throughout the collection of images.
Step 5. Capture a Plate Shot

Finally, before you call it a wrap, take a plate shot that will allow you to easily edit out the flashes and light stands. You don’t need to include your subjects in the plate shot as we’ve done here, but it doesn’t really matter if they’re in the frame or not.
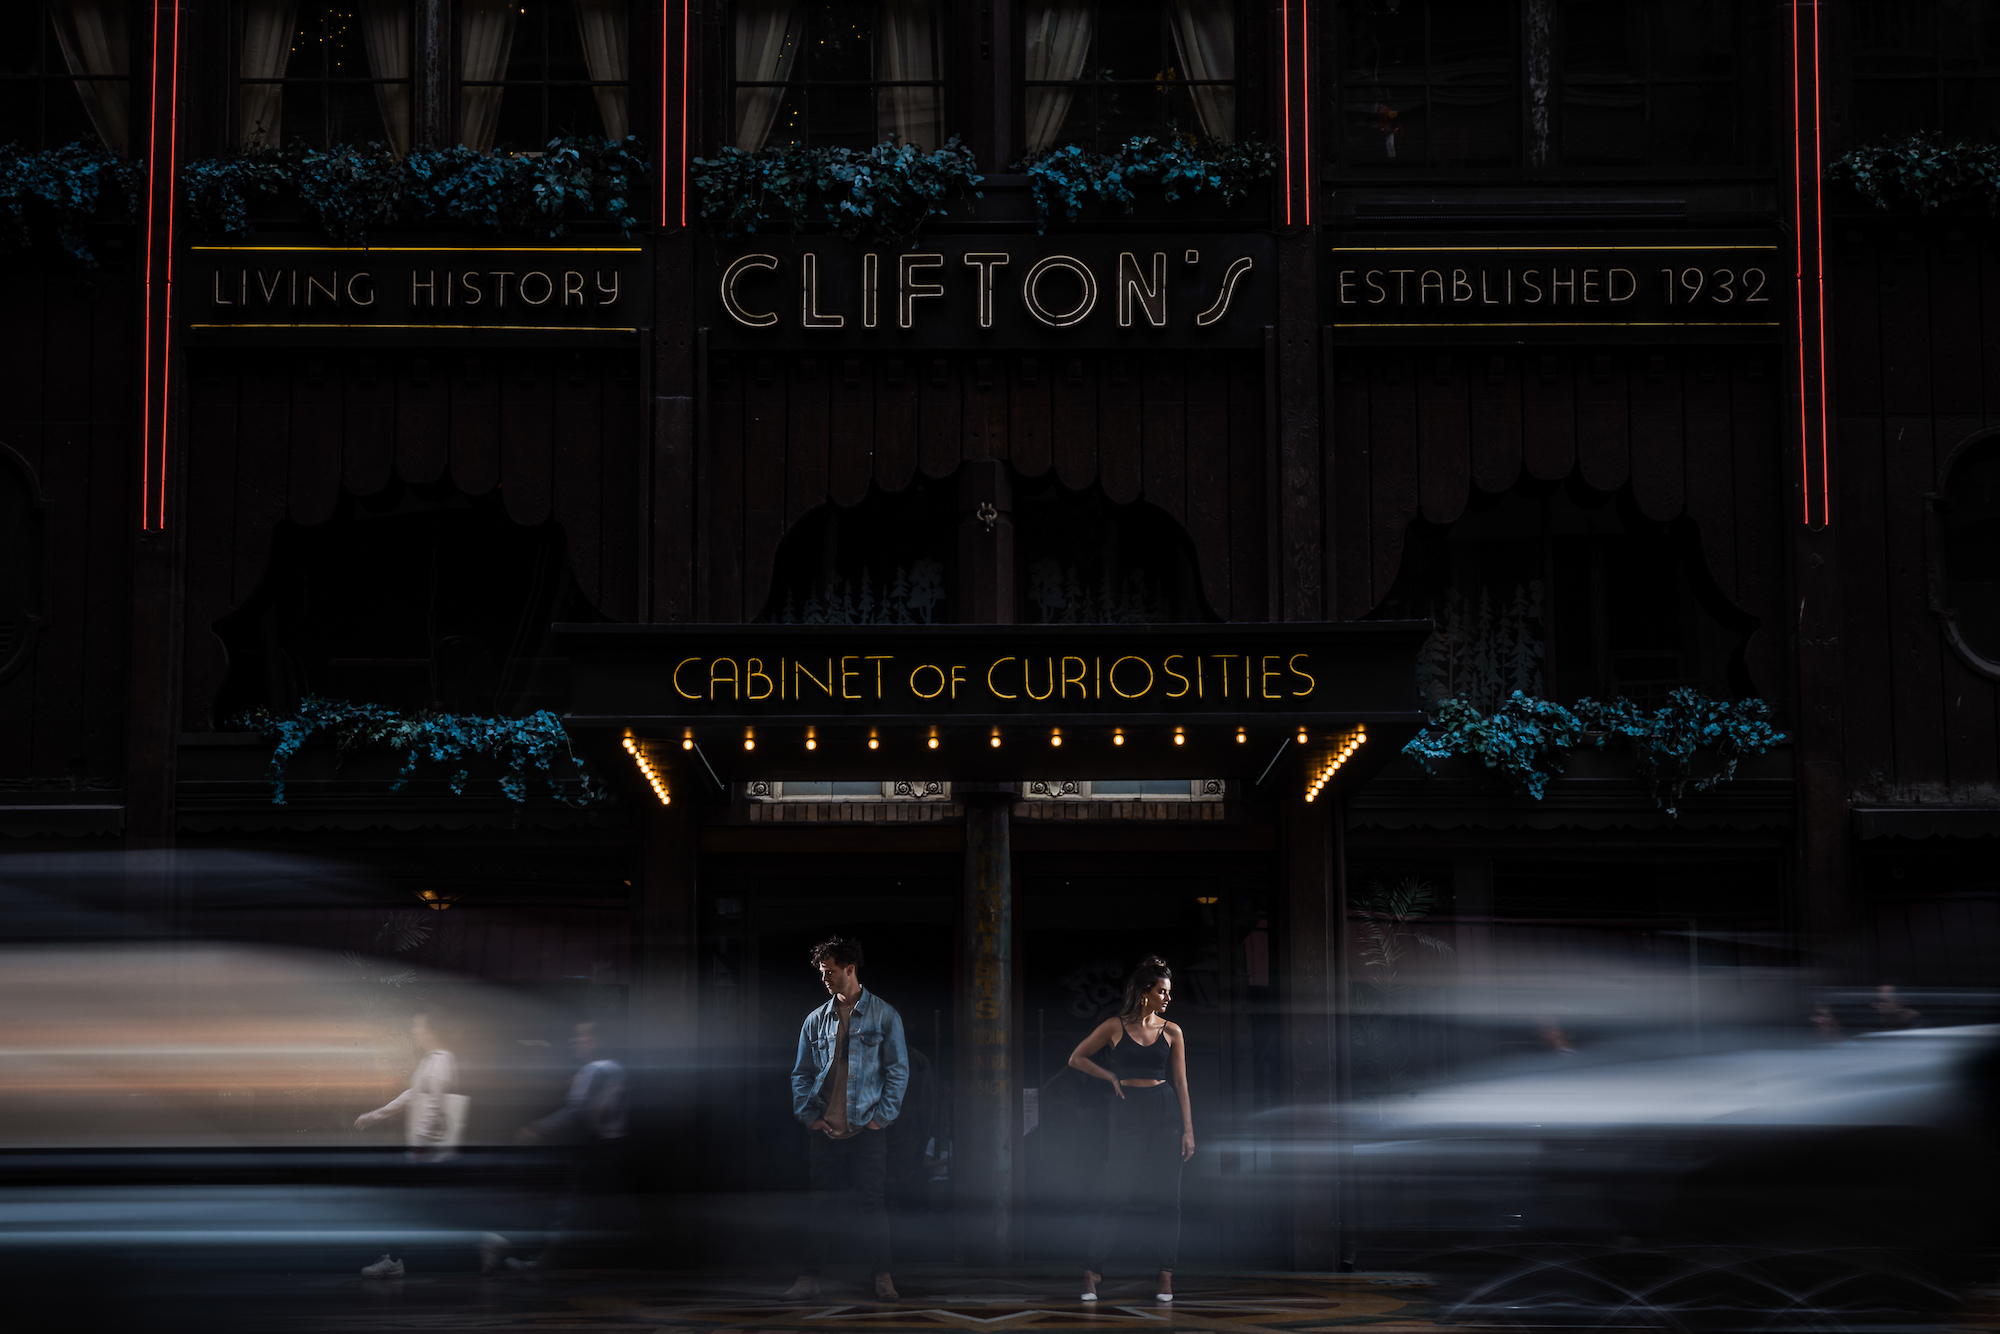
The Final Image
Stay tuned for part two of this series in the next episode of Mastering Your Craft on Adorama’s YouTube channel next Friday!
If you enjoyed this tutorial and would like to learn more on and off-camera flash techniques, check out our Flash Photography Training System!


Get Connected!