With all of the baking that happens during the holiday season, it’s the perfect time to brush up on our bakery photography and capture the perfect shot of those perfectly iced gingerbread or snowball cookies. Adobe recently partnered with Sarah Crawford, accomplished baker and food photographer known for her popular blog, Broma Bakery, to share her top tips and tricks on how to style and photograph holiday cookie boxes and other treats (including some free Lightroom Presets from Sarah). Enjoy these bakery photography tips From Broma Bakery!
From the Photographer
“I love the universal emotional connection that food has to us all,” says food photographer Sarah Crawford. “Food is inextricably tied to human experience, and through food photography, we can capture that connection. I also love how food photography is so democratic. You can have a tiny apartment with one window and still take as gorgeous a photo of food as someone on a commercial set with two food stylists, a prop stylist, producers, gaffers, and a director.”
Style Your Food to Set the Scene.
Styling your food is an important way to get the right look and feel for your photos.


Find the best angles for your bakery photography
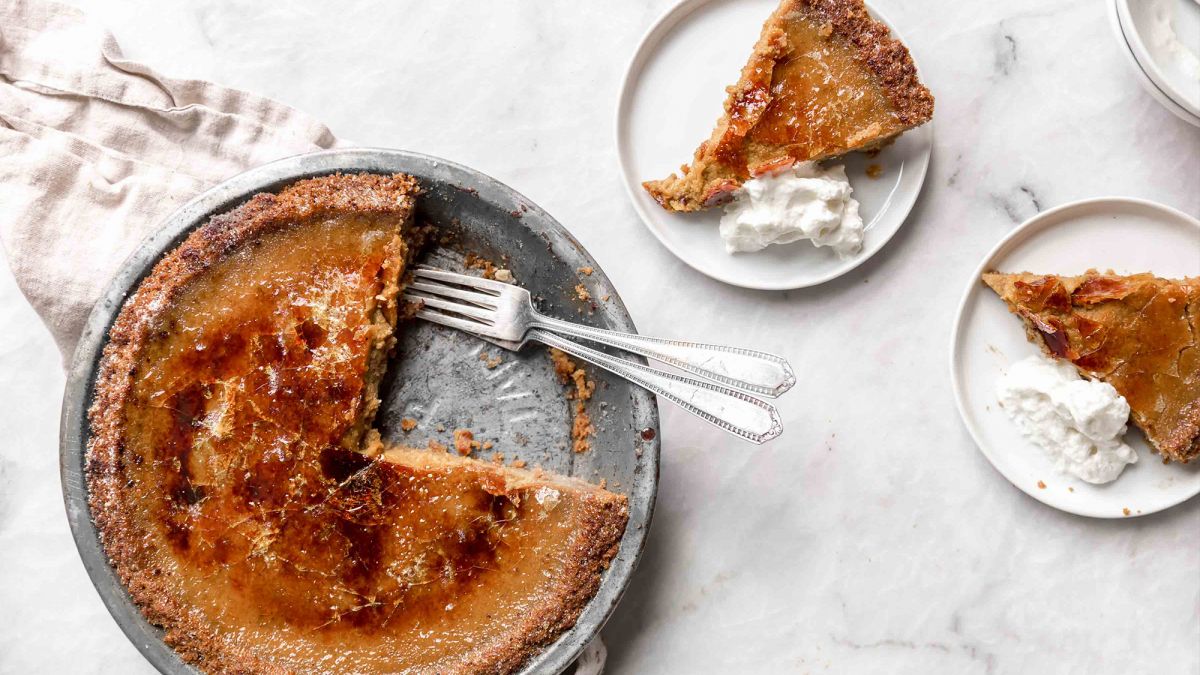
Think about what’s most pleasing to the eye when displaying your food. For example, if you are shooting a cookie that has a beautiful decoration on top, show the top. If it’s a sandwich cookie, then you would want to show its layers.


Think about balance
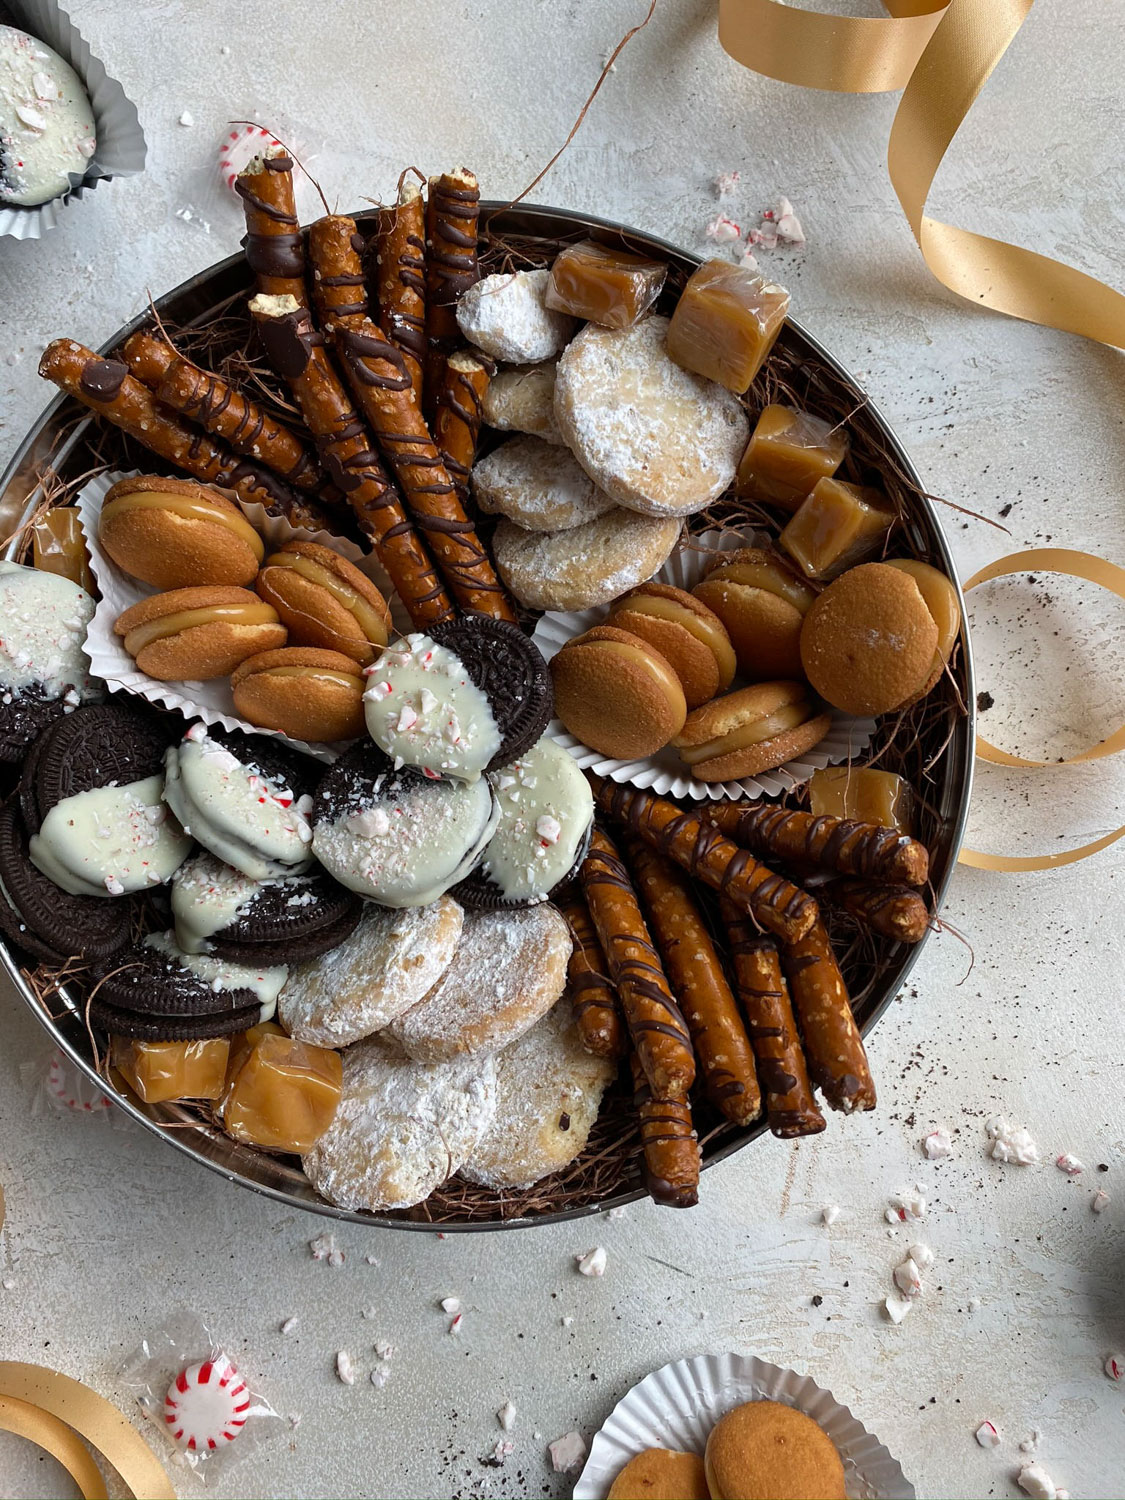
Don’t place similar colors or shapes next to each other. You should space them out to create the most dynamic photo or otherwise, they will look too similar.

Don’t be afraid to get messy when styling for bakery photography
Taking bites out of your food is a great way to show its deliciousness in the photo. It’s like the photographer just couldn’t wait to eat it!

Bring it to life with props
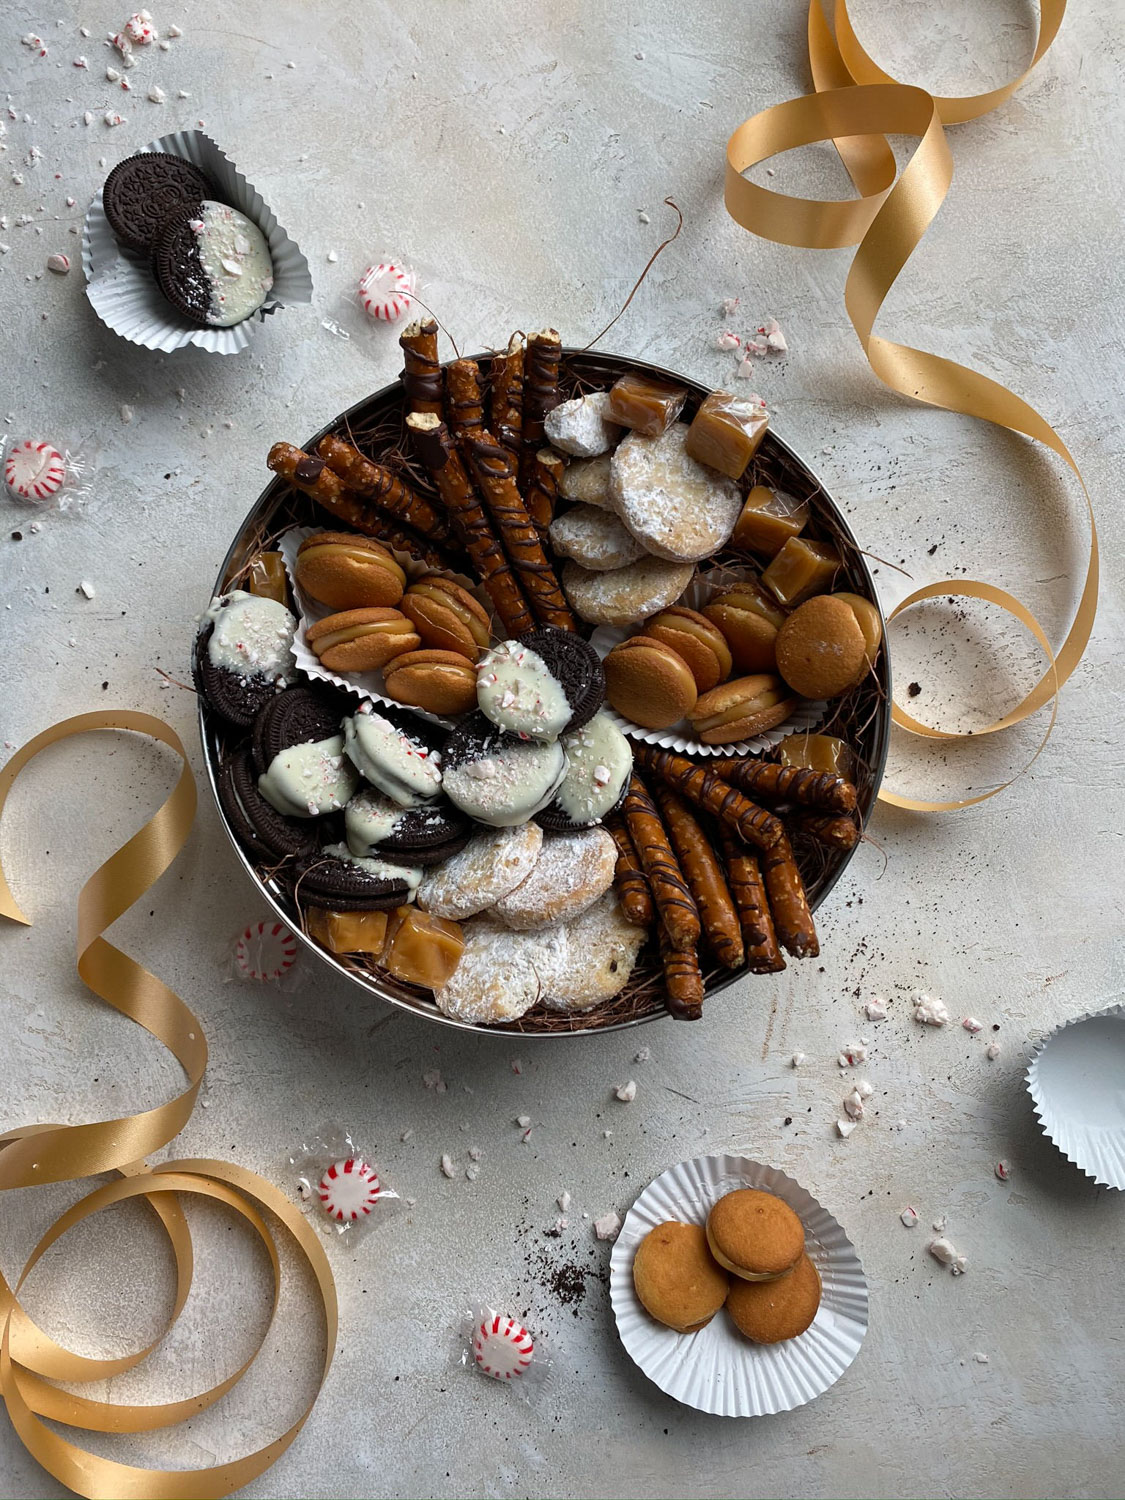
Think about how you would actually enjoy the food you’re styling and incorporate that into your scene. These visual cues help tell your story.

Find Good Lighting to Avoid Your Food Looking Flat.
Food photography needs strong light. You should be 1-3 feet from your window when you shoot. Any further away and the light won’t be strong enough, causing your food to look flat.

- Say no to overhead lighting. Make sure to turn off any overhead lights since these tend to compete with your natural light.
- Use a single light source. When possible, shoot using a single light source, such as a window. Relying on multiple light sources – like two windows in a corner of a room –makes the light from these windows compete with each other, leading to a lack of shadows in your scene. Shadows are important for giving food dimension.
[Related Reading: 3 Phone Photography Hacks (for DSLR & Mirrorless Cameras, Too)]
Use Your Smartphone to Capture Amazing Photos.
You don’t need an expensive camera or fancy equipment to capture Instagram-worthy food photography. Your smartphone is all you need to get started!
- Make it easy! Use the Adobe Lightroom for mobile in-app camera to shoot your photos. You can easily capture and edit your photos all within the app.
- Adjust your brightness and stay focused. Don’t be afraid to manually adjust your brightness and make sure to focus your photo each time you shoot.
- Use the Rule of thirds. Use the grid guides to make a strong composition. Place the important parts of your scene at or in the middle of one of these lines. This will impart balance and harmony in the photo.
Easily edit like a pro with Adobe Lightroom for mobile.
Adobe Lightroom for mobile makes it easy for anyone to edit beautiful Bakery Photography.
- In a pinch? Presets can help! The Adobe Lightroom presets can make your editing a cinch and help you achieve an Instagram-worthy look for your photos. I also love using my Adobe Lightroom food photography presets I created that are free and available for anyone to use to kickstart their editing.
- Use the sliders to make fine-tune edits. I love using the sliders in the Light tool in Adobe Lightroom for mobile to adjust the highlights, shadows, whites, and blacks to make my scenes pop. Play around with what style works for you, but in general, using these sliders over solely contrast will make your photo look more professional.
- Refine your photos. The Healing Brush in Adobe Lightroom for mobile is a great way to remove unwanted crumbs or imperfections in your photo. The Effects tool sliders for adjusting texture, dehaze, and clarity are great for getting a crisp photo.
- Color adjustments are key. With Adobe Lightroom for mobile, you can use the Color tool to alter the hue, saturation, and luminance of specific colors to best fit your scene.

Head over to the official post on the Adobe Blog site to see more from Sara and to learn how to install her presets for Lightroom. Let us know if you found these tips helpful in the comments below, and be sure to share some of your food photos as well!
Images shared with permission.


