
This is a two-part series where I walk you through the conceptualization, lighting, shooting, and editing of this editorial doctor’s portrait in a post-Covid era of photography. This video is sponsored by Profoto and we want to thank them for making it possible to actually bring you guys full-length education like this at no cost to you on YouTube. You can translate all of the concepts we teach in all of our lighting tutorials to whatever gear you’re using. The same goes for the cameras, tripods, and everything in between. Since this tutorial is on the lengthier side and we’re going deep into the concept and process, I am saving the post-production section for part two and will provide you with the exercise files so you can edit along as well.
Portrait Concepualization Process
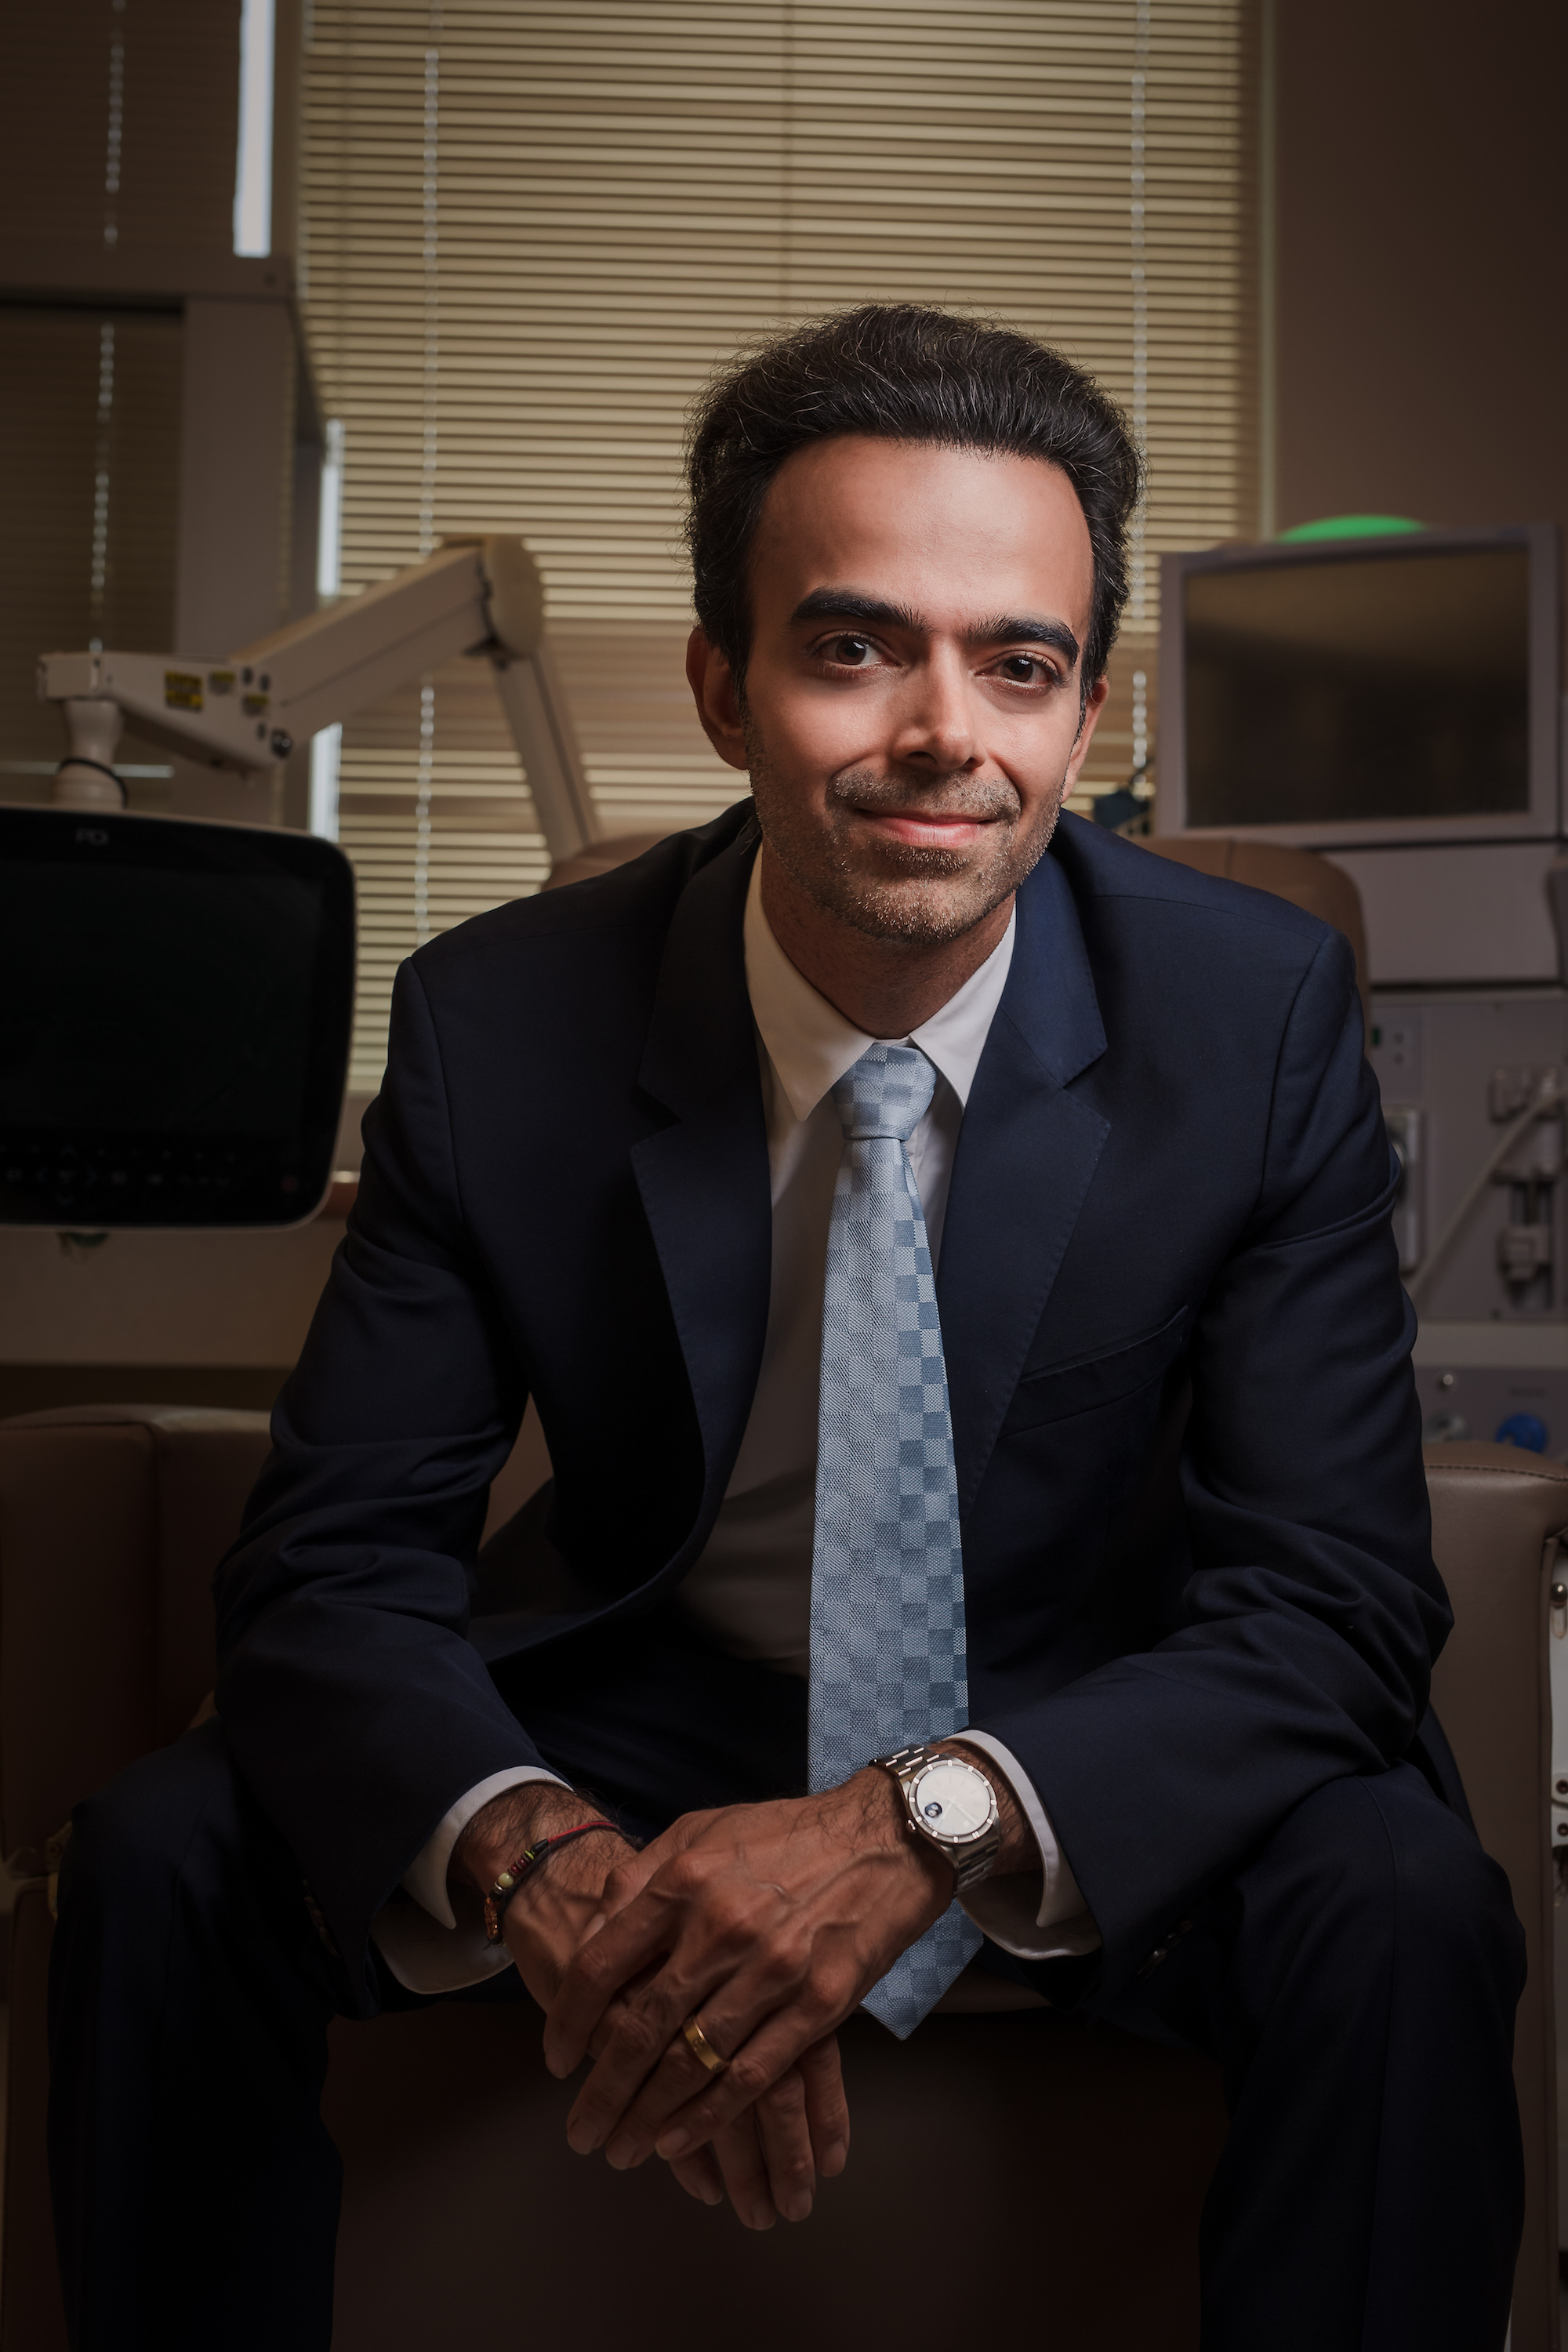
 My client calls me and mentions he is being nominated for an award (which he ended up winning after our shoot) and this actually becomes one of the featured images that are used as you can see in the image above. His goal was to create a set of images that are going to help him stand out from all the doctors that are nominated for this award. In order to create an editorial portrait set that would help him to stand out I wanted to showcase the facility or the service that he’s known for. I start asking him like what kind of machinery he operates with, what he wants to be seen in the image that doesn’t take away focus but provides context. We decided on a dramatic editorial portrait, with a creative composition that will showcase his environment.
Shooting in a Post-Covid Era
Now that we’ve finalized our concept that helps me understand what gear I will need to make this happen. It’s so interesting how different our production footprint looks compared to a year ago. I would have had a lighting assistant, maybe set up a tether station so we can cull and edit on the spot, it would have been a minimum three person crew. I’ll be honest, I’ve kind of been enjoying it because it has brought a certain purity back to the art form, of just working independently and working out of my ThinkTank backpack instead of having to lug around a ton of gear. Here is the gear I decided to bring once we confirmed that we could in fact shoot in the dialysis treatment center with the proper health precautions.
- B10 Plus
- OCF 2ft Octa
- Peak Design Travel Tripod
- ThinkTank Backpack
- Canon 5D Mark IV
- Sigma Art 24mm f/1.4
- Sigma Art 50mm f/1.4
- Manfrotto Nano Stand
Photographing the Portrait Using Our C.A.M.P. Framework
Before you pick up any of your gear, I want you to think just focus on your composition. We’ve discussed how I implement the framework I created in our Lighting courses into every shoot we do. This is a great way to work through the photo, step by step, without getting overwhelmed by the entire picture. Let’s walk through each letter of the framework to see how we got to the end result.
Composition
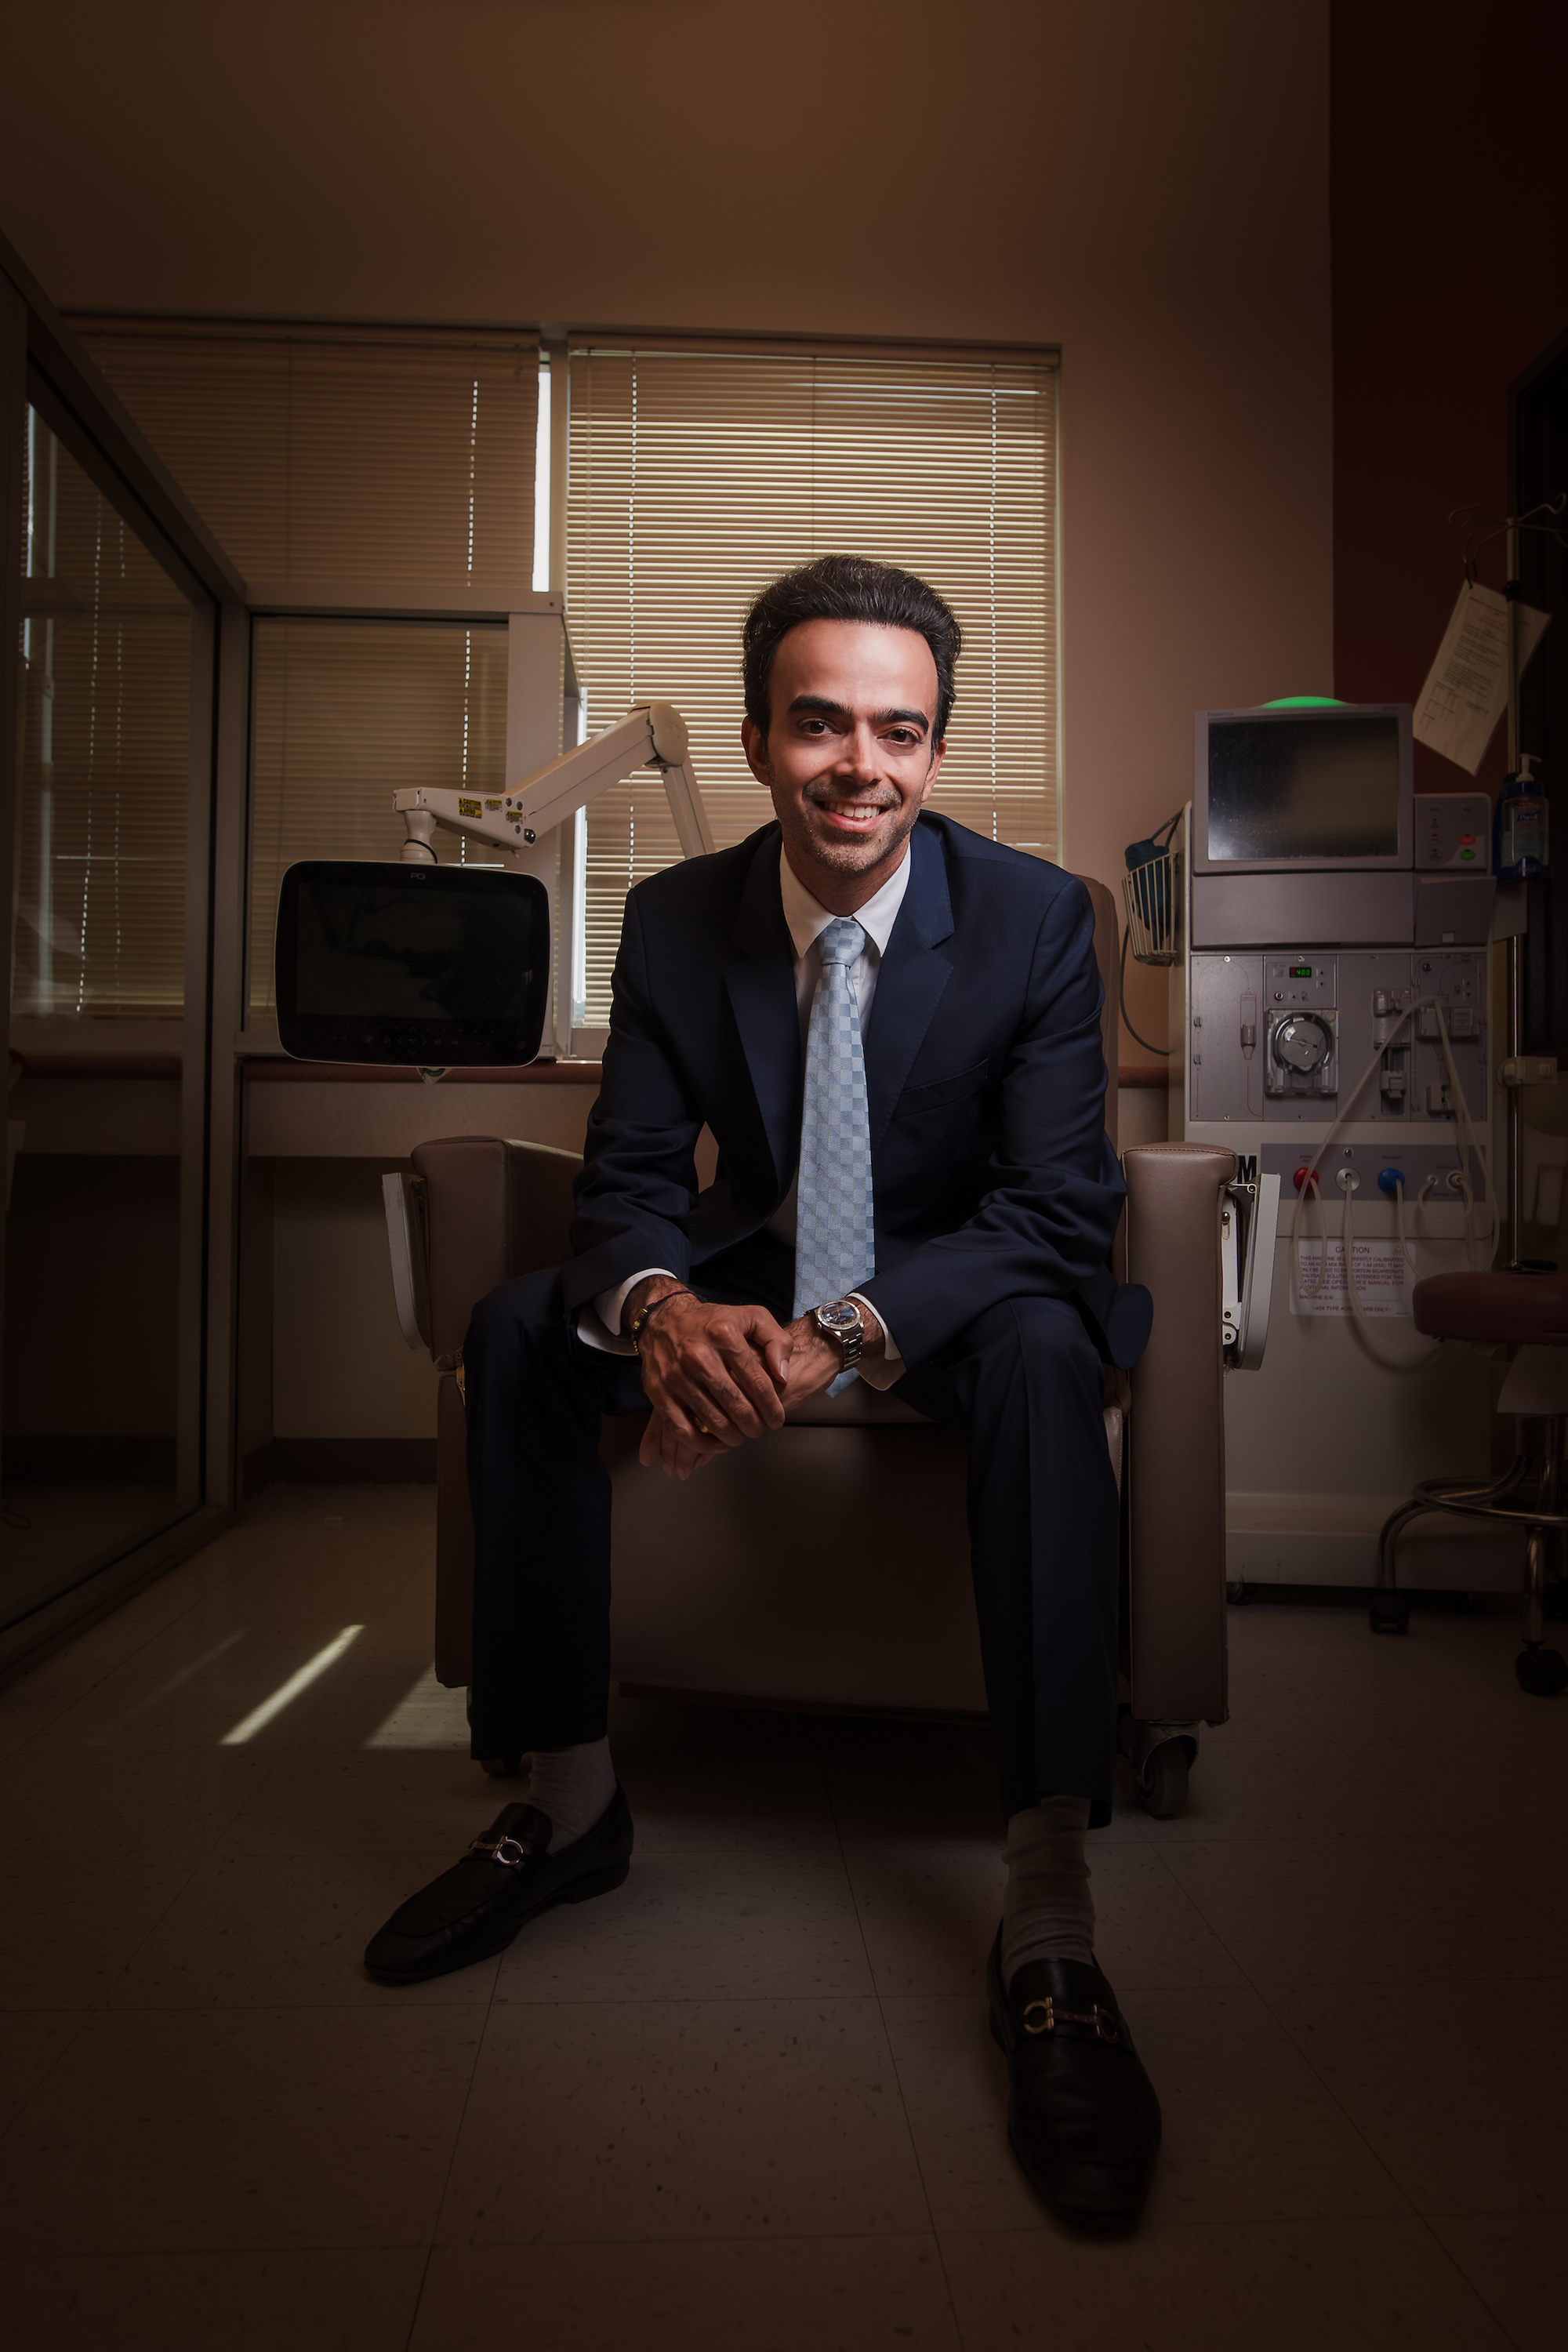
I walked into this room and I immediately recognized I had very little space to work and I need to be able to see everything to provide context. I placed my camera on a tripod and chose to photograph my subject from a lower angle to give him more dominance in the frame and rotated to photograph in portrait orientation. I then framed the subject in a way that the window directly behind him helps frame him naturally.
Ambient Light Exposure
 Taking a test shot of the room as it appears gives us these exposure settings (represented by the image on the left): 1/25th of a second, f/5.6 and ISO 400 on the Canon 5D Mark IV with a Sigma Art 24mm Prime. The natural fluorescent light overhead isn’t helping us at all and gives us major issues when it comes to correct representation of skintone which signals the need for flash. If you correct the white balance, you get to a more suitable image, however, because the main source of light is coming from overhead, we are creating unpleasant shadows and not pushing light towards the subject to help him stand out. This brings us to our final exposure settings knowing that we will be adding flash into the image: 1/100th of a second, f/5.6, ISO 400.
Modify/Add Light
Since we don’t have a way to modify the overhead light, we’re going to cancel it out completely and overpower it with the B10 Plus and a 2 ft Octa. If I place it so that it’s closer to the subject, I can set it at a low setting and have a soft light but I wanted my subject to stand out against the busy background. Since the space I am working with is tight, I realized I will likely be taking a plate shot, placing the light closer to his face, and then taking a shot without it in frame. This will allow me to composite the two images together, which is what I will cover in part two.
Photograph
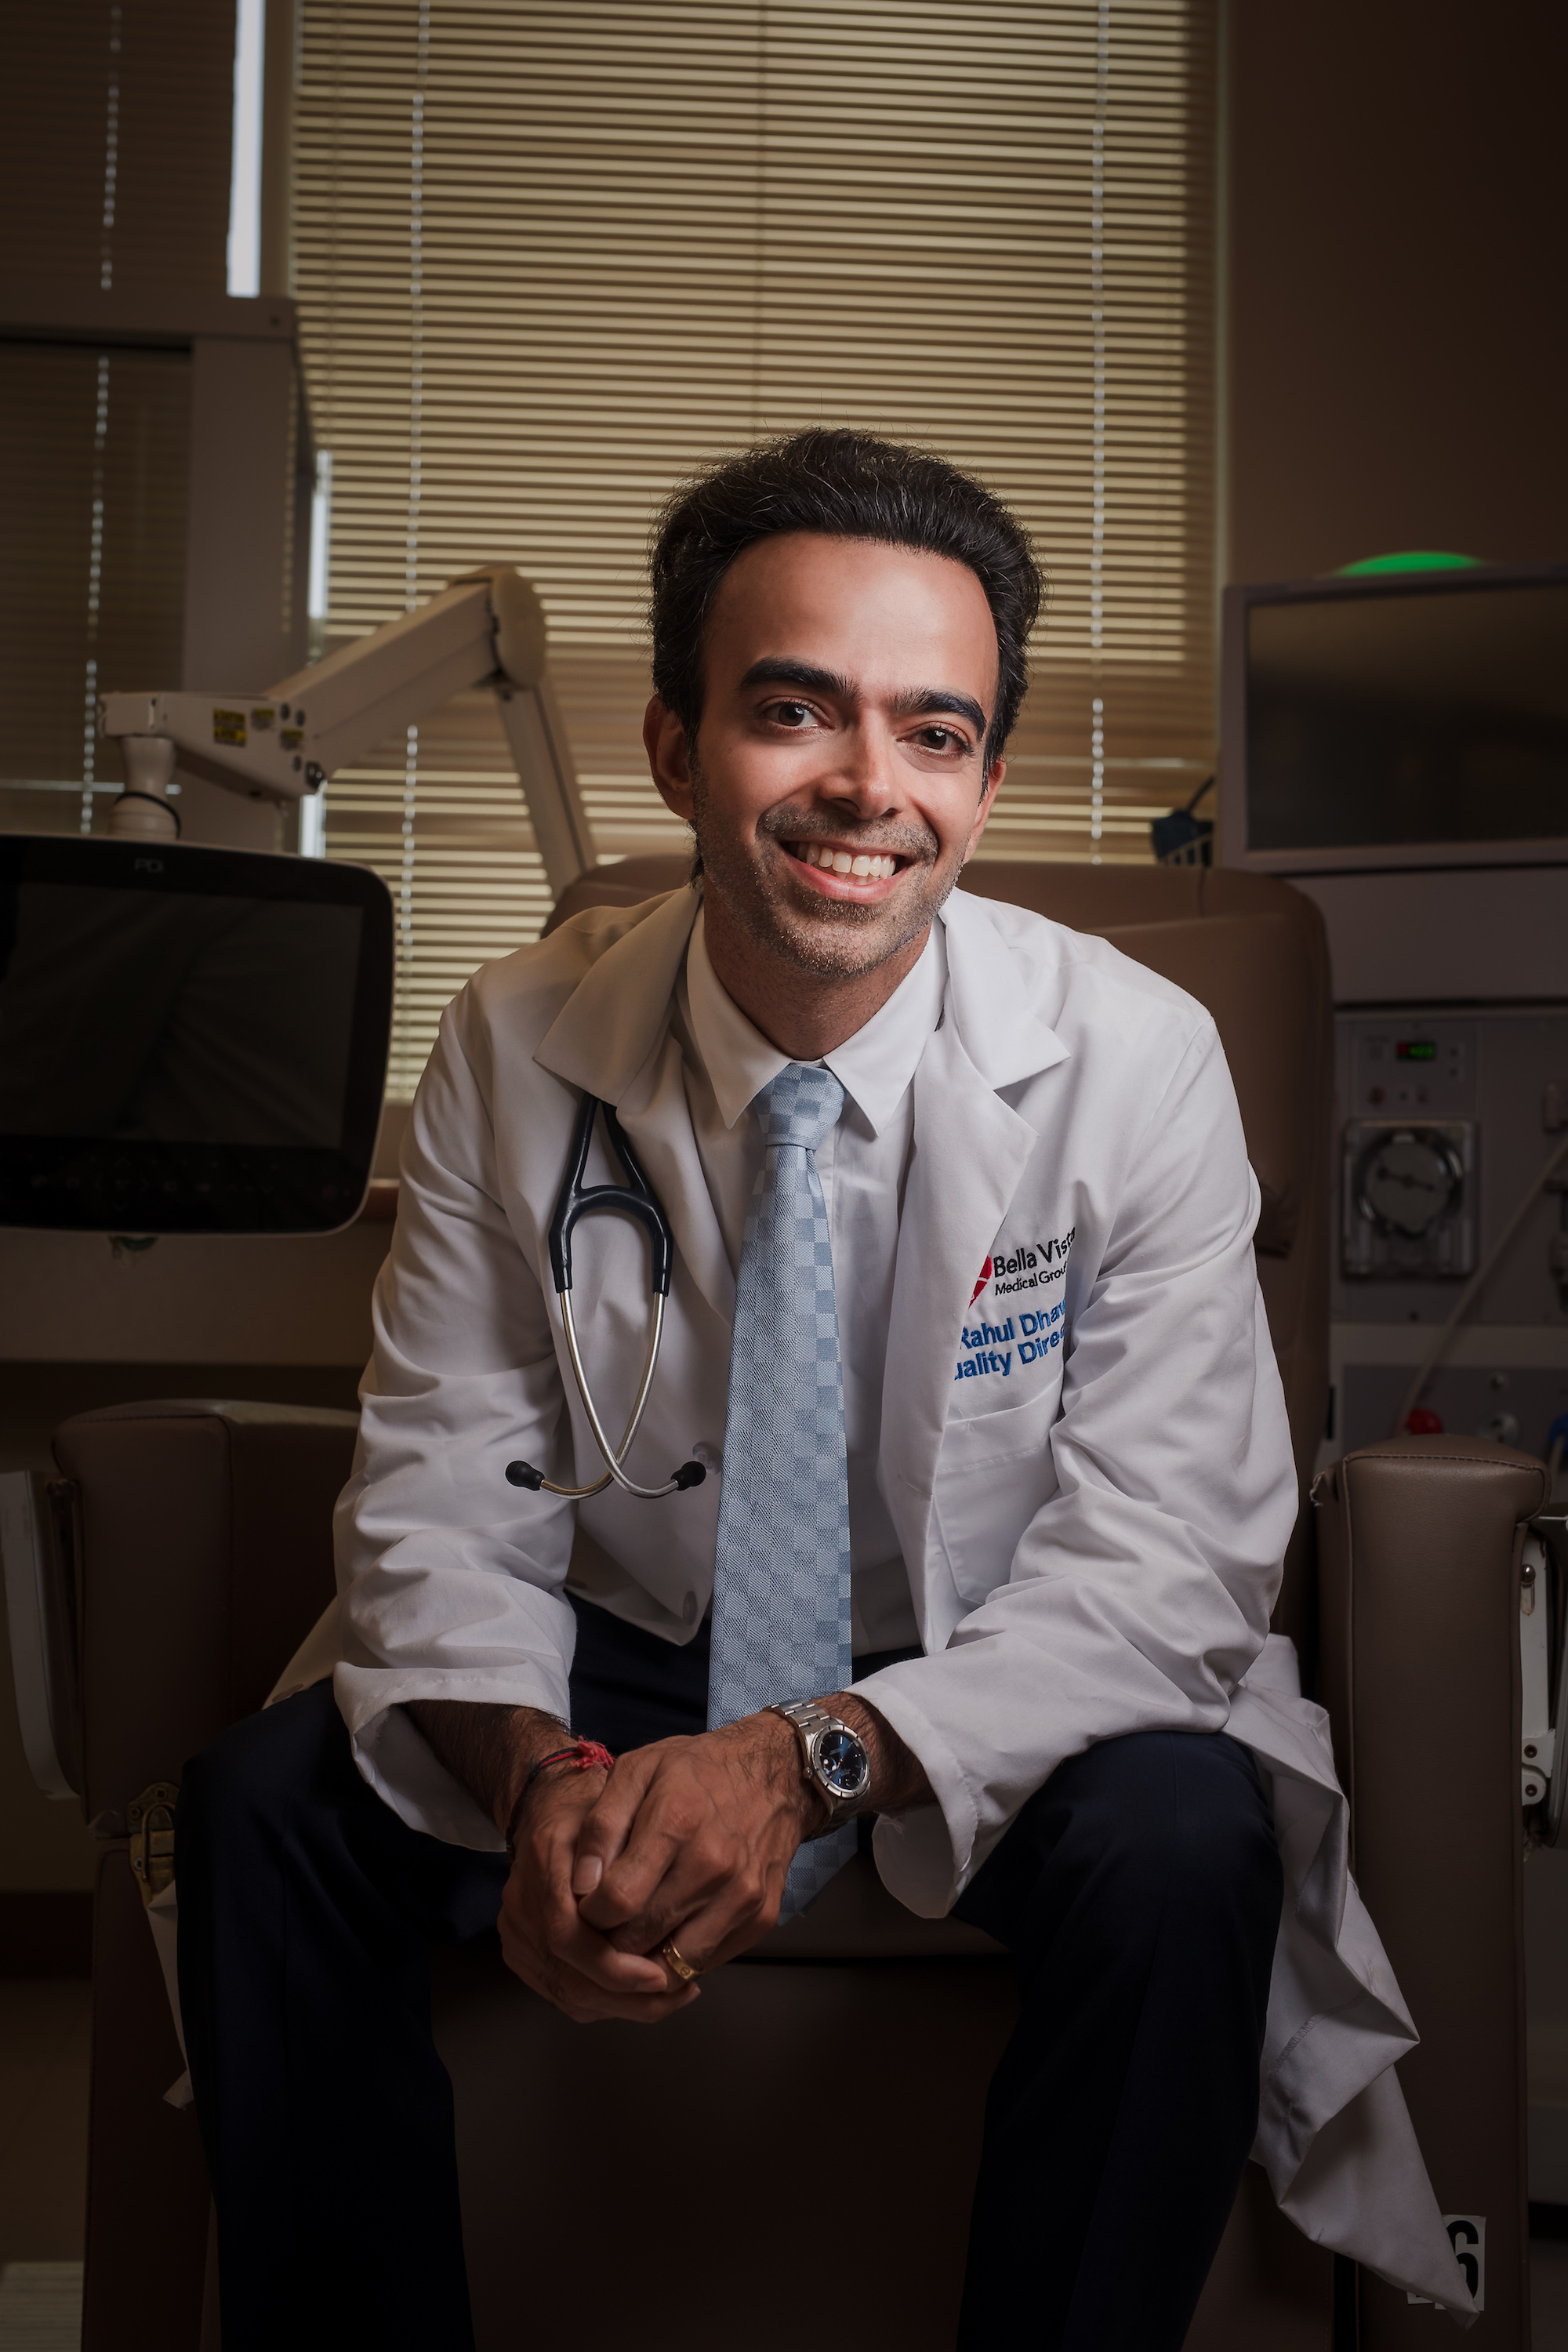
All that’s left is to pose and photograph! I went ahead and switched over to a Sigma Art 50mm to get a tighter composition of this shot and provide options for him. Here is the final set of images we arrived at:
I hope you enjoyed this video! Make sure to tune in to our YouTube channel for part two where we will dive into the entire post-production of this set and include exercise files for you to edit along with me.


