
In this video, we’re going to show you how to take a flash gel and two flashes to turn any ordinary backdrop as you see in the shot above into the final creative portrait. This gel flash photography technique will take you less than 5 minutes to set up on your own and the entire result is done 100% in-camera. Thank you to Profoto for sponsoring this video, it’s these collaborations that make it possible to offer all of you high-quality, free education on YouTube. You can watch the full tutorial below:
Gear You’ll Need for this Creative Portrait
To transform this scene all you’ll need is one colored gel of your choice and 2 speedlights. To see which speedlights and strobes we recommend for each budget read here. In this video you’ll see us using the following gear:
- Profoto B10 Plus
- Profoto B1
- Manfrotto 1051BAC 83″ Air Cushioned Aluminum Mini Compact Stand
- Profoto OCF Color Gel Starter Kit
- Profoto Snoot
For this shoot, we used a red gel but feel free to use whichever flash gel you prefer! Let’s dive into how we use our gear to create this creative portrait featuring our model Jae, you can check him out on Instagram here. Follow along in the video or read the steps here:
Step 1: Cut Out Ambient Light

Start by knocking out the ambient light in the scene with your in-camera settings. I opted to shoot at 1/200th, f/7.1 and ISO 100 which gave me a blacked-out room. The photo above
Step 2: Add in Colored Gel (First Light)

Next, start by adding the background light and color. I opted for the red gel placed over the B10. You can fire it directly onto your background, or if you have something to bounce against, you can bounce it off another wall to create a softer effect like we’ve done here by bouncing off the left wall. Adjust the flash power to get to the desired level of color, this is going to depend on the gel you are using (since gels cut light output) as well as the in-camera settings. For us, we are using the B10 at around ¼ power or around the power output of a standard flash at full power. With that, we get the following image, which already looks pretty cool in and of itself.
Step 3: Add in Key/Main Light (Second Light)

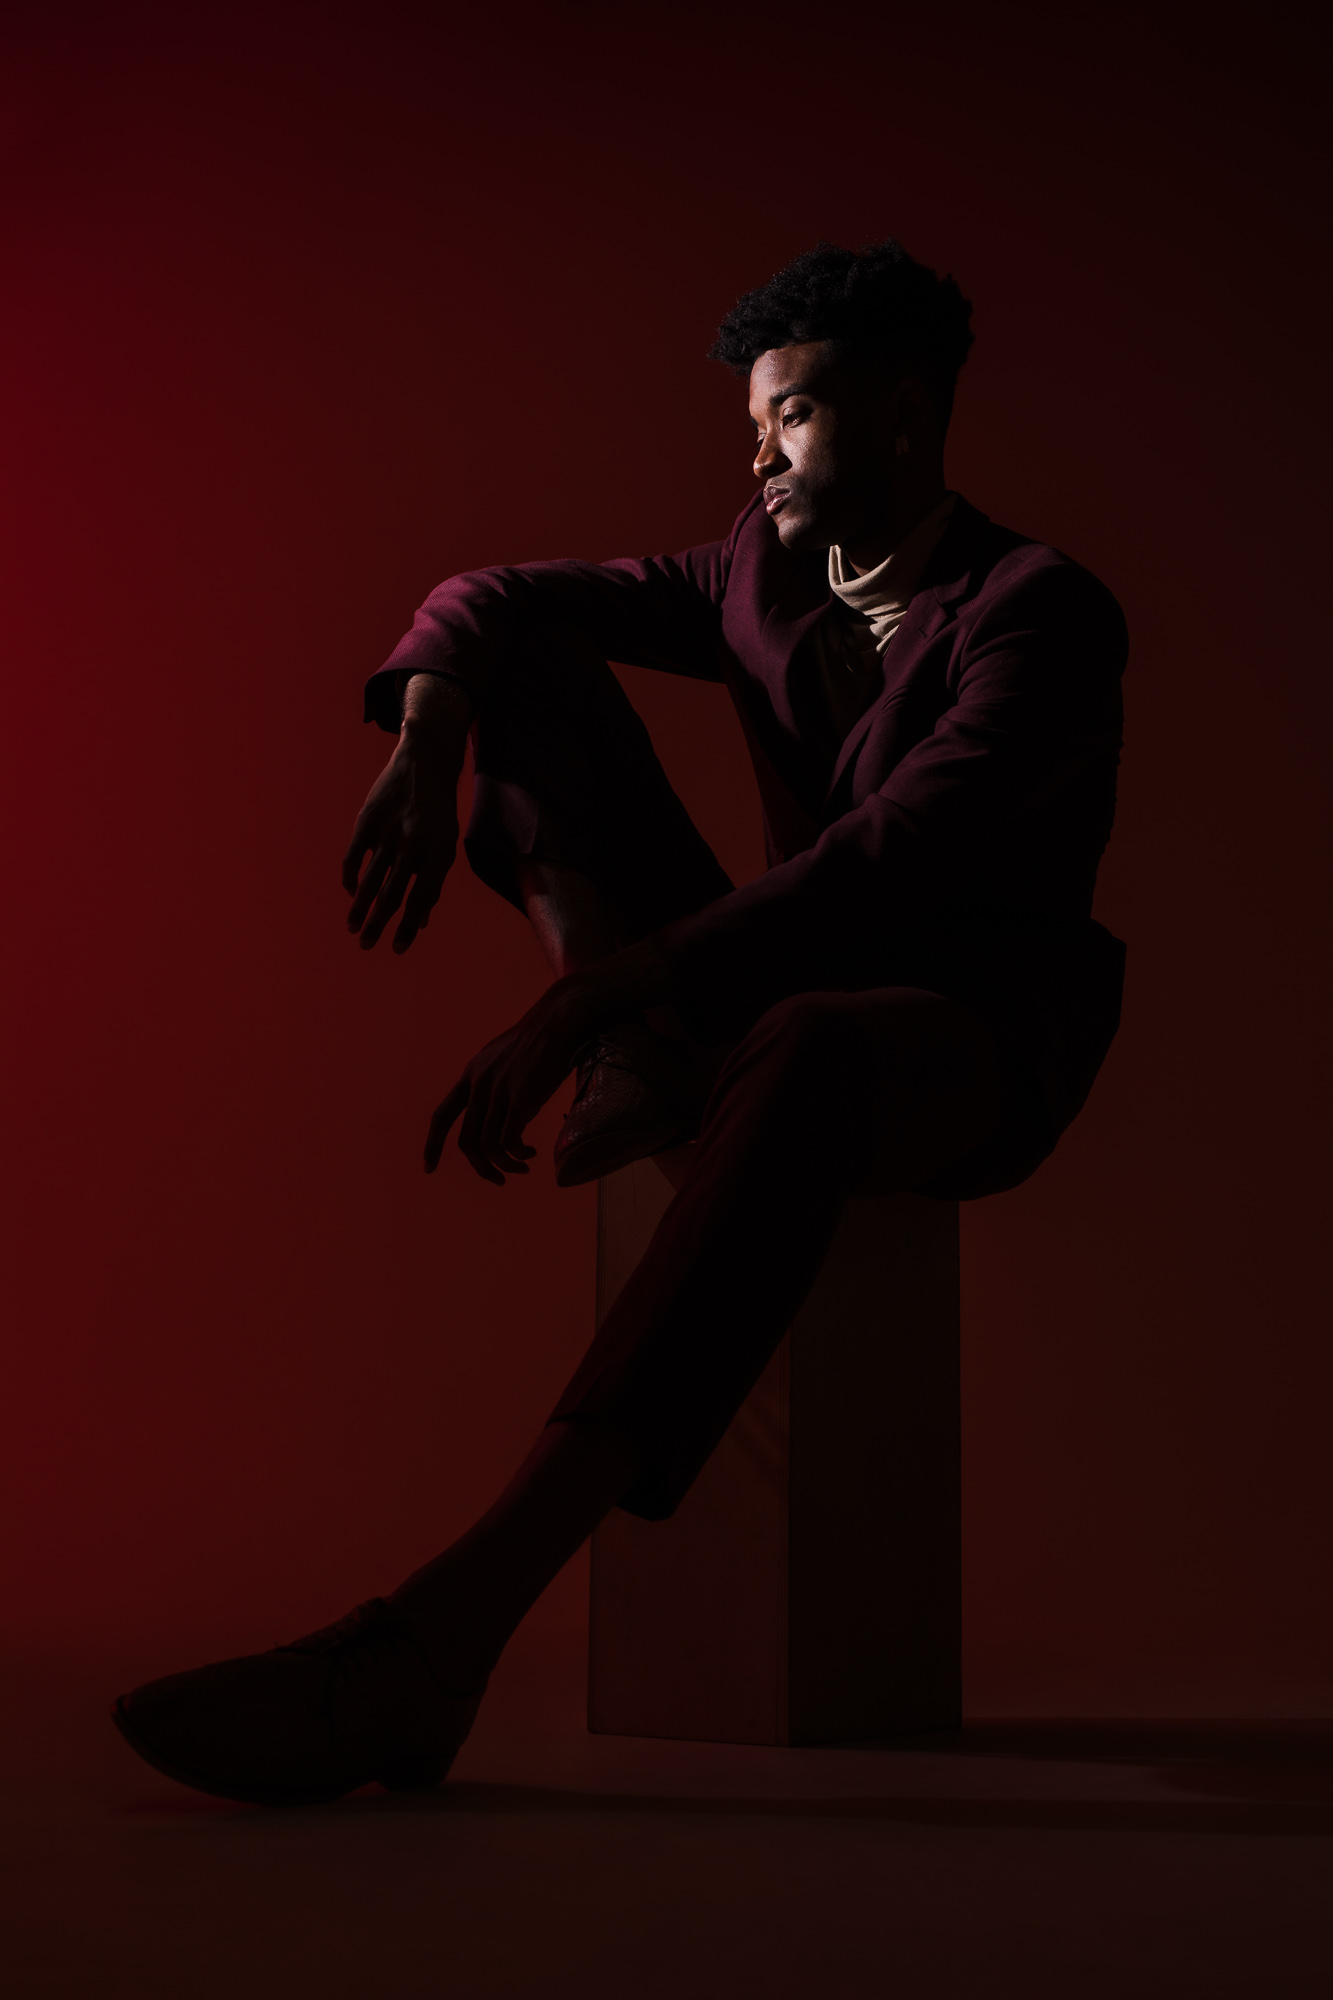
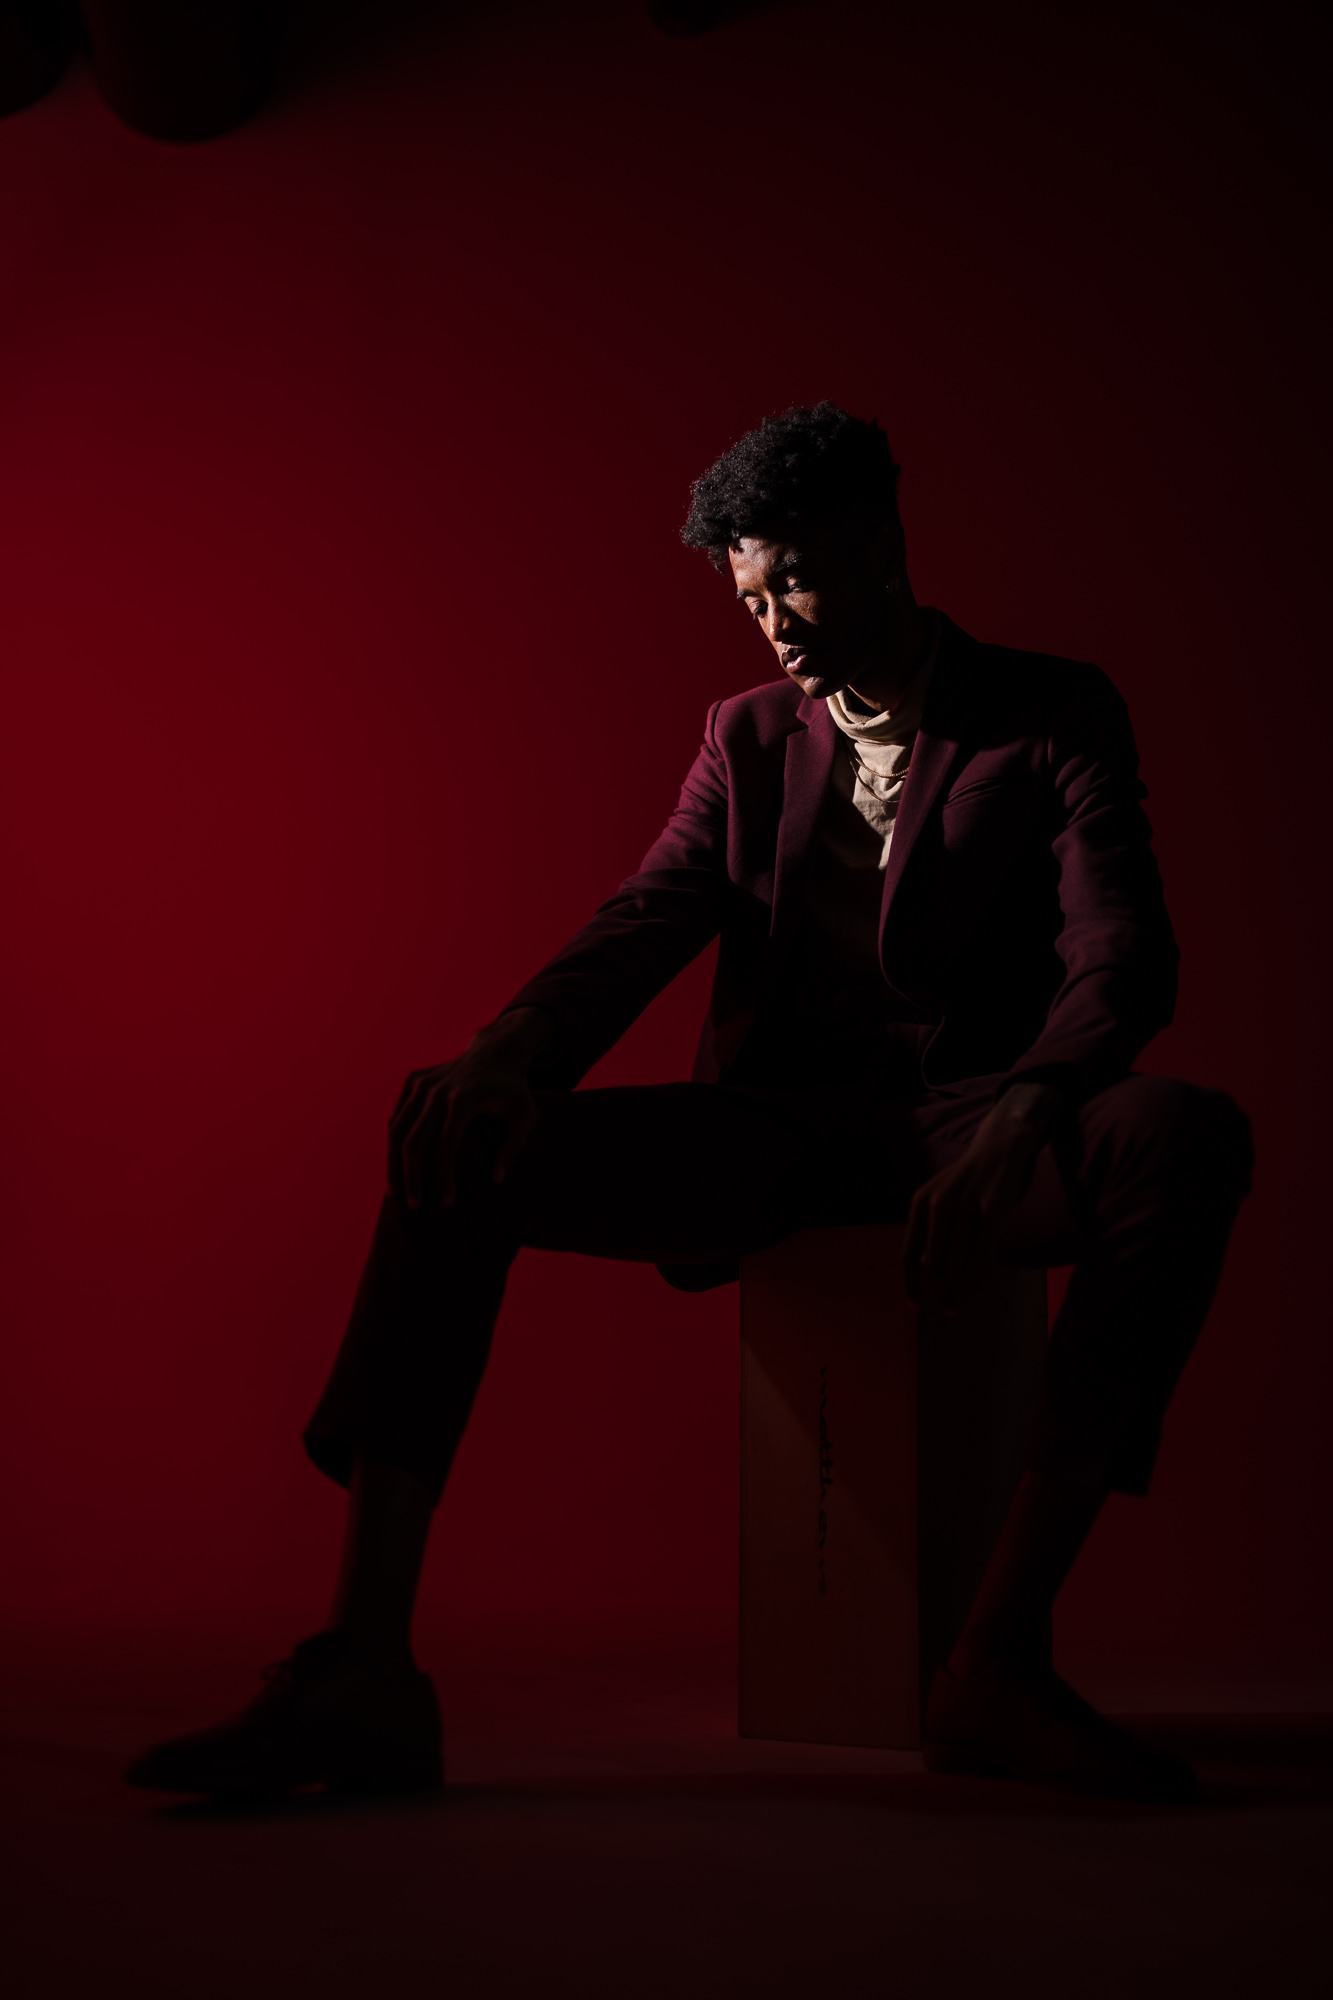
Next, we need to add the main light. We’re using the B1 at a very low power setting, like around 4-5 power which is like 1/8th to 1/16th power on a standard flash, around 5-10ws of juice. What makes the B1 or other studio lights like the B10 nice is that the modeling light goes directly through the modifier so we can see exactly where the light is going to go. So from there, we simply placed the light a little behind and to the left of our subject firing top-down into Jae’s face.

With the light good to go, I had my subject begin moving. My favorite shot from the set is when he brought his hand up into the shot. I paused him, adjusted the light a bit to avoid the hand, and we got this final image. To finish it off I threw the images into Lightroom and used the Soft Light Preset from the Visual Flow Modern Pack. Here are some of the final images:

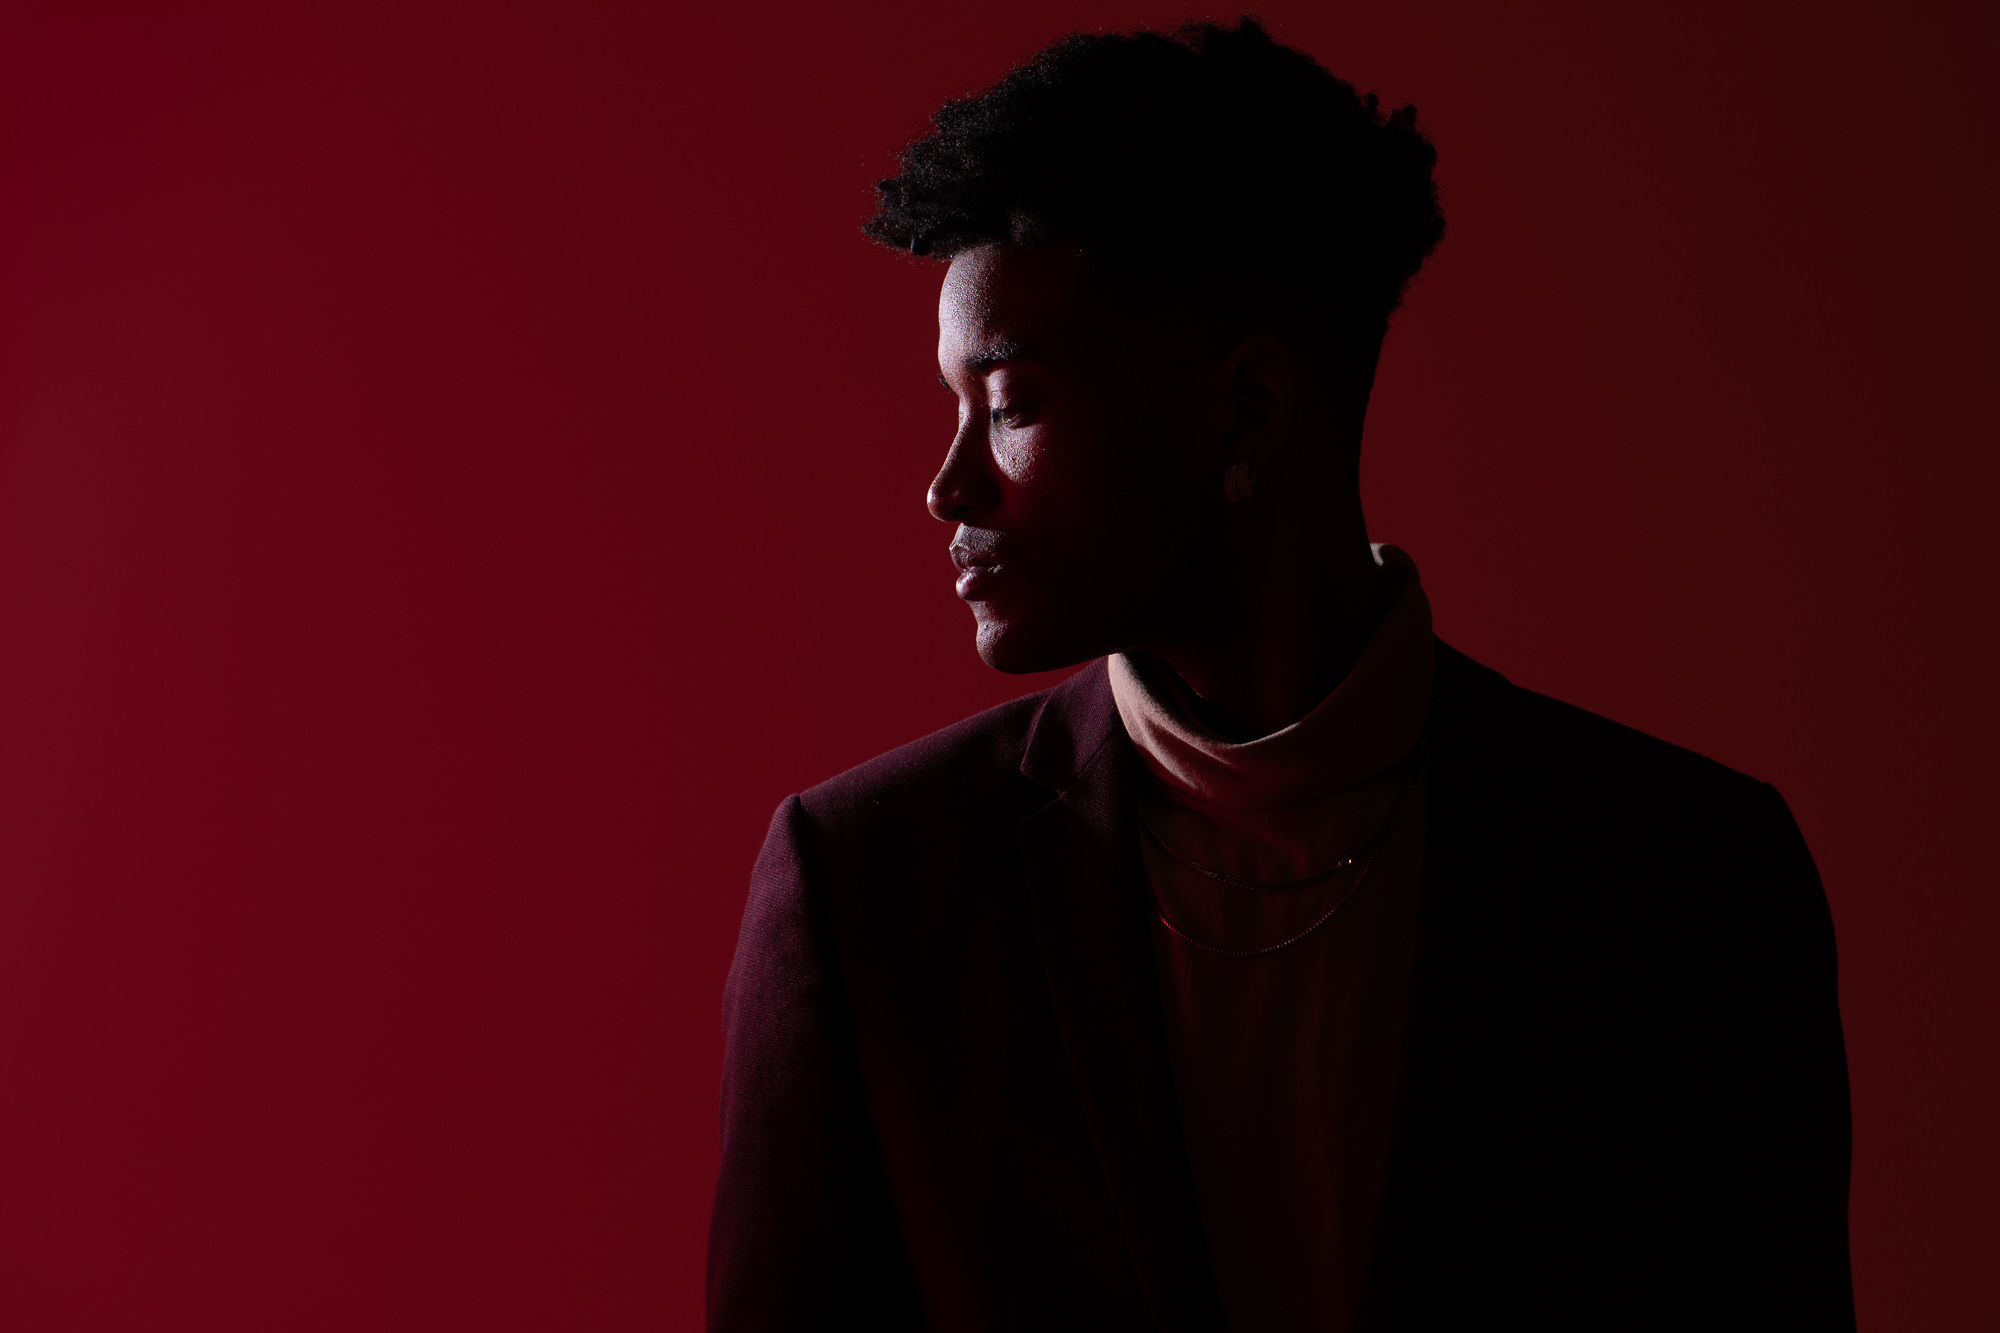
Personally, I loved how the second set of images gave me a different view from the close-ups, and with both, we have a great set of creative portraits. Hopefully, you all enjoyed the video and remember, you can take this technique anywhere! If you got a plain or boring wall, this is an easy way to add interest. Be sure to join our Facebook group Master Lighting and Off-Camera Flash with SLR Lounge. For those that love high-quality A to Z education, be sure to check out slrloungeworkshops.com for complete training systems on everything photography.


