
Part of a portrait photographer’s job is to make their subject look as good as possible, maybe even a little better than reality. There’s much that can be done in-camera, from lighting to posing, that will help, but after the capture there’s often still work left to do – like skin retouching. The most powerful and widely used program for retouching is Adobe Photoshop, but the learning curve is steep. Thankfully, there are a staggering number of tutorials available on its many features on the internet. Today, we’ll look at a video tutorial by Nathaniel Dodson of tutvid that goes over five different ways to retouch blemishes in Photoshop.
Camera Raw Filter
This is a useful tip, even if you never choose this method for skin retouching. You can take your photo into Camera Raw via filter, and by creating a smart object of the layer you’re editing, you can easily go back and tweak things you’ve changed there if you decide the look needs to be different once you see it with your other layers. What Nathaniel is doing with this capability is utilizing Camera Raw’s healing feature rather than the one that lives in Photoshop’s workspace for the ability to choose the source of the healing. You can draw on the area you want to heal, and if it doesn’t look right, you’re able to drag the source to another area that will create a better blend.
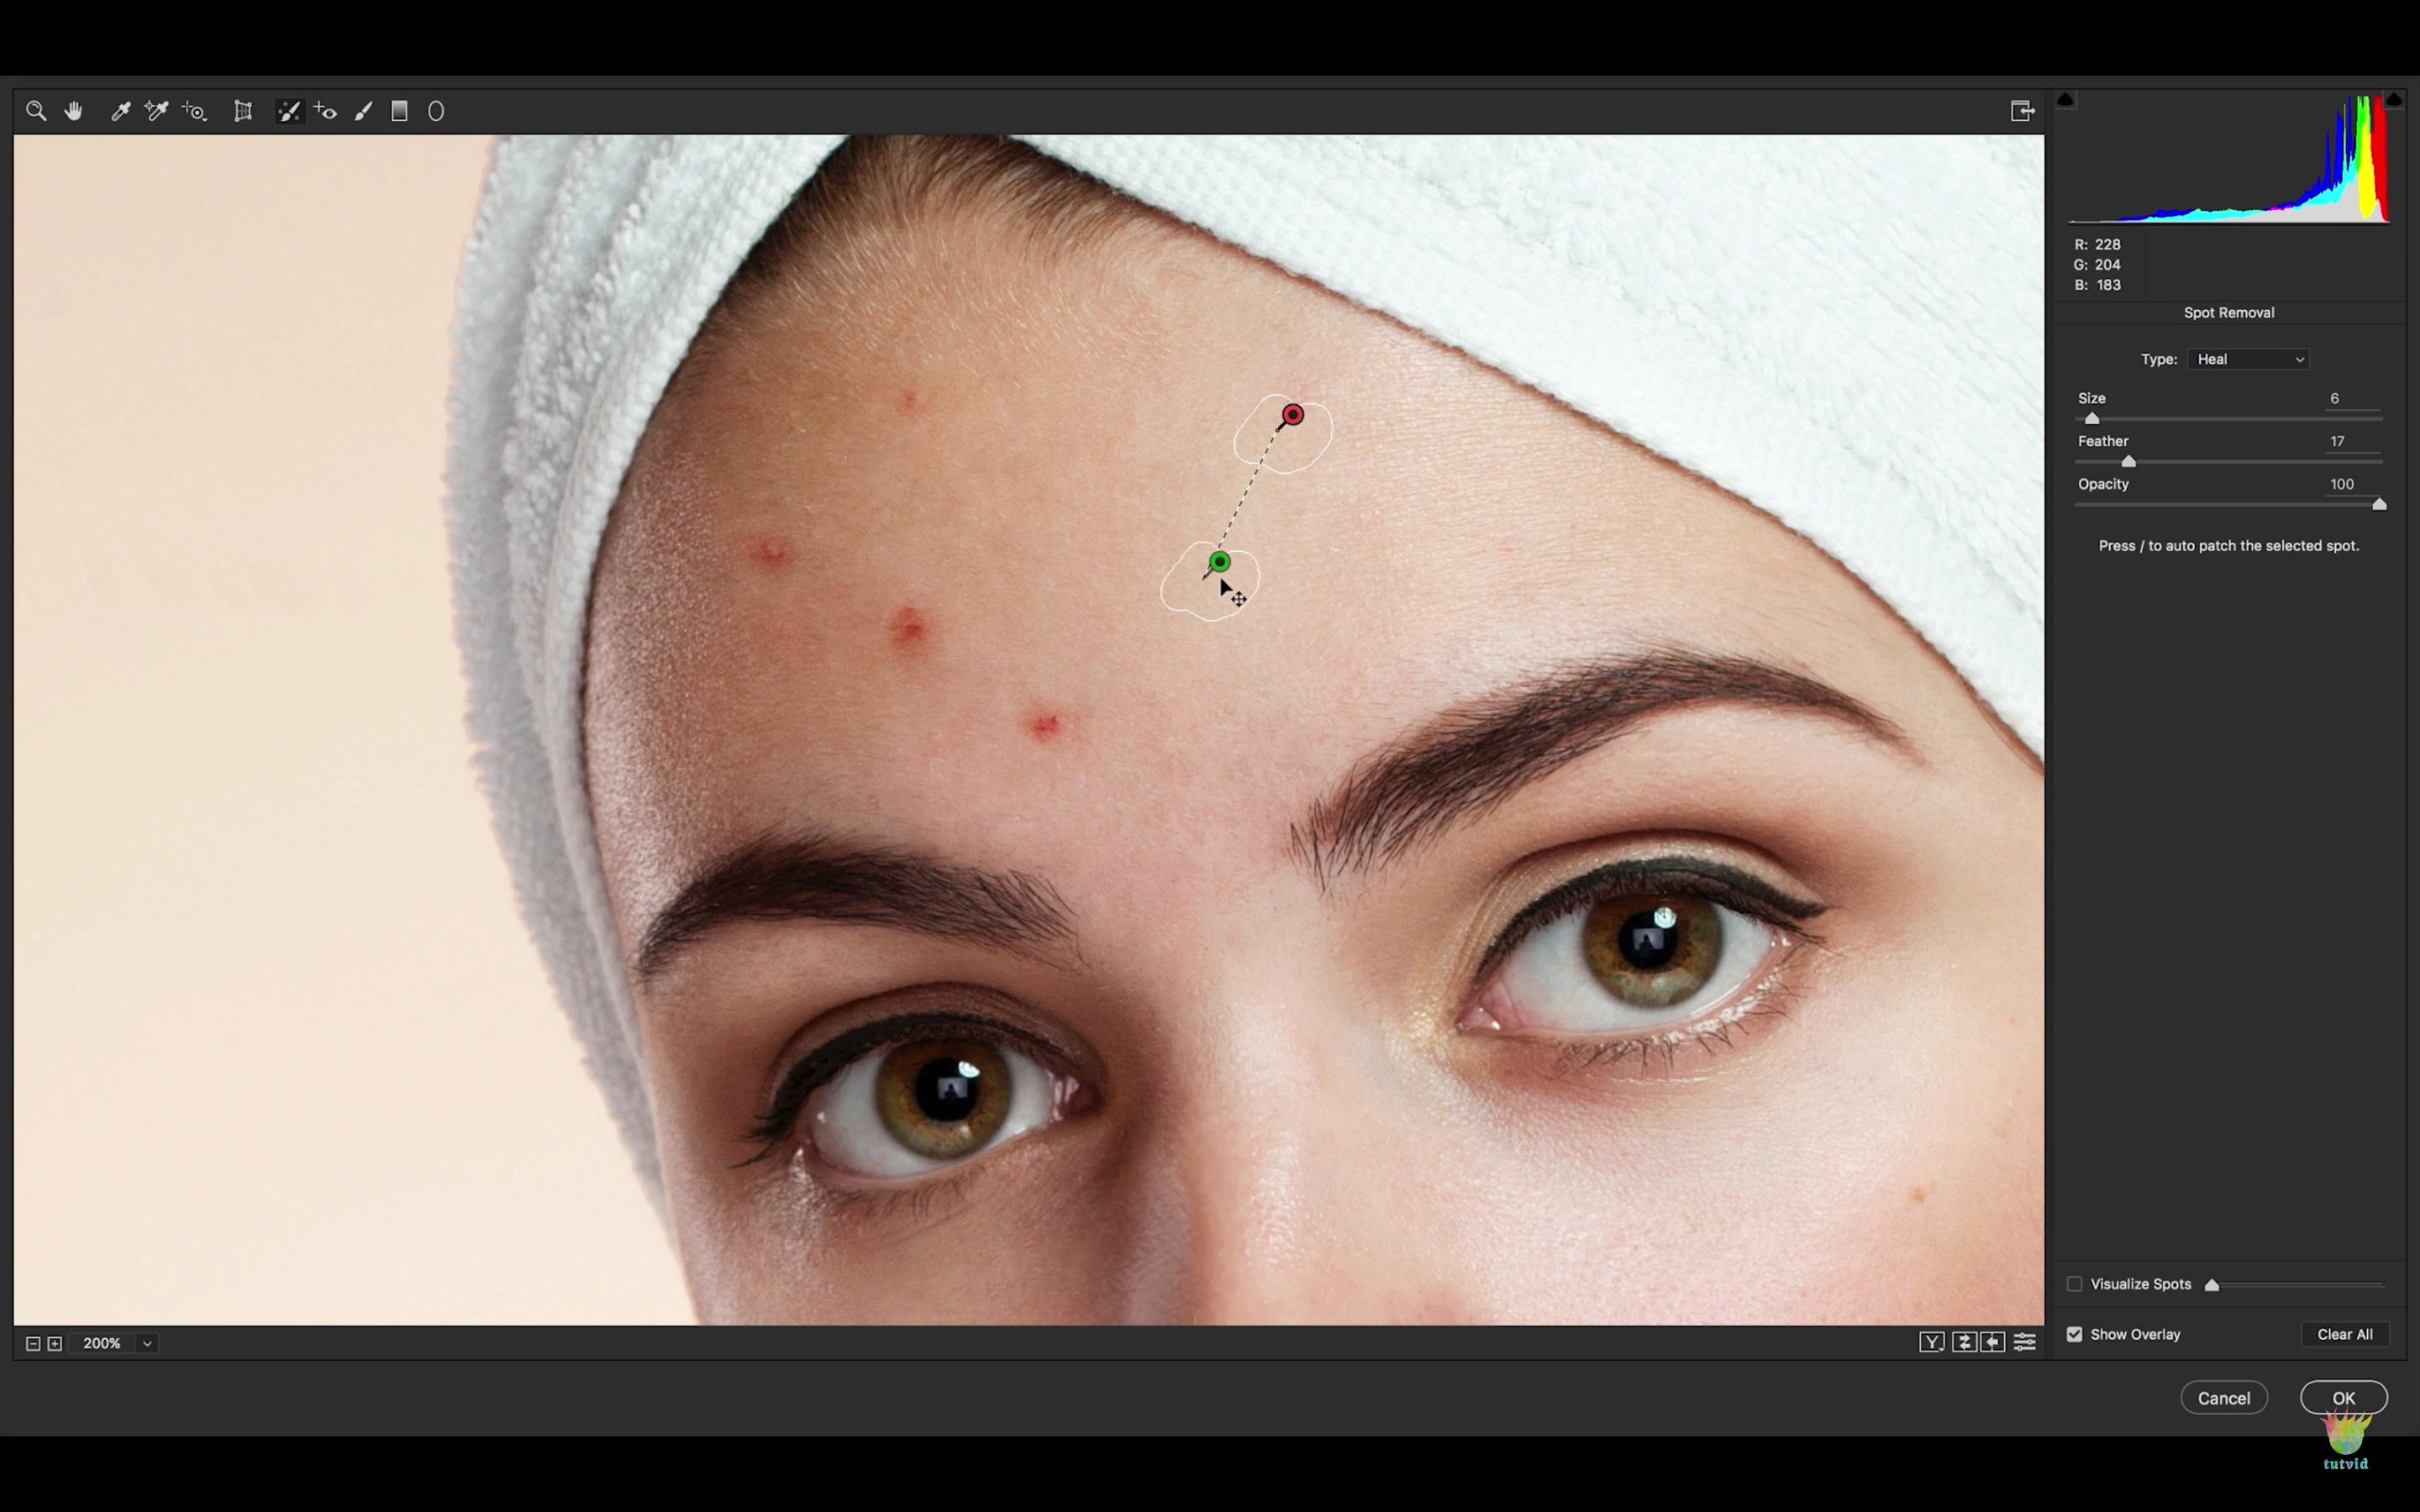
Spot Healing Brush
This is one of the first tools most photographers will learn to use in Photoshop. It’s very simple to use, but to use it non-destructively it needs its own layer. Create a new blank layer on top of the background and select the spot healing brush from the Photoshop’s tool panel. By default, it will be set to “normal” mode in a drop-down menu where the tool settings are and it is the mode that Nathaniel demonstrates. Don’t forget to check the “sample all layers” box, otherwise, the spot healing brush will be sampling only from the blank layer which, as you might guess, will result in no changes being made. Then, simply draw over the blemishes with the spot healing brush and watch them disappear.
[REWIND:] FREQUENCY SEPARATION PITFALLS TO AVOID | BEWARE OF ACTIONS & CAUTIOUS WITH RADIUS
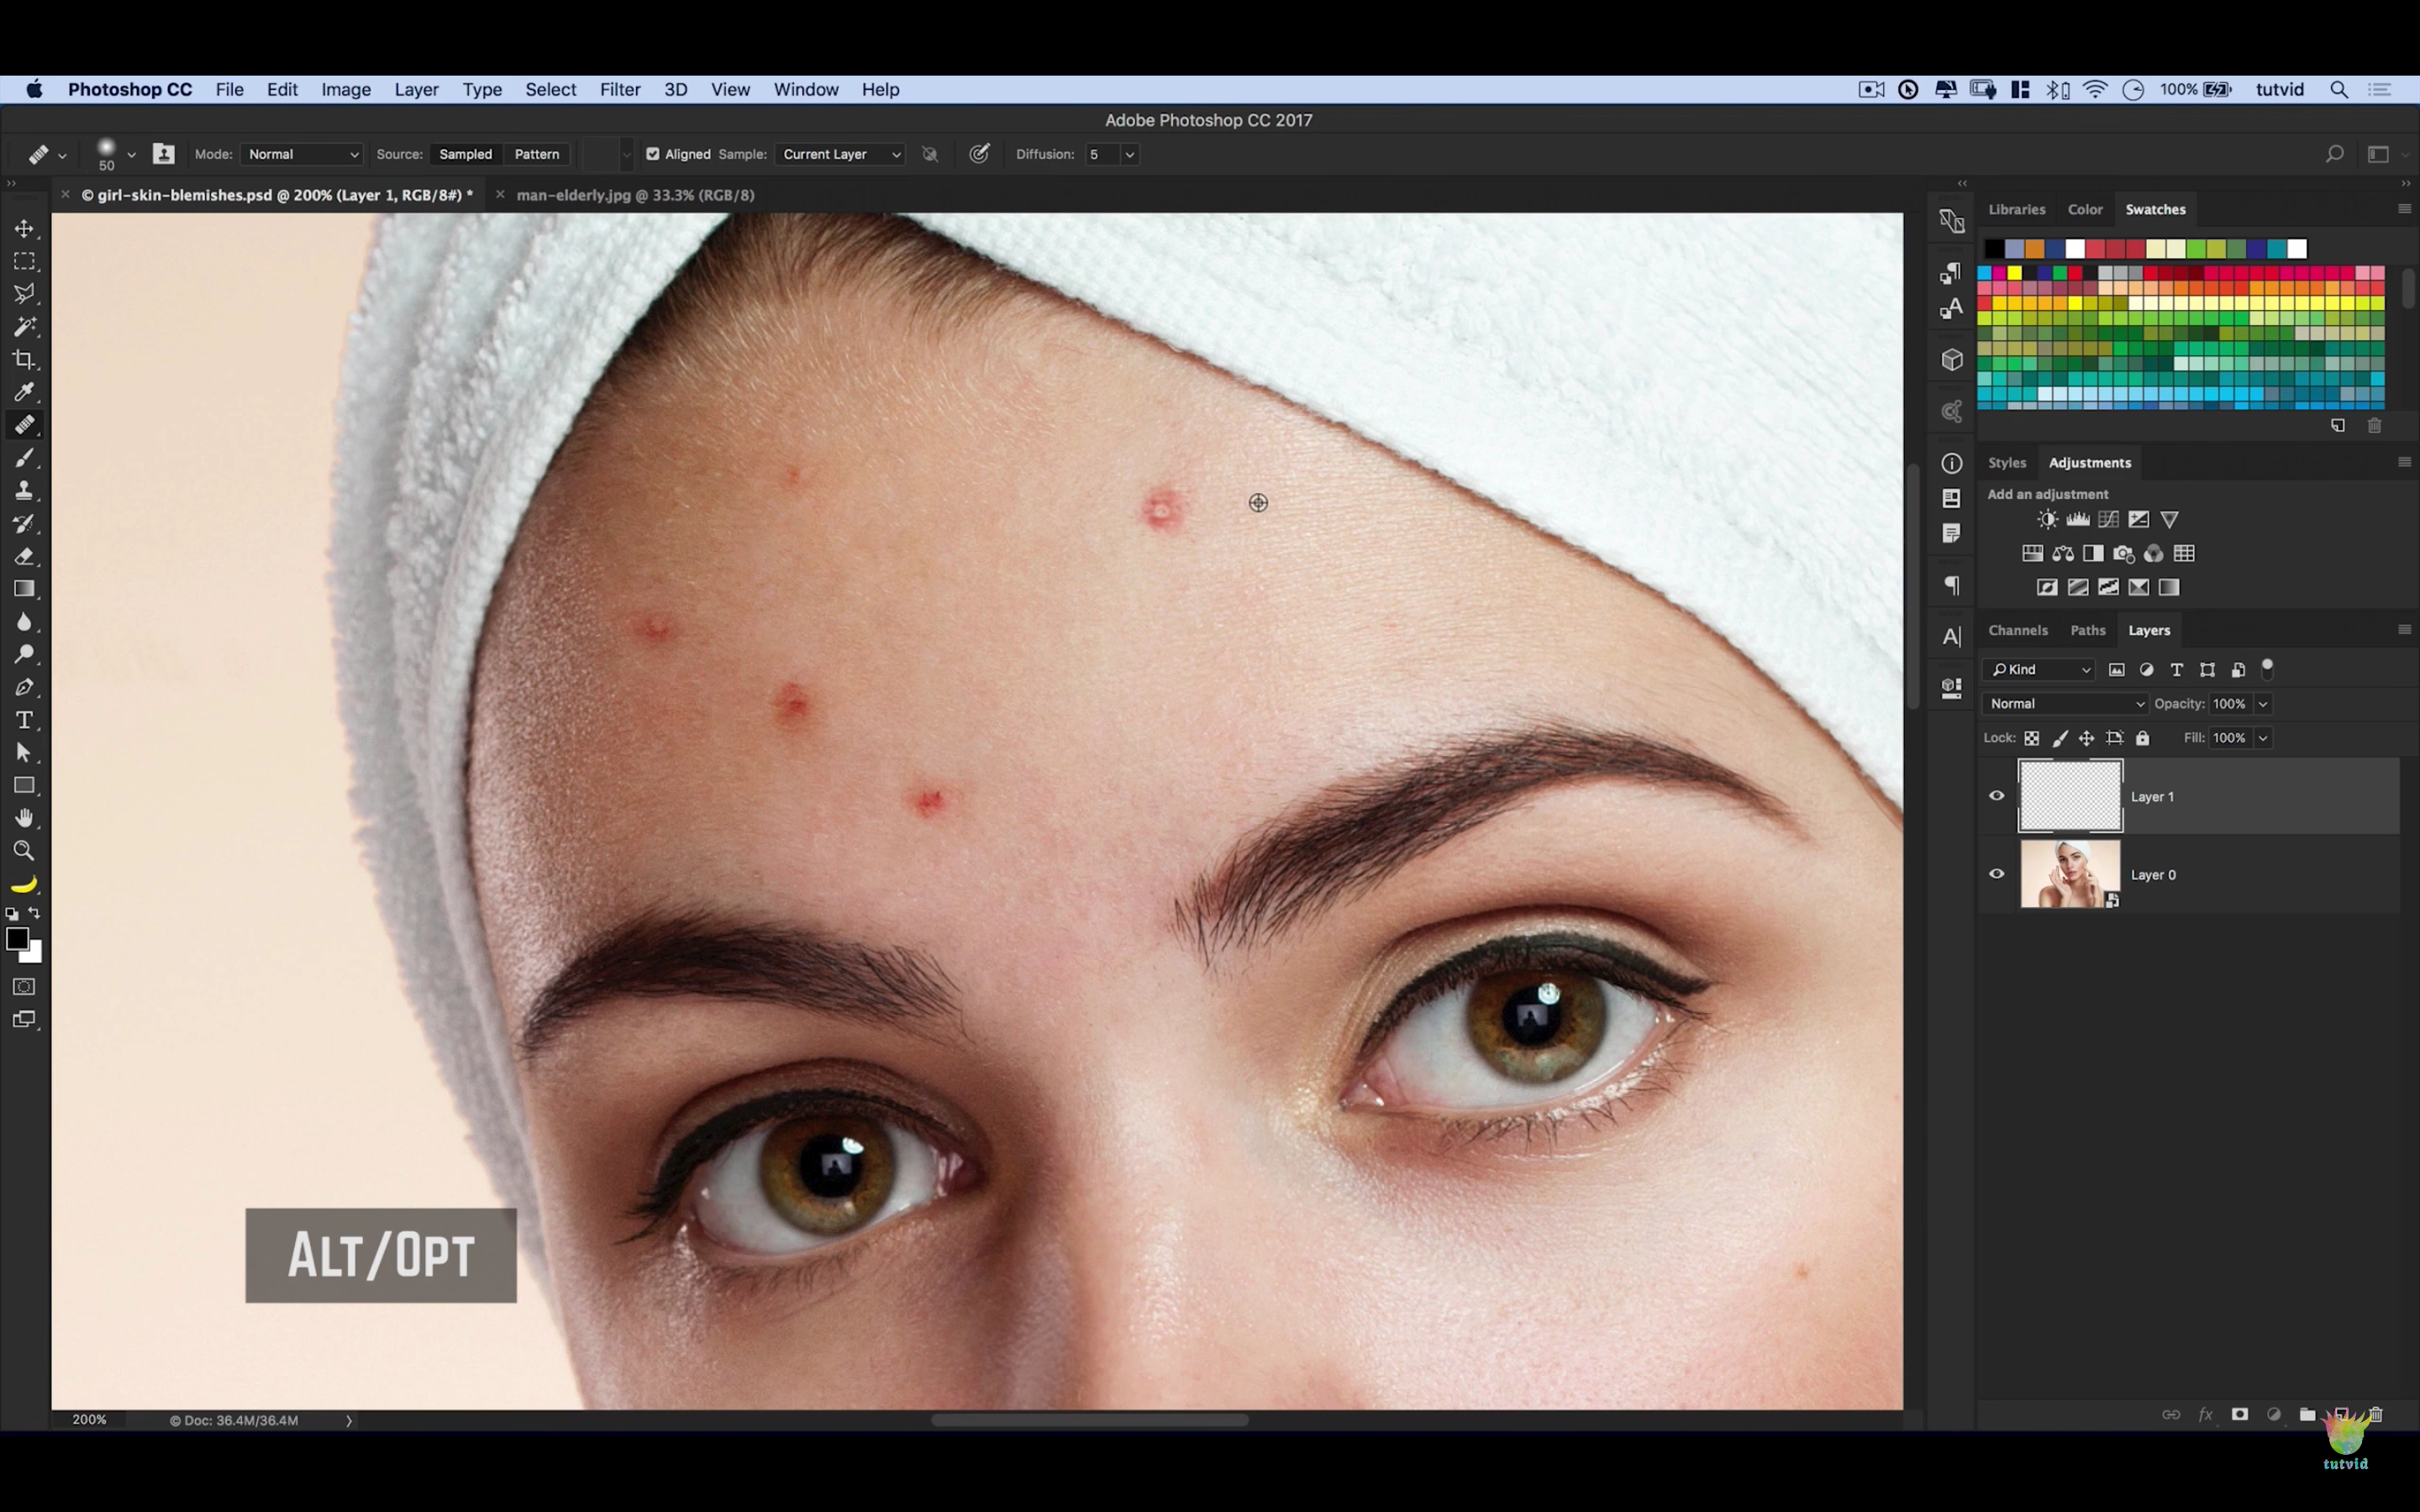
Healing Brush
This is like the spot healing brush but with more precision. To use this brush, you must choose the area to be sampled when healing the blemishes. Do this by holding the “alt” key and clicking a nearby area of clean skin. As with the spot healing brush, make sure to create a new blank layer and remember to tell Photoshop to sample all layers. With this tool, it’s selected via drop-down whereas it’s a checkbox with the spot healing brush.
Patch Tool
This tool can be found in the same place as the spot healing brush and the healing brush. You can make a selection over the area you’d like to patch over – a blemish, in this case, and then drag from the spot you just selected to what you’d like to replace it with. As always, this is best on a new blank layer and to be able to sample all layers, this tool must be used in “content-aware” mode.
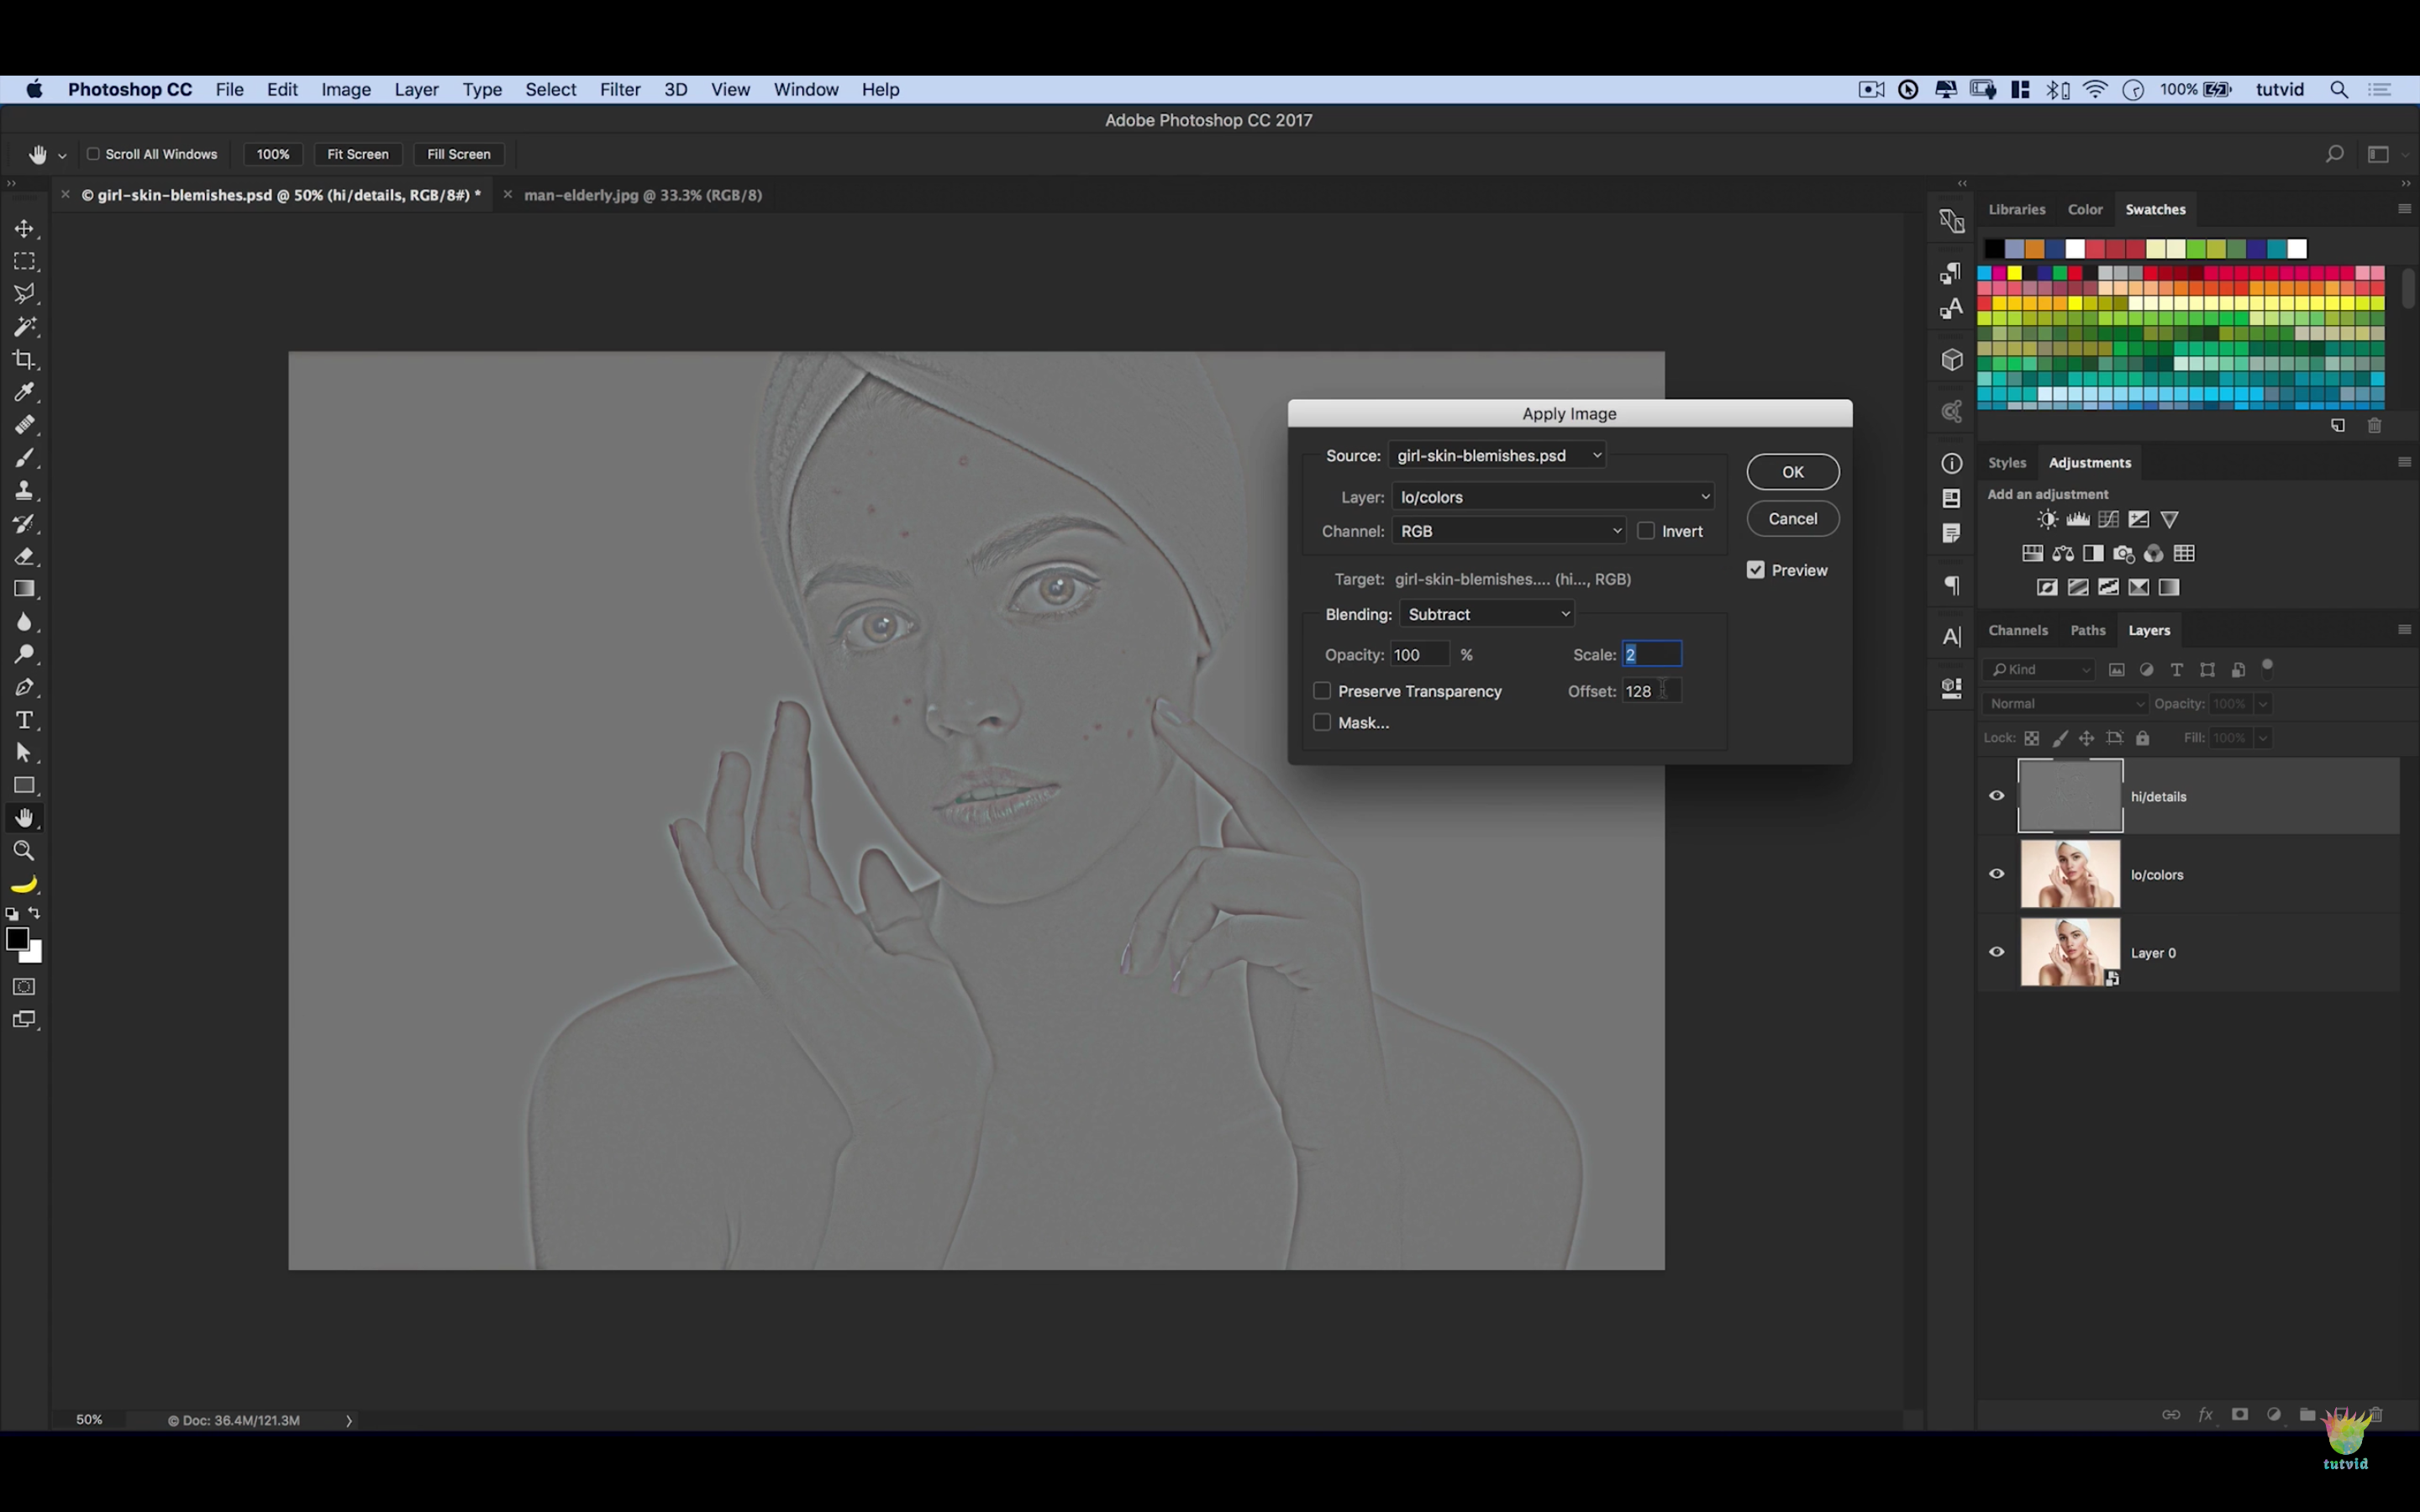
Frequency Separation
Nathaniel has saved the best for last, although this method is considerably more complicated than the others to set up. What this method does is separate the color from the detail, letting you maintain skin texture while removing unwanted elements. Instructions on setting your workspace up for frequency separation can be found at (time) in the video. Once you’re all set up, you can paint out redness on the color layer and heal away unwanted textures on the detail layer for incredibly realistic results.
Check the video for a bonus tip on retouching older folks’ skin without overdoing it at the end, too.
What’s your favorite method for blemish retouching?
via fstoppers


Get Connected!