Learning to see light is essential, if not the most important thing, for a photographer. Even the most high-end gear will not save you from unflattering and incorrect lighting.
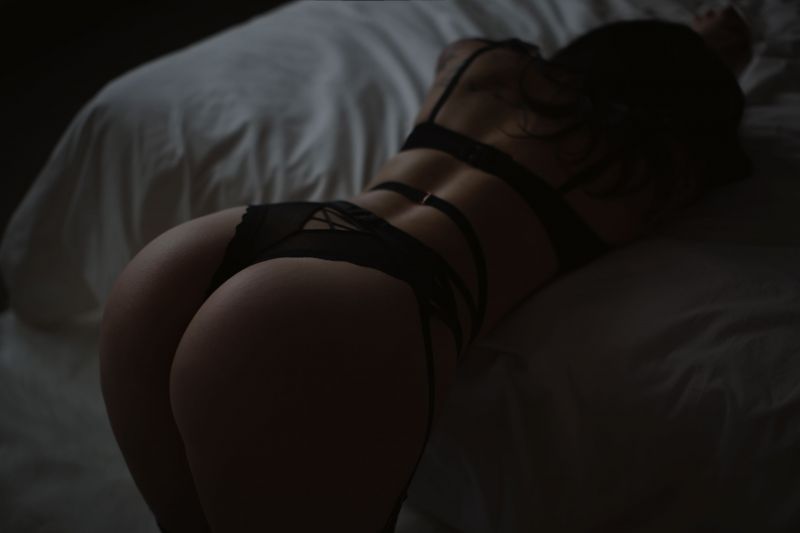
When it comes to achieving that “moody” look in your boudoir photographs, it’s all about the light and where it’s coming from. While you can certainly achieve this look with studio lighting, I will mainly be talking about shooting with natural and available window light (like that window in the featured image above).
Light Direction – Essential for Boudoir Photography

Personally, I love detail shots, and I really like to highlight the subjects curves by focusing in on them, especially with directional side-lighting. It helps me carve out their curves and create a dynamic and moody final image.
To create this look, the subject was sitting on the ground below two west-facing windows at sunset. The light spill was soft, yet powerful enough. The great thing about natural light is that you can see in real time where it is falling, and how it looks. The key is just moving around or having the subject move their face and body until the light falls on them nicely. You’ll know when the light hits them just right.
When you have a large single light source to the side of your subject, the light perfectly shapes your subject’s body and envelopes them with flattering, soft, beautiful light.
Exposure For Moody Lighting
I like my initial exposure to be slightly brighter than the final image, so I can bring the shadows down in post-processing if need be. By doing this, I make sure to keep all the information in the shadows and highlights. This also gives me more options on the look and feel of the images later on (I always shoot in Raw).

The image above is straight out of camera. It’s a little darker than I normally would like, but I found the window light to be really spot-on for the look I was trying to achieve. As you can see, the light is dancing across her body, showing off her wonderful curves. The highlights and shadows are in just the right places so that the image really comes together.
Post-Processing for Additional Mood


In the final image above, I have brought down the shadows, played with an exposure adjustment layer, and dodged the highlights a little more to give it an extra punch. All in all, there wasn’t much post-processing. The bare bones of the image were already there and just needed a little polishing.
Remember: just find the light, and you will see your images being taken to the next level.
(Info for the featured image: Canon 5D MIII | 50mm 1.2L | 1/160th F1.8 ISO 200 Model | IG @iinked_saiyan)


Get Connected!